This is a read only copy without any forum functionality of the old Modcraft forum. If there is anything that you would like to have removed, message me on Discord via Kaev#5208. Big thanks to Alastor for making this copy!
The server I'm part of recently released a new patch to celebrate it's 8th anniversary.
I decided to post a video and some images here to showoff some of our most recent.. eh.. crazy idea.
Since there is a new Star Wars movie coming out, we thought that we could honor it somehow ingame, so we decided to do a Star Wars themed event for our 8th anniversary. It is also the last bit of work we are doing on the WoTLK client.
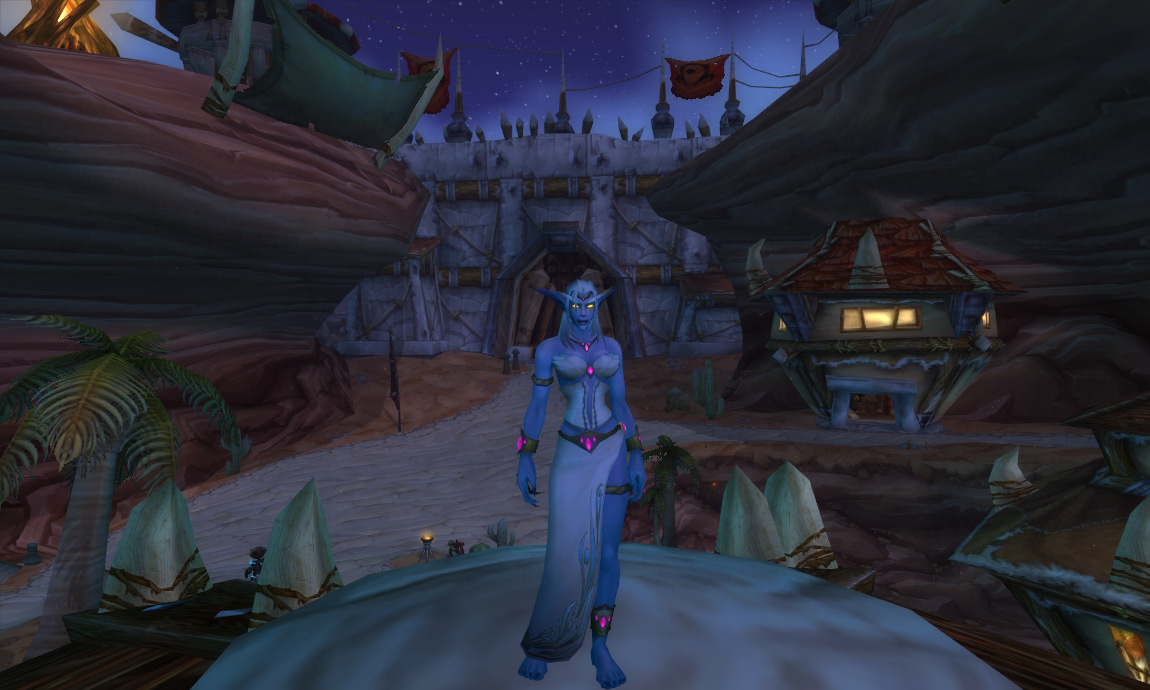
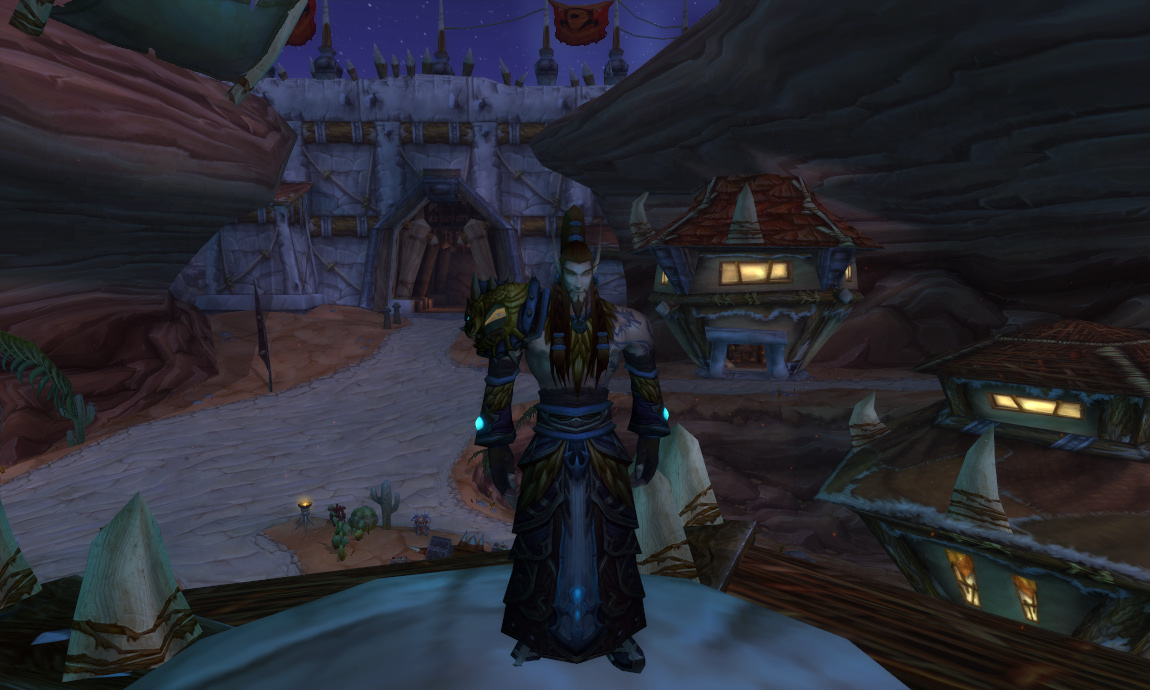
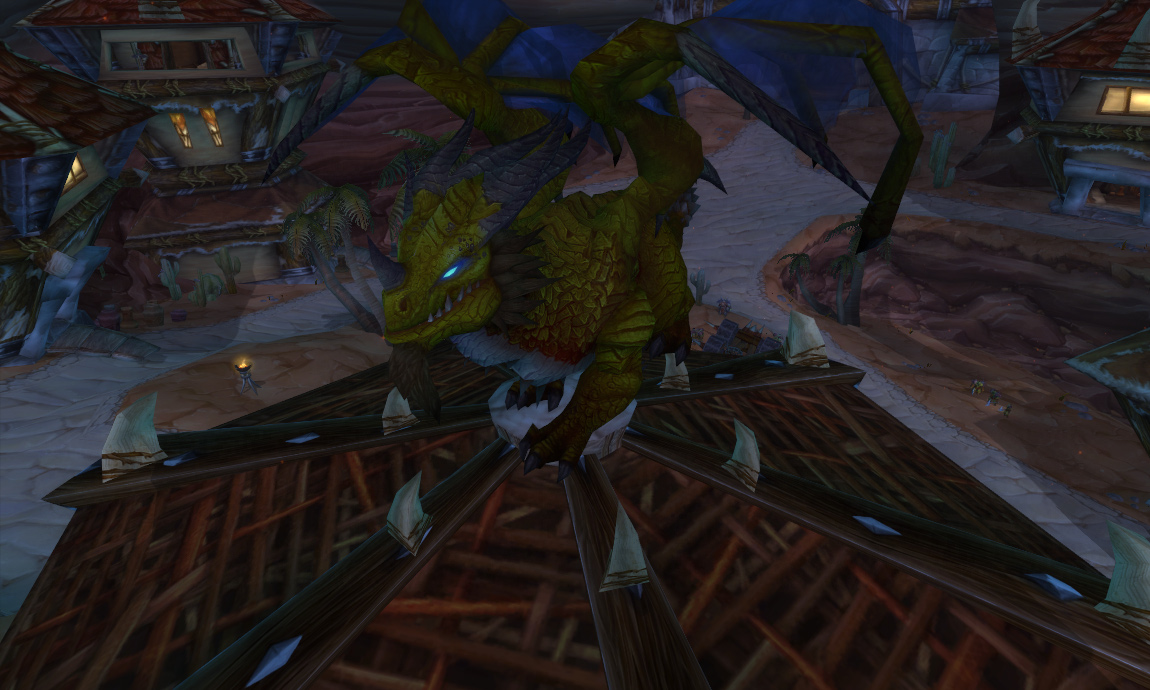
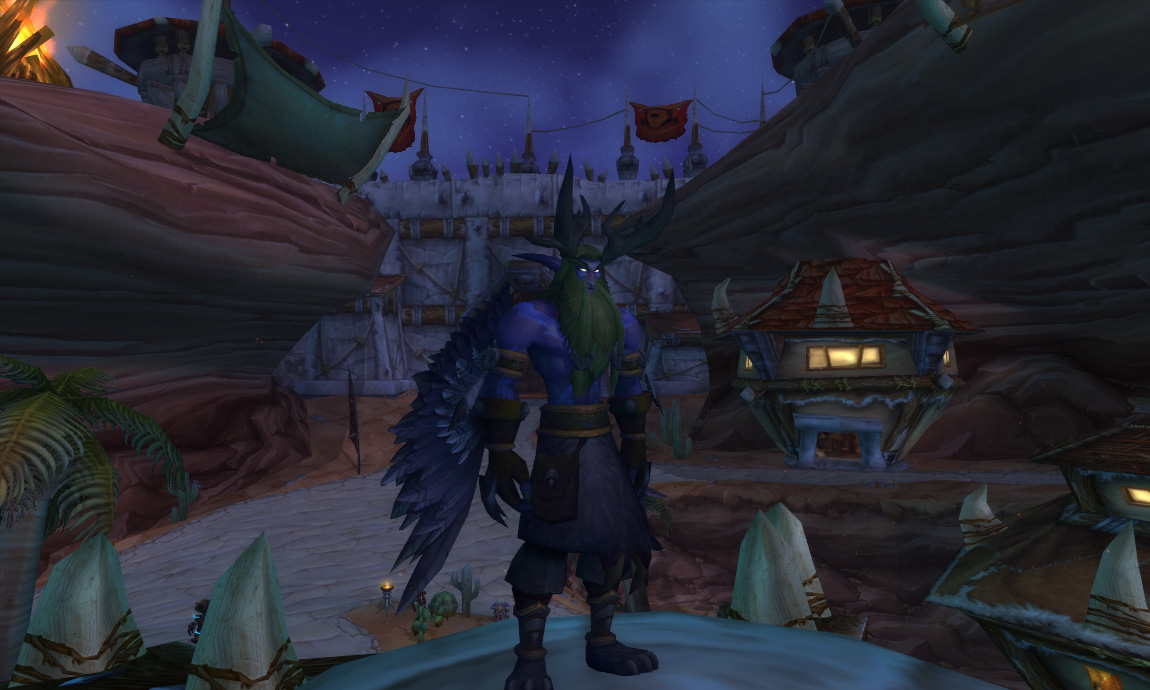
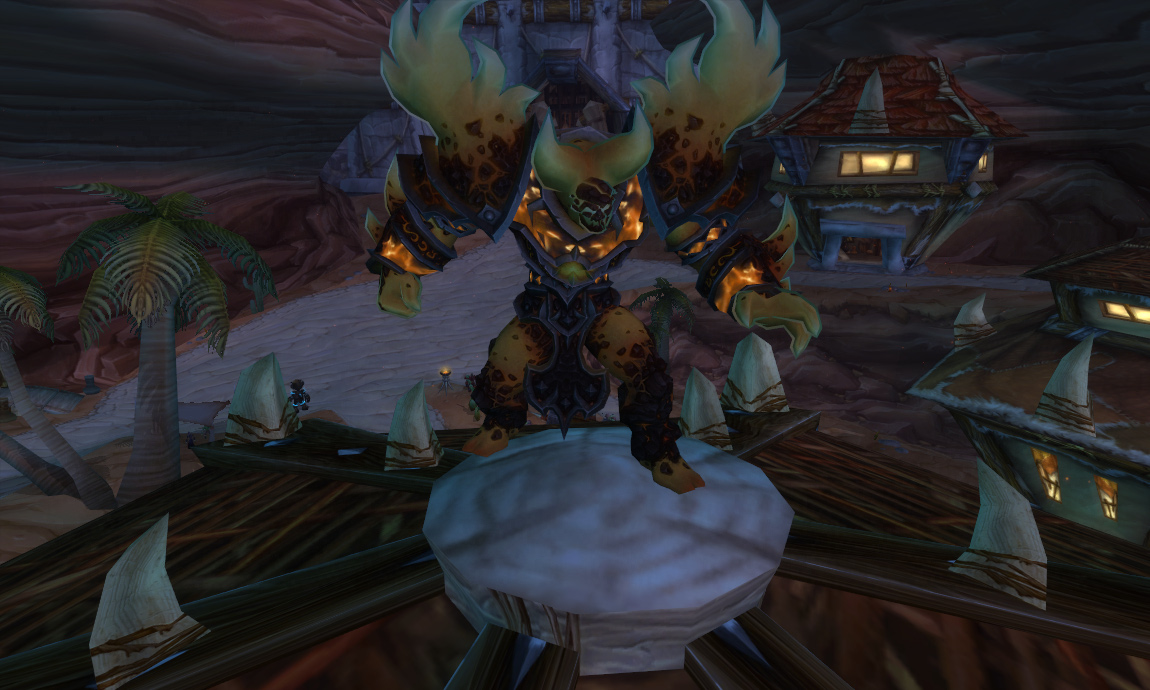
The event consists of 3 maps, two based on Tanaris and the Shimmering Flats and the third is an instance. - 27 different mounts based on Star Wars (such as land speeders, podracers, etc - 28 transformations based on Star Wars (playable morphs, such as ObiWan, Anakin, Yoda, etc). - 14 Daily quests - 52 Achievements - 11 Pets (Mini TIE fighters, Mini Yoda, for example). - 8 lightsabres.
I don't really want to go much into detail because I don't want it to seem like a publicity post. As it is more of a work/model showoff post rather than showcasing content such as custom achievements.
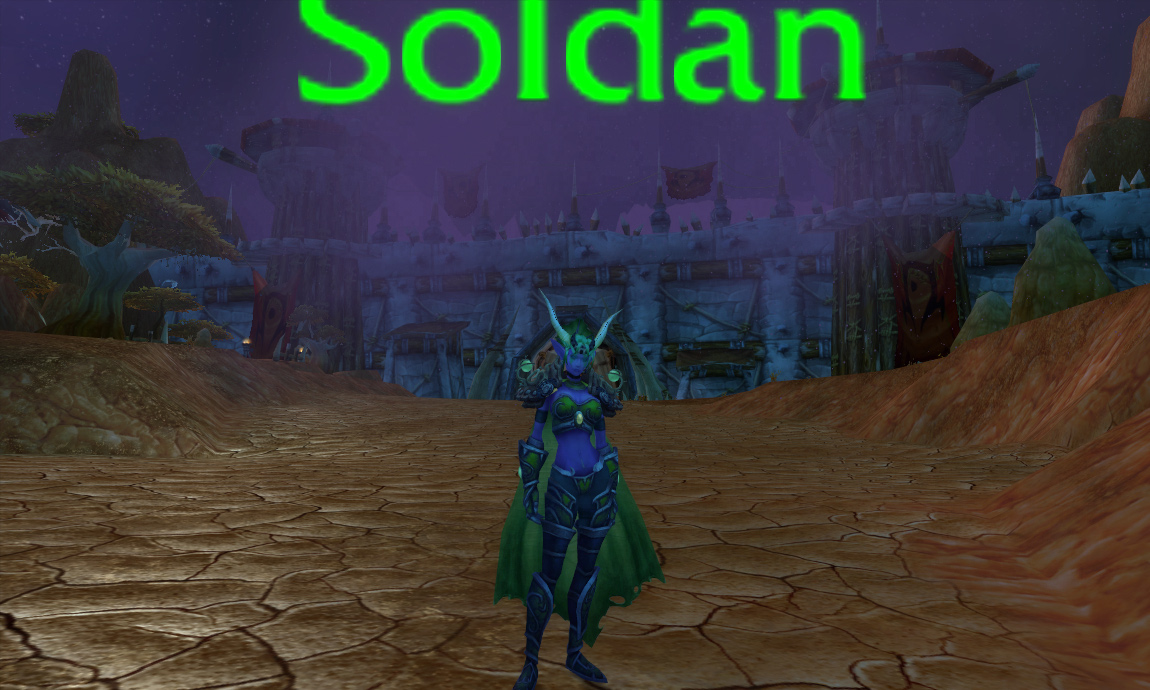
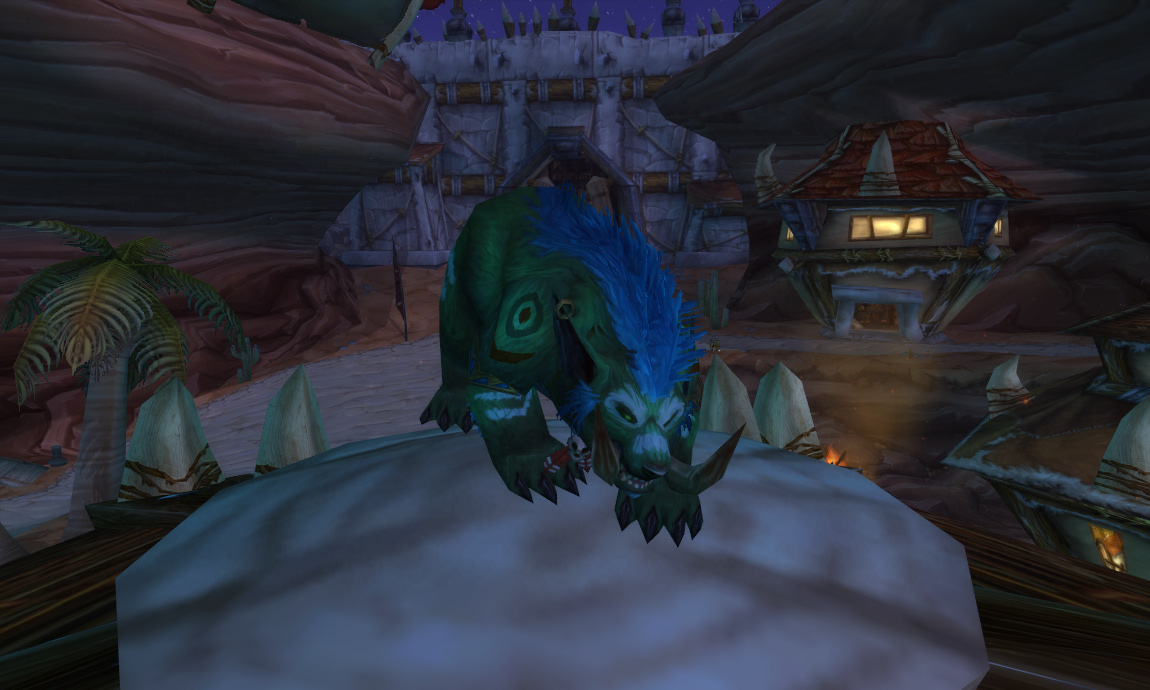
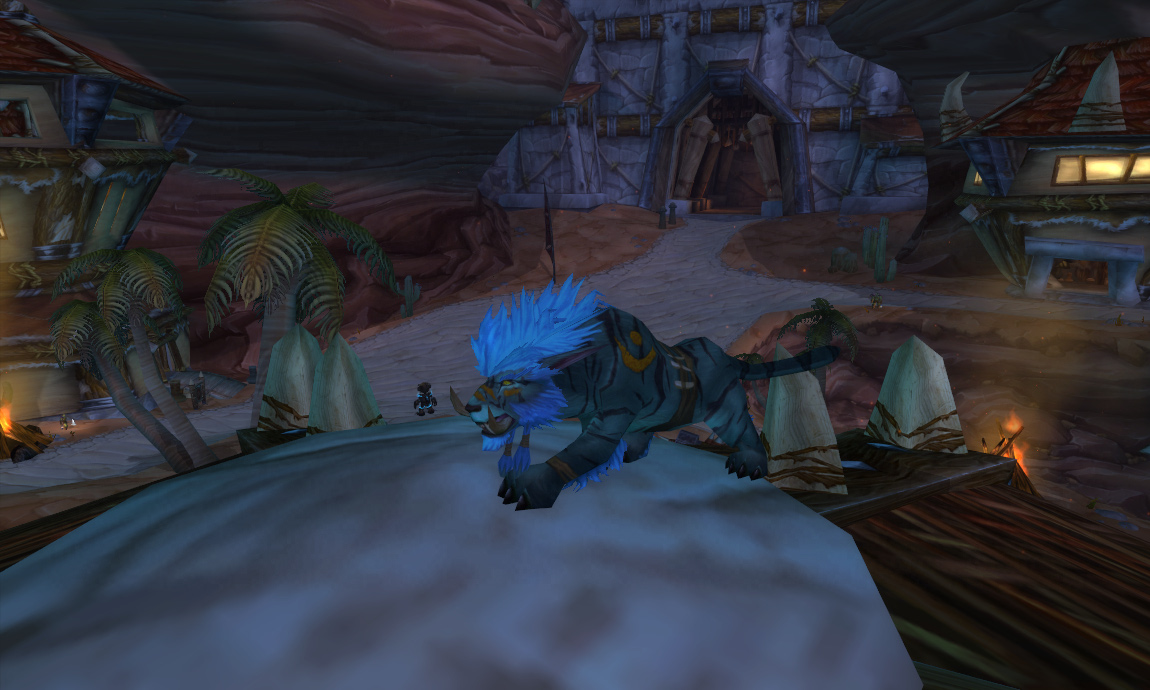
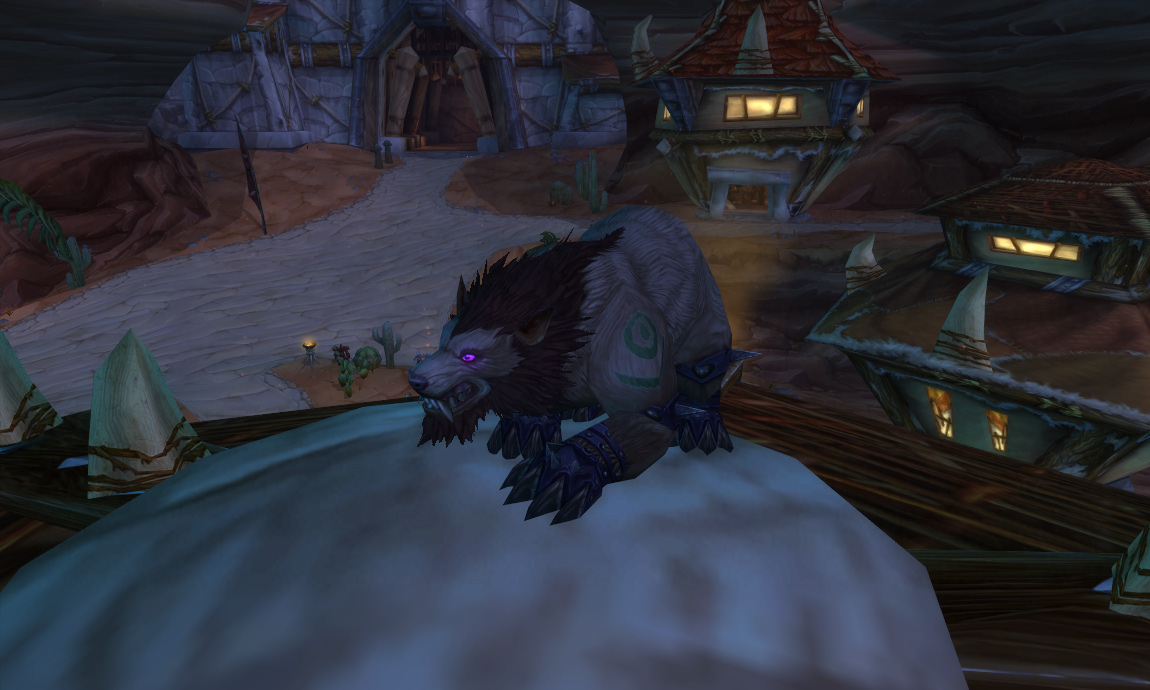
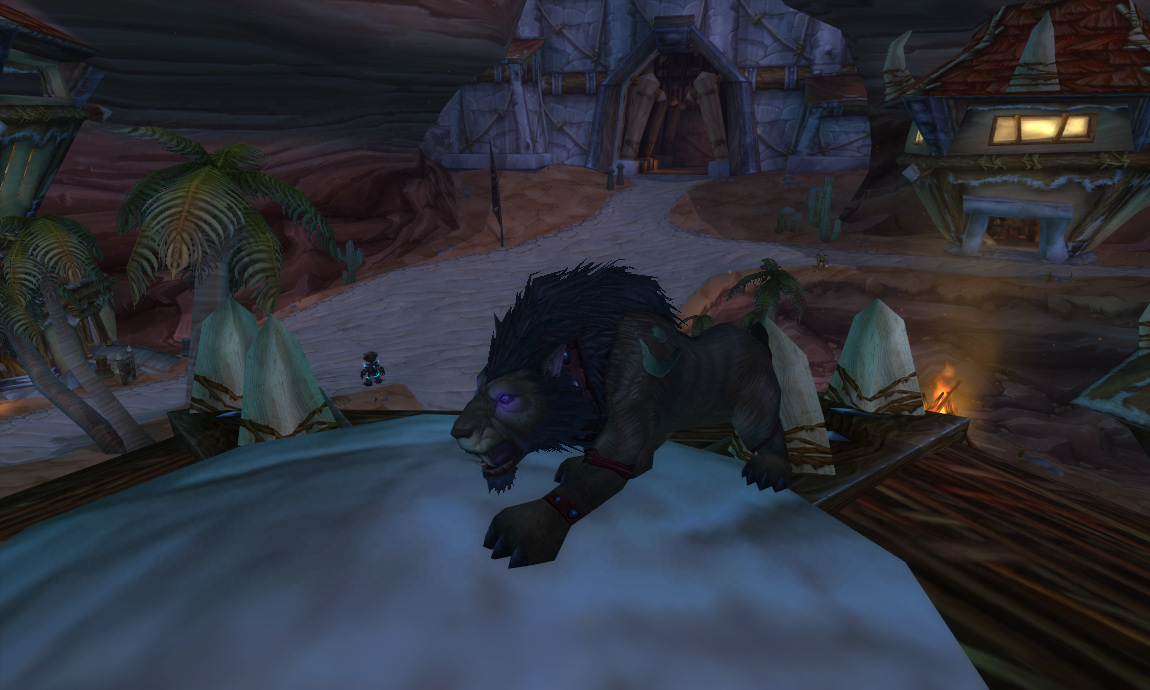
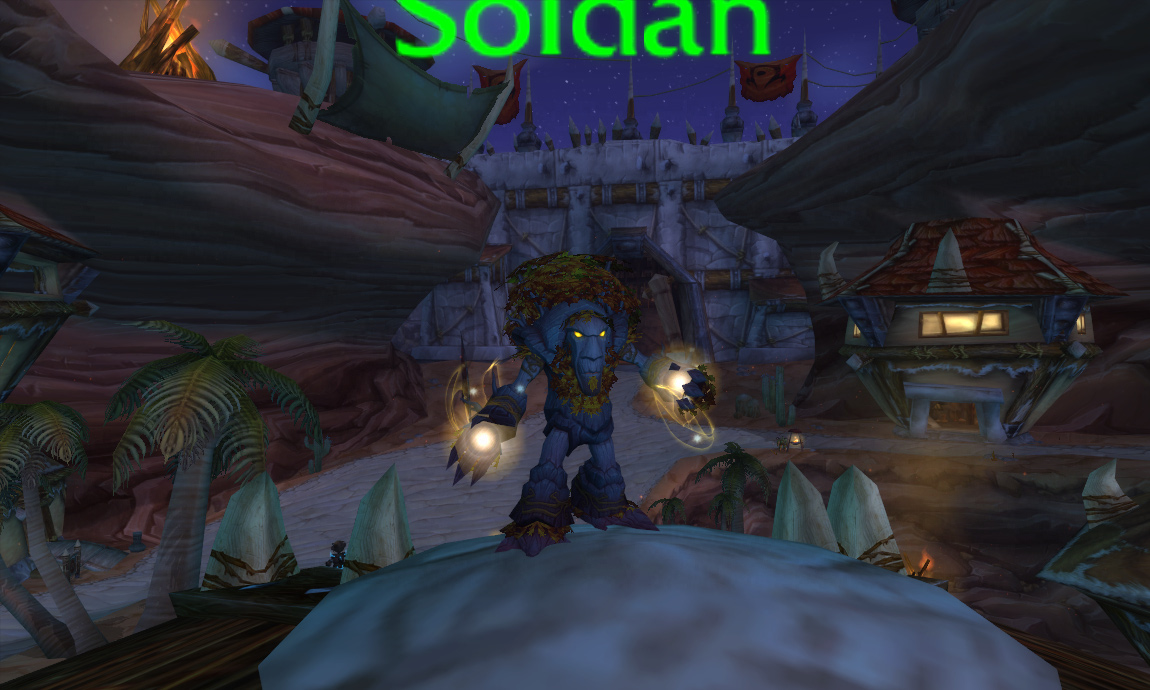
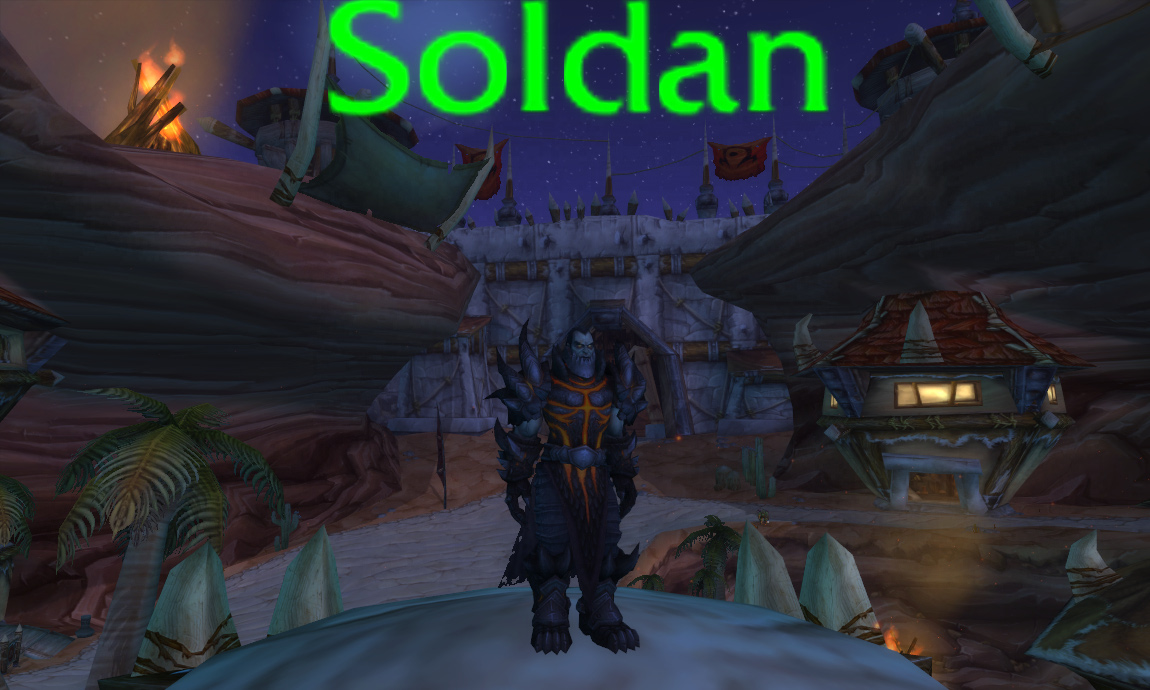
I'm going to post a few screenshots below so you guys can see some of the models, and other stuff.
(These last few photos are taken in our design map, where we stick all the NPCs we create to organize them. It was just easier for me to take the screenshots here rather than going around the map individually.)
I could sit here and put up 27 individual screenshots of mounts, and 28 screenshots of playable characters such as all the clone troopers, storm troopers and jedis, but I don't want to make the post THAT long.
What do you guys think? Are we as crazy as we think we are for doing this?
I finally managed to get around to doing another custom mount after a long break and loss of imagination and creativity. I am quite happy with the result, and I hope you are aswell!
Here it is, tell me what you think:
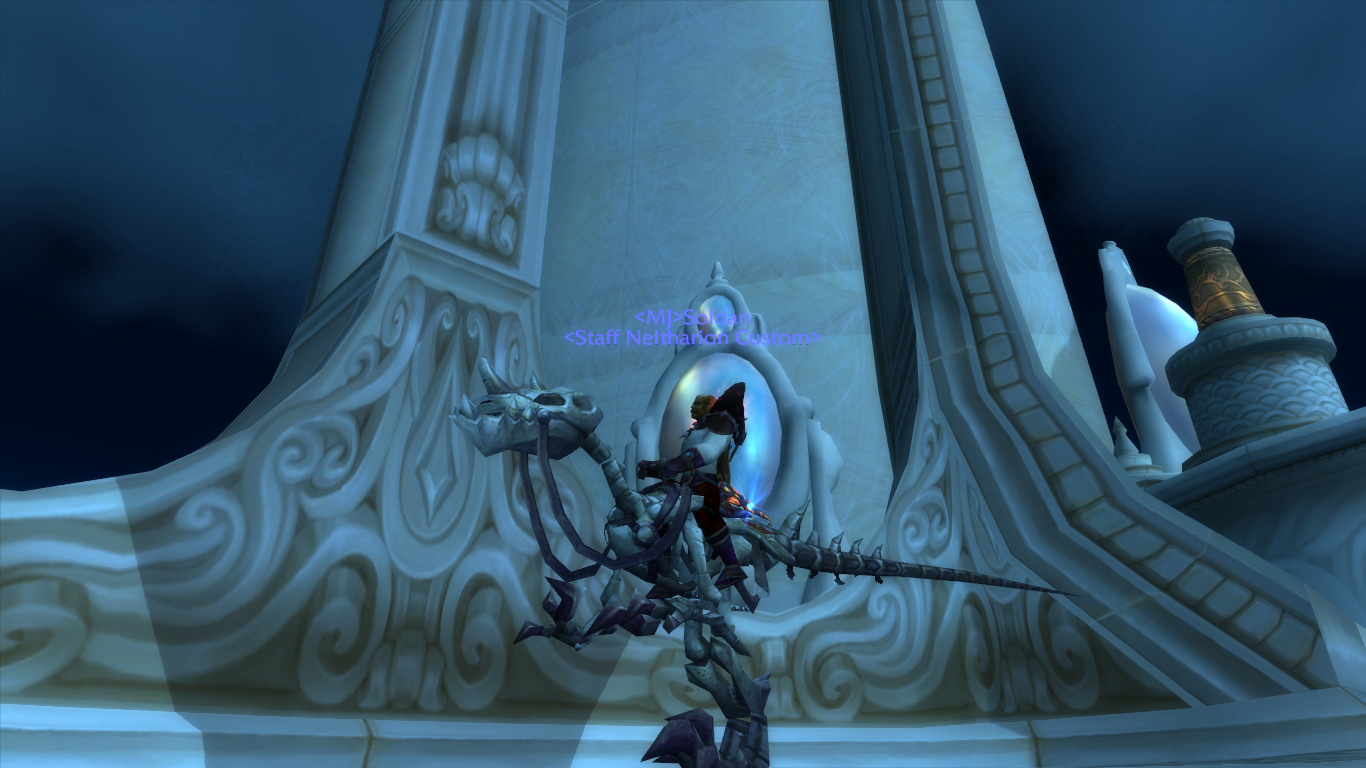
Ingame:
The model has parts from 4 different models and uses the korkron elite wolf skeleton and body. I retextured and went for a kind of blood-stained hellish look (Still looking for a name).
I decided to put my hands on deck the last day or two and finish the Ironman model so that I could release it publically, since I have no actual use for it. The model started out as a sort of "joke" or... "test", to see if I could do it. As you can see, I managed it after leaving it aside for months.
The model is a released .obj model that I downloaded and adjusted it to the human (arthas) skeleton, therefore it has all the human animations. I thought it would be ideal to add an armor reflect, so I did just that.
Not only is it a low-poly model (which I didn't do), it isn't perfect either. I do not plan on touching this model ever again, so please don't spam the thread if you happen to find a mistake. If you want to use it as a playable model, or a morph, etc, and you want weapons to be visibly correct, you will have to move the weapon attachment coordinates - it's easy enough to do.
Feel free to use the model, do what you want with it... you can even use it as a blow-up doll if you want , just don't use the arc-reactor for pleasure, as it will fry your dick off (I am not responsible for any phallic injuries), but any other hole should be just fine.
I hope you all enjoy the model, that you all take into account that I started out the idea as a joke/test, and don't flame with things such as "it doesn't suit WoW", because I know it doesn't.. that's the whole point .
I know I've posted screens of this mount before, but I thought that I should upload a video of it, since I added armor reflect and did a few texture changes...
I'm posting this thread to let you guys see some of my creations. All the models you see here have been made in blender with m2mod3/4, using 3.3.5 or Cataclysm/MoP blizzard models as a base, and a bit of imagination.
So, here you go! I'll put them in order of creation. BTW.. It's gonna be a big post.
Halloween Mount: (Halloween version of an already existing mount on our server //babyhawkstrider.m2//)
Christmas Mount: Christmas version of an already existing mount on our server //babyhawkstrider.m2//)
Christmas Murloc Costume:
Christmas Dog Mount:
War Raptor Mount:
Evil-Ass Wyvern (Not Finished):
Aero-Glider:
Server Logo: (//No promotional purpose intended//):
Ironman (YES..Ironman // Works with human animations - Still needs a bit of work):
As I have mentioned a few times in the Shoutbox, I was going to start porting models and releasing some of them for all you of to use freely.
Summer has come, and I have some free time, so I thought that It would be a perfect time to start, don't you think?
I want to clarify that I will only release the models, and a screenshot proving that said model works ingame(3.3.5). I won't upload the needed DBCs to get them to work. That part, you will have to do yourself because some servers might have the same model ID that I've used in my dbcs, etc.
I will keep updating this post with newer models and screenshots, the newer models will be at the top of the post. I would finally like to add that I am accepting some "orders". Reply in a post, tell me the model you would like, and If I find some spare time, I'll upload it for you!
Without keeping you reading anymore, I present to you; ----------- Models below this line were released: 13 July -------------
Hey guys, recently I've been getting into Blender, and I'm quite proud of myself so far after only a few days of trying ^_^
Now, I'm seeking a bit of help, or guidance, shall we say. To start off, I've manged to do a few things with models recently;
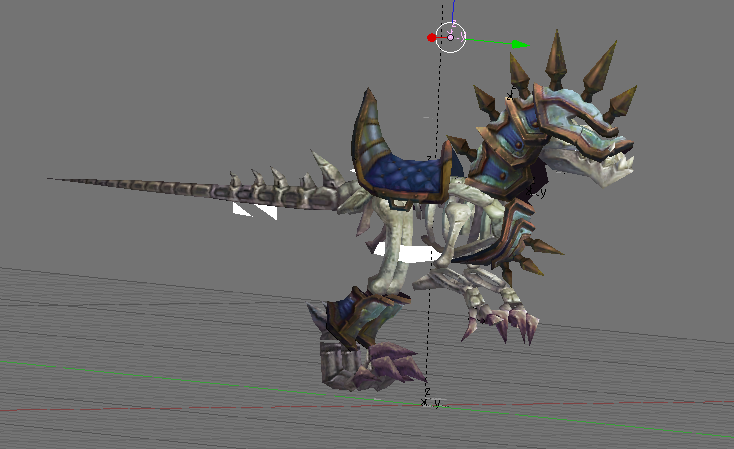
I've managed to port from cata to wotlk without any problems, and now what I'm doing is modding the cata models, such as taking the Skeletal Raptor and adding the PVP Horse's armor... So yeah, no problems getting them both into blender, joining them up, UV mapping, and so on. The only problem is converting back to .m2.
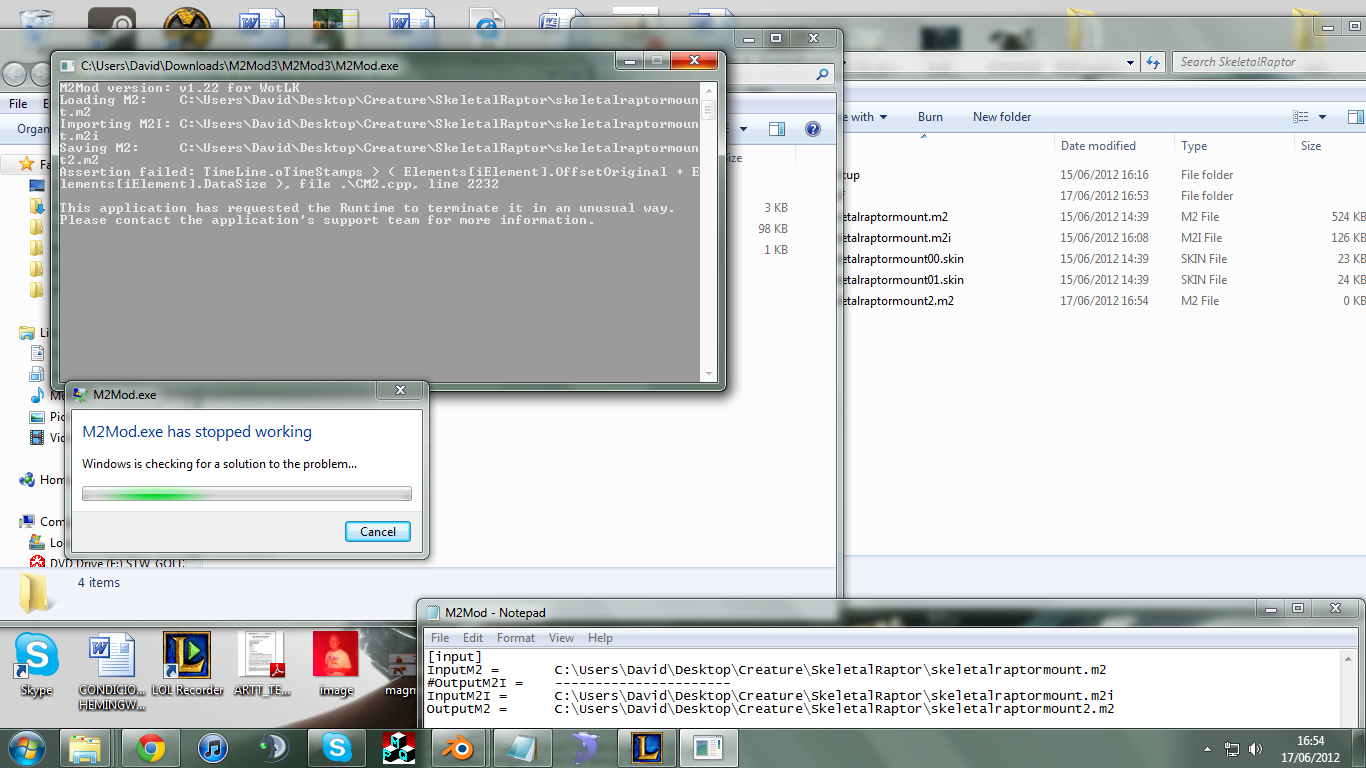
2. I also ported the War Horse from Cata to Wotlk without any obstacles. 3. I converted the Skeletal Raptor and the WarHorse to .m2i via M2Mod3. 4. I imported the warhorse .m2i, deleted all the unnecessary submeshes, and objects, such as the plain horse model, cameras, and armatureroot. So basically, I was left with the armor from the warhorse. 5. I saved the armor as a .blend, just incase. 6. I imported the skeletal raptor and didn't touch it (I didn't want to move it, or mess up the armatureroots, etc). I carefully worked on the armor away from the raptor model. (When I say worked on, I mean deleted some unnecessary vertices, etc). Basically I took the parts of the armor that would "look alright" with the raptor. 7. I then adjusted the pieces of armor(seperate objects) to the raptor. I had to rezise the neck+head armor, the seat, and especially the shin-guards. After it was all in place, I joined all the armor backtogether as a single submesh. 8. I UV-Wraped the model, added the material, texture set as image, and opened the png image (2 of them, 1 for the raptor base skin and the other for the armor) and as you can see in the photo, once set to "texture view", it looks quite alright. 9. Now comes the "hard?" part. The time to export it to .m2i and convert back to .m2 10. What I did, as I thought was correct (obviously not) was to add the "Par:ArmatureRoot" to the armor submesh, in other words, setting it the same as the base raptor model. 11. I thought everything was going as it should, so I selected all (A) and exported to .m2i. The model exported without any problems. 12. The file size was 126kb, which I thought was a little weird, but oh well. 13. Just to test, I imported the "just" exported .m2i to check how it was. After importing, I saw the raptor model, and the armor (still adjusted in the right places for the raptor), but as if it was "-n Z", where "n" being any number, because I don't know the number reference in Blender. But anyway, to sum it up, the armor was directly below the model.This, I thought was strange, so I thought I'd have to set the bone to the same bone as the raptor model, or set a fixed Z coordinate. I set the bone to 32, as the Raptor Model is set at. Re-exported, and the same problem. 14. I then thought, buah, why not try convert to M2 to see if it works anyway? So, I did. After re-editing the m2mod3 config, I ran the program and it crashed with this error:
I've just opened my server, as a realm in an already existing community with a good number of players. So, since there are about 500-600 players, we decided to have each realm on a different dedicated server.
I thought it would of been easy, like, in one dedicated server have one realm, with auth and worldserver, and in the other have it only with worldserver, and use the logindatabase from the first dedicated, and in their auth database, have our realm, with our servers IP.
It works, yes. But the server crashes every little while, and we are about 95% sure it's cause it closes the connection, and crashes the server.
What my question is, is am I doing it wrong? Is there another way to do it?
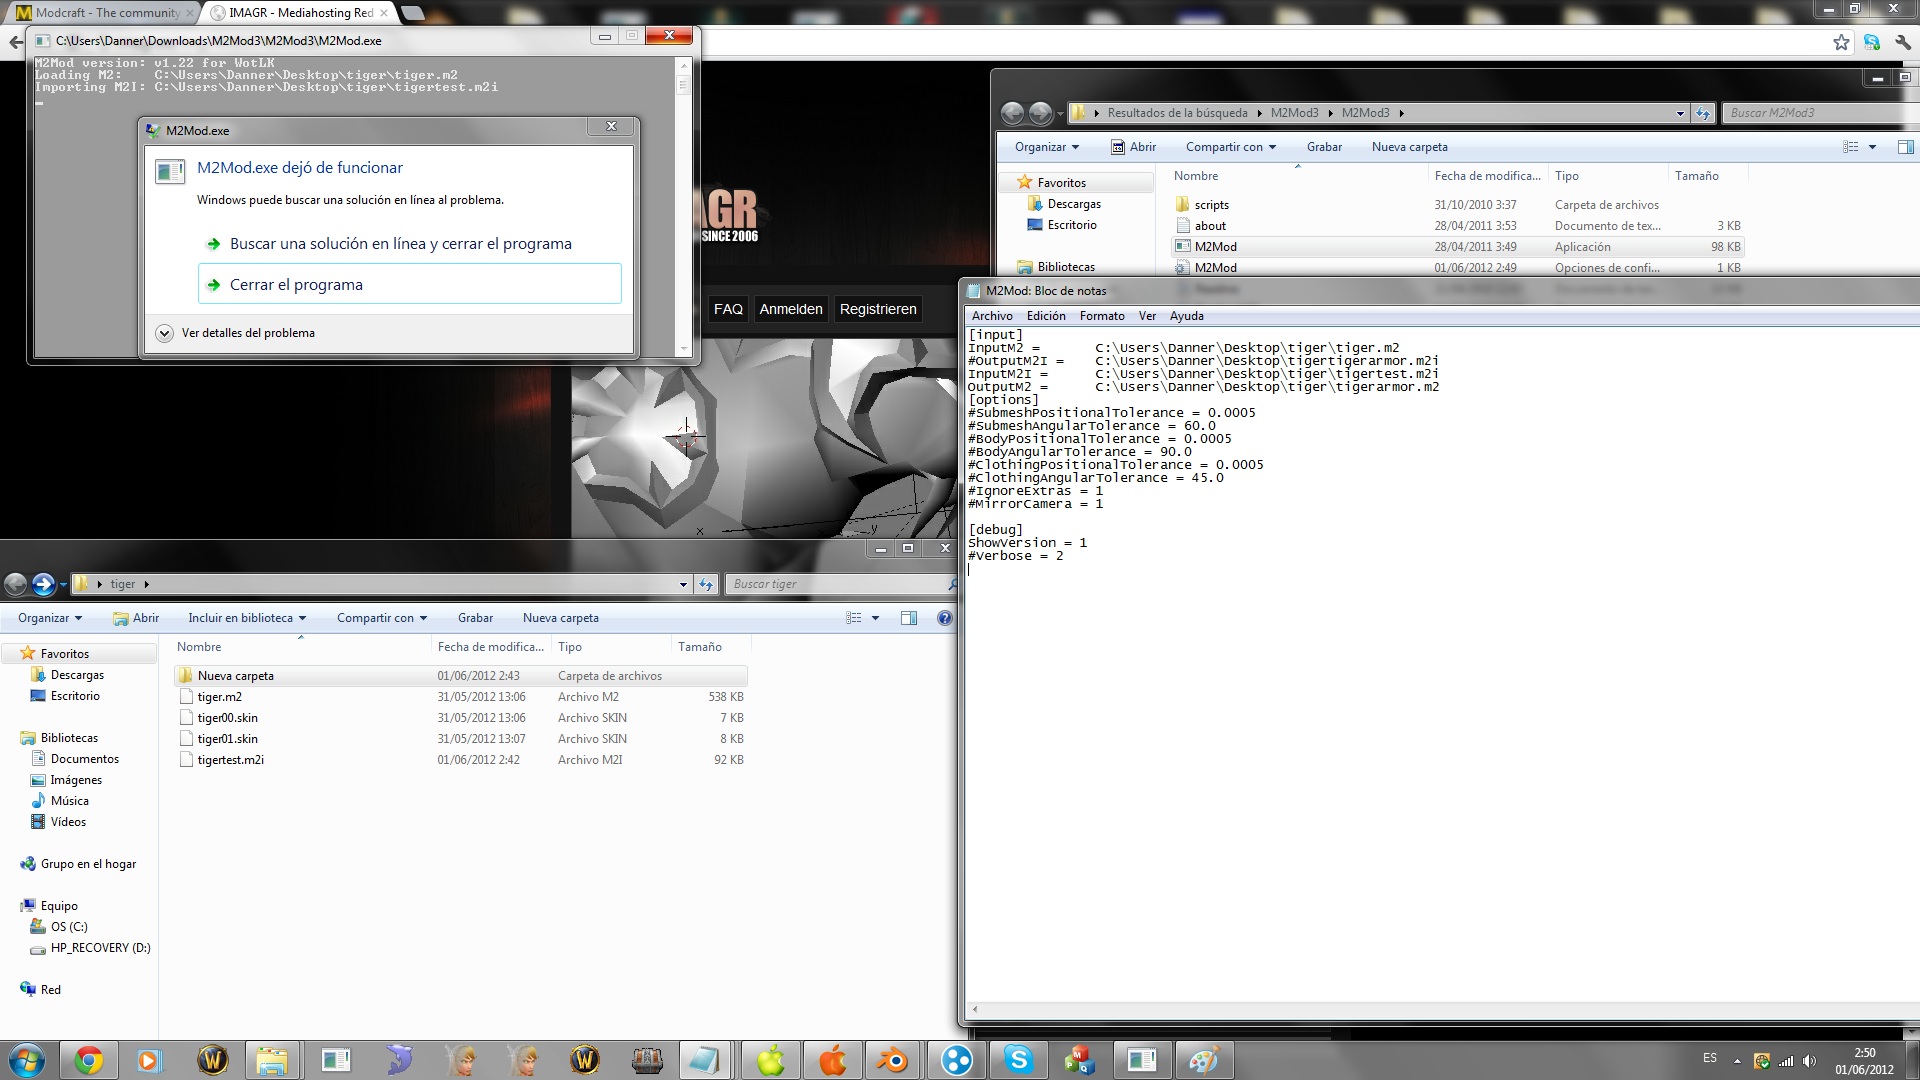
After adjusting, I joined the submeshes into 1, and set the tiger+armor(1 object now) to bone 32 (the previous bone the tiger was set to), and selected all (A), and tried to export to .m2i.
This worked, if I import the .m2i to blender, it shows up fine.
The problem is when I try to convert the newly made .m2i back to ..m2, it gives an error :S
I had the idea of making a zone that you can only enter via a Portal if you have a certain item in your inventory.
I know it's possible, I'm just not sure if it's a column in the map.dbc file..
I have my custom map (5010) called the Abyssal Isle, and it's part of a Quest Chain... I know ithere are easier ways of doing it, like, only being able to be teleported after competing a quest (Having the teleport in a quest chain, ofc).
But what I really want is to make it quite profesional, and have it so that you can only enter that map with said item...
If anyone has any knowledge on the subject, and decides to share it... I will love you forever <3
Hey guys, this is my first tutorial posted on Modcraft, and in said tutorial, I am going to show you how to make a Custom WorldMap "BlizzStyle".
First off, I would like to give thanks to Steff for releasing the MapTemplate.psd that let me make my maps, and also make this tutorial.
Ok, I will advise, that this is going to be a well detailed tutorial, so even those that have no idea of photoshop will be able to make said map. It includes around 13 photos.
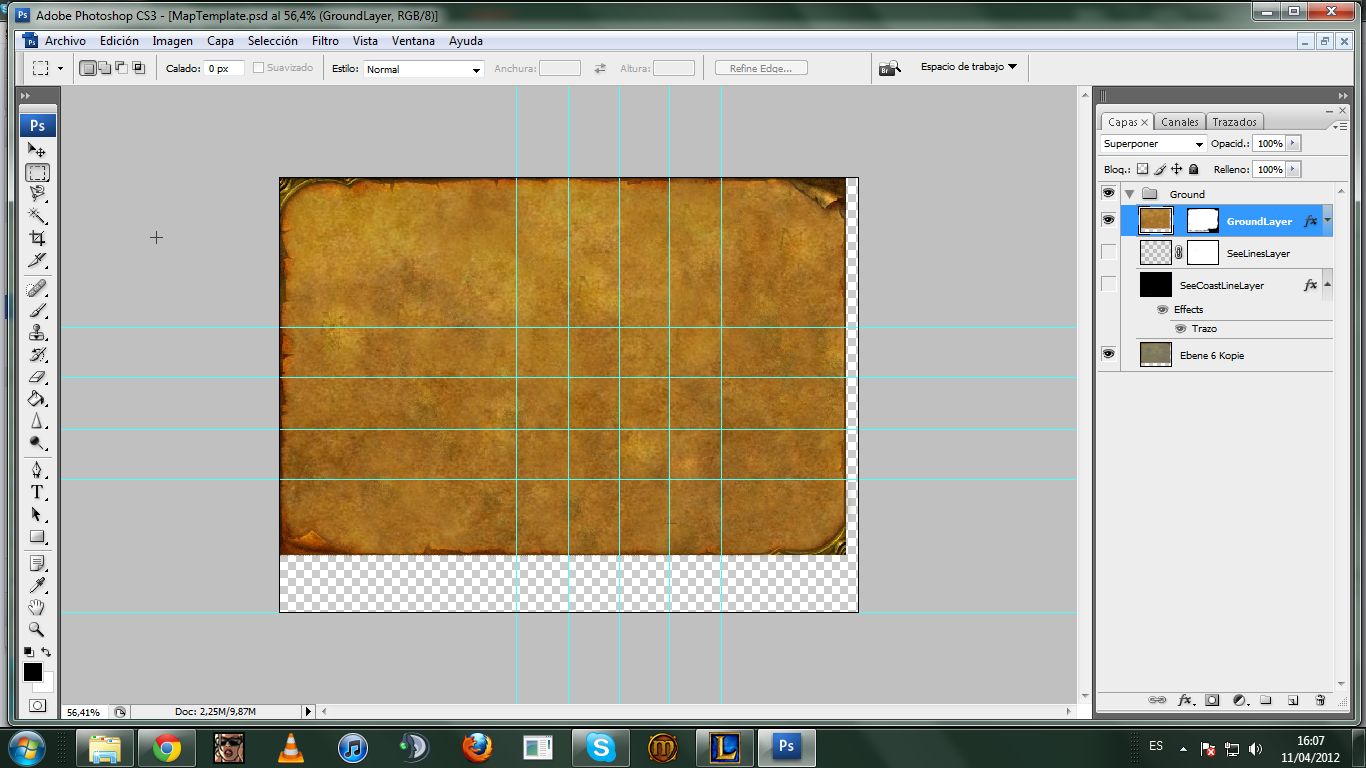
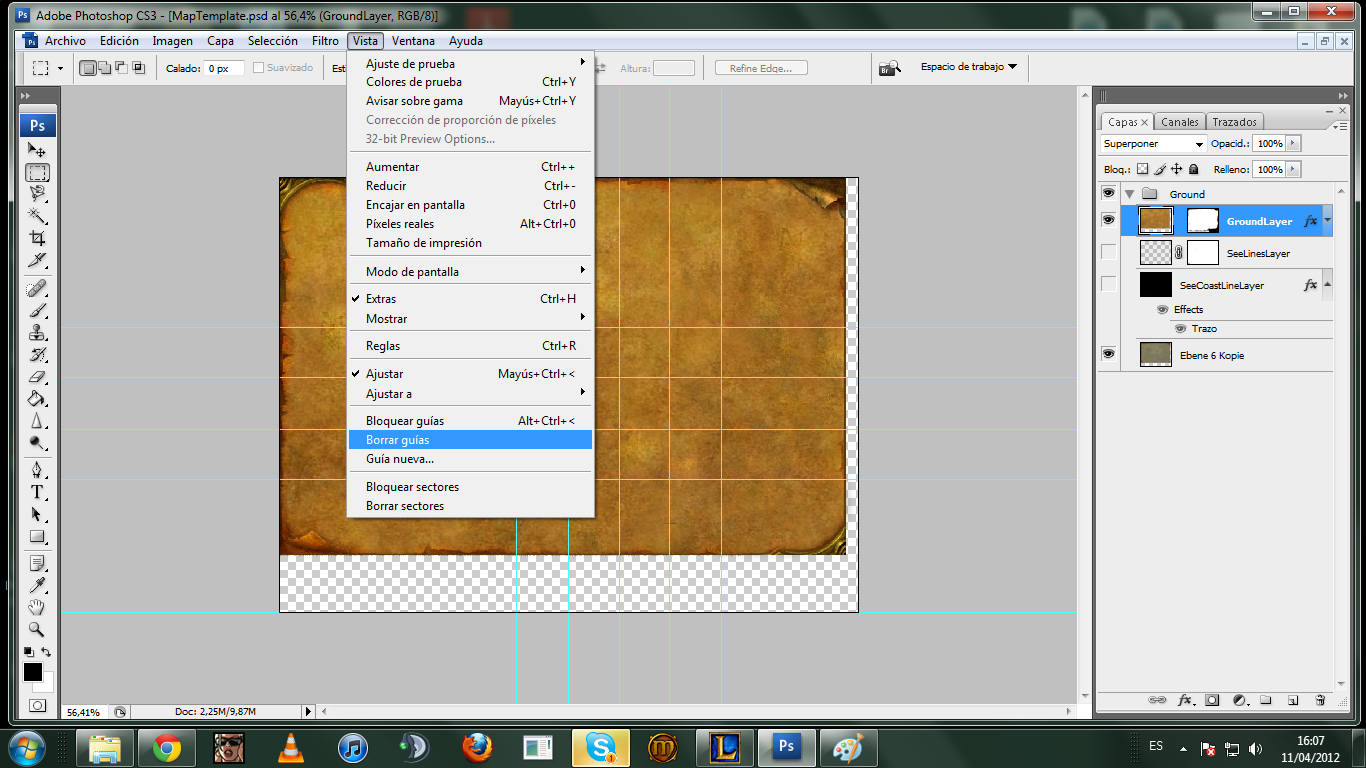
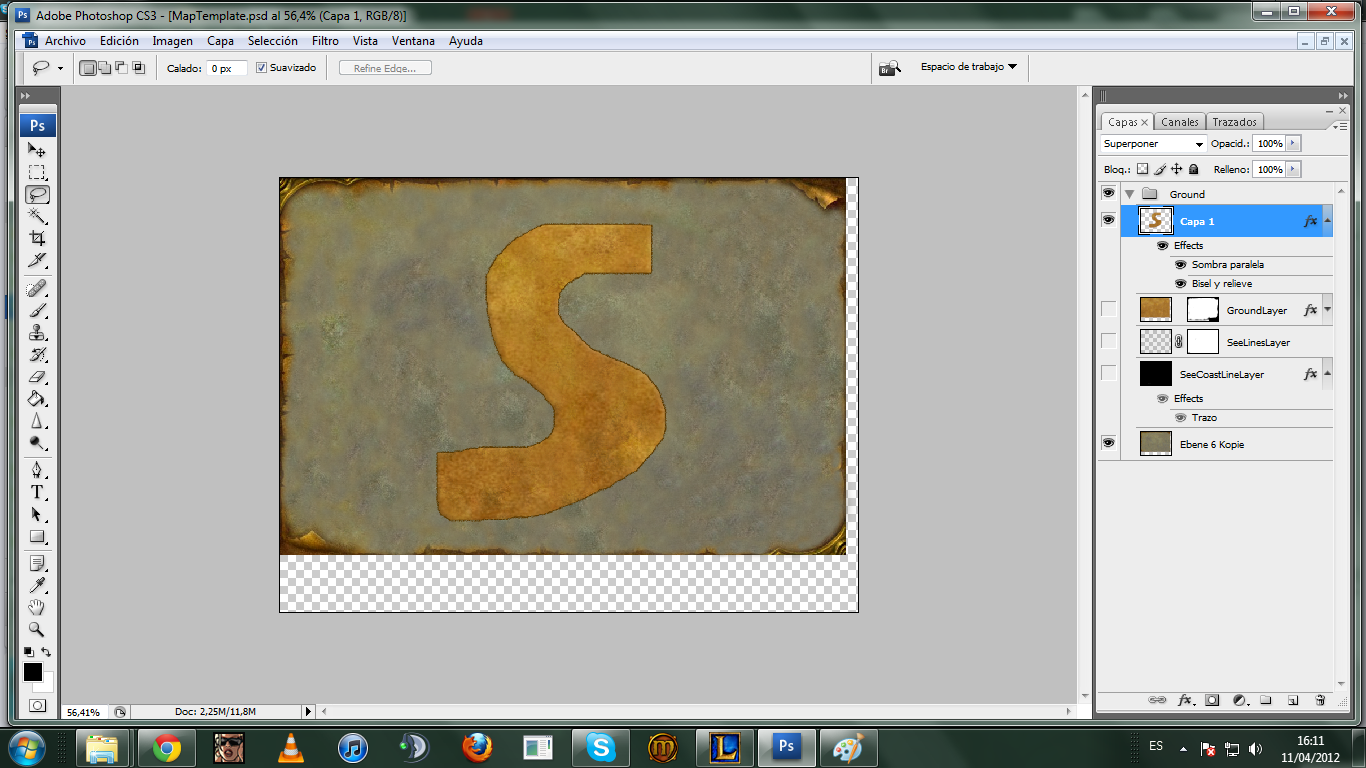
You will see the blank map, and a few guide lines ontop. [External Link: http://imagr.eu/up/4f85b07bad9505_1.png] What we want to do, is delete the guidelines, so they don't interfere while designing our map. Follow the screenshot; (My photoshop is in spanish, so where you see "Vista", it's "View" and "Borrar Guias" is "Delete Guidelines") [External Link: http://imagr.eu/up/4f85b07bc15c67_2.png]
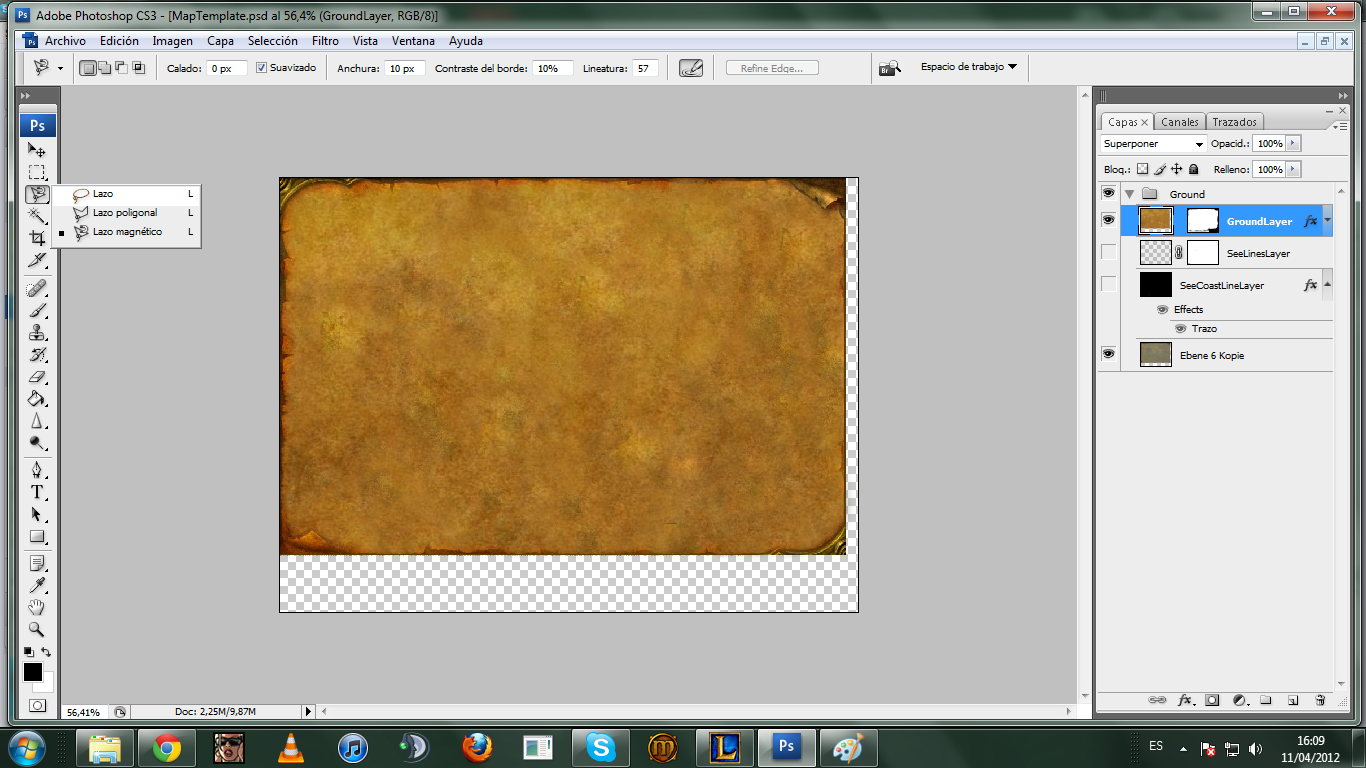
Step 3:
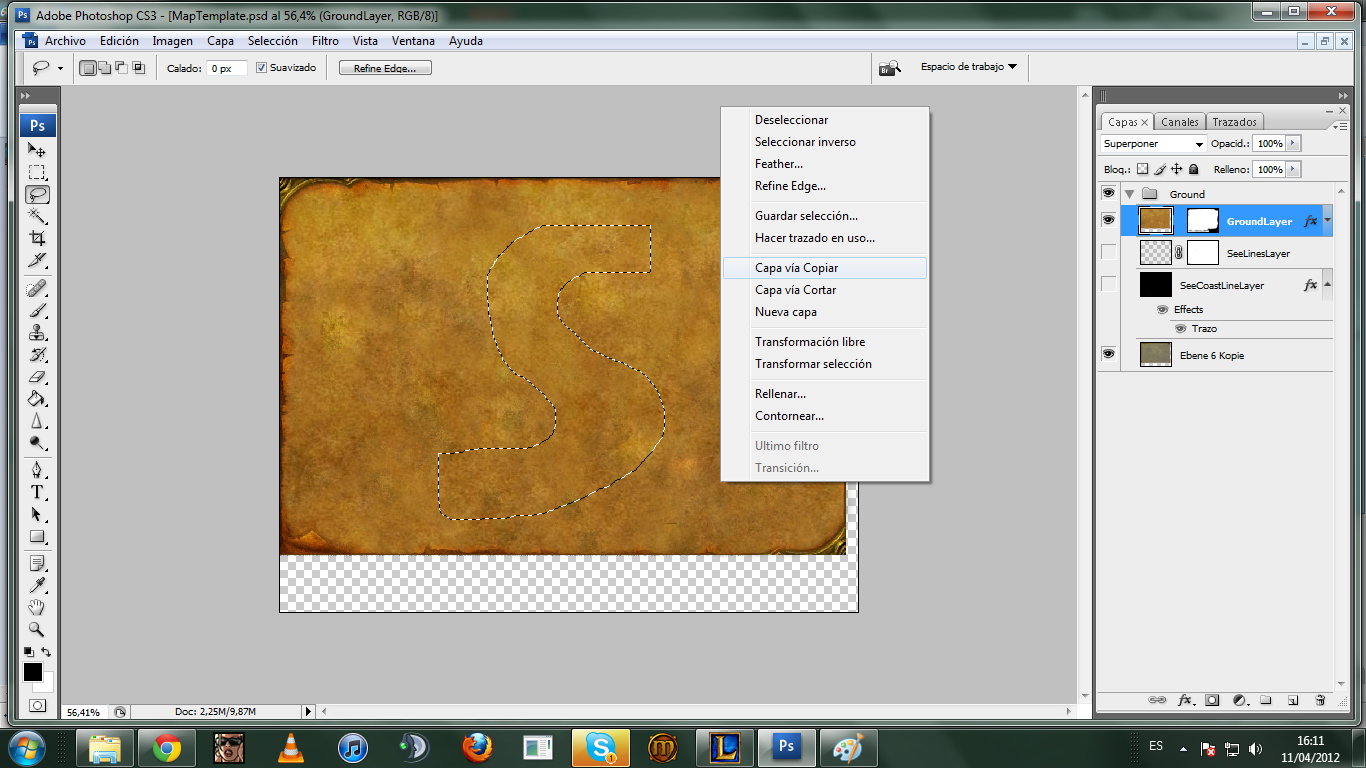
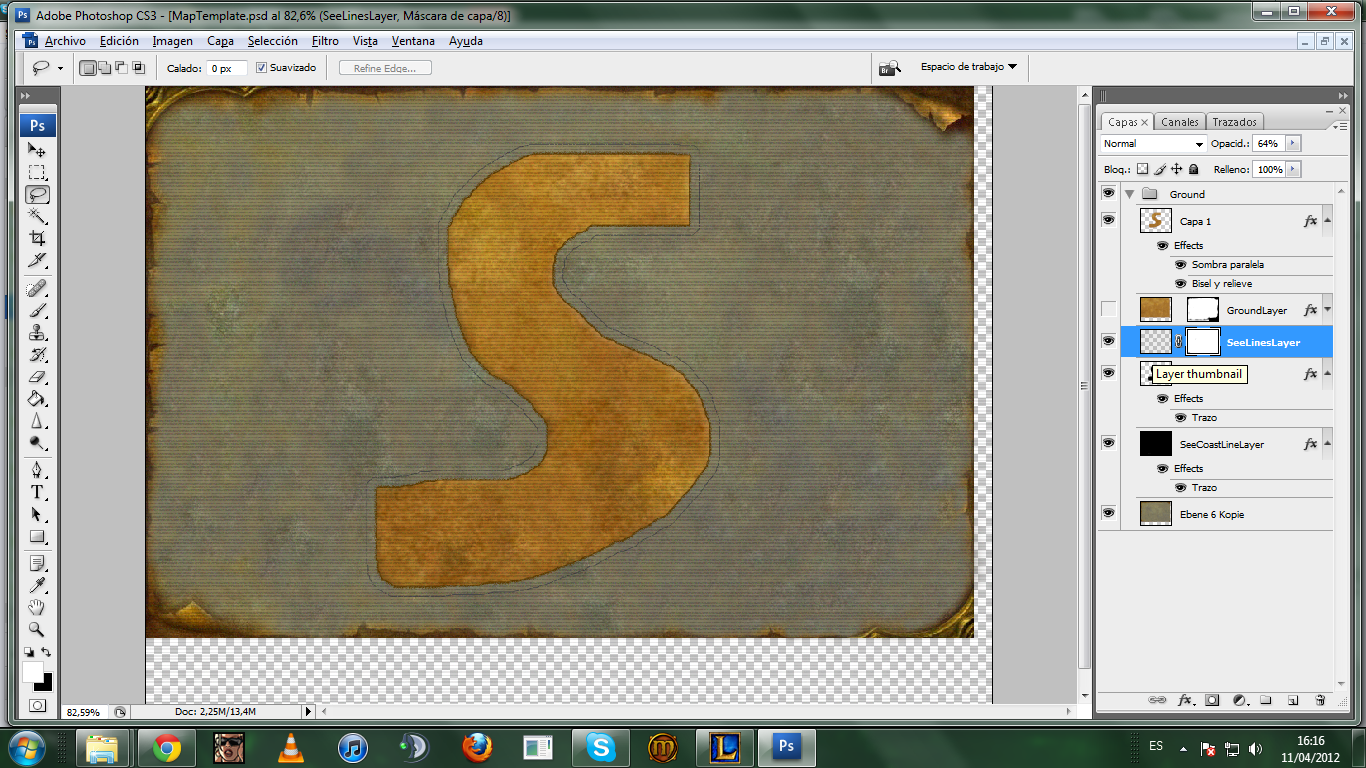
What you have to do now, is select the "Lasso Selection Tool", the third on the tool bar. [External Link: http://imagr.eu/up/4f85b19d393317_3.png] And then you want to draw out your map. I decided to draw an S for tutorial purposes. You will have to draw the land you made via noggit. Once you have the land selected, you have to right click, and choose "Copy via Layer" and then, to see your cut out land, you will have to toggle the "Visible" option off on the layer.
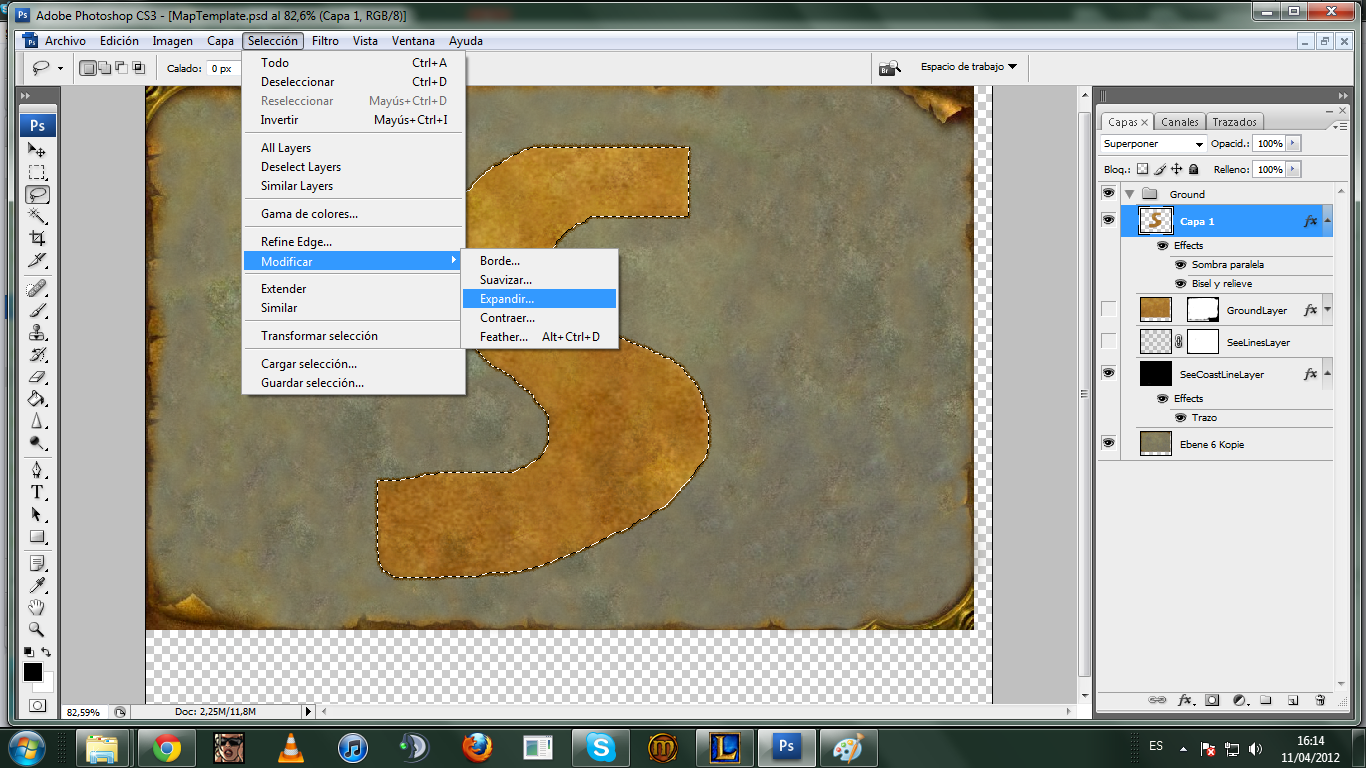
Now, what you have to do is make the coastline, so we have to select the pixels of the island that you just made by rightclicking the thumbnail photo of the layer on your right.
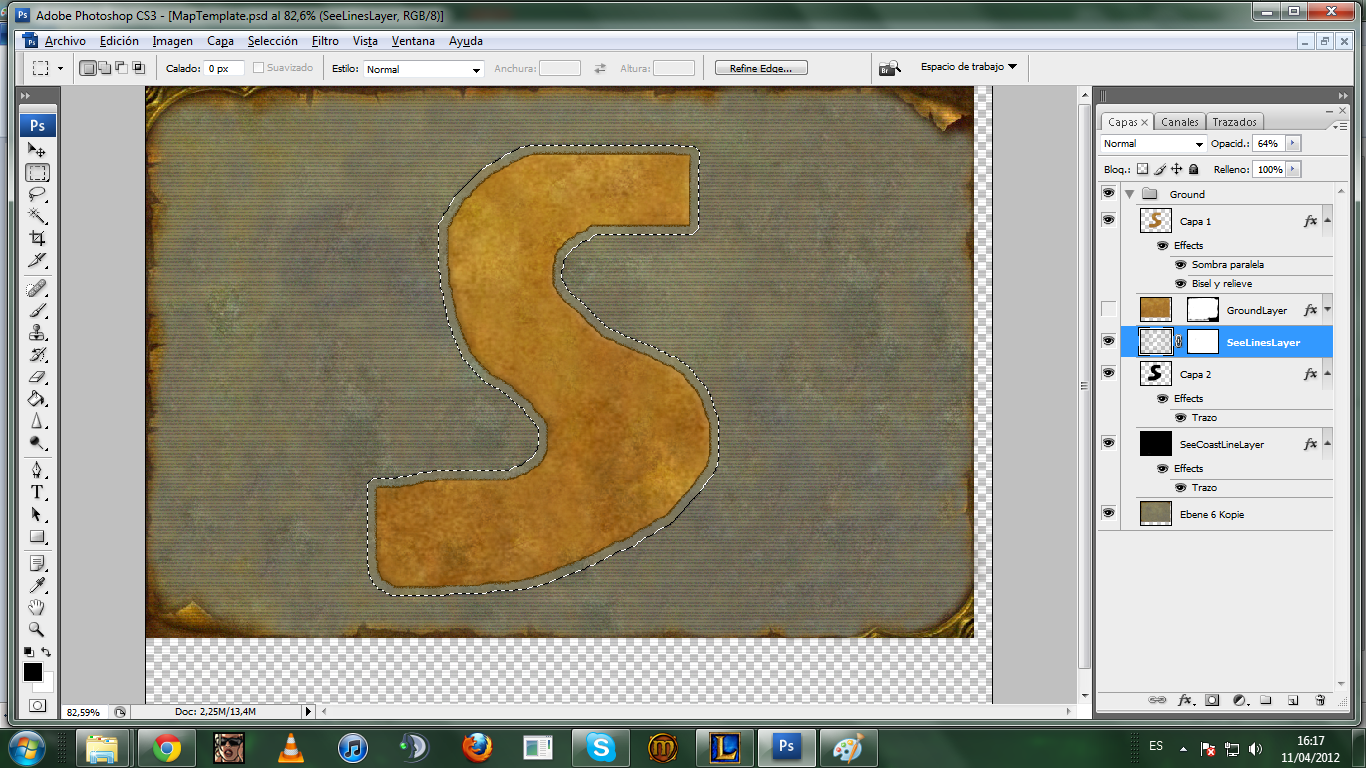
[External Link: http://imagr.eu/up/4f85b51b53cb98_6.png] Once selected, you have to go to Select, Modify, Expand, and expand the selection 12 pixels ( You can play with this number, either make it bigger, or smaller).
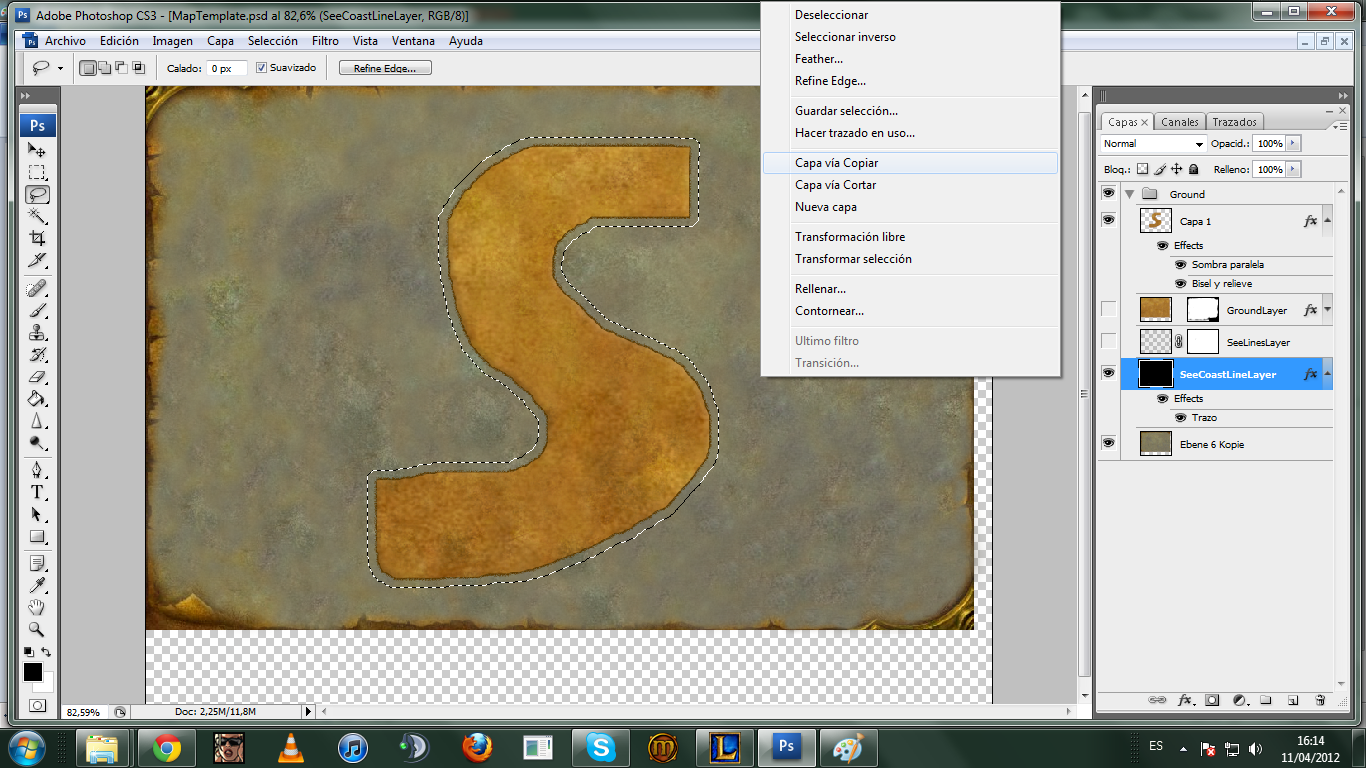
[External Link: http://imagr.eu/up/4f85b51b679406_7.png] After you have the expanded selection, you MUST select the "SeeCoastLineLayer" below (The Black thumbnail). Once selected, right click your island, and once again "Copy via Layer".
[External Link: http://imagr.eu/up/4f85b51b7f4017_8.png] If you have done everything correctly up to now, you will be left with your island, and a black line that you can barely see at the same distance you expanded from the island (12px).
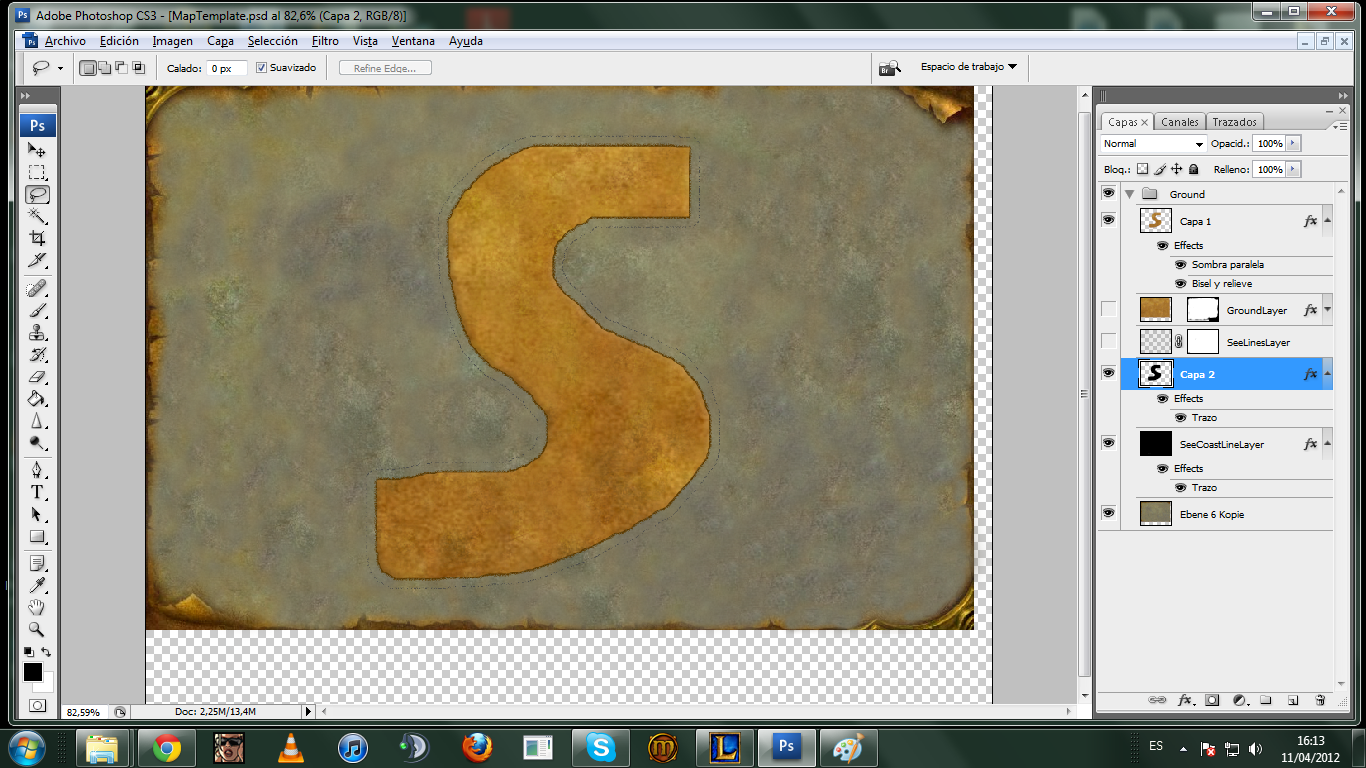
[External Link: http://imagr.eu/up/4f85b6ce818ae0_9.png] Now, since you can barely see that black line, I (PERSONALLY) prefer to put the opacity up a little bit on the stroke, in other words, the effect that is on the layer, in spanish called "Trazo". You can double click it to get the options window open. Then you can drag the bar to the opacity you feel like.
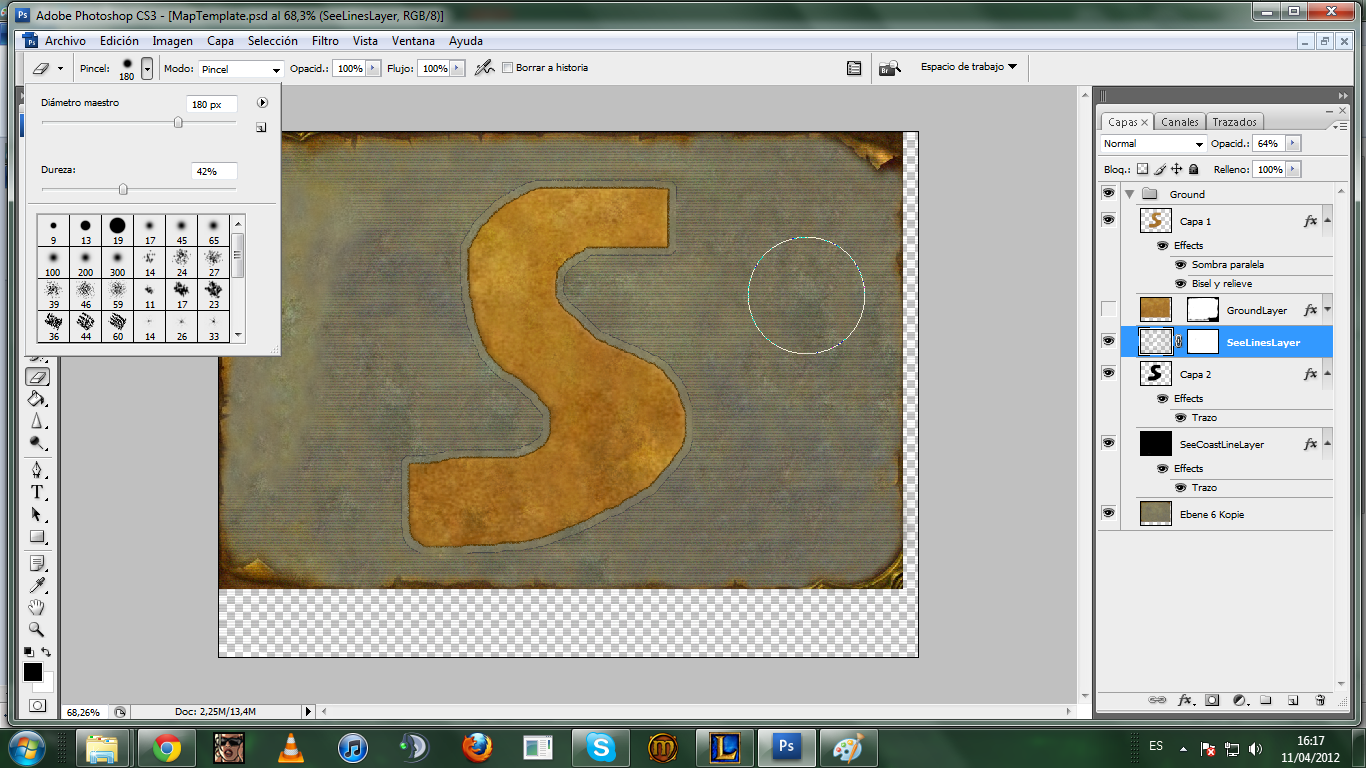
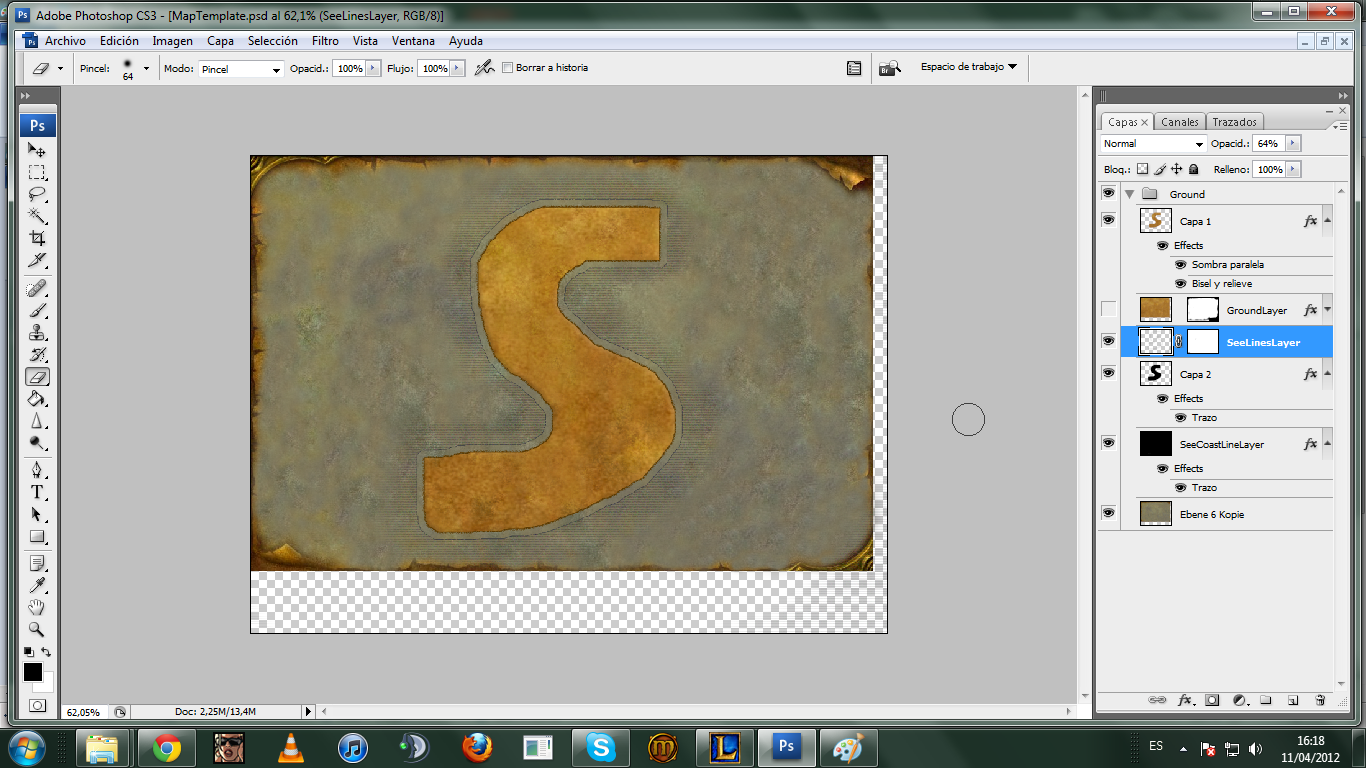
[External Link: http://imagr.eu/up/4f85b6cec989e1_12.png] Then, *IMPORTANT* go BACK to the "SeeLinesLayer" and make sure you are clicking this layer, and then press delete. This will clear the water of lines between your expanded selection and the island.
Now, on this last step you have to rub out the rest of the "SeeLinesLayer" with the rubber. But remember, to leave a decent amount of lines around your coastline, so it looks "blizzlike" ^^.
I have started getting into the whole blender, m2mod3, m2mod4 thing, and I want to successfully export a Cataclysm .m2 to 3.3.5. (I know it's possible, I have proof). So, basically, I followed my instinct, which... as expected... didn't work.
I'll tell you what I did, I got the "TyraelMount.m2" from the cataclysm game files, export it along with it's .skin and .blps. I then used M2mod4 to convert the Cataclysm .m2, to TyraelMount.m2i.
Ok, now I have the mount in blender (Using the m2mod4 import script). So, I did something that I read on here that doresain said, which was:
- Save the .m2i as a .blend. Change your blender scripts from the m2mod4 to the m2mod3 import/export.ones. - Then I closed blender, reopened the tyraelmount.blend, and exported to .m2i (I was guessing this was ok up to here.. This way I thought I had a m2mod3 generated .m2i).
Then, my instinct was to use M2Mod3 to take the Tyraelmount.m2i (made with the m2mod3 scripts) and convert it to a wotlk .m2.
Up to here, I thought it was ok, and that I was on the right path.. Until I tried the M2mod3:
InputM2 = C:UsersSoldanDesktopTyraelMountcataTyraelMount.m2 #OutputM2I =..... InputM2I =C:UsersSoldanDesktopTyraelMountWotlktyraelmount.m2i OutputM2 =C:UsersSoldanDesktopTyraelMountWotlktyraelmount.m2 As you can see here, this would solve the problem above, it's the M2Mod4, so it can read Cata .m2 file.
And as you can probably deduce from the .ini, it uses the Cata .m2 as input, uses the M2Mod3 Generated .M2i as input, and tries to output a .m2 (I don't know if this would export a Cata .m2 or a Wotlk .m2).
Sorry to bother you all, I was just wondering if one of you could perhaps be a little bit of a help to me.
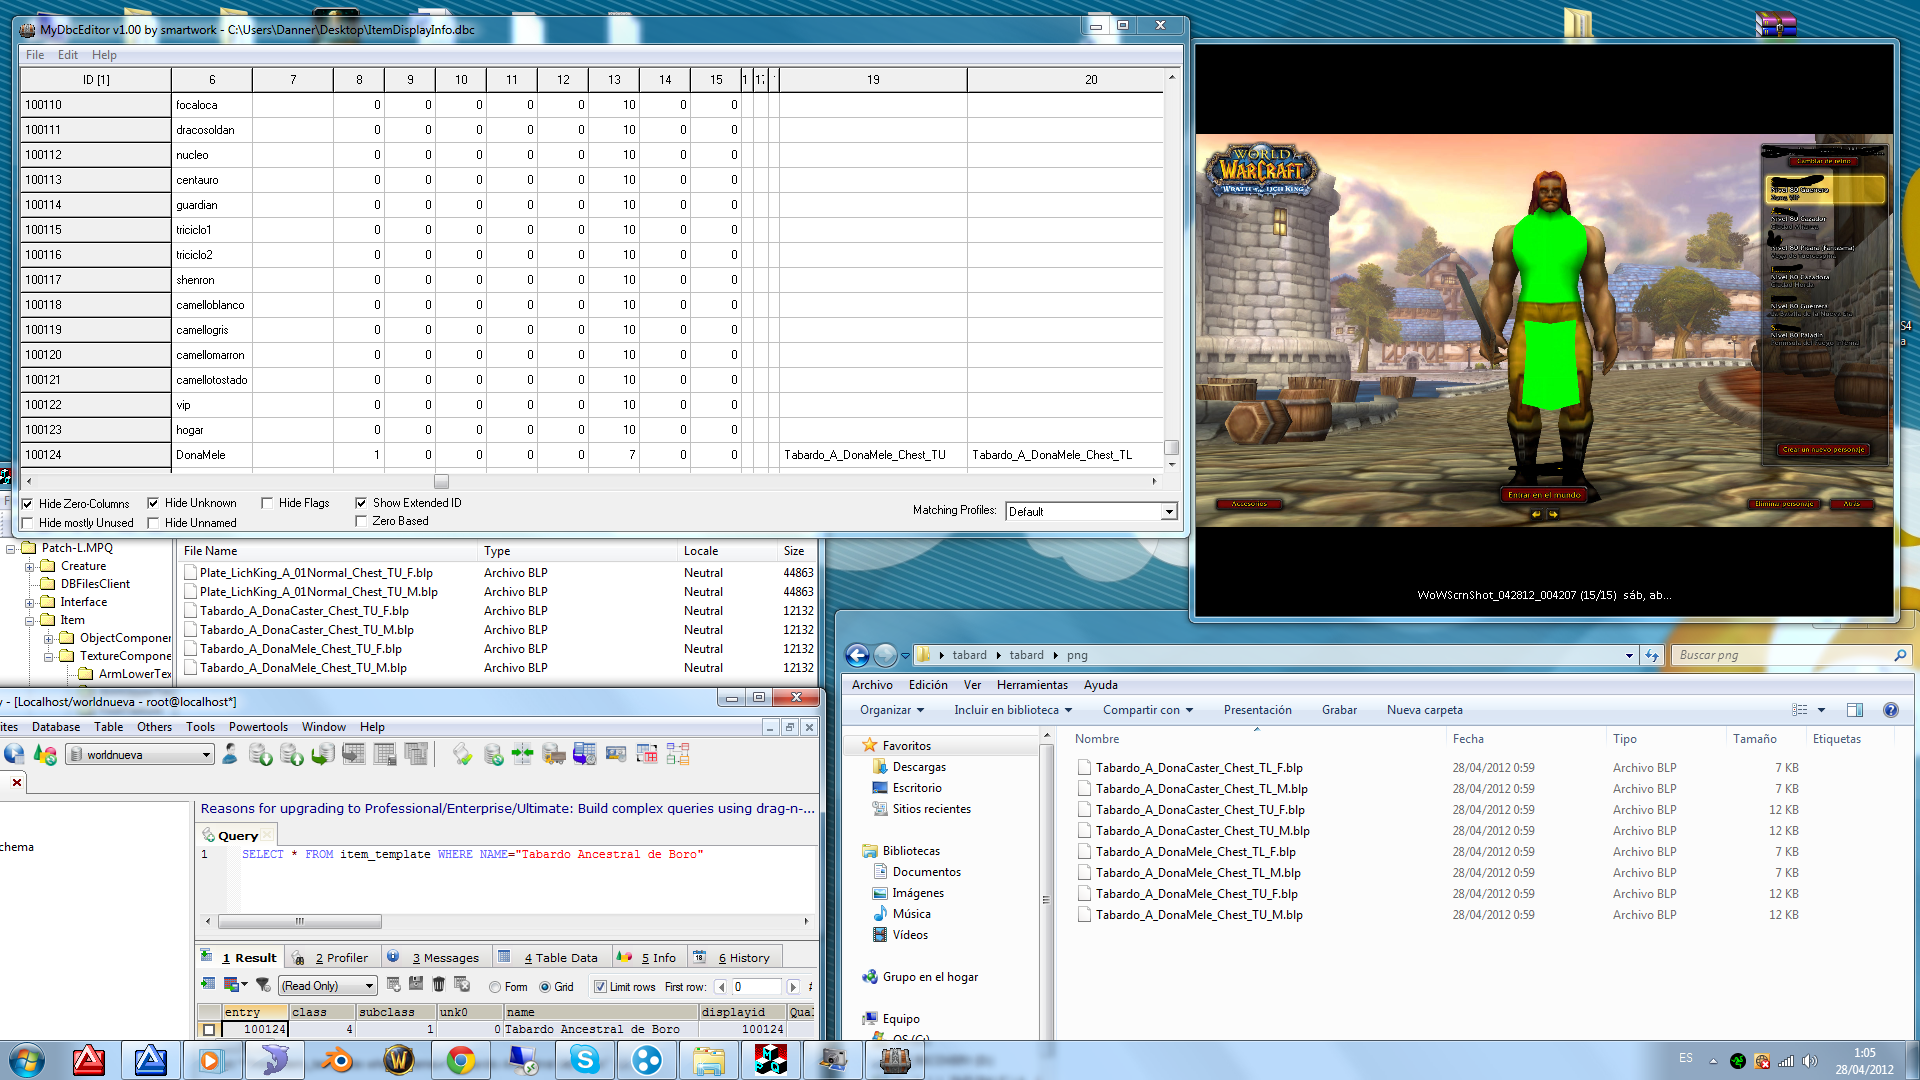
So, I'll explain. In my server, I have quite a few Custom Mounts, and not just one reskin of the existing skin asigned to the base displayID, but various reskins of the same model, that way, I can have diferent types of the same mount for example: "Awesome Red Tiger" "Awesome Blue Tiger" "Awesome Yellow Tiger", without actually modifying the existing "Awesome Tiger" skin. Now, as I said above, I've managed that with a few different models.
Now, what I really want, is the SaberWorg, A.K.A Skoll. I have the existing model as a mount. But what I felt like doing, was making a RED Skoll skin, create a new display ID, and have 2 diferent types of SaberWorgs, blue, and red. The only problem is, while searching through the patches for the creature, common, patch, lichking, expansion, etc, I couldn't seem to find "CreatureSaberWorg". So I became more curious, and opened the CreatureDisplayInfo.dbc, searched Skoll's display ID, and it came up with:
"SpectralSaberWorg.blp". And after searching some more, I discovered 2 more types of SaberWorgs; "SpectralSaberWorg_Light.blp" "SpectralSaberWorg_Mid.blp"
And that is what I need to beable to complete my mount, the blp. But ofcourse, there is the problem mentioned above, I can't seem to find the .blp in ANY of the patches from my wow directory.
I do, on the other hand happen to have the .m2, .anim, and .skin files of the model. Now, the question is, is it possible to get the .blp out of the .m2, .anim or .skin file? (You can probably guess I have no idea whatsoever about modelling).
If not, does anyone know where I can get my hands on "SpectralSaberWorg.blp"?
Thank you all for reading, Any help whatsoever is much appreciated, Soldan.
Hey Modcraft, I've been searching around Modcraft for quite a while now, but I never came round to posting... Until now.
I seem to have a little problem, when it comes to creating a brand new mount with it's own model, basically, I know how to create custom mounts from scratch, with it's own spell, NPC, etc. A good example being:
And I made a custom skin for it:
But now, what I want to do, is beable to "keep" the black tiger, and have another mount with the "lava armored" one.
I modified CreatureDisplayInfo.dbc, I copied the black tigers row, and changed the texture blps, for example:
And then I added CreatureDisplayInfo.dbc to a new patch, and the Skin BLP.
I also added the CreatureDisplayInfo.dbc to my server DBC folder, and created a NEW NPC in the DB with Modelid1 "40000"... I restarted the server, and when I tried to spawn the NPC, it was as if the NPC didn't exist, and when I used .mod morph 40000, nothing happened.


.jpg)


 [/center:29u733ba]
 , just don't use the arc-reactor for pleasure, as it will fry your dick off (I am not responsible for any phallic injuries), but any other hole should be just fine.


 .
.


 [/center:1rhrxnl2]