Hello everyone.
This time we are acually starting to mod something within the game. And what could be a better start than a own map.
Its fairly easy to get your own map into the game once you figured out how todo it.
Currently the way to go is creating a map in noggit on a 3.3.5 Client and then porting it up to WoD. Thats why I will explain how things are done in 3.3.5 and how they get ported.
What you will need- A 3.3.5 Client - Place into "WoDModding\Clients\"
- Noggit - Place into "WoDModding\Tools\"
- Adt Adder - Place into "WoDModding\Tools\"
- Futa - Place into "WoDModding\Tools\"
- Taliis - Place into "WoDModding\Tools\"
- ADT - Converter - Place into "WoDModding\Tools\". Original Post
- Warcraft Model Viewer - Make sure to get the 3.3.5 version and place into "WoDModding\Tools\"
- MPQ Editor - Also downlaod ListFiles (last DL-Link) Place into "WoDModding\Tools\
- WDT Supplies - Place into "WoDModding\Tools\"
I reccomend creating folders for every tool (unless they allready have).
Configurating NoggitBrowse to your noggit folder ("WoDModding\Tools\Noggit") and open noggit.conf. Adjust following paths:
#Path = D:\WoW 3.3.5\ to Path = C:\WoDModding\Clients\3.3.5\Ensure you remove the # in front of the path and set the correct path to your 3.3.5 client.
Then adjust following Line:
#ProjectPath = E:\project01\ to ProjectPath = C:\WoDModding\Projects\firstmap\We are going to create this folder in a minute. You can choose whatever name you wish to.
And last but not least:
#ImportFile = Path to Import file to ImportFile = C:\WoDModding\Tools\WoWModelViewer7\userSettings\log.txtNow that we have this done start your noggit to see if it loads up. If it does close it for now.
The benefits of projectsAs you have seen above we created a project path. This is the path Noggit will load files from and will save files to.
Organizing your work in projects makes everything way more tidy than havign ti in your warcraft folder. I do use the project folder for a variety of diffrent things not only map work.
All future tutorials will use projects as much as possible.
Creating your first projectTodo so browse to "C:\WoDModding\Projects\" and create a folder called "firstmap". After you have done this open the folder and create 2 new folders called "DBFilesClient" and a folder called "world".
After you are done open the world folder and create a folder called "maps". Open this and create a folder called "firstmap".
You should now have following 2 paths:
C:\WoDModding\Projects\firstmap\DBFilesClient\
C:\WoDModding\Projects\firstmap\world\maps\firstmap\
The first folder contains our modified DBC file and the second one contains your adts. An explanation of those can eb found in a previous tutorial.
Getting the 3.3.5 DBCSince noggit needs a dbc to laod your map we have to provide one. This is where your MPQ editor comes into play. Startup the program and you will get a window like this:
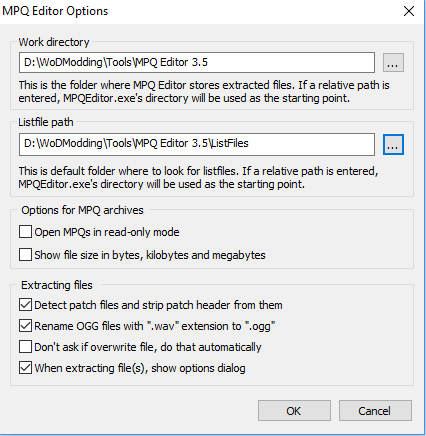
Set the paths correctly. If you dont have a folder ListFiles create it. Make sure you palce the Listfiles into the folder.
Then go to
File->Open MPQ -> Browse to your 3.3.5 Client -> Data -> open enUS (or whatever locale you are using) -> open patch-enUS-3.mpqIt should now look something like this:
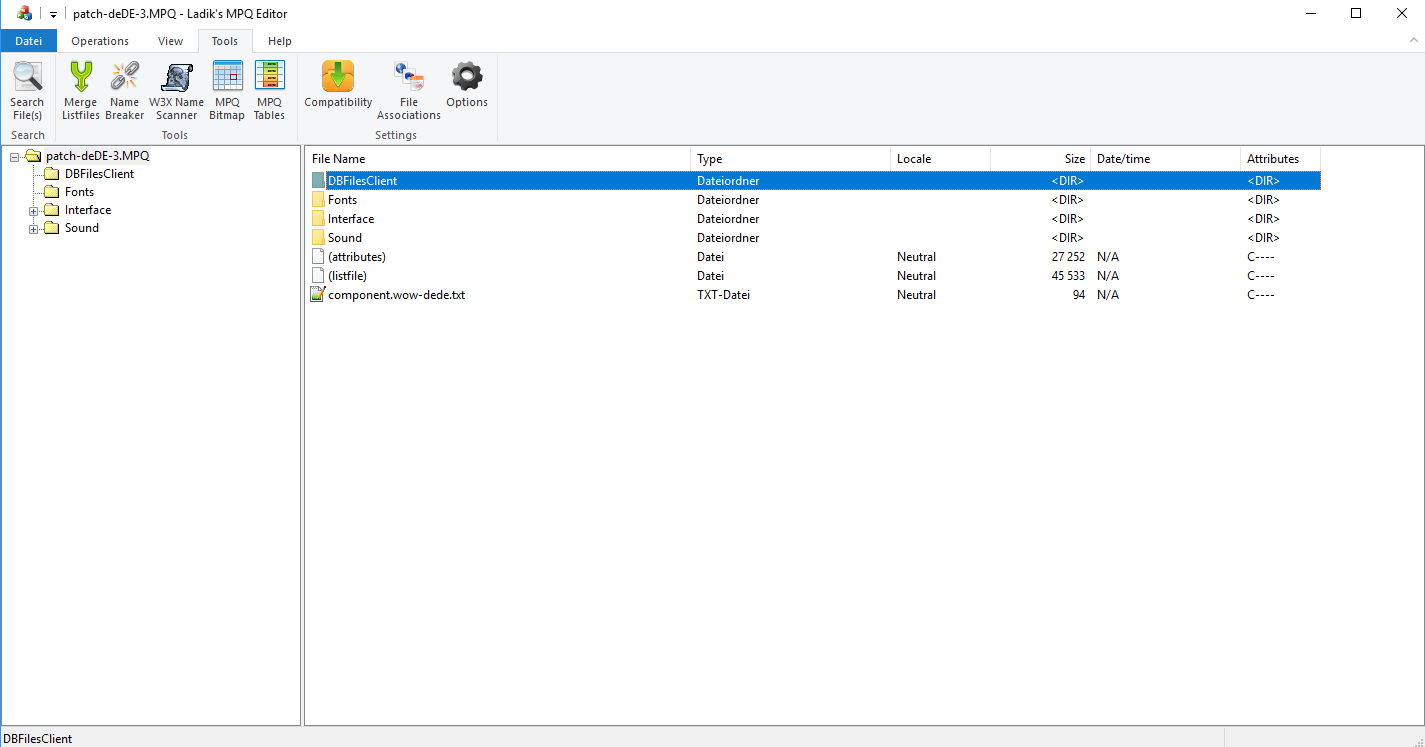
Go to DBFilesClient and right click map.dbc -> Extract -> OK. You cna now close MPQ-Editor.
In your MPQ-Editor folder should now be a "DBFilesClient" folder if you have set the paths correctly. Open it and copy the map.dbc to: "WoDModding\Projects\firstmap\DBFilesClient"
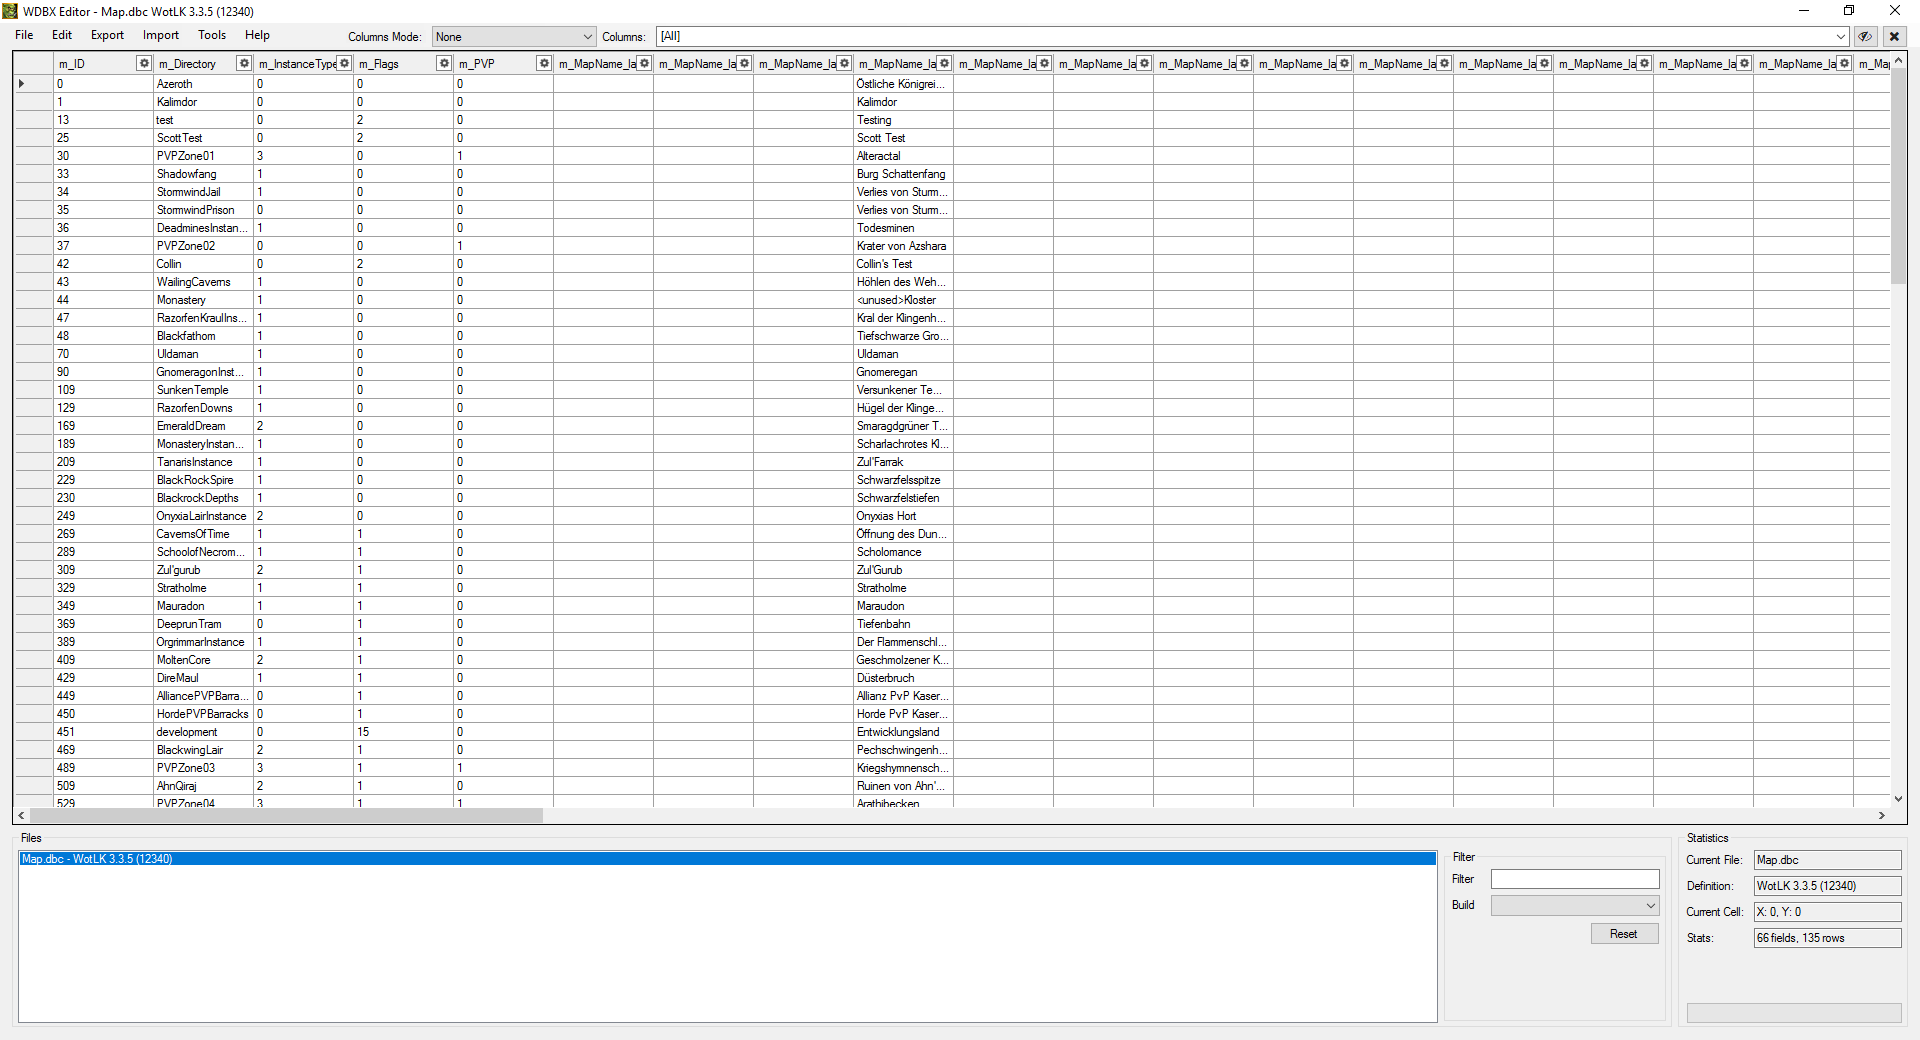
Changing the map.dbcNow that we have the DBC we have to add a new entry for our new map. Open the map.dbc in your project with the WDBX editor and select WOTLK as version. It should now look something like this:
 WoW map types
In warcraft maps have diffrent types. As you can see in the above db (3. colum). In 3.3.5 there are 4 types. 0 = Continent (Kalimdor), 1= Instances, 2 Raids and 3 Battlegrounds. We want to create a regular map so our type will be 0.
The easy way todo itSince we want most value son default we can copy a exiting entry with type 0. For example Kalimdor. Todo so right click the space infront of the ID and select "Copy Line". Then scroll to the very bottom of the file and below the last entry right click the free space and select "Insert Line".
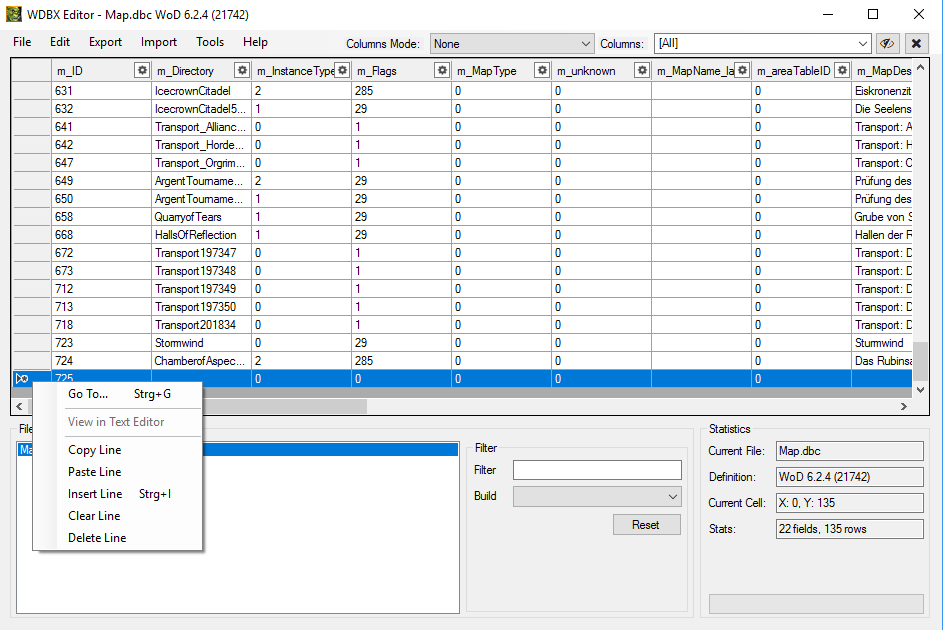
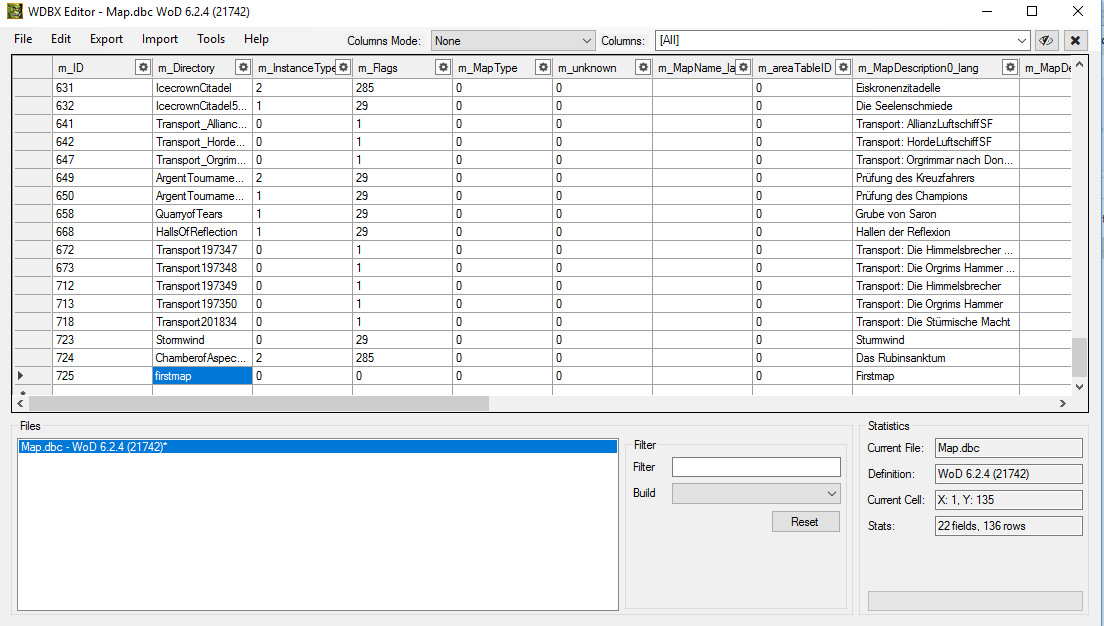
Now we ahve a new entry where we have to adjust some things. First of change directory to firstmap (this has tobe the exact name as was given in: "C:\WoDModding\Projects\firstmap\world\maps\
firstmap\")
Then scroll right until you get to the name and change it to whatever you like. I will stick with Firstmap. Save the file and exit. It should now look like this:
 Creating the ADTS
Next we need ADT files. Therefor we start with Taliis. Load up the program. One first load it asks you to select mpqs.
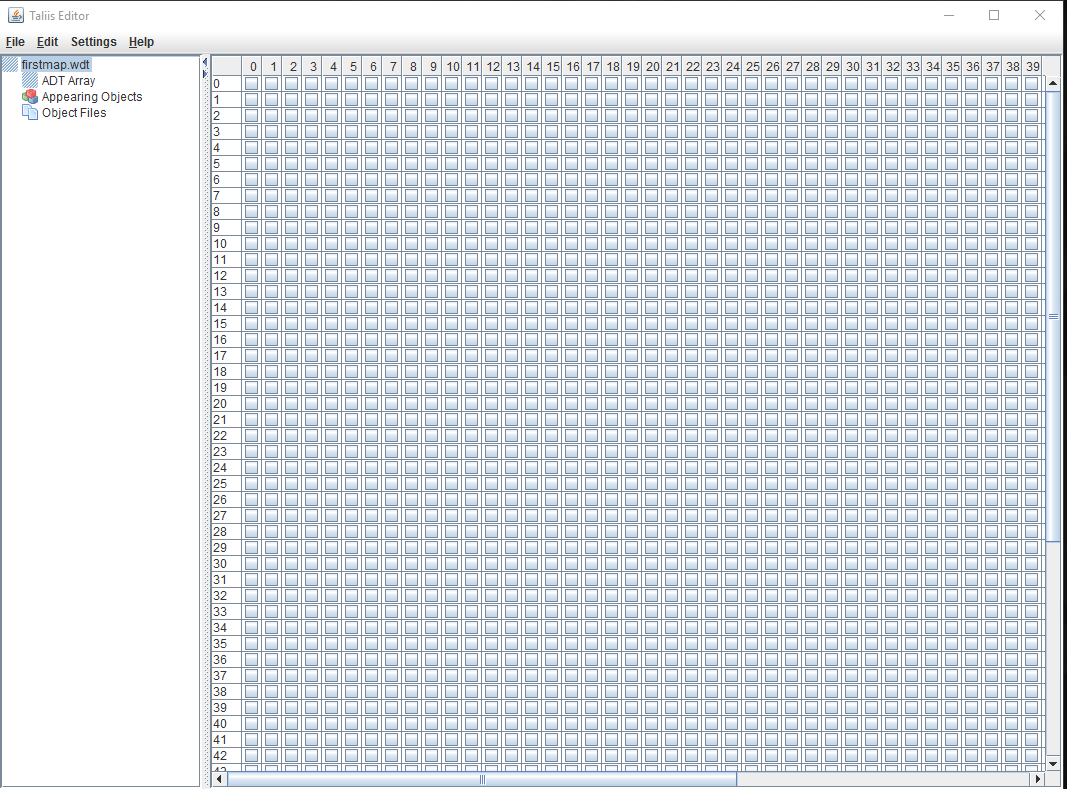
Simply skip and press ok. Then goto File->New->WDT. Name the wdt firstmap or exactly like your folder within your project. Now double click the WDT on the left. It now looks like this:
 Whats a WDT
A WDT tells the client where a ADT is placed. Every square on the picture is one adt. So when you want to have a map that has 3x3 ADTs you have to tick the boxes.
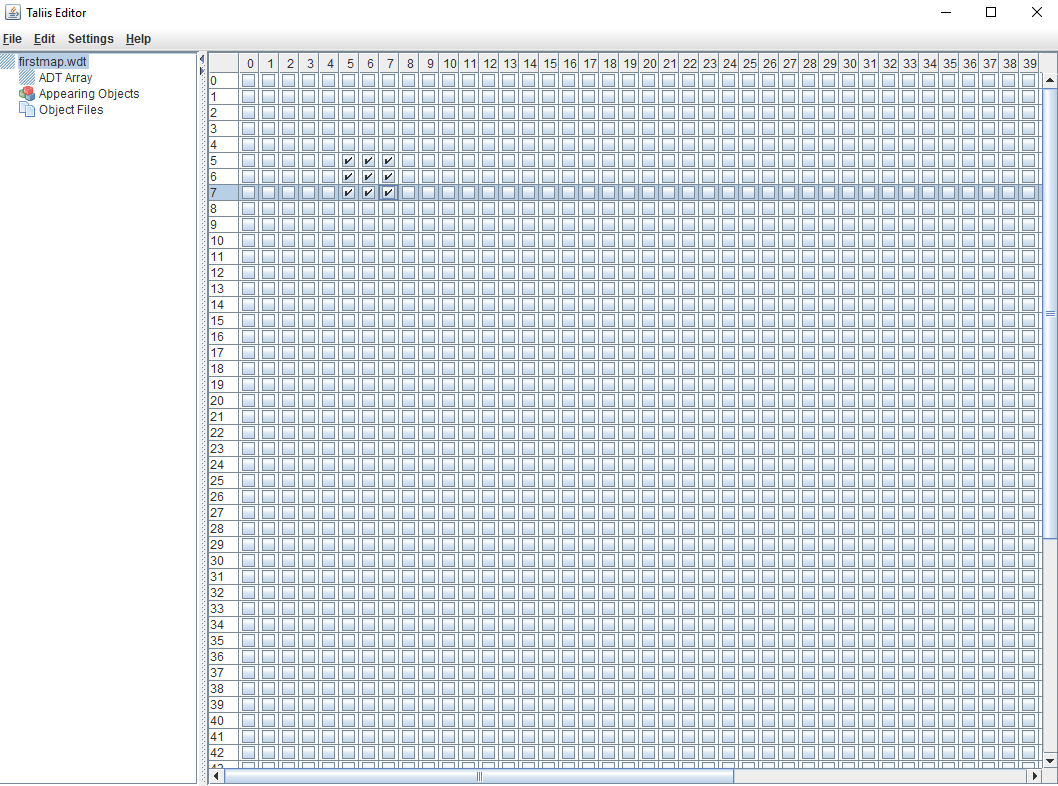
For this tutorial we will use a 3x3 which should be enought for now. Tick a 3x3 somehwere on the WDT make sure to remember the coordinates for the next steps.
Done correctly it should look liek this:
Now save the file to "C:\WoDModding\Projects\firstmap\world\maps\firstmap\" and close Taliis.
Using Futa to create a ADTNow start Futa. Go to File -> New -> Adt Files
Fill in the following data.
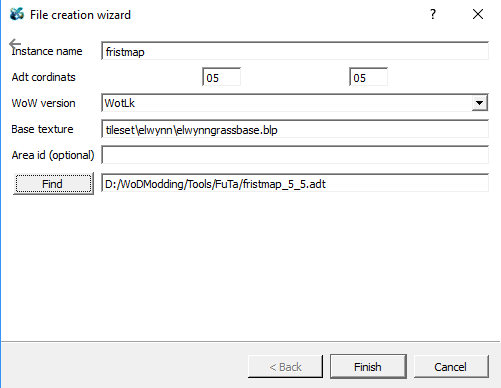
Now we have a fresh ADT created. It has a basic texture. You can use whatever Texture you like.
They can be found in C:\WoDModding\ClientFiles\tileset\. For this tutorial we will use: "tileset\elwynn\elwynngrassbase.blp"
Now safe the ADT to: "C:\WoDModding\Tools\ADTAdder\"
Using the ADT adderStartup the Adder and fill it like this. Select the ADT we just created and then fill in the top left coordinates of your WDT grid aswell as the bottom right. Like this:
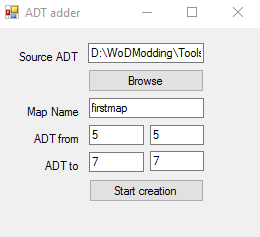
Start creation and wait for the programm to finish.
It should then look like this:
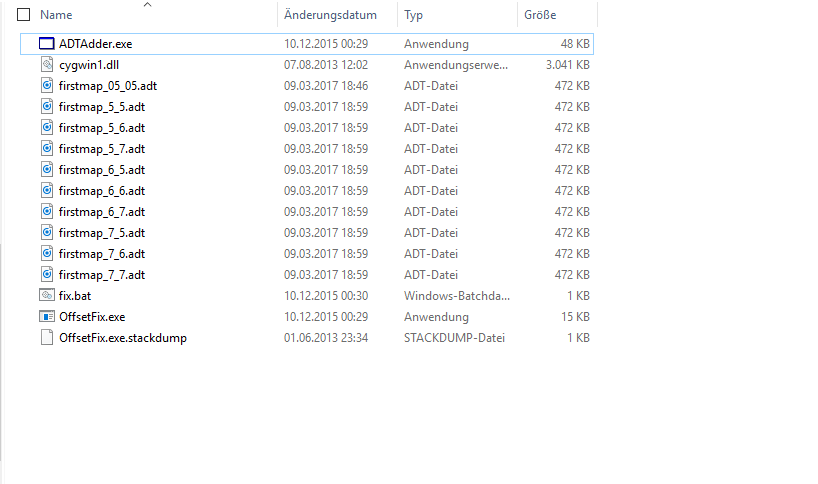
Now execute fix.bat this is needed becasue of the way the adder was designed. Whenever you change a ADT's coordinates make sure to fix it after.
Using the ADT in noggitCopy the new adts (without the old) to "C:\WoDModding\Projects\firstmap\world\maps\firstmap\". Now start Noggit and you will be able to select your new map:
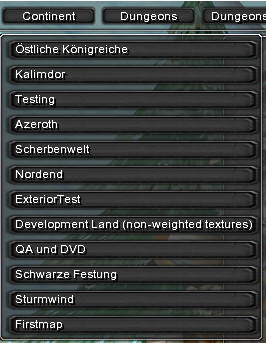
Select it and you will see following screen:
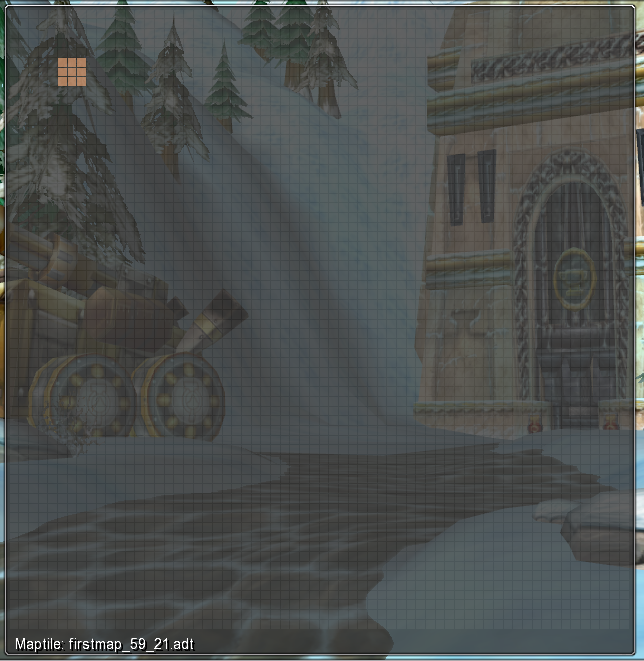
Cou can clearly se the 3x3 square we jsut created. Click on a highlighted ADT to open Noggit. This tutorial will not feature how to use noggit.
You can find plenty tutorials on that on this forum.
Getting your maps to work in WoDThanks to Luzifix we have a simple converter that allows us to very easy port our maps up to WoD.
But first we need to do some DBC work. Goto your Server folder and open the dbc folder. Open the map.dbc with WDBX and this time select WoD 6.2.4.
As you can see it looks a bit diffrent to the 3.3.5 one but dont worry. Again copy the Kalimdor line and paste it into the last row.
This time remember the ID. Adjust directory and name to firstmap. Then safe the file and close WDBX.
Now open MapDifficulty.dbc and create a entry in the alst row. In the second colum fill in your map ID. rest should be 0.
Now copy the map.dbc and the MapDifficulty.dbc to "C:\WoDModding\Clients\6.2.4\DBFilesClient\" (create this folder). Alwas make sure DBC/DB2 in your Client and server are the same.
Also create following folderstructure: "C:\WoDModding\Clients\6.2.4\world\maps\firstmap\"
Adjusting the WDTNow we need WDT supplies. Simply copy your WDT from your projects folder to your WDT Supplies folder and execute Launch.bat.
Copy the five files incduing the WDT to: "C:\WoDModding\Clients\6.2.4\world\maps\firstmap\"
The acual conversionNow go to your ADT converter folder and open watcher.cmd with notepad.
Fix the paths to mach your paths:
ADTConvert.exe "C:\WoDModding\Projects\firstmap\world\maps\firstmap" --output="C:\WoDModding\Clients\6.2.4" --watchClose the file and run it. Now the converter will watch your project folder. And everytime something in there changes (like you saving in noggit) it will automaticly convert all files and put it into your WoD folder.
Here is a video that shows how this works:
LINKMake sure to at least edit all your ADTS once so they get converted.
You can also manually convert all ADTS:
LINKGoing liveIn order to visit your map you have to know the ID from the map.dbc and coordinates. These can be found in Noggit:

Note down the Server coordinates an launch your WoW. Loginto the game and type following command:
Command: .go xyz id
Example: .go 13620 13818 70 1498
Now you should be teleported to your map:
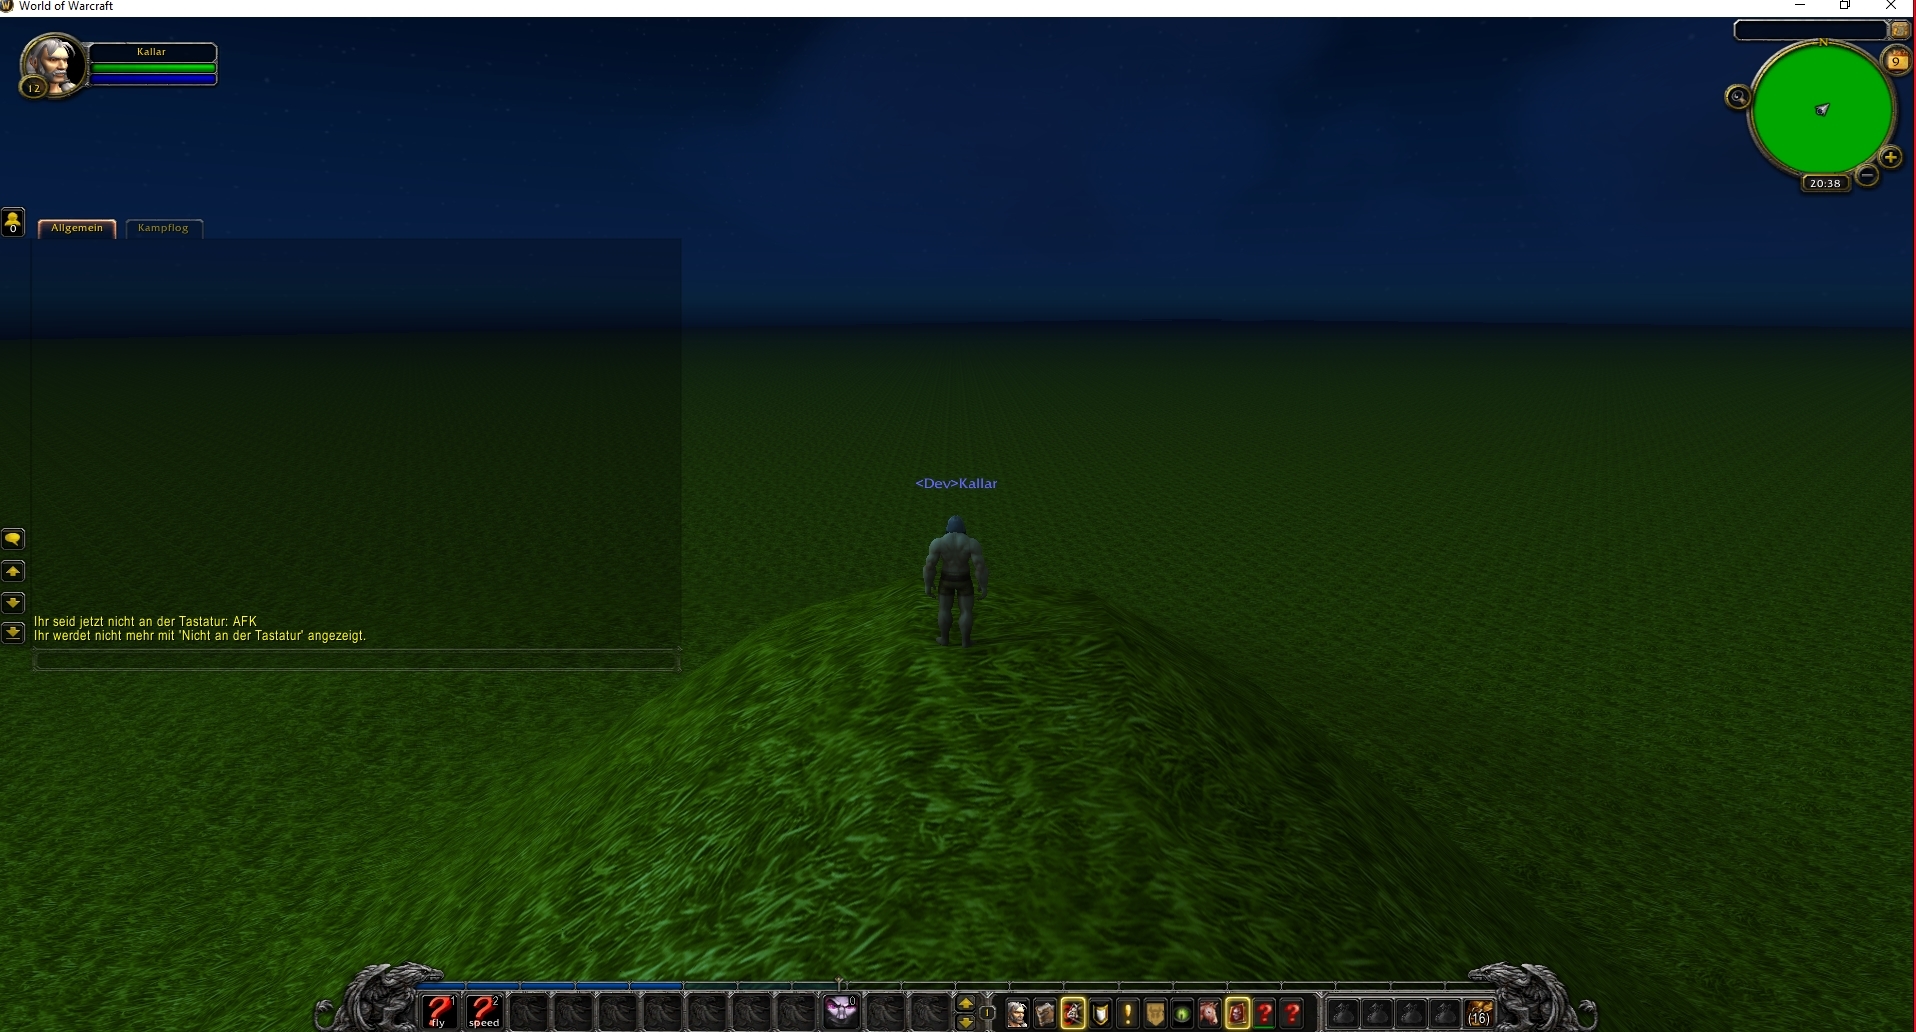
Thanks for bearing with me. I hope to see alot of WoD world builds in near future! As always if you have questions let me know.