1
Hi!
Maybe you noticed that the shoutbox is gone. We're currently trying to bringing it back.
Greetings
Eluo
Maybe you noticed that the shoutbox is gone. We're currently trying to bringing it back.
Greetings
Eluo
|
This section allows you to view all posts made by this member. Note that you can only see posts made in areas you currently have access to. 2
Tutorials / [TUTORIAL] How to spawn Doodads/wmos with Taliis(outdated)« on: May 30, 2012, 08:11:56 pm »How to spawn Doodads/wmos with Taliis(outdated)There are soooo many ways to spawn a doodad on a adt. I picked taliis to do this. Why? Taliis is a very effective and powerfull tool to work with adts. After we finished the terrain ,all that is left for our nearly finished area is to spawn trees,bushes,houses and everything else what is needed for our area. First of we need to make a list of the models what we need. We need for: the forest[/color] -trees -bushes -dead trees -generic stuff the dock[/color](at the cliffs because the ships have to land somewhere) -a little house -fences -torches -generic human stuff The castle[/color] -a big castle or stuff we need for a castle -random generic human stuff -fences -houses? -a wall the path to the castle[/color] -lights -fences In order to find those models and their path ,we open the worldofwarcraft Modelviewer Then we search for the models which we want to add and write down the path of them. An eample for a path would be: worldexpansion02doodadshowlingfjordhfjord_tree_01.m2 Well the model itself has the fileending of .m2 BUT nearlyeverywhere in the Wow Files like the DBC or adt Files those models are named with the Fileending .mdx instead of .m2. Why? the MDX format is an intern used fileformat..so we will need to use that in our adts too. So just take that path and the modelname and replace the fileending .m2 with .mdx worldexpansion02doodadshowlingfjordhfjord_tree_01.mdx ========= Part 1/2 finished Open up the ADT where you want to spawn your Doodad/Object.(File->Open) Switch in the Naviagtion to DoodadFiles 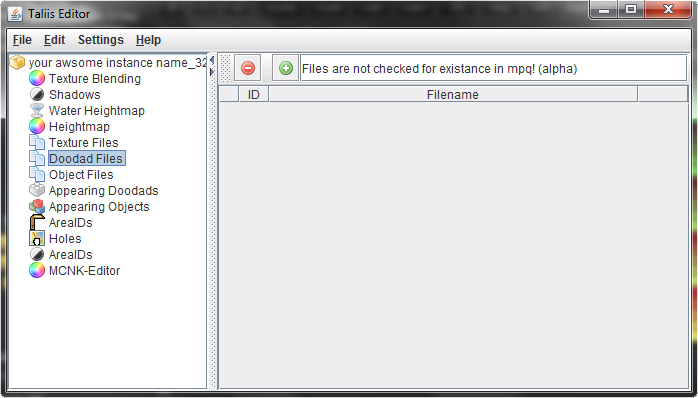 On the Right upper side enter the path into the white Commandfiield next to the red minus and the green plus buttons.  Now press the green plus button. A new line will appear. This step is just to tell wow which doodad CAN be spawned. The First row of this line is the ID of the doodad... keep that number in mind. If you want to spawn another doodad just enter the new path in the command field and use again the green button. WARNING: Never try to add the same doodad path again. The number of the spawned doodads will be set in the next step. --- Switch to Appearing doodads. There also just press the green plus. A new line will appear.  First i will explain you what every row means: ~~~~~~~~~~~~ #File ID = This is the id of the path you entered in DoodadFiles. Switch that number to switch the object to be spawned #UniqueID = This is a unique number that shouldn't be used twice in the range of the boarding adts. Neither for doodads nor for wmos. #x = This row is the x-coordinate of the spawned doodad. #y = This row is the y-coordinate of the spawned doodad. #z = This row is the x-coordinate of the spawned doodad. #Scale = this is the scale the doodad has. 1024 is the Normal size which means that it has its actual size. #Flags = Those are the flags for the doodads. #rota = This is the rotation around the x-axis #rotb = This is the rotation around the z-axis #rotc = This is the rotation around the y-axis ~~~~~~~~~~~~ Now the good thing in taliis is: we don't have to change very much. So if i want to spawn the tree not only once, no i want to spawn it twice or three ,four or fifty times. For that we just have to create a new line. And every time we press the green button a new tree will appear. You can leave the coordinates and nearly everything just as it is. If you now want a diffrent sort of trees repeat the whole thing. Add the path to DoodadFiles remember the Id and switch to Appearing doodads. Now As we press the plus the new line automaticly has the default values and it still is the first object as the First row reads the id 0. Now because the ID of the new tree has the ID 1 we will need to change the first row #File ID to 1.  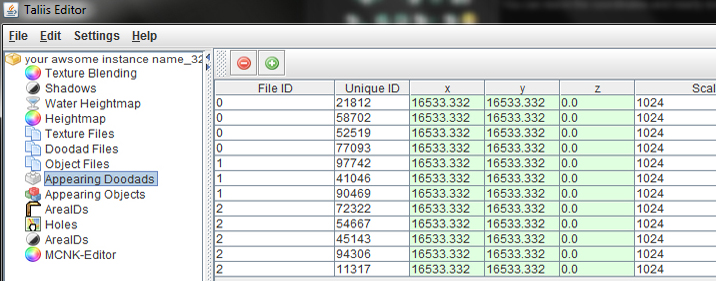 ========= Part 2/2 finished WMOSWell you just learned how to spawn Doodads. But what about spawning Wmos? This is in taliis nearly the same as with doodads. First you will also have to look up the path and the name of the wmo.Then ,in taliis, go to Object Files and enter in the white command field the path and press the green plus. Switch to Appearing Objects and again,press the green plus. Here again you can leave nealy everything as it is. Exept if you want to spawn diffrent WMOs, then you will have to change the FileId just like with the doodads ,to the ID of the to-be-spawned object in Object Files.   ~~~~~~~~~~~~ #File ID = This is the id of the path you entered in ObjectFiles. Switch that number to switch the object to be spawned #UniqueID = This is a unique number that shouldn't be used twice in the range of the boarding adts. Neither for doodads nor for wmos. #x = This row is the x-coordinate of the spawned wmo. #y = This row is the y-coordinate of the spawned wmo. #z = This row is the x-coordinate of the spawned wmo. #Flags = Those are the flags for the wmos. #rota = This is the rotation around the x-axis #rotb = This is the rotation around the z-axis #rotc = This is the rotation around the y-axis #DD Set = This is the Id of the doodadset,use modelviewer to find out the Id of the DDSet you want to have(0-9) #Name Set = This is the DBC id of WMOAreaTable.dbc. Use the DBC id to set the name of the wmo showing ingame ~~~~~~~~~~~~ 
3
General / [Aprill Fools 2012] Official modding support by Blizzard« on: April 01, 2012, 03:40:49 pm »
[paragraph:2ktkfv48]Today shall be one of the milestone days that will come to follow in the history of wow modding.[/paragraph:2ktkfv48]
[paragraph:2ktkfv48]A few months ago with the announcement of the next Expansion, Chris Metzen contacted us for a talk via skype and telephone. After many many more proceedings with different contact members of Activision Blizzard, we came to a term with the devs where we finally can announce the biggest leap that will ever happen in the community of wow modding:[/paragraph:2ktkfv48] [paragraph:2ktkfv48]Blizzard will support modding for World of Warcraft.[/paragraph:2ktkfv48] [paragraph:2ktkfv48]What does this mean for us, and why would Blizzard do such thing? Well first of all, Blizzard realized that they are missing a lot of income through the illegal scene, the difference to the actual retail game draws some customers to the freeshards(Private Servers) as they present a different type of content, and that actually for free. This gap causes Blizzard not only to lose Players to begin with, but it also steals some players from the retail servers. Activision decided now to take a risky step to counter this problem, by responding to the community’s needs.[/paragraph:2ktkfv48] 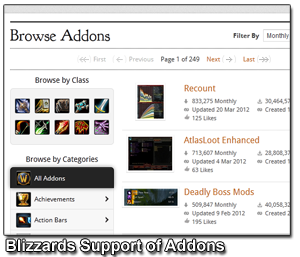 [paragraph:2ktkfv48]The details of the support of the “Community Servers” as they probably will be named, isn’t quiet worked out up to this point, but the raw outline of the concept looks like this:[/paragraph:2ktkfv48] [paragraph:2ktkfv48]A team of a server can apply as a staff for a community server. The application should include information and qualification (skills) of the team members, as well as the concept that is planned for the server. The server itself will be a VirtualServer, so that multiple projects can share one server. This is done to hold the costs at a minimum for the beginning. If the concept proofs as useful and good, and if it is liked by the community, the team will get a FULL server for their own.[/paragraph:2ktkfv48] [paragraph:2ktkfv48]This will also mean that only the best of the best will get a community server, which will ensure the quality of these servers.[/paragraph:2ktkfv48]  [paragraph:2ktkfv48]The community Servers can be joined by any player that has a battle.net account with an activated World of Warcraft subscription. The only difference that will occur is the difference of Clients. To join a community server you will have to download a Sub Client that will implemented into the normal client so that you switch between one client and the other while you are in the sever selection. This procedure will prevent a improper use of the tools that the team of a community sever will have access to.[/paragraph:2ktkfv48] [paragraph:2ktkfv48]Now let’s talk more about the benefits for the team that gets a “Community Server”. Among the many many many application that will follow the official announcement, only a handful or even less will get chosen for the testing of community servers. Those teams will get full support from Blizzard including the vserver, a svn, a platform for corresponding with the devs, and most important of all a full official tool set which is applied to the new sub client. The tool set will include everything that is needed for development, so not only tools for programming, scripting and server content, but also for client “manipulation”. The community server manager in the new sub client will ensure that none of the contents of the different servers will get mixed and it also can easily remove any files that had to be installed and downloaded for the servers.[/paragraph:2ktkfv48] [paragraph:2ktkfv48]Well I am not really allowed to go much more deeper into the details and tell you more at this state, but stay tuned as a official statement will follow soon with more information. We will try to keep you up to date, as much as possible and be sure to check more often as we will present you with many more information about that in the following weeks.[/paragraph:2ktkfv48] 4
Showoff - what you are working on / [SHOWOFF] Eluos Collection« on: February 28, 2012, 05:22:31 pm »
Hi there folks!
Today i came across the idea to create a kind of show off of some of my work that i have done through the years i was modelediting. I started playing wow since patch 1.6 or something like that and finally fully cancelled my retail account a half year before the cataclym release. I have still many memories with that game and also with modelediting. I can't surely say how i got to it...but my first place was Mcaddits, wich was a german community of modders. Even today i still keep a close contact to BSM for example. Through the years i made a lot of stuff, some bullshit here and there of course, but i always had fun doing these even if the path of the creation wasn't very easy back then. I learned much over the time ,with the help of schlumpf or other modders. Now i want to share a glimpse of the stuff that i did over the years. I dont have pictures of everything that i did so this still uncomplete. Also sorry for sometime noggit screens as i right now don't have the ressources to bring all that stuff ingame  The first thing is a video which is really old. [youtube:135nkgz3]http://www.youtube.com/watch?v=lBY-hSGKZ80[/youtube:135nkgz3] This was a collabortaion between me and Kagul. Cursed Cliffs There is also a album about one of the areas (cursed cliffs) on photobucket: http://s566.photobucket.com/albums/ss10 ... %20Cliffs/ I'll just add here the rest of my albums Testing stuff[/color] This is a bit of a collection of some stuff. Mostly crap http://s566.photobucket.com/albums/ss10 ... %20things/ My City This is a piece of which i am still very proud of. My city  These screens were one of the first ingame test so sadly,this isn't the "end product" i added much more after that. Below in the single screen section there will follow some more screens of the more finished city. http://s566.photobucket.com/albums/ss10 ... =slideshow You can also download a patch of the city in my showoff thread: [spoiler:135nkgz3]http://modcraft.io/viewtopic.php?f=37&t=286 The patch sadly isn't finished and can only be used by someone with knowledge of some basics of worldediting. It contains the adts which can be looked at and used in noggit. Steff got a working version of that patch ...and if i get the patch i'll replace the one that is here with the working version.[/spoiler:135nkgz3] Sadly i can't show evrything but this video by bsm may give you a little overview of the city: [youtube:135nkgz3]http://www.youtube.com/watch?v=AHLIJVIzsrc[/youtube:135nkgz3] But for that i made some detail screenshots especially of the market area  [spoiler:135nkgz3] 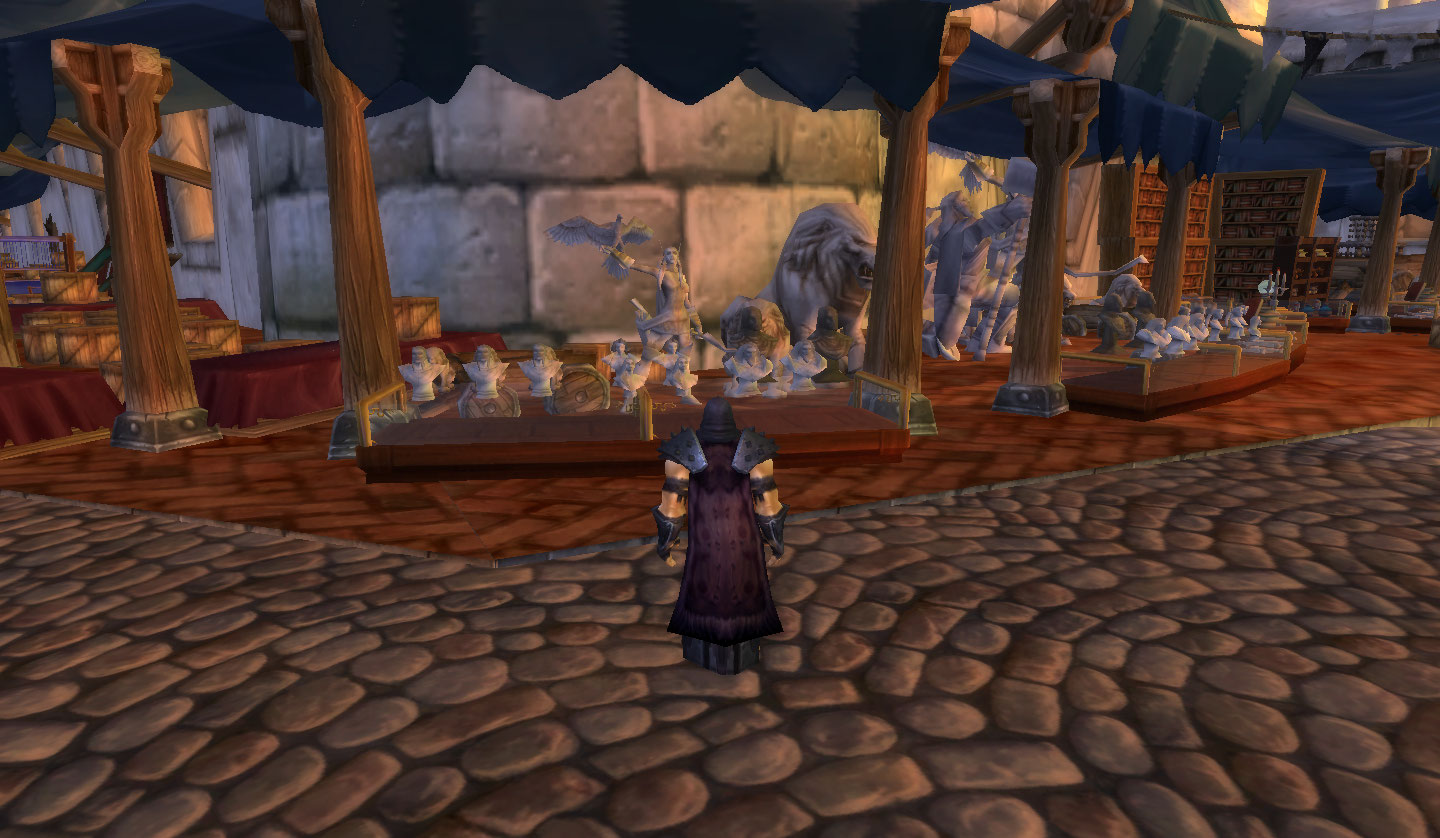 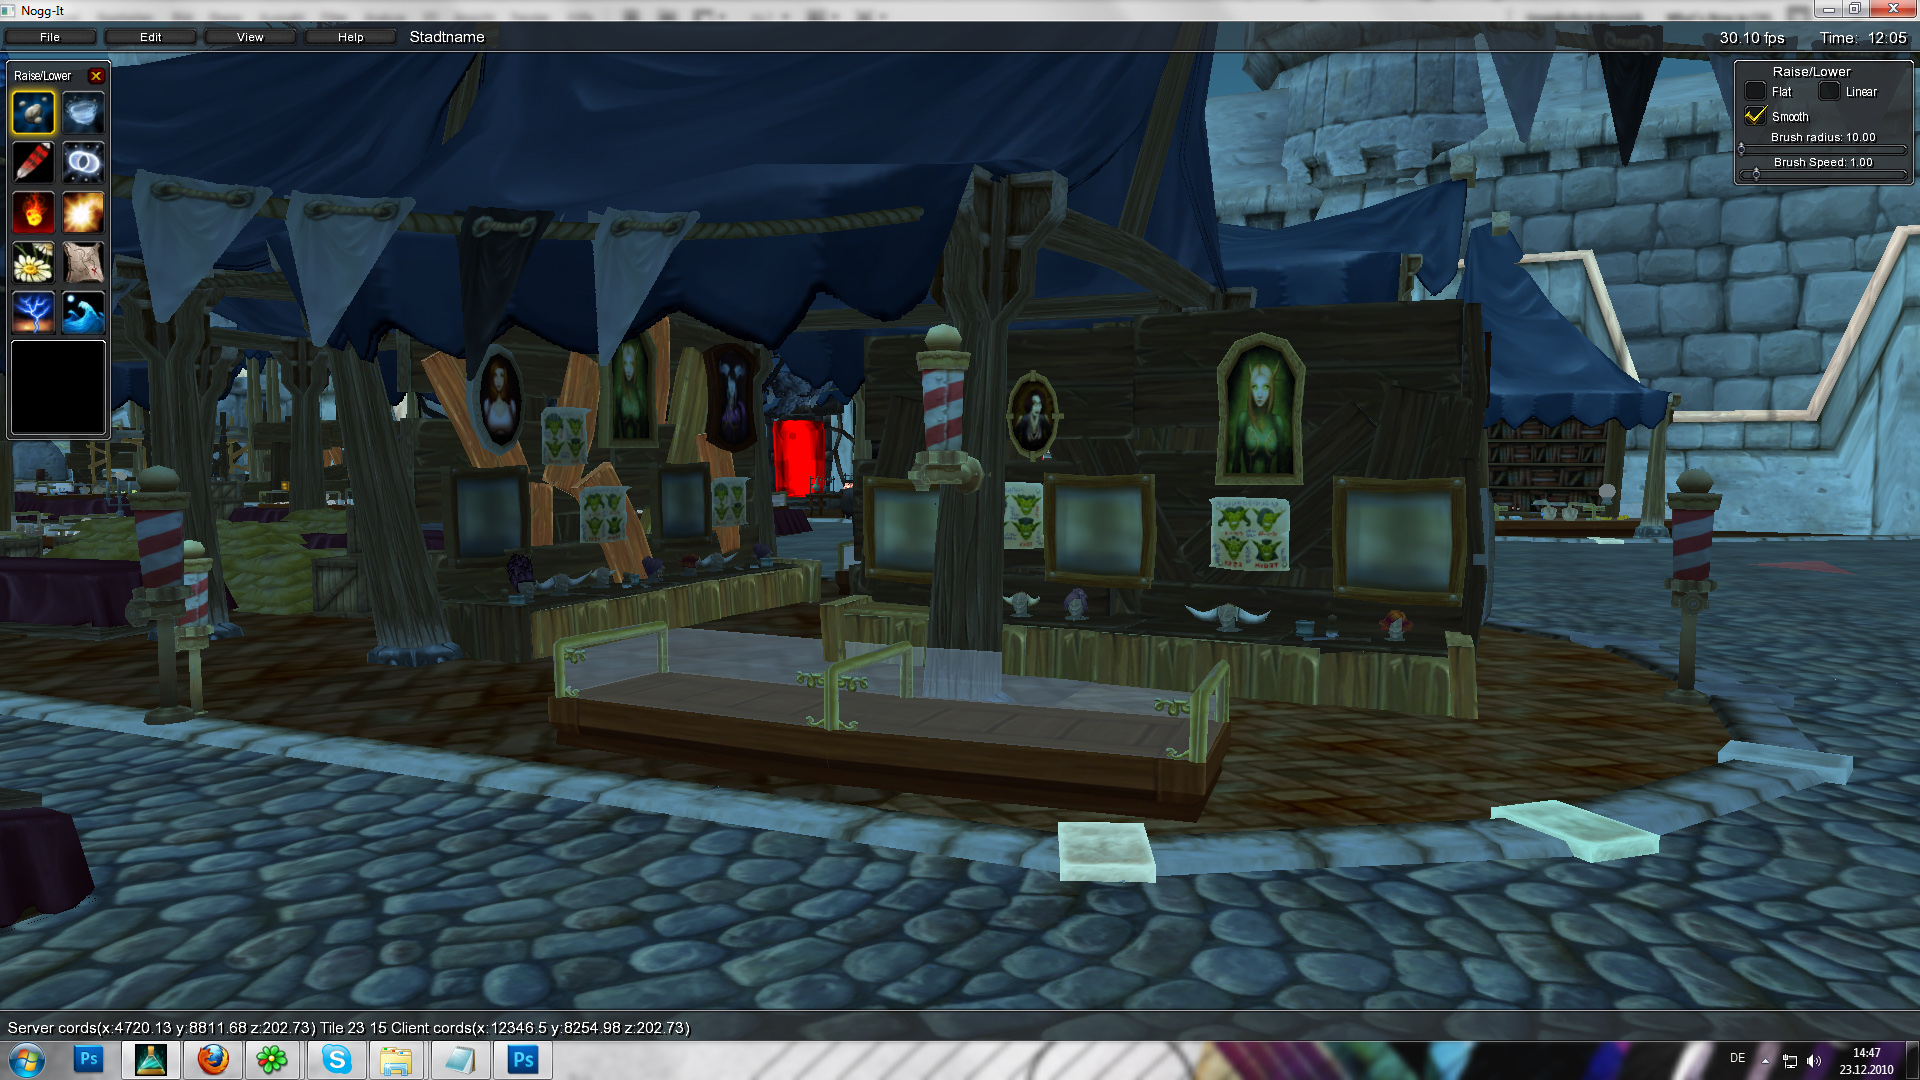 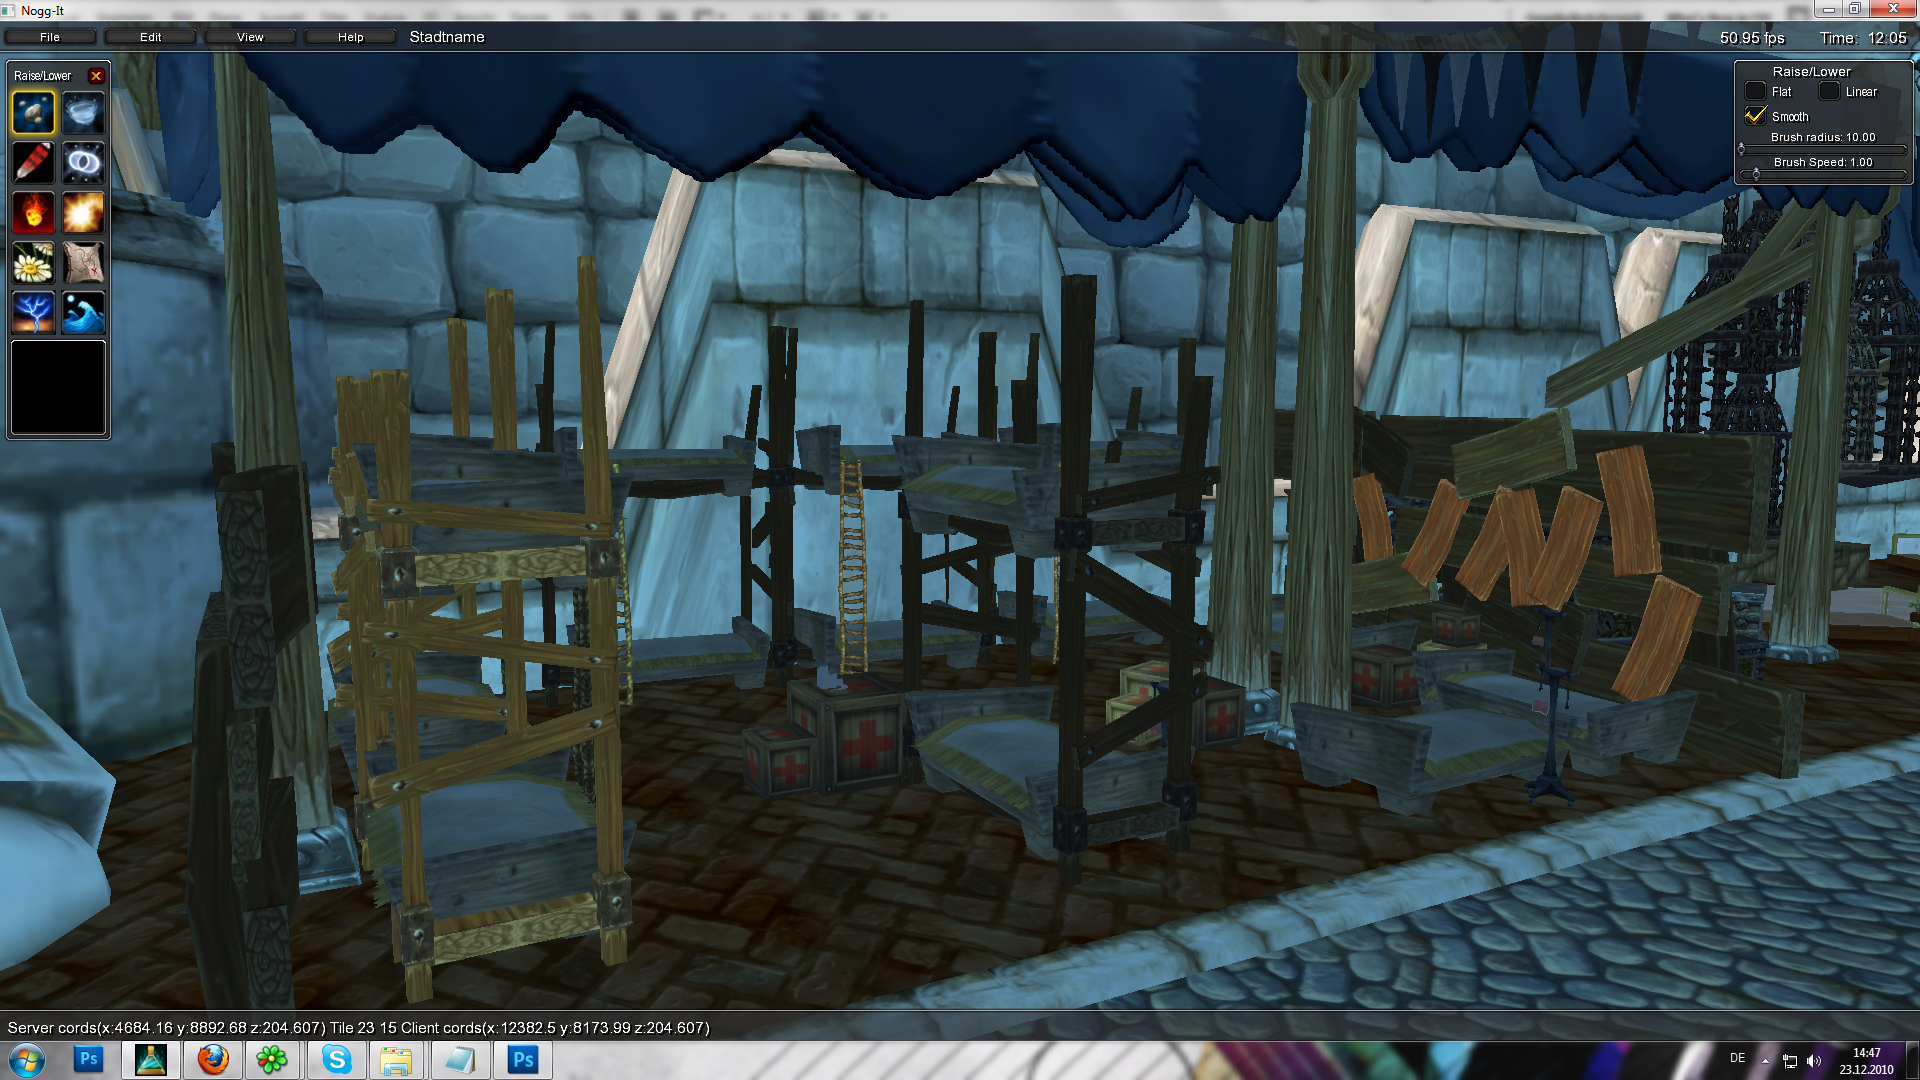 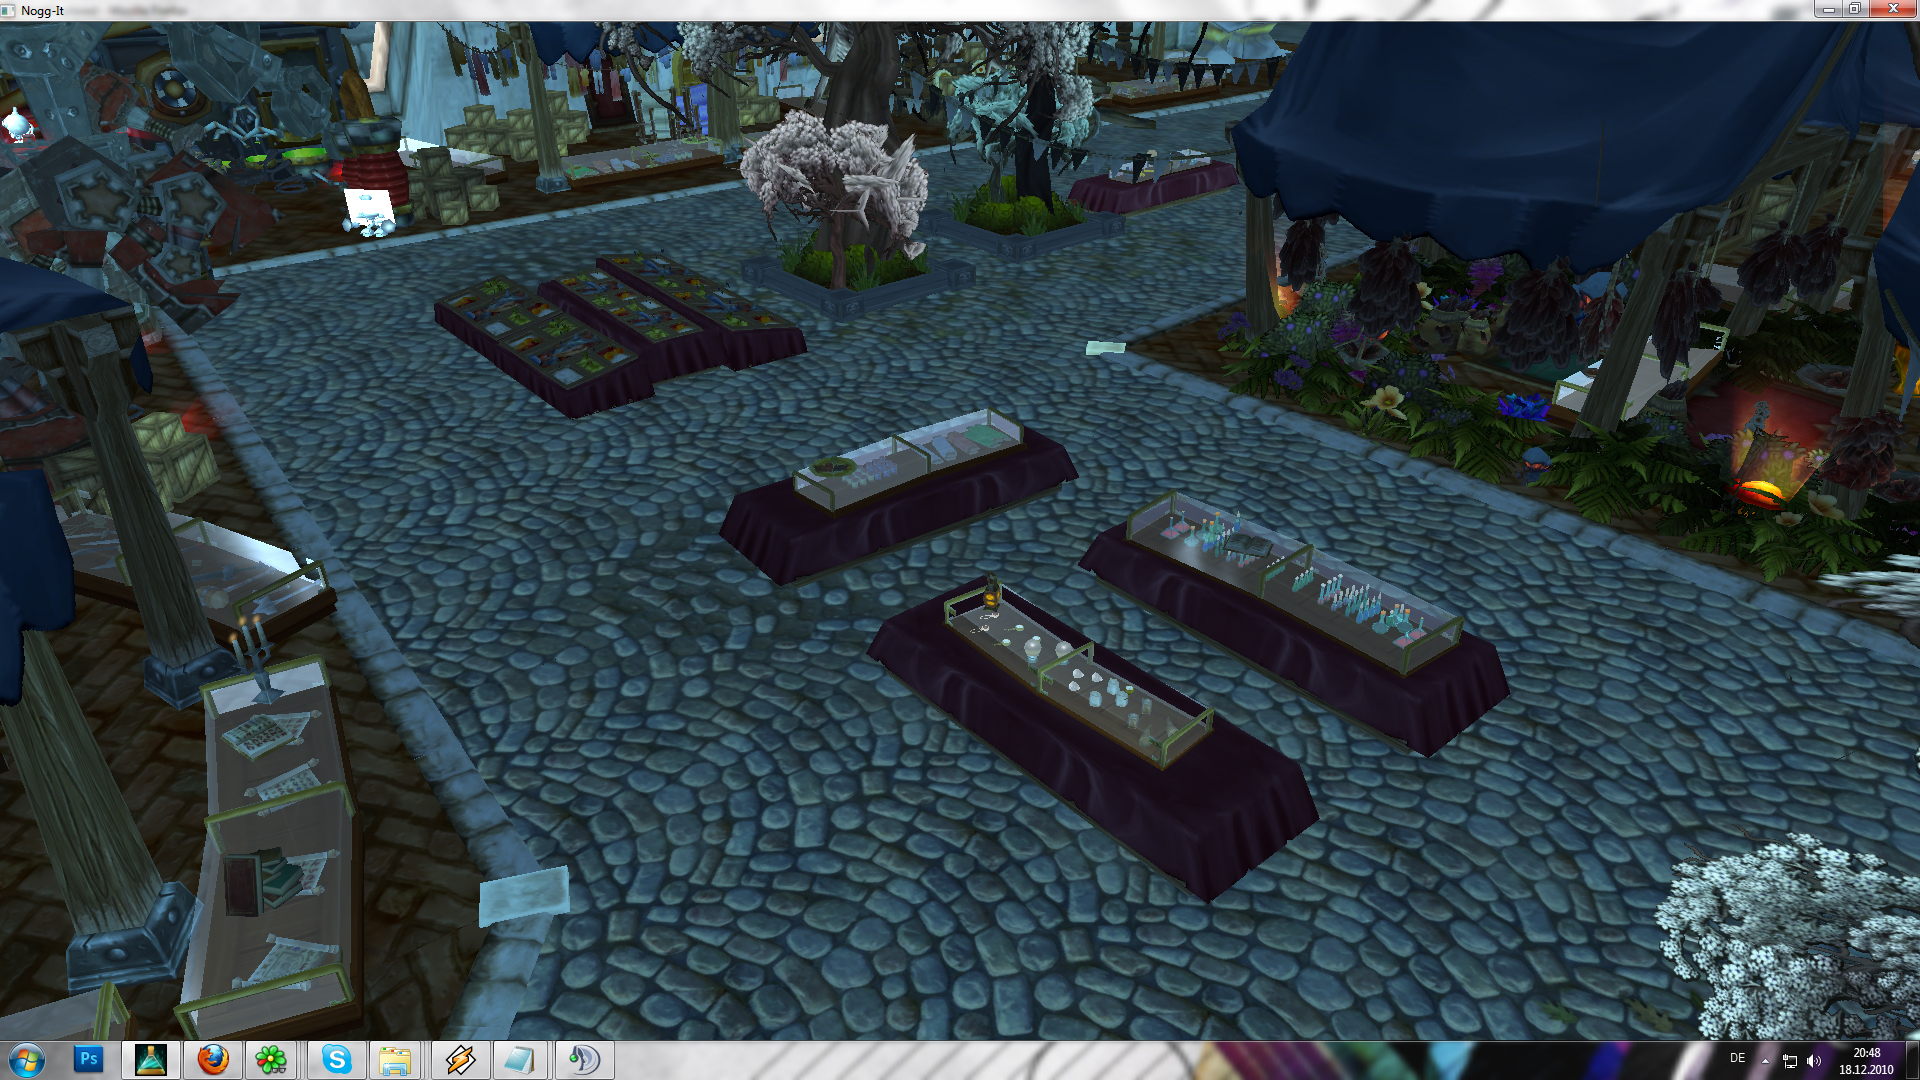 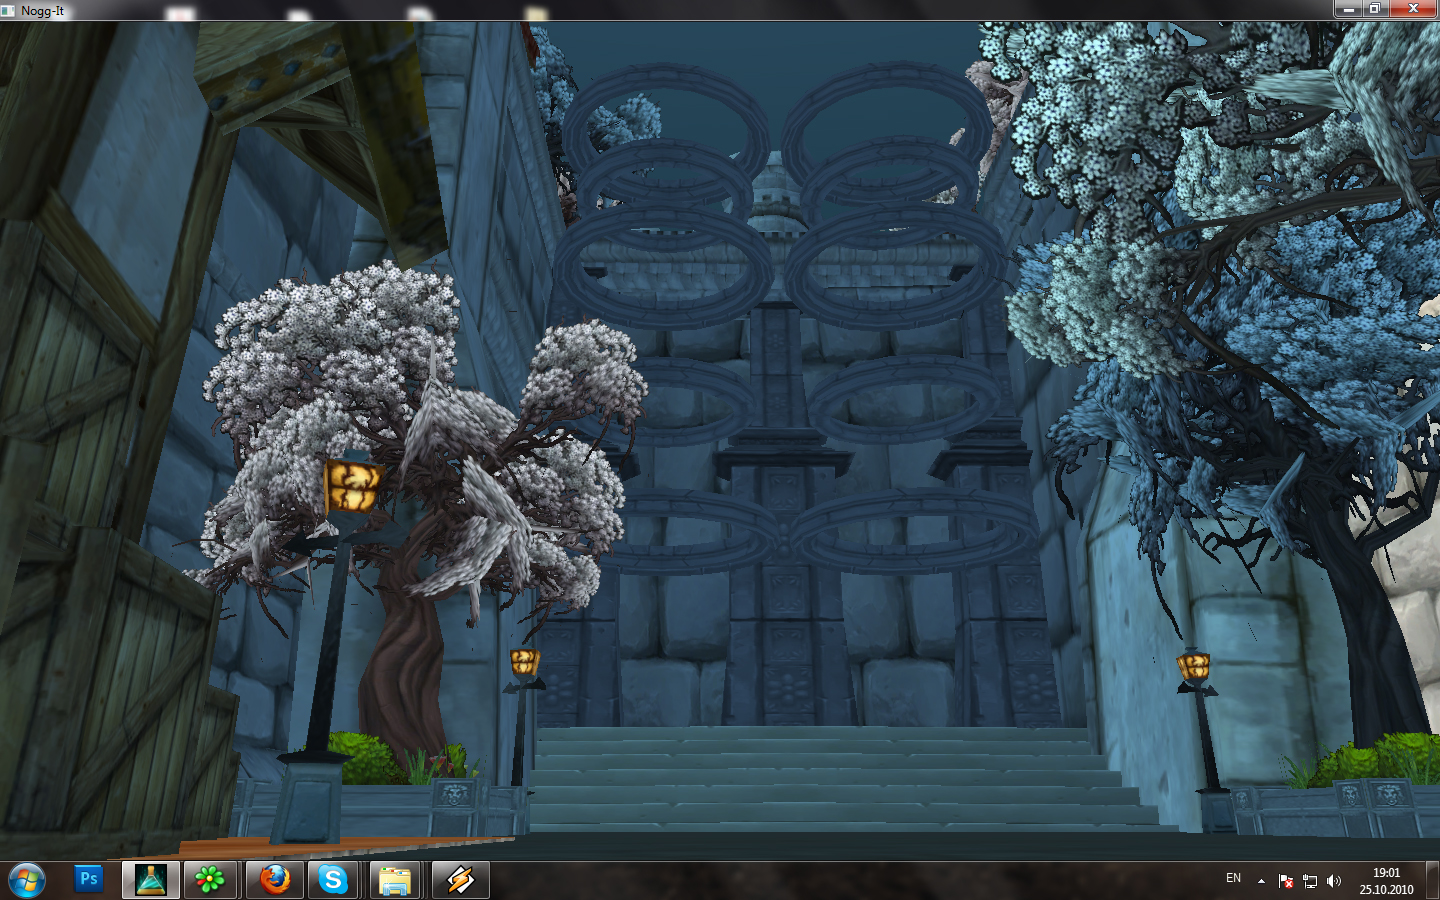 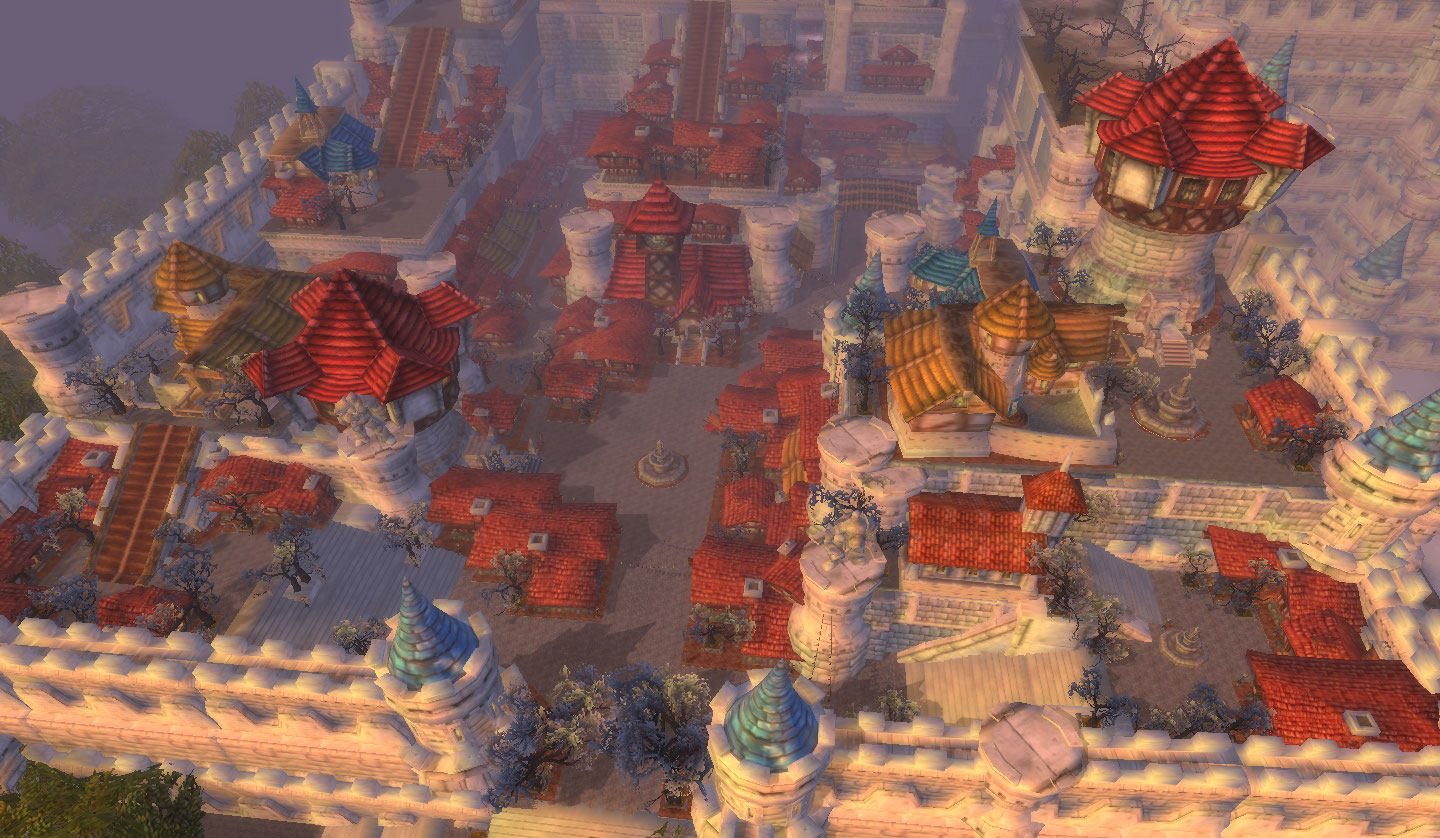 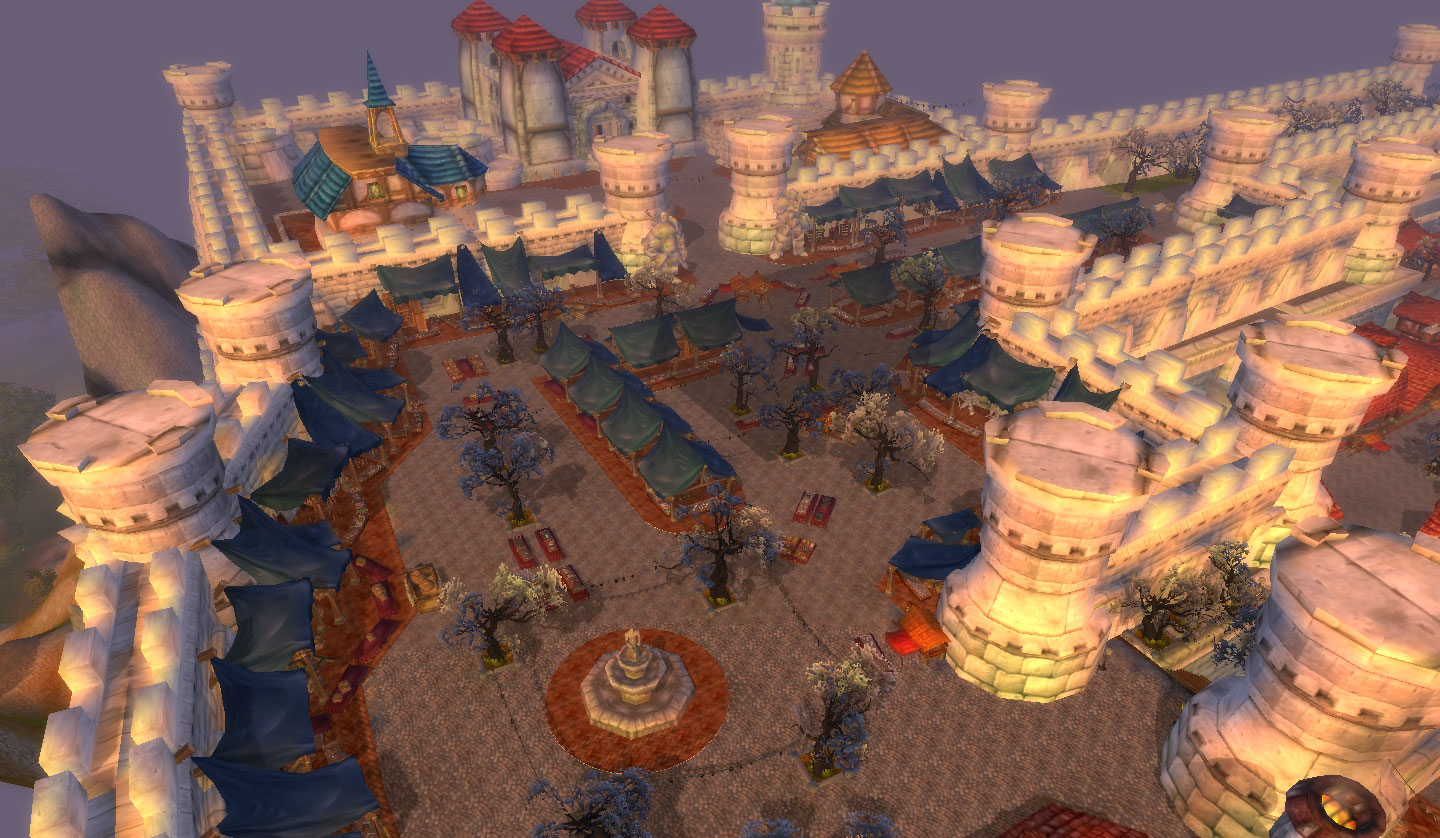 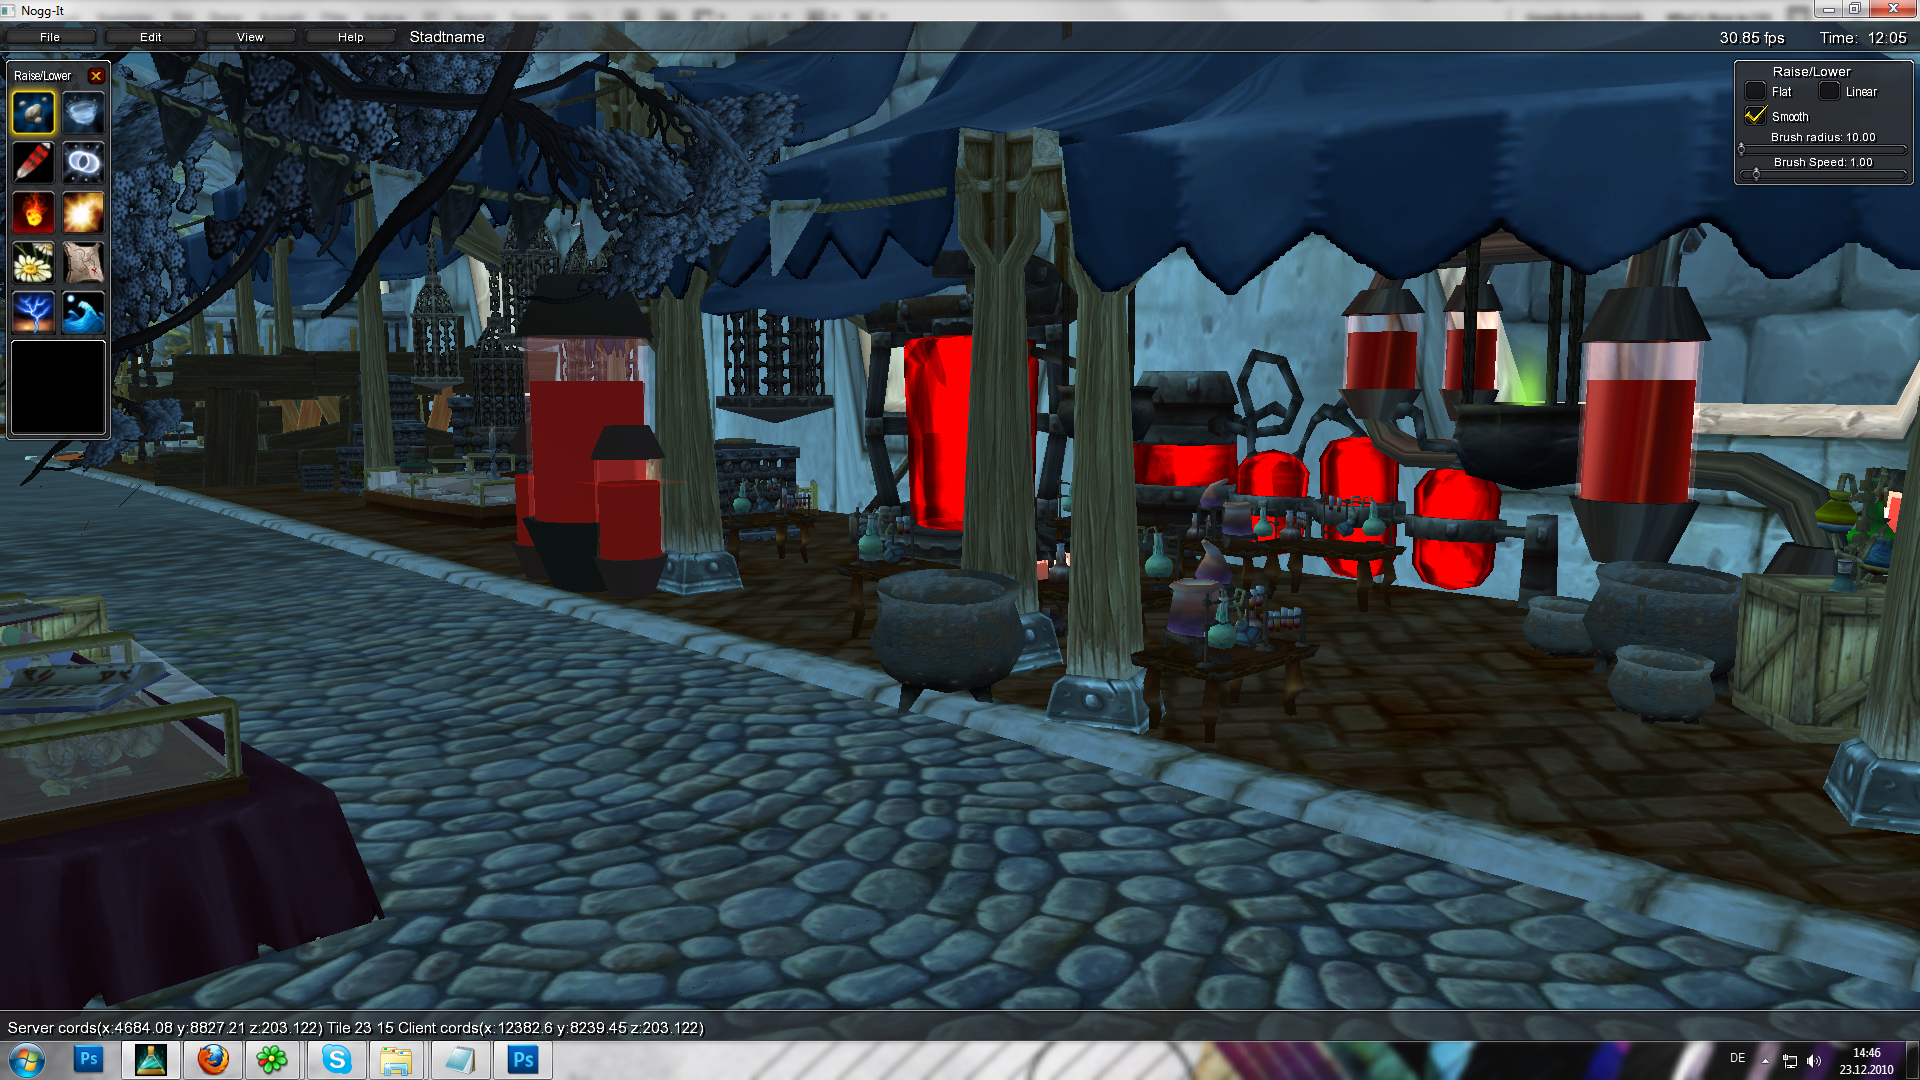 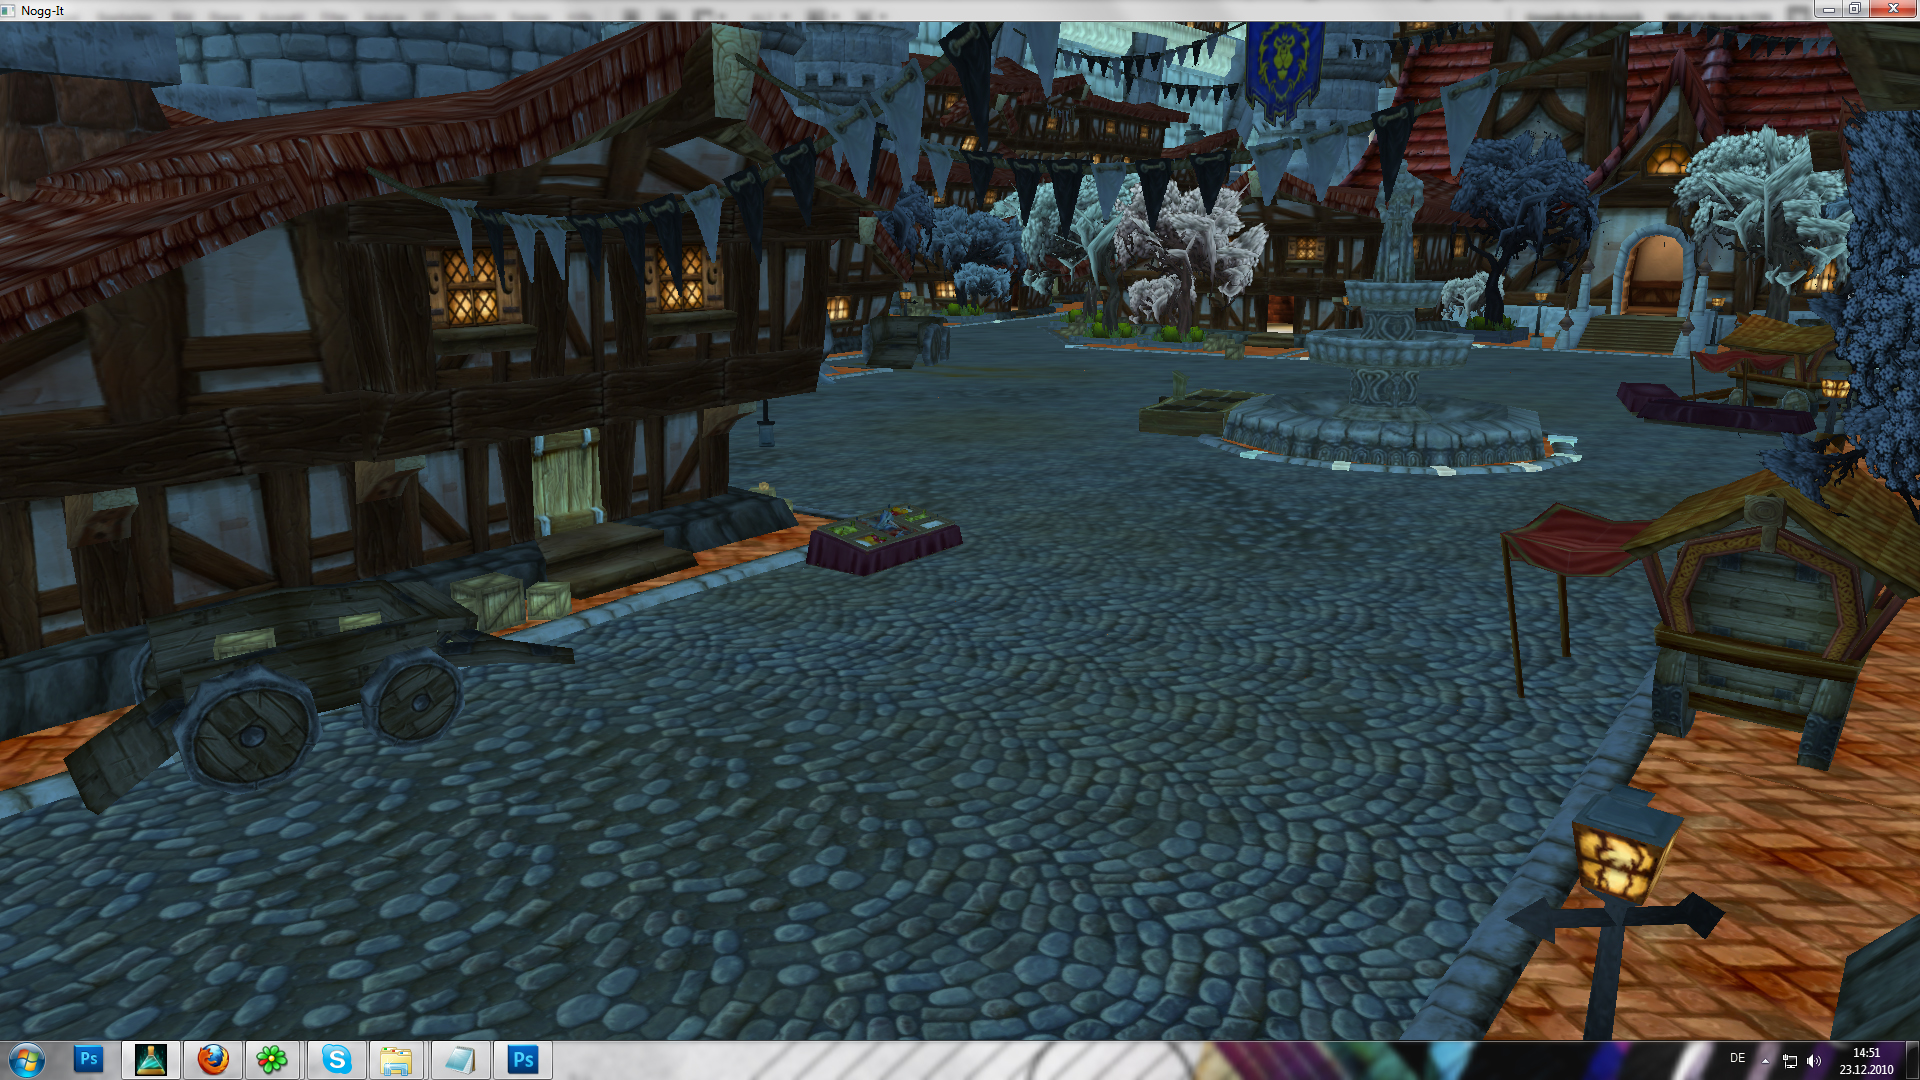 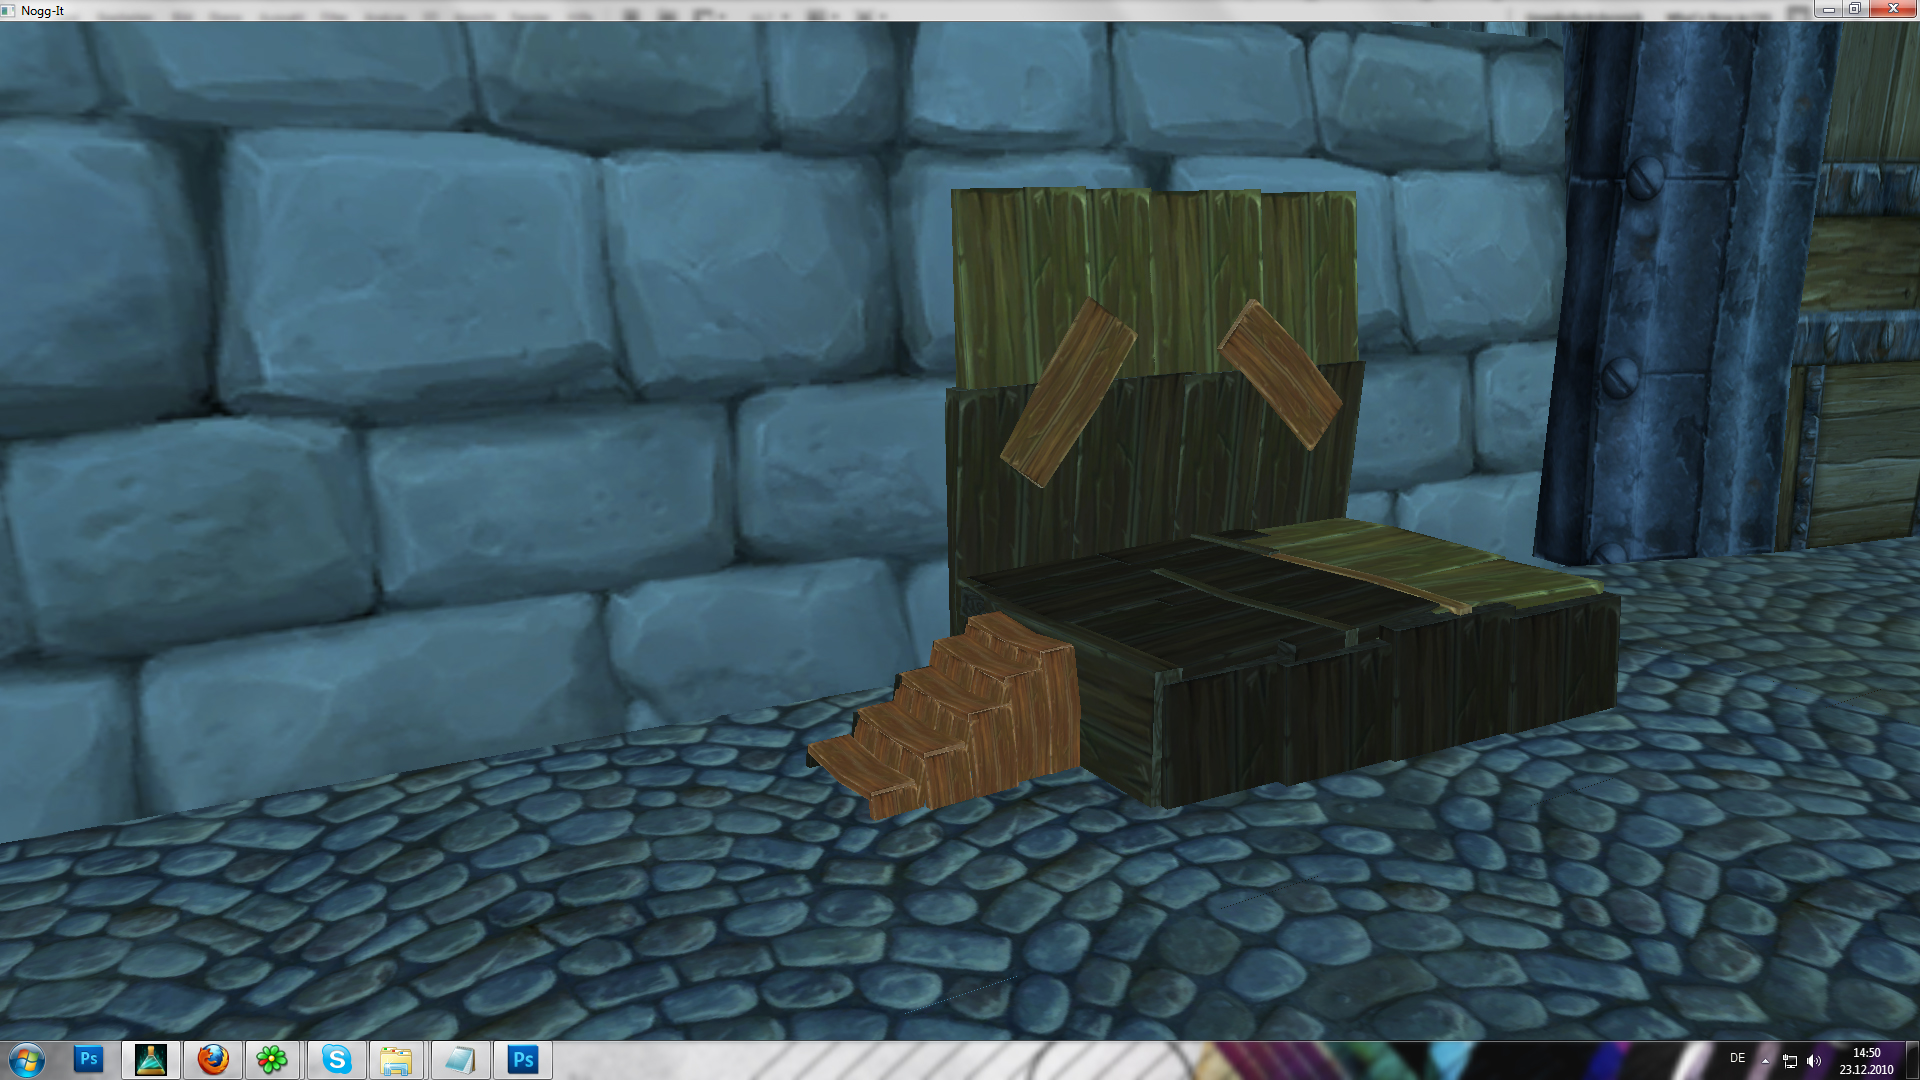 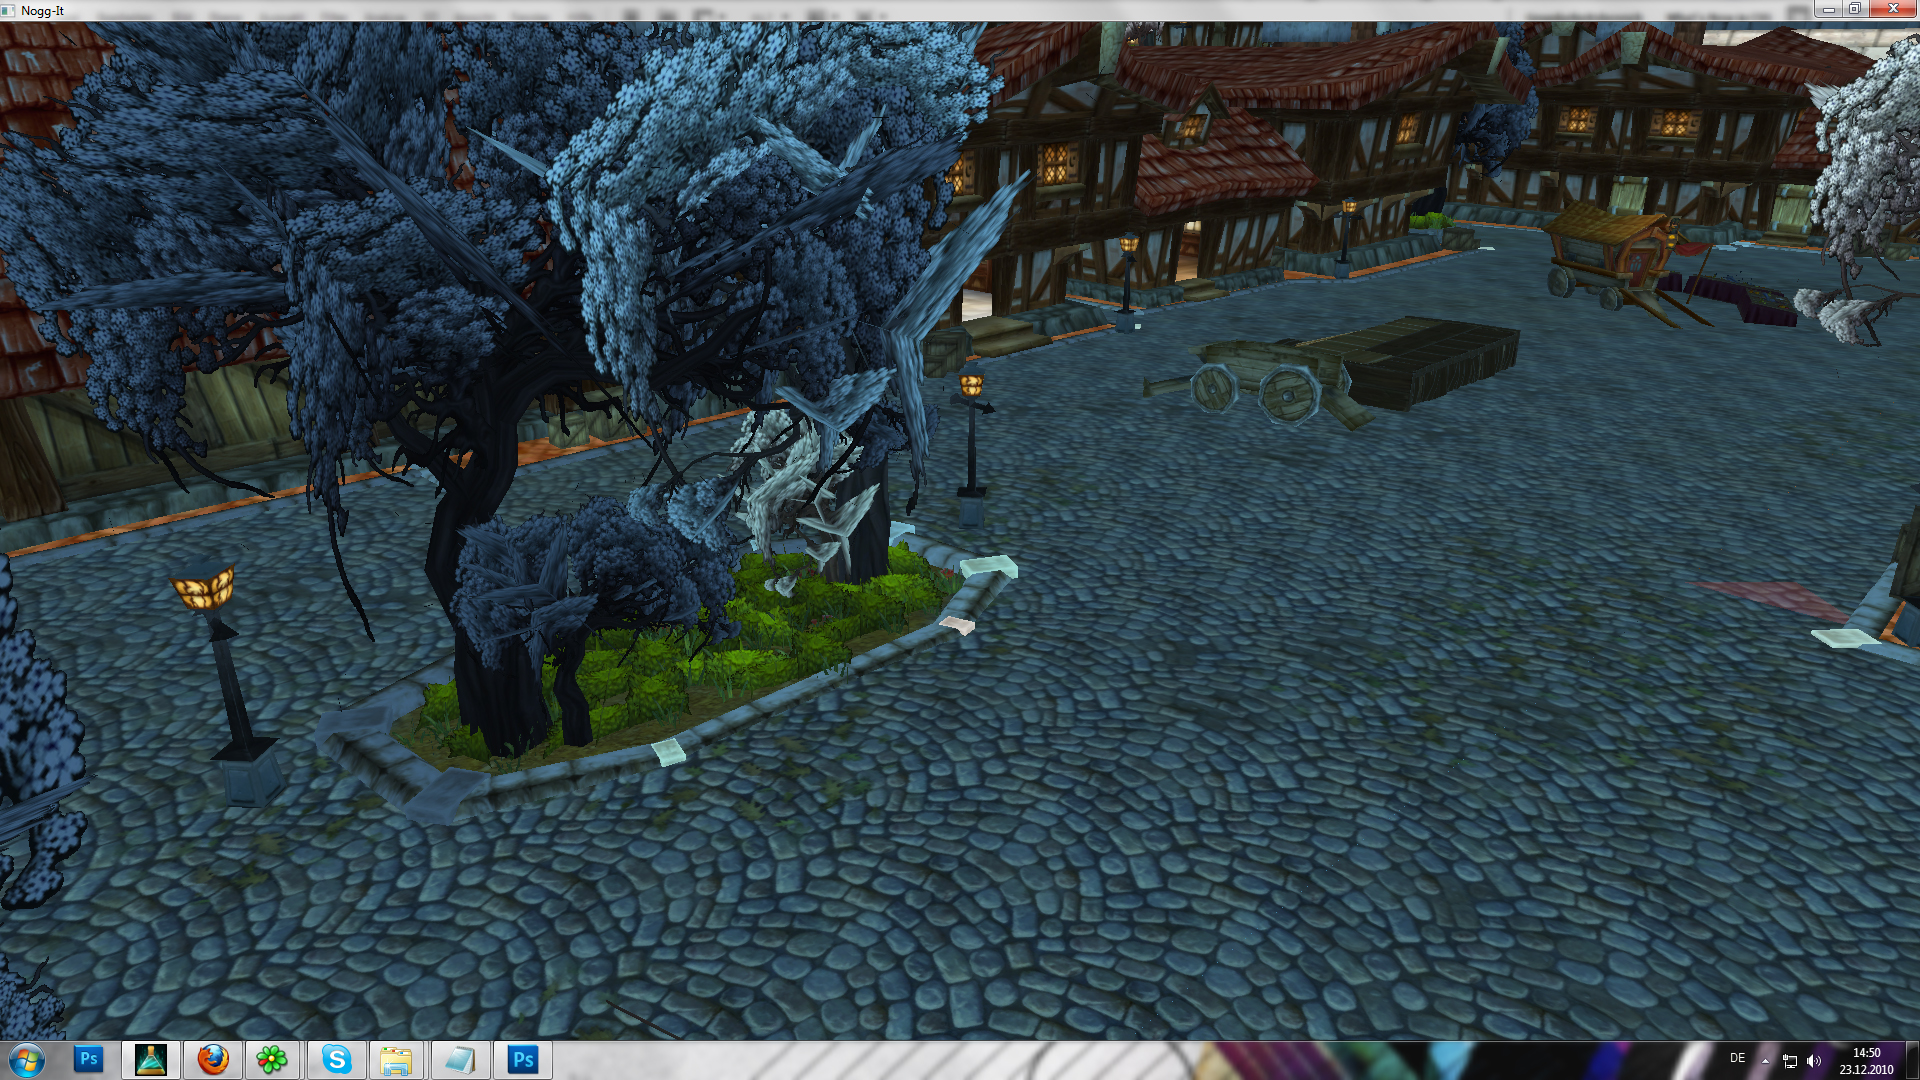 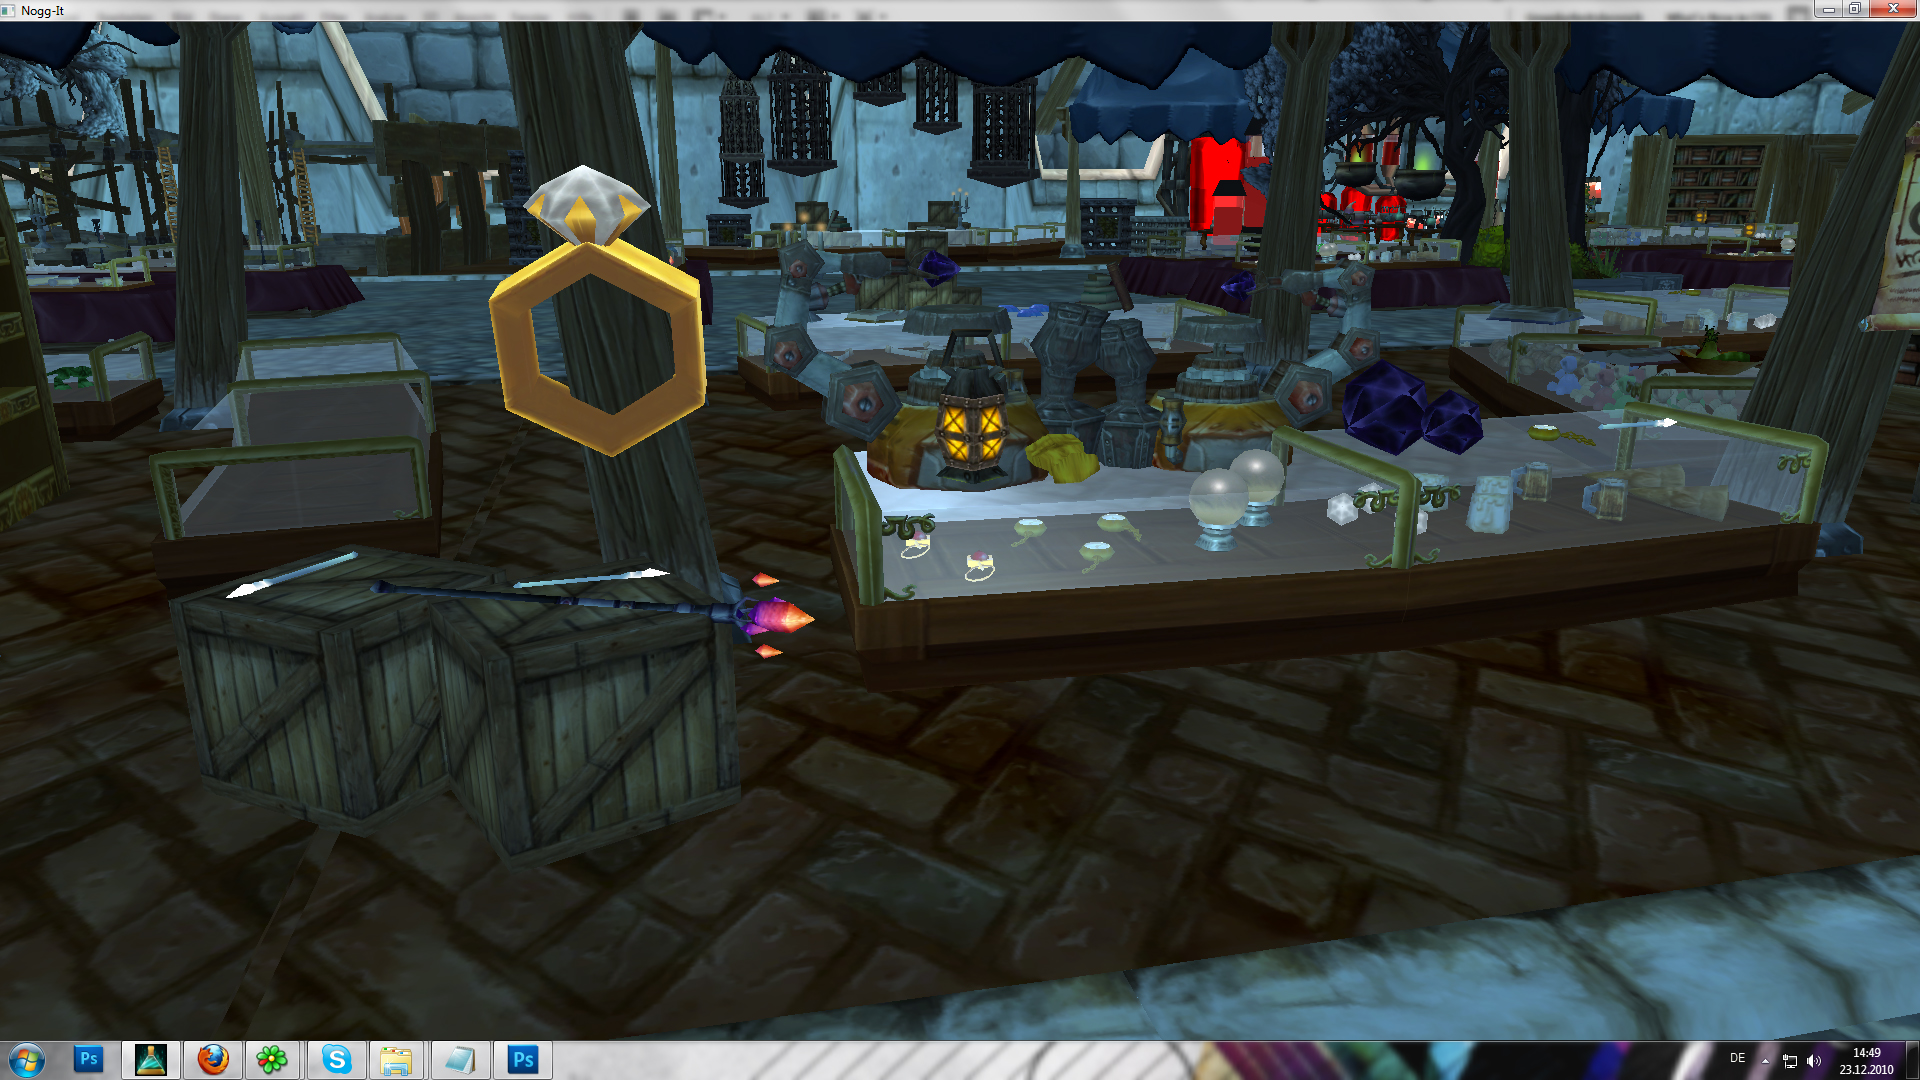 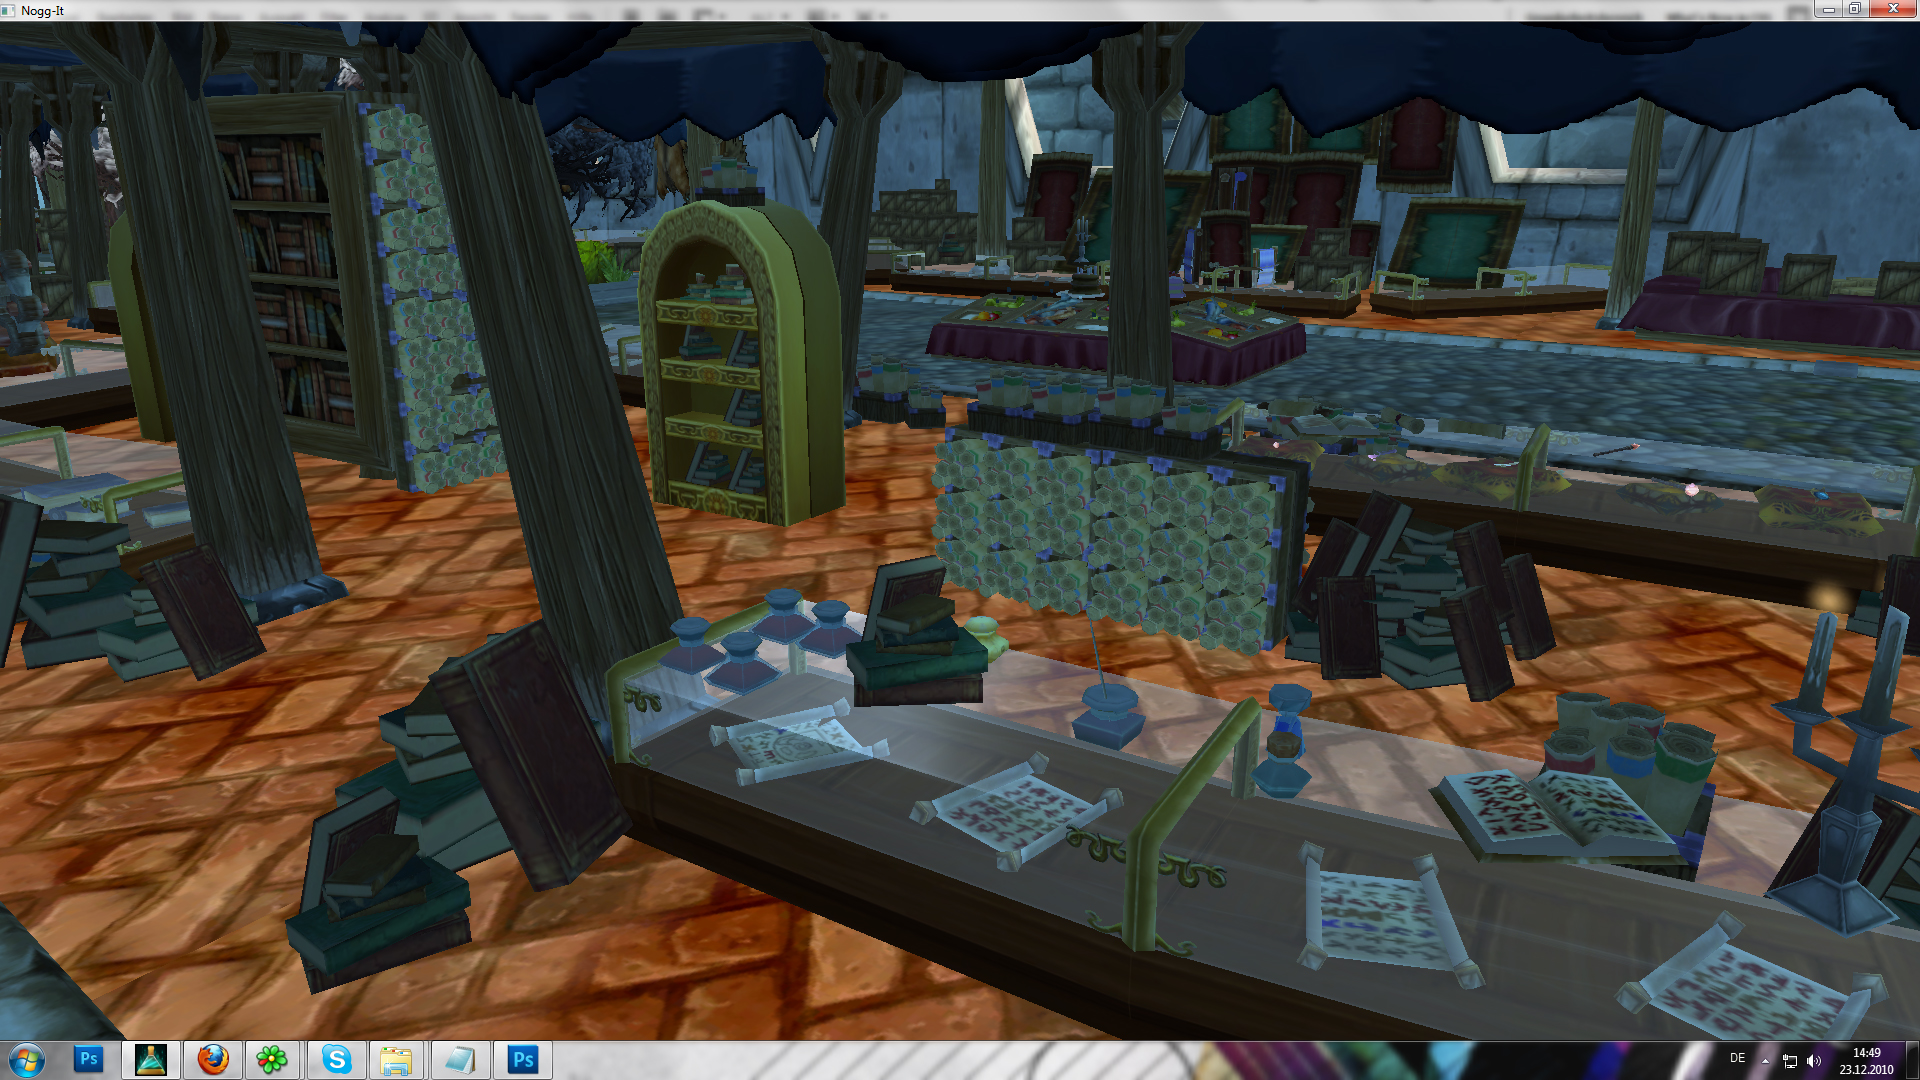 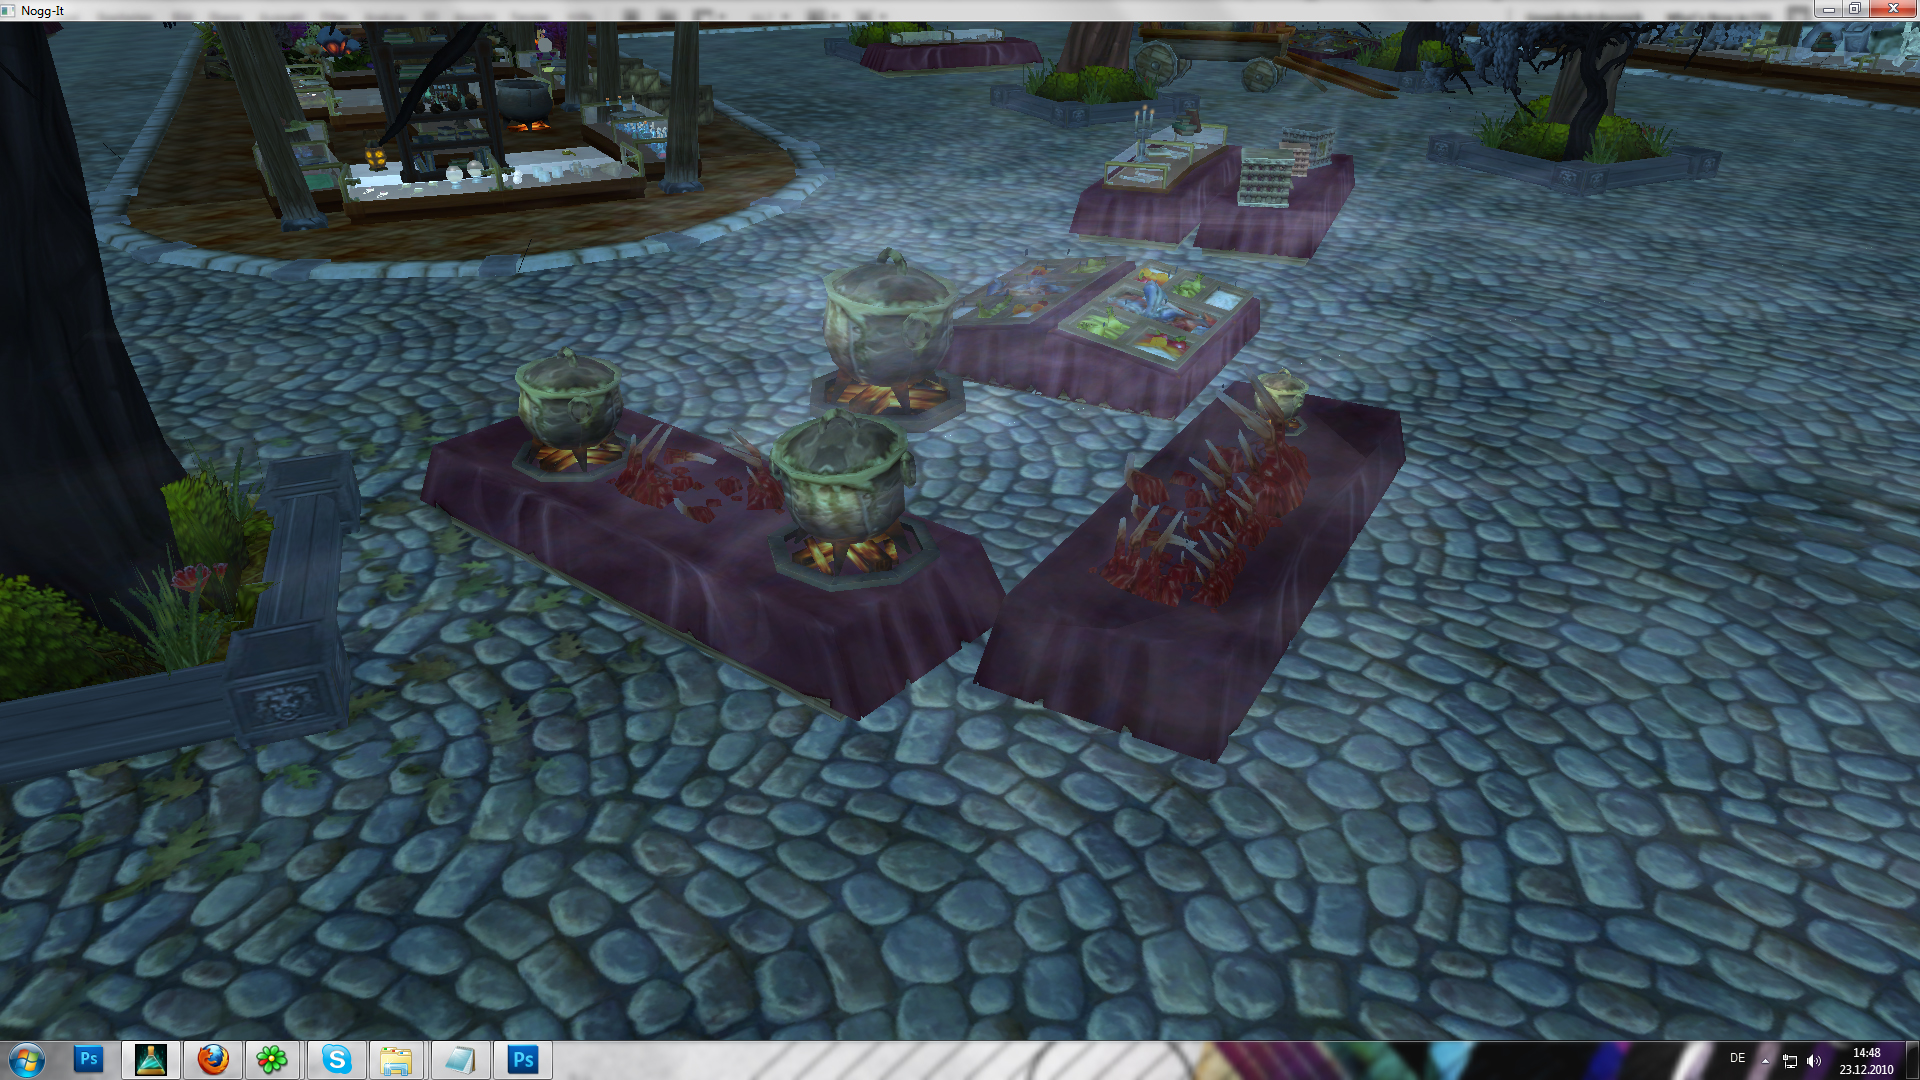 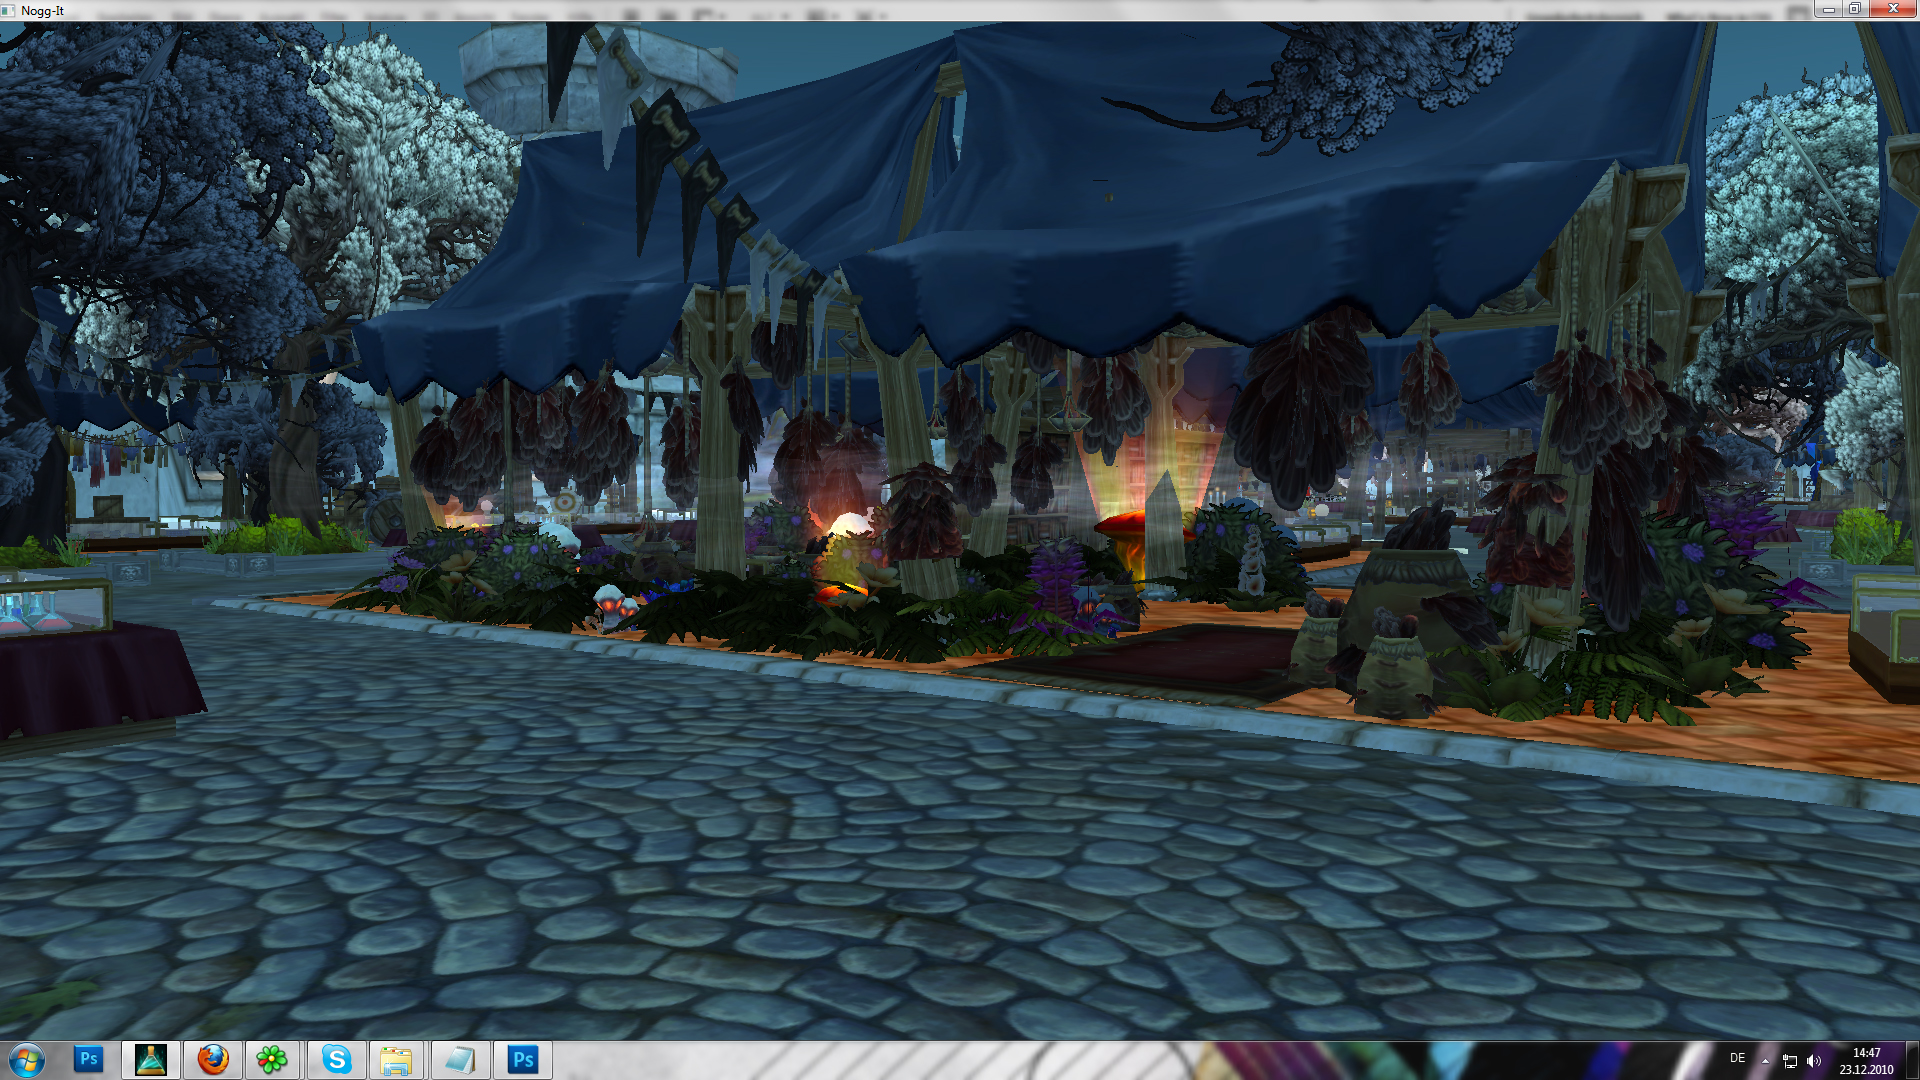 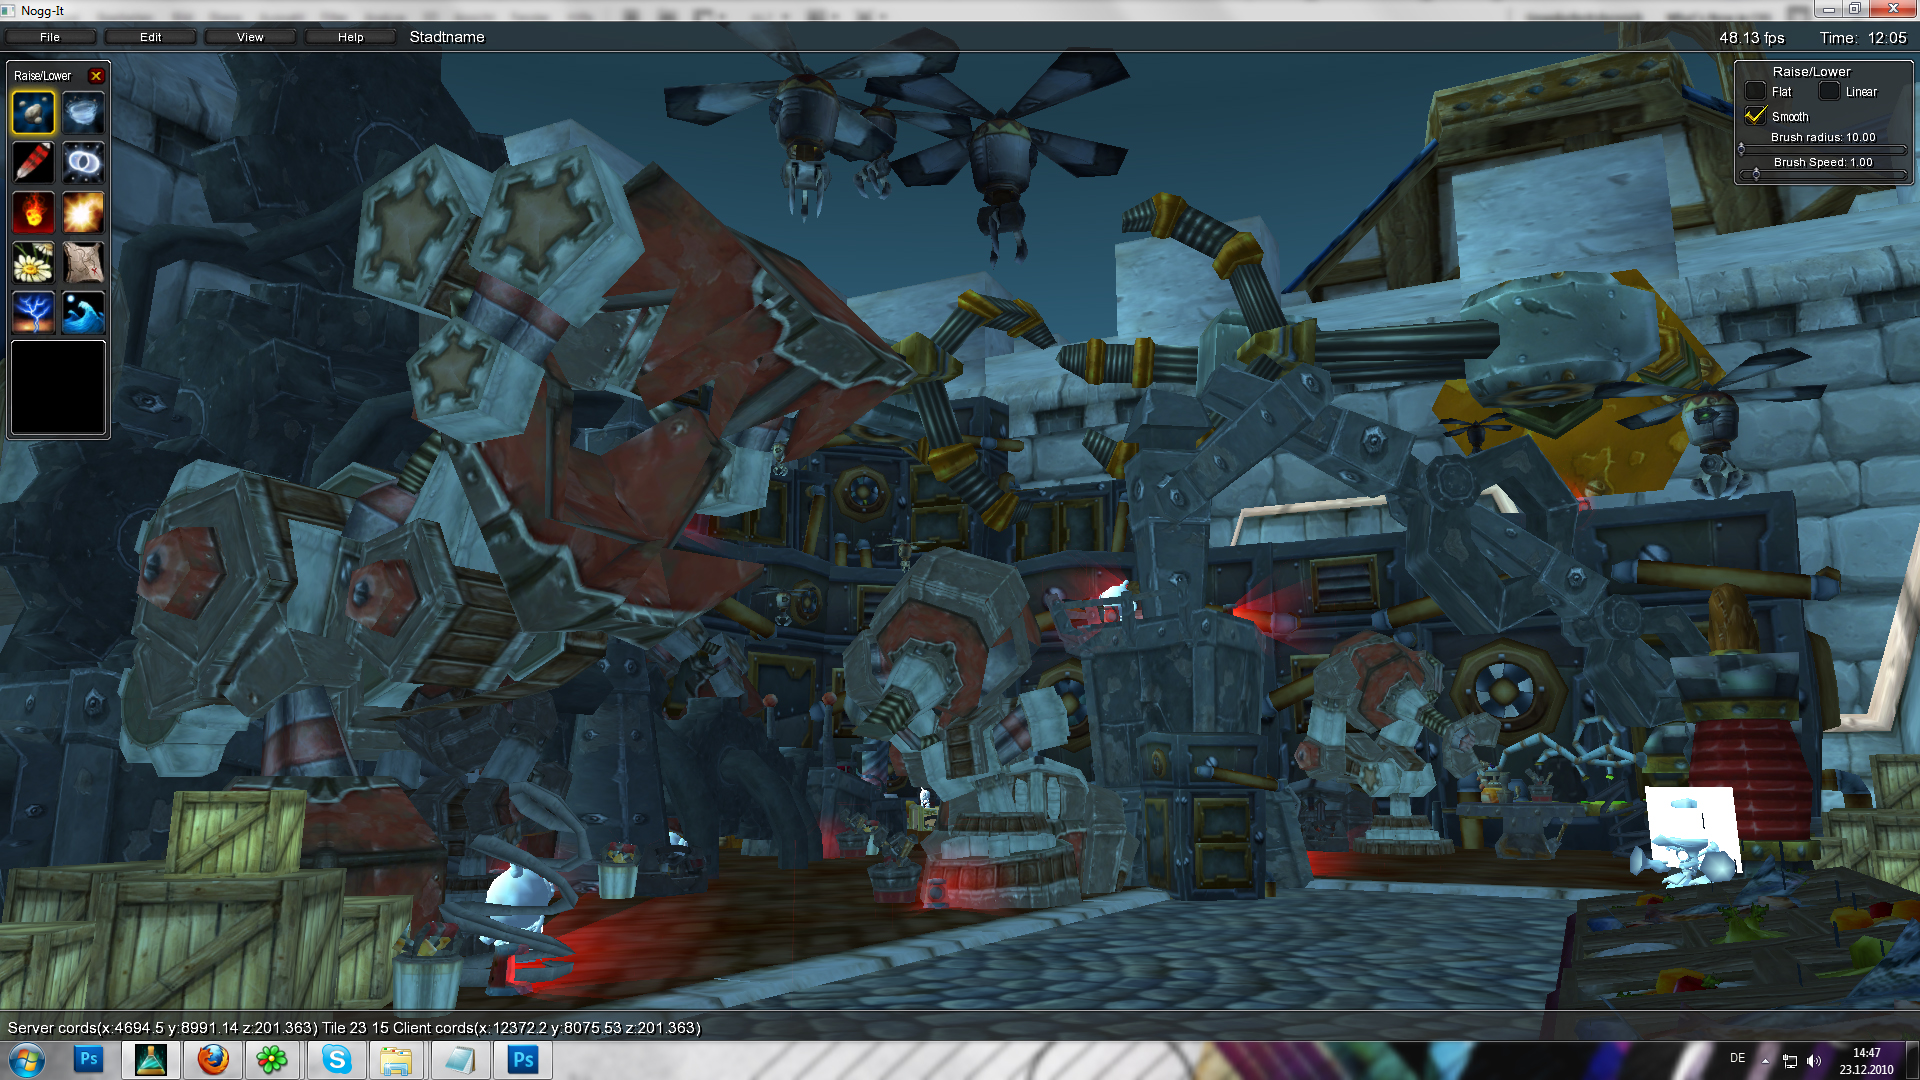    [/spoiler:135nkgz3] [/spoiler:135nkgz3]Outside of the City: I liked the moot that area had. Especially on full moon  [spoiler:135nkgz3] [spoiler:135nkgz3]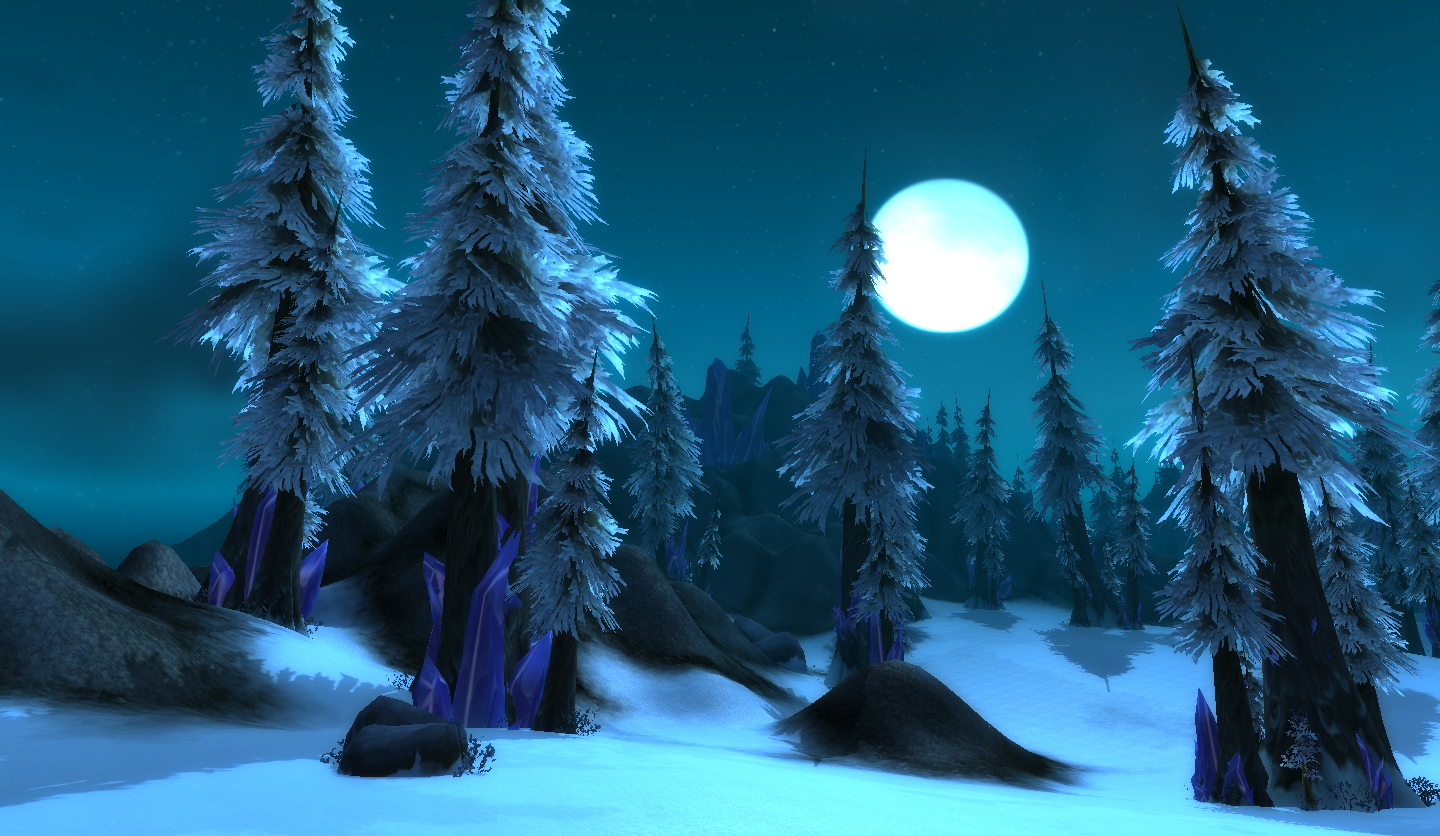 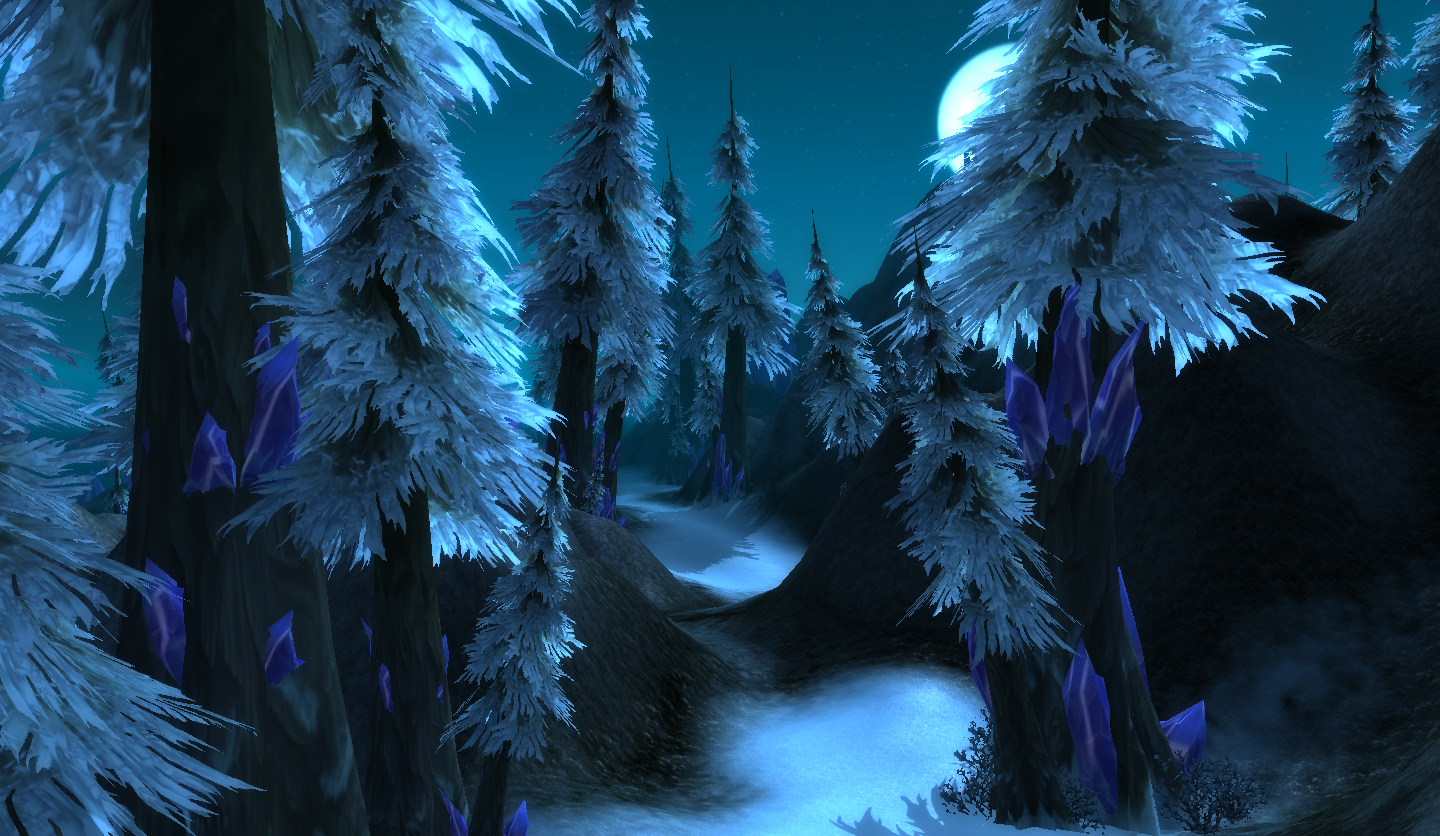 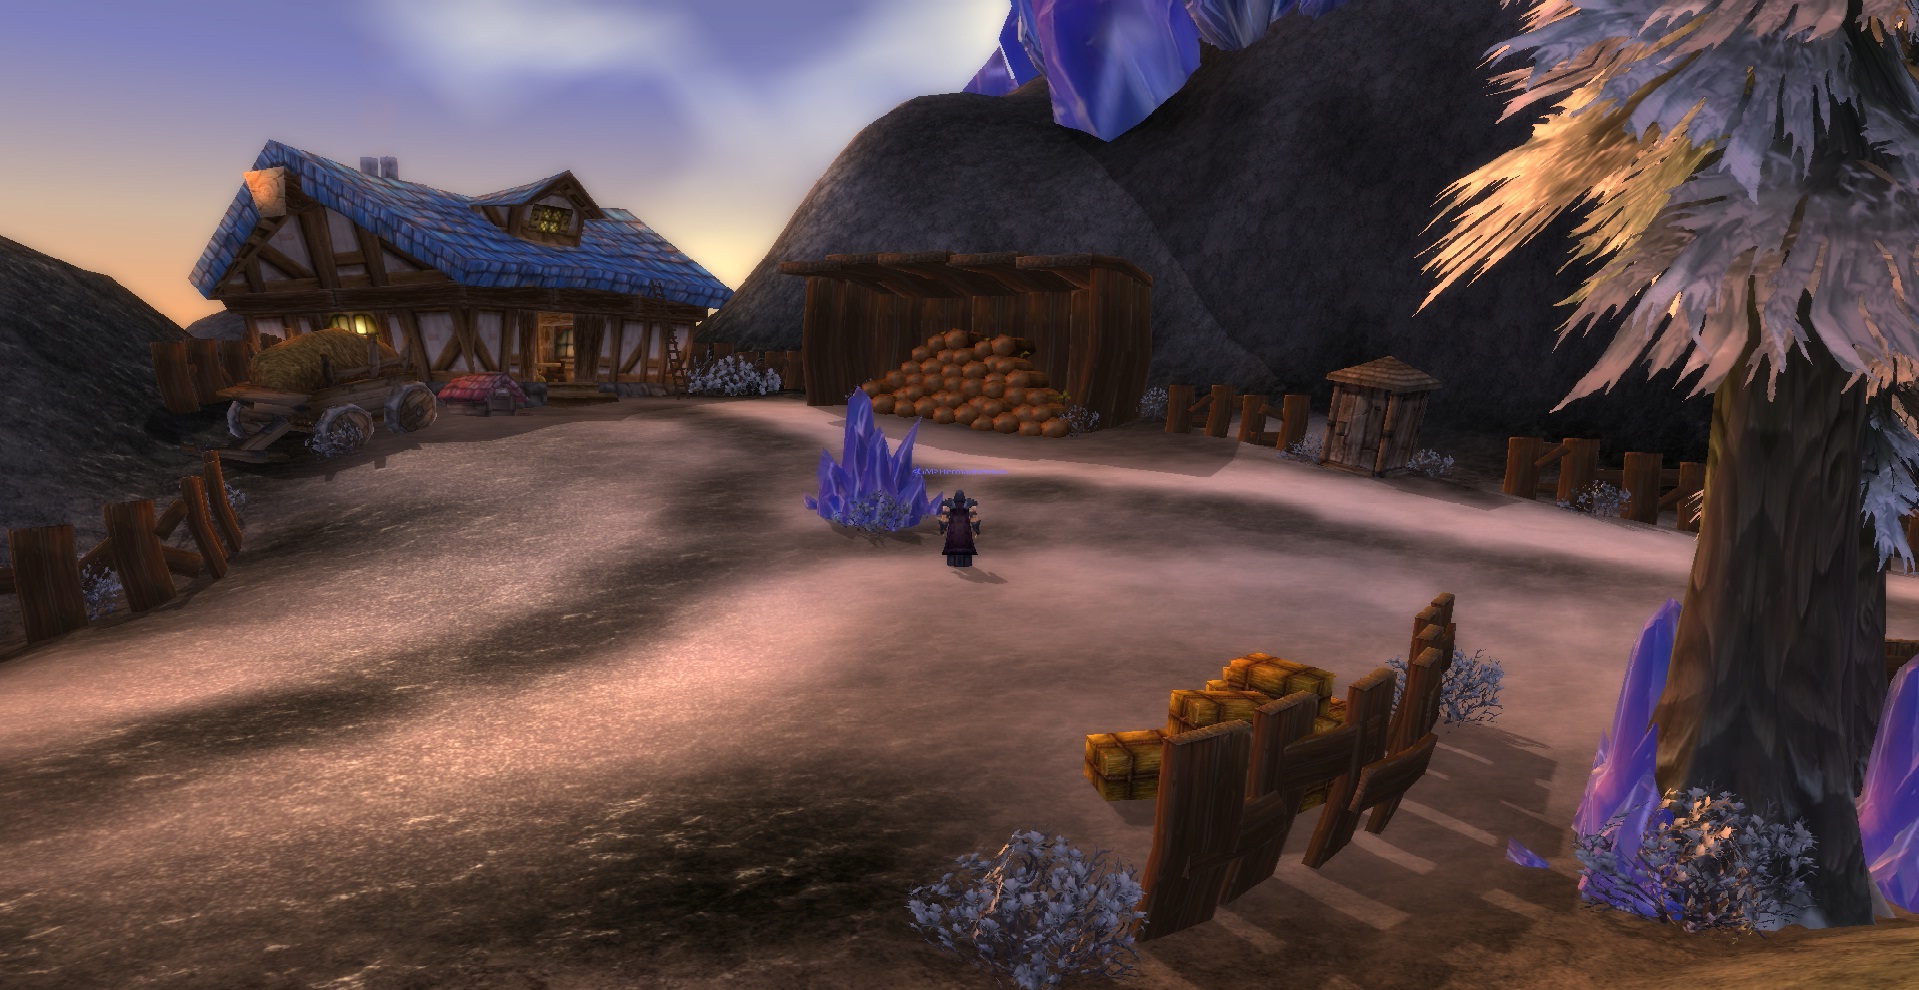 [/spoiler:135nkgz3] [/spoiler:135nkgz3]City Garden: The City Also Had a garden which consisted of a little garden with a house, of a waterfall and its river and also a Labyrinth [spoiler:135nkgz3] 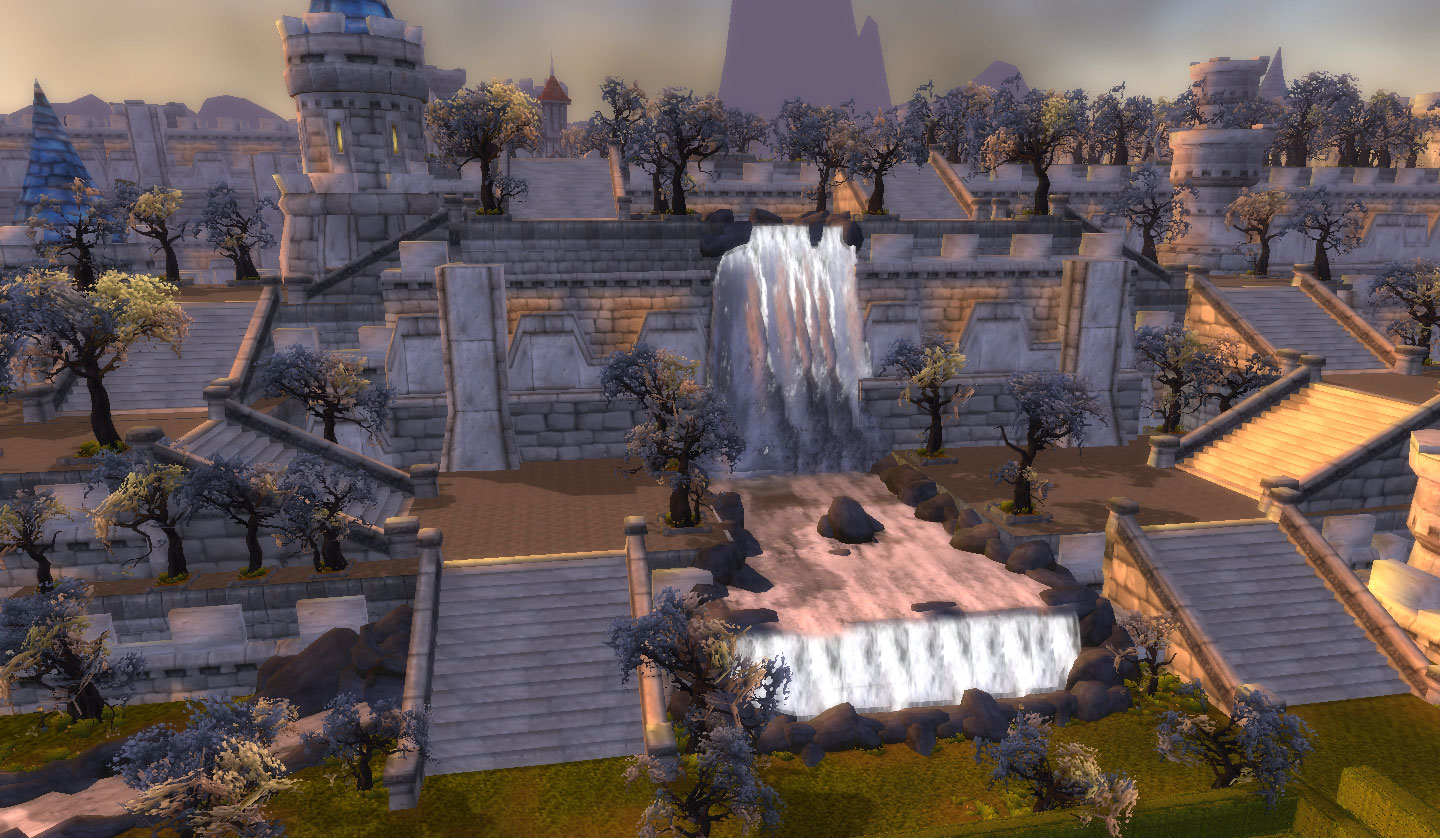 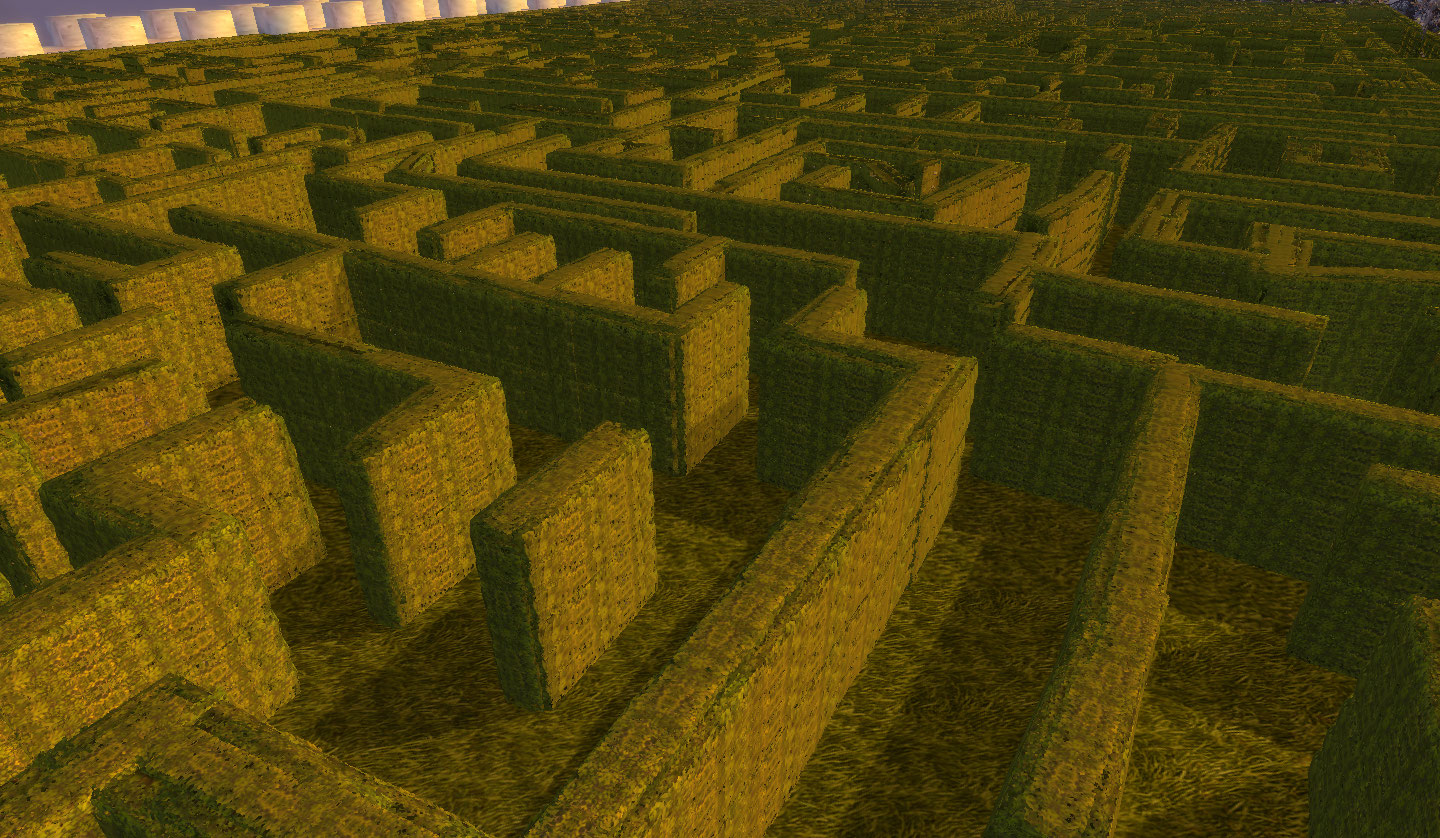 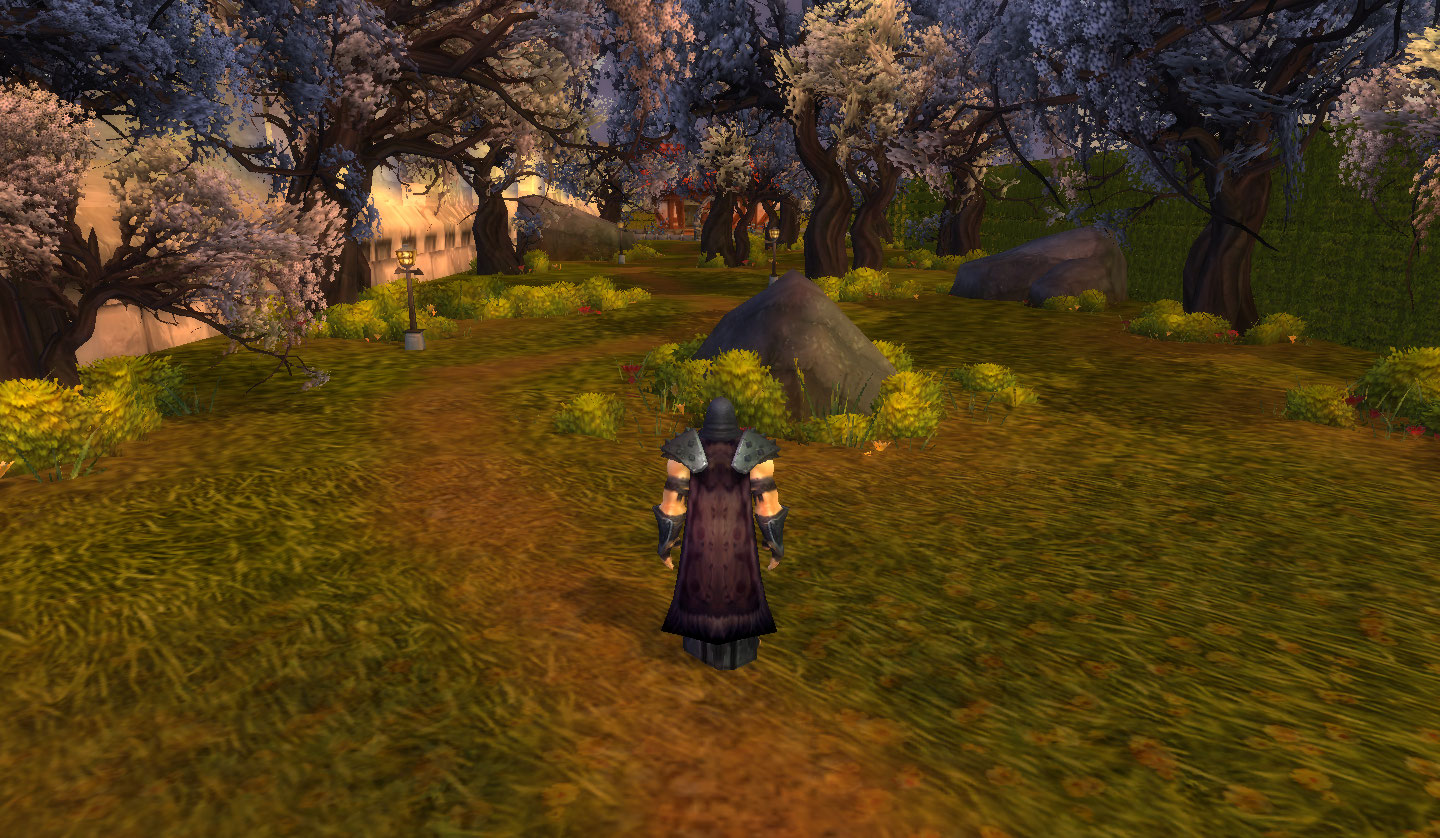 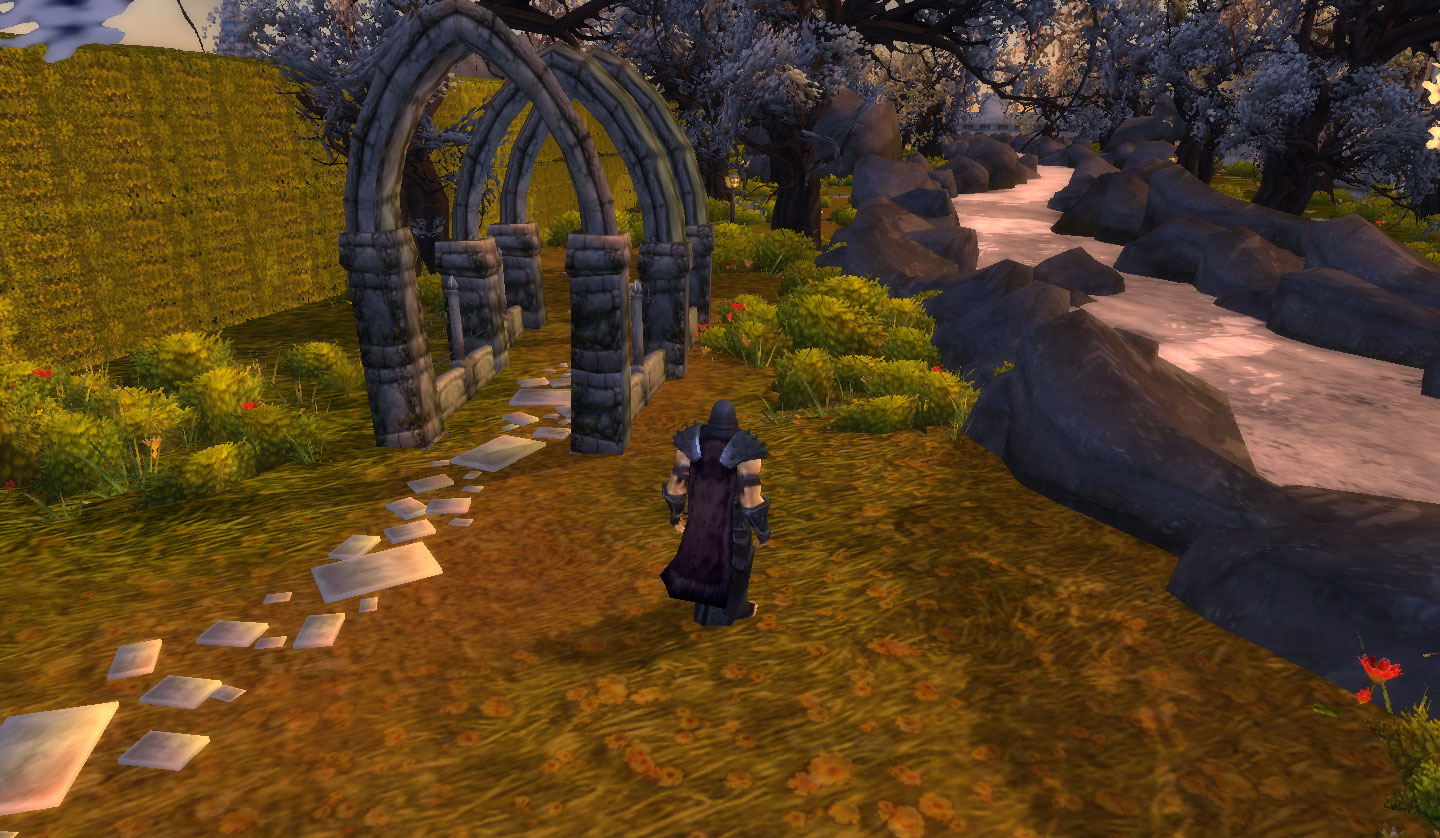 [/spoiler:135nkgz3] [/spoiler:135nkgz3]Vampire Insula Then there is the insula that i did for a tutorial: 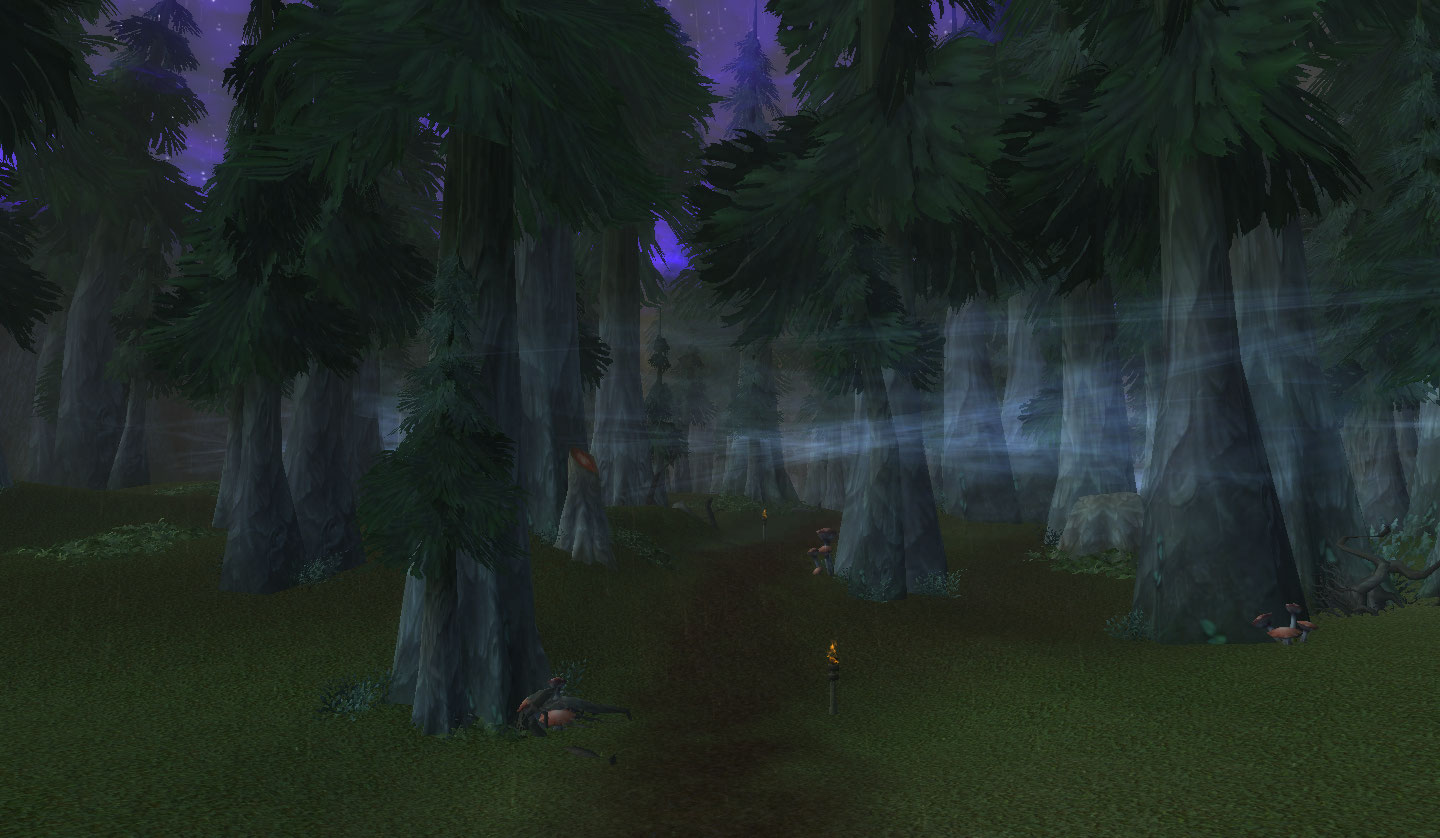 Which ended being a part of MCA IV like the fortress(my city) [youtube:135nkgz3]http://www.youtube.com/watch?v=Hx8ApkL2Qdc[/youtube:135nkgz3] Area 1: This was a area i created for a little project with jack and schlumpf,which died as we all din't have enough time anymore  [spoiler:135nkgz3] 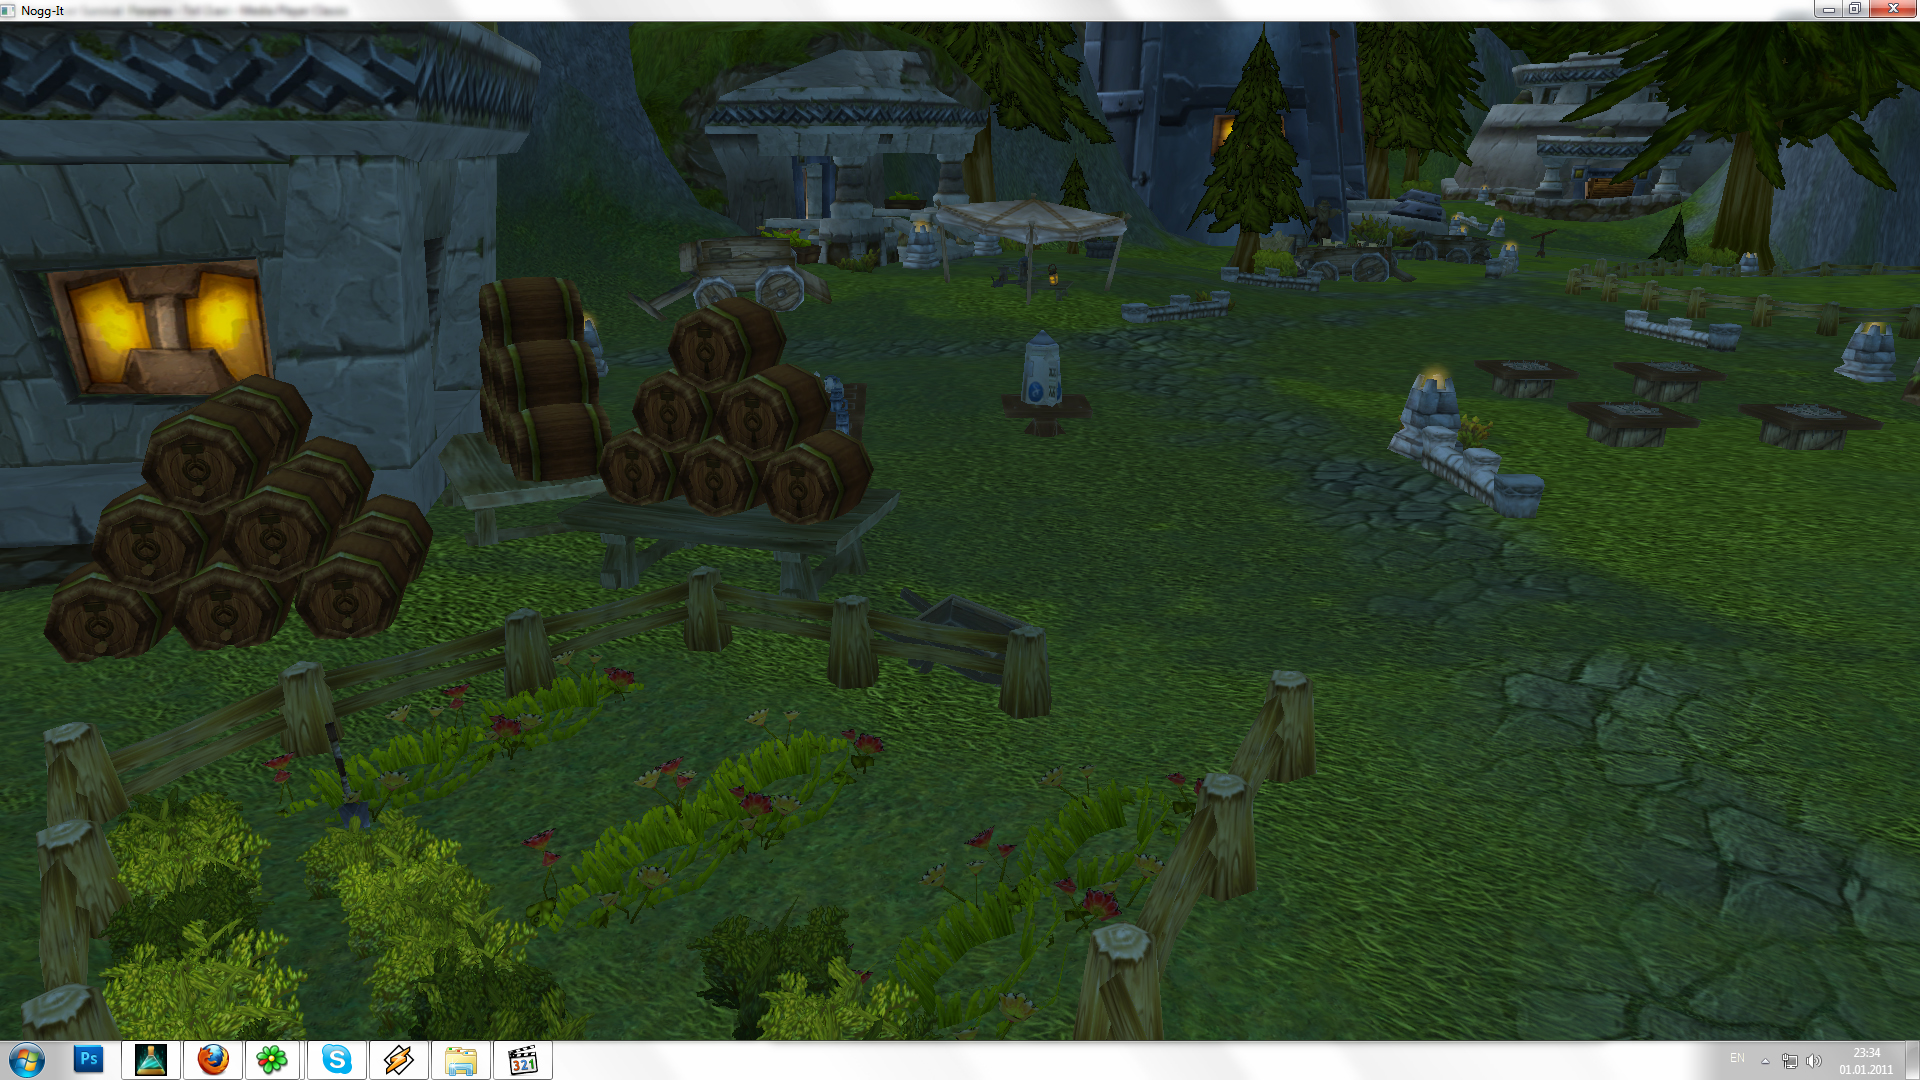 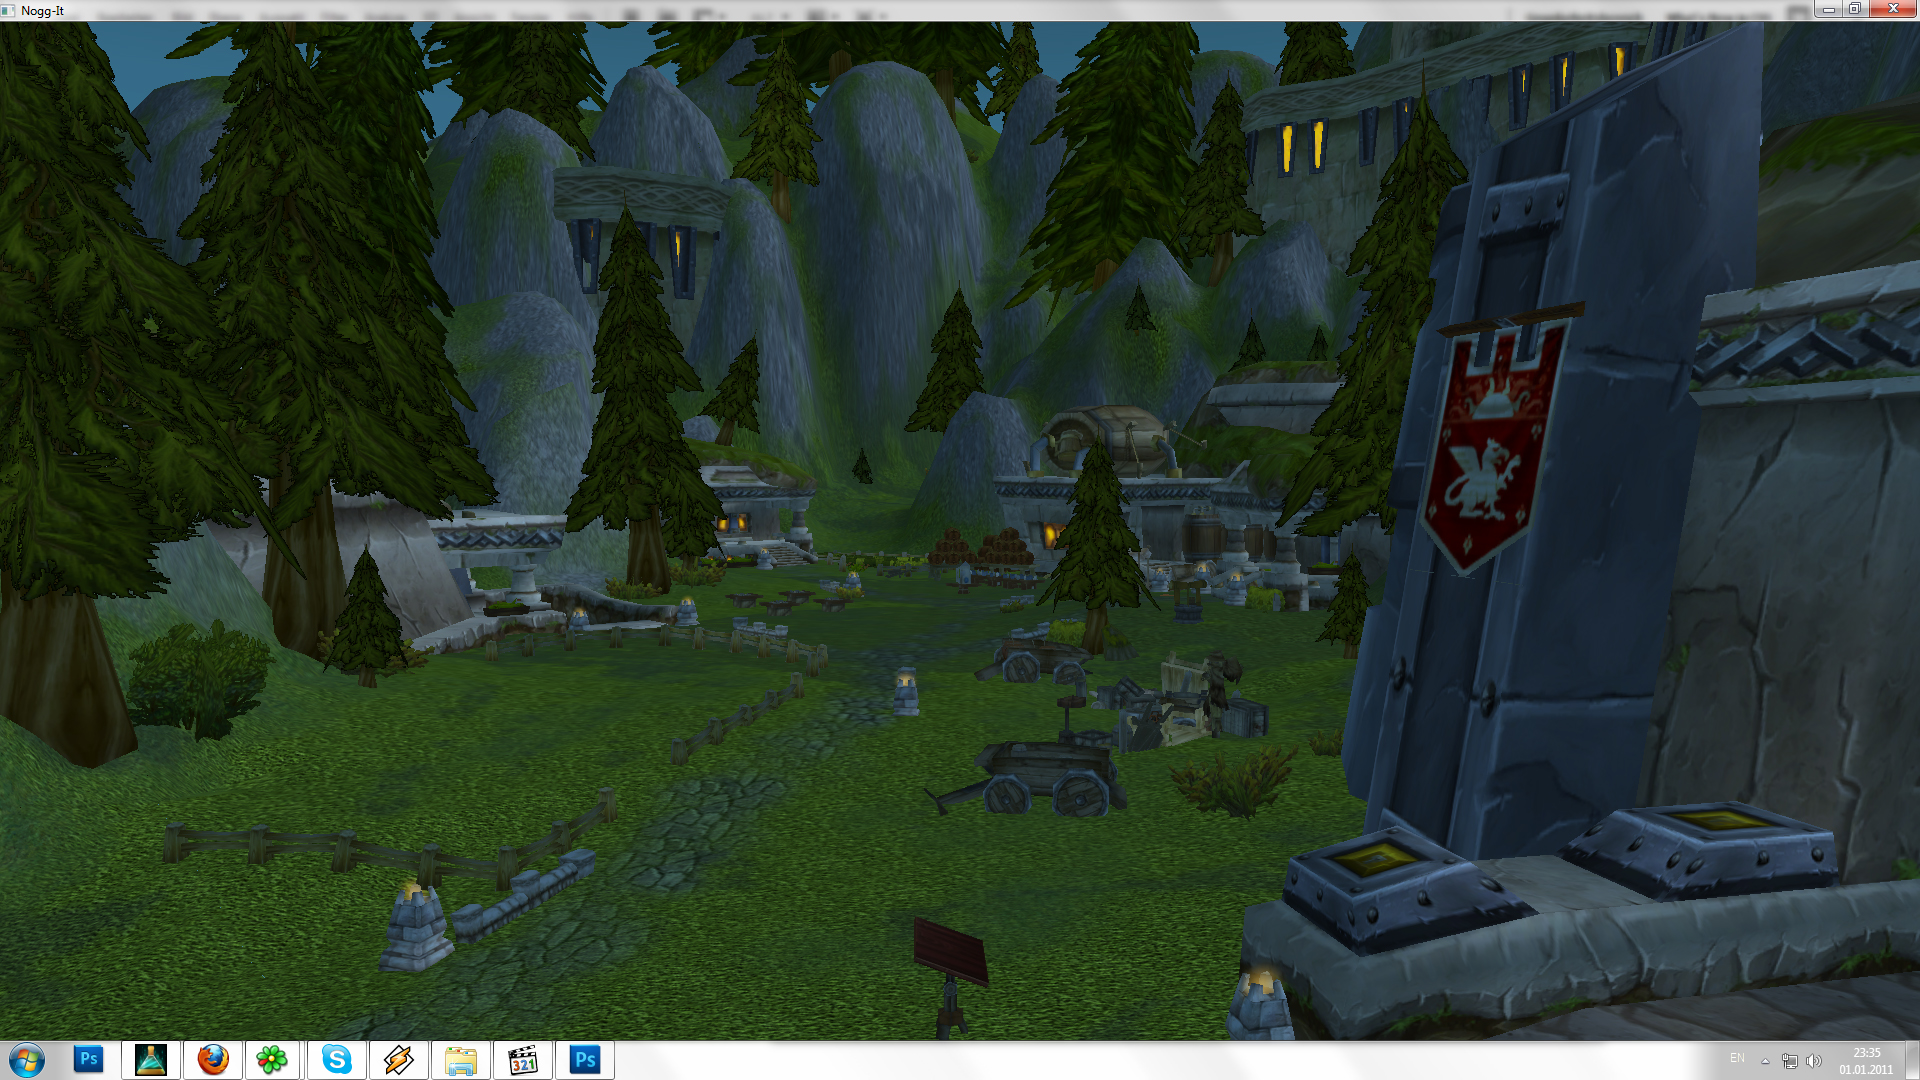 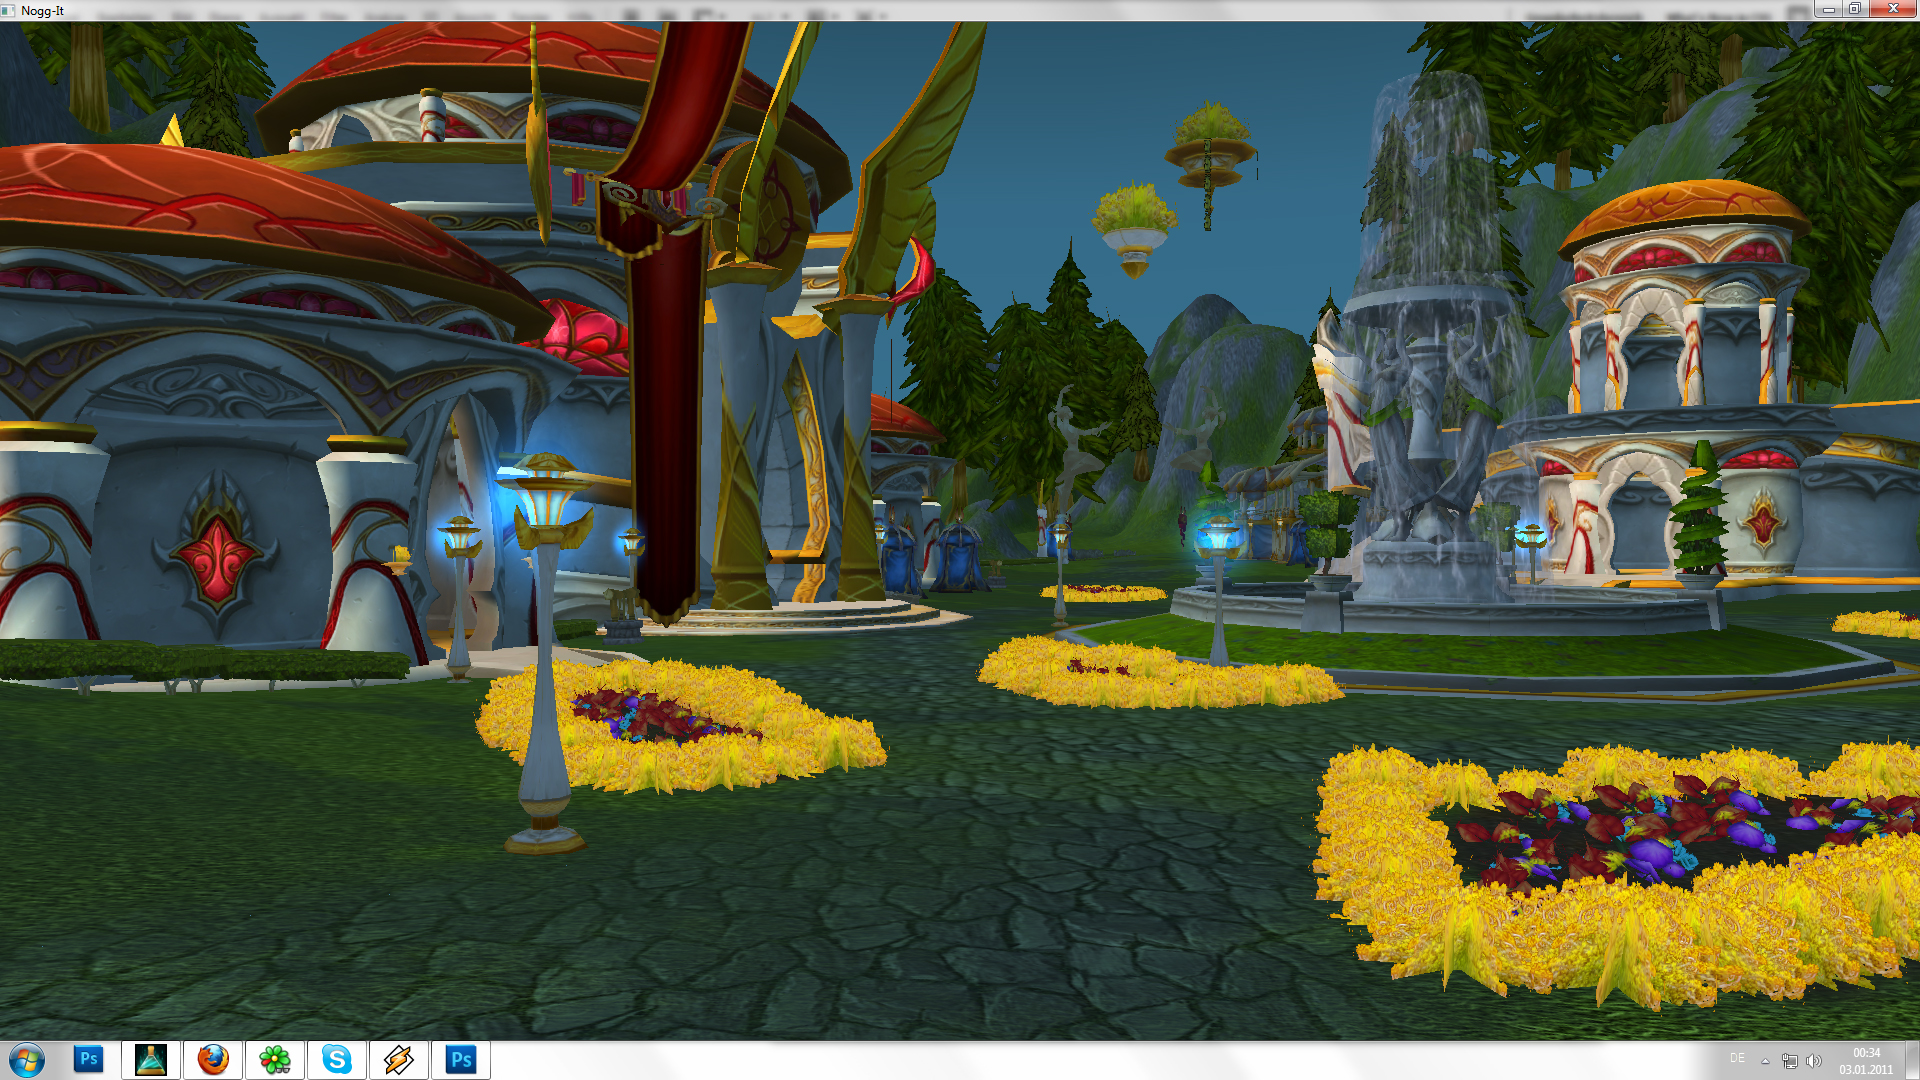 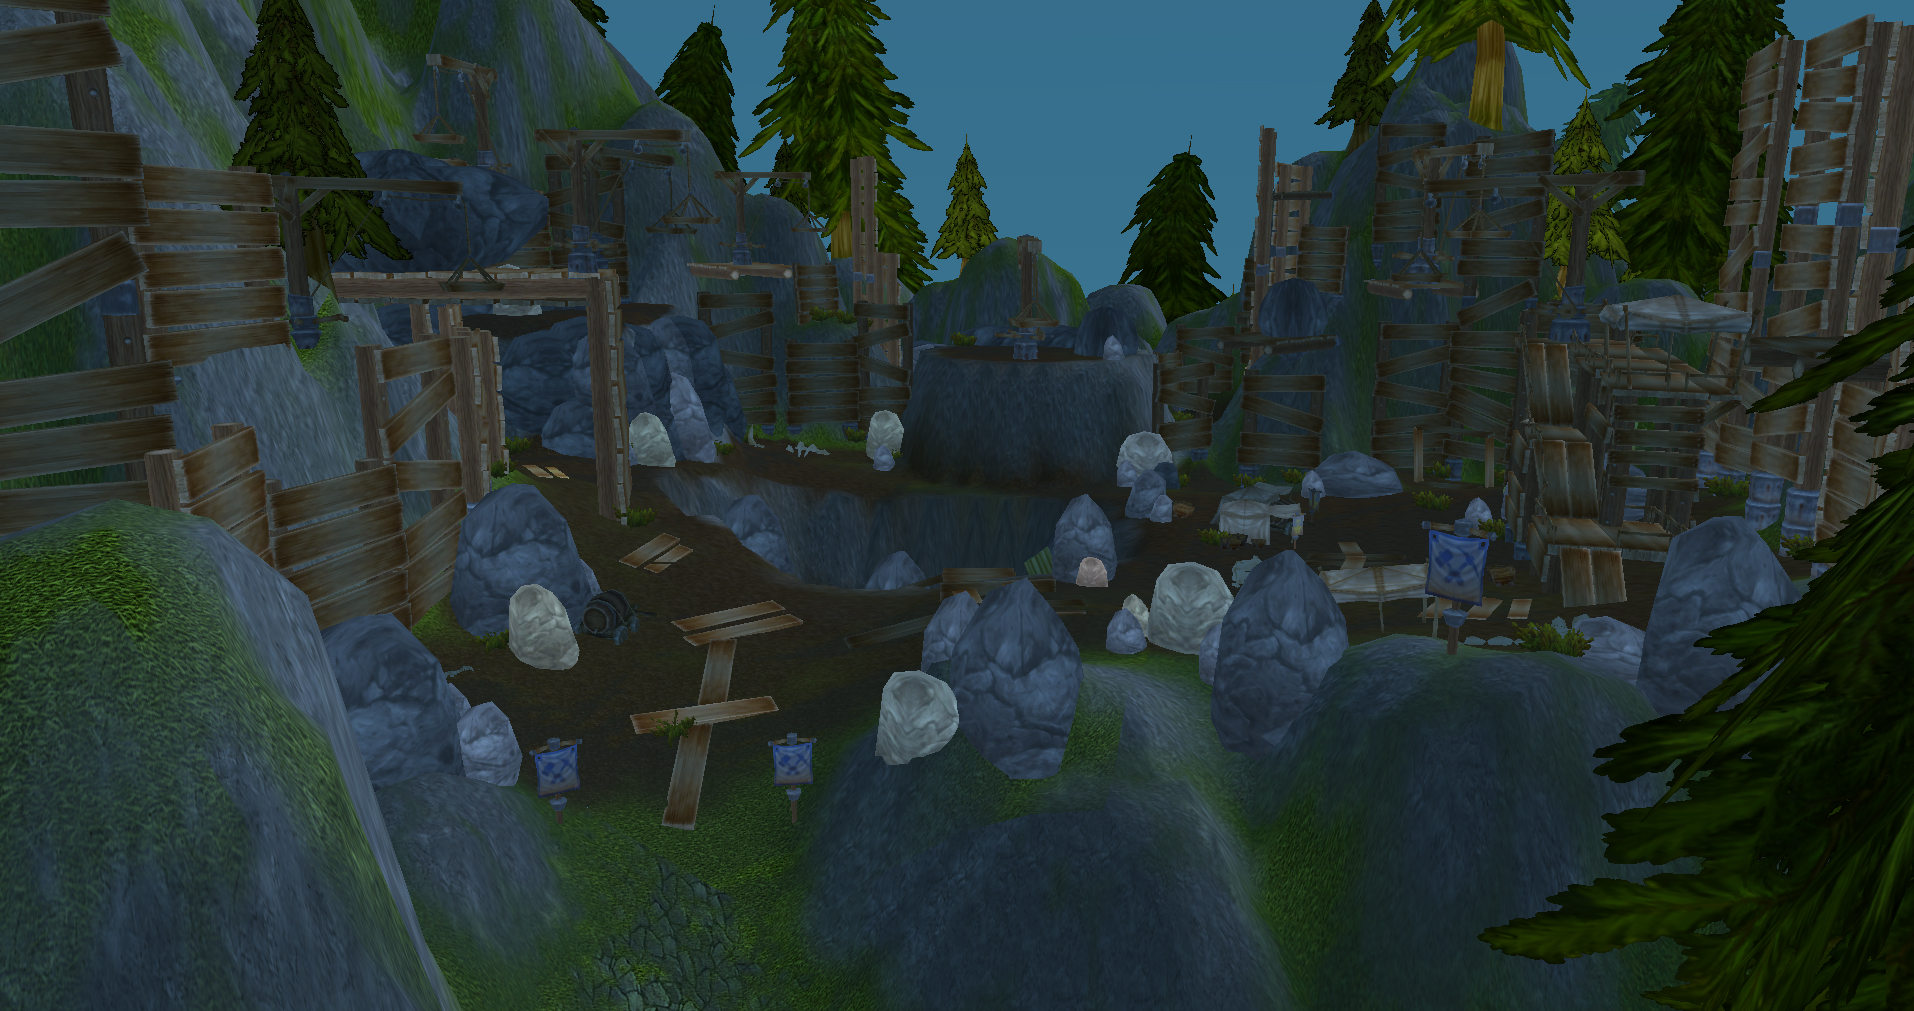 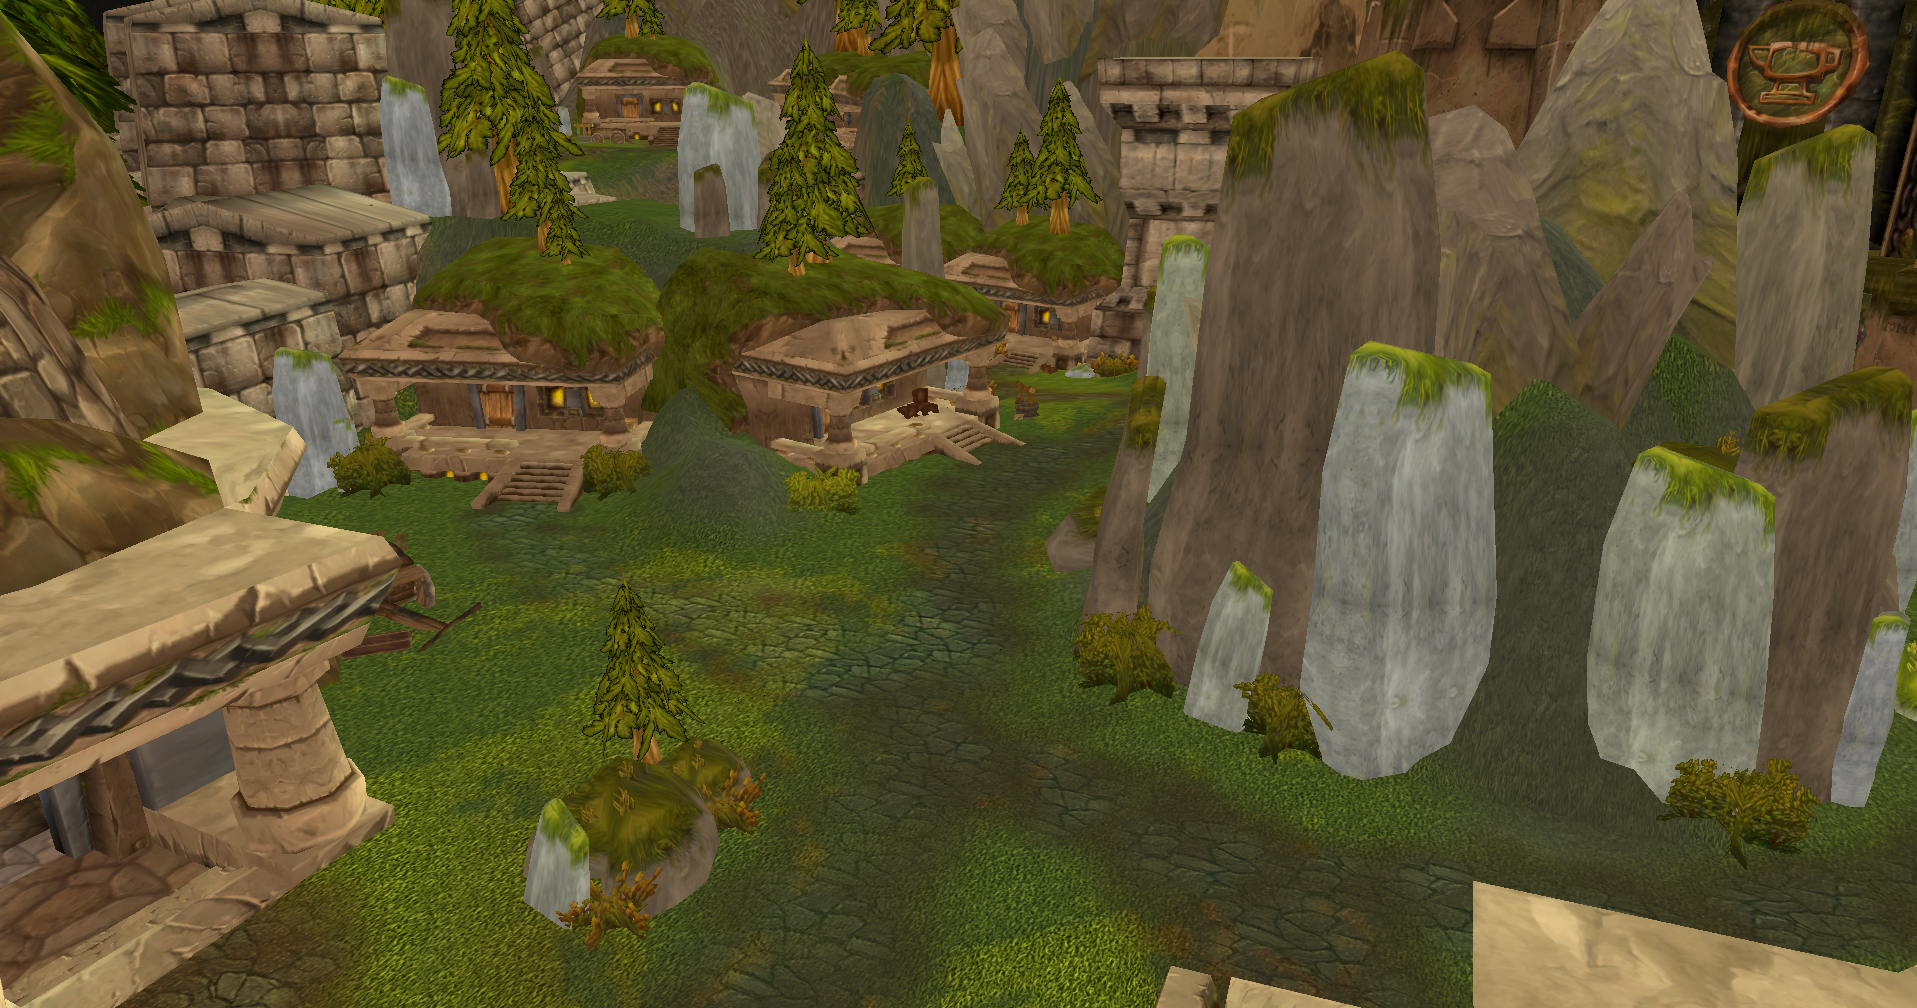 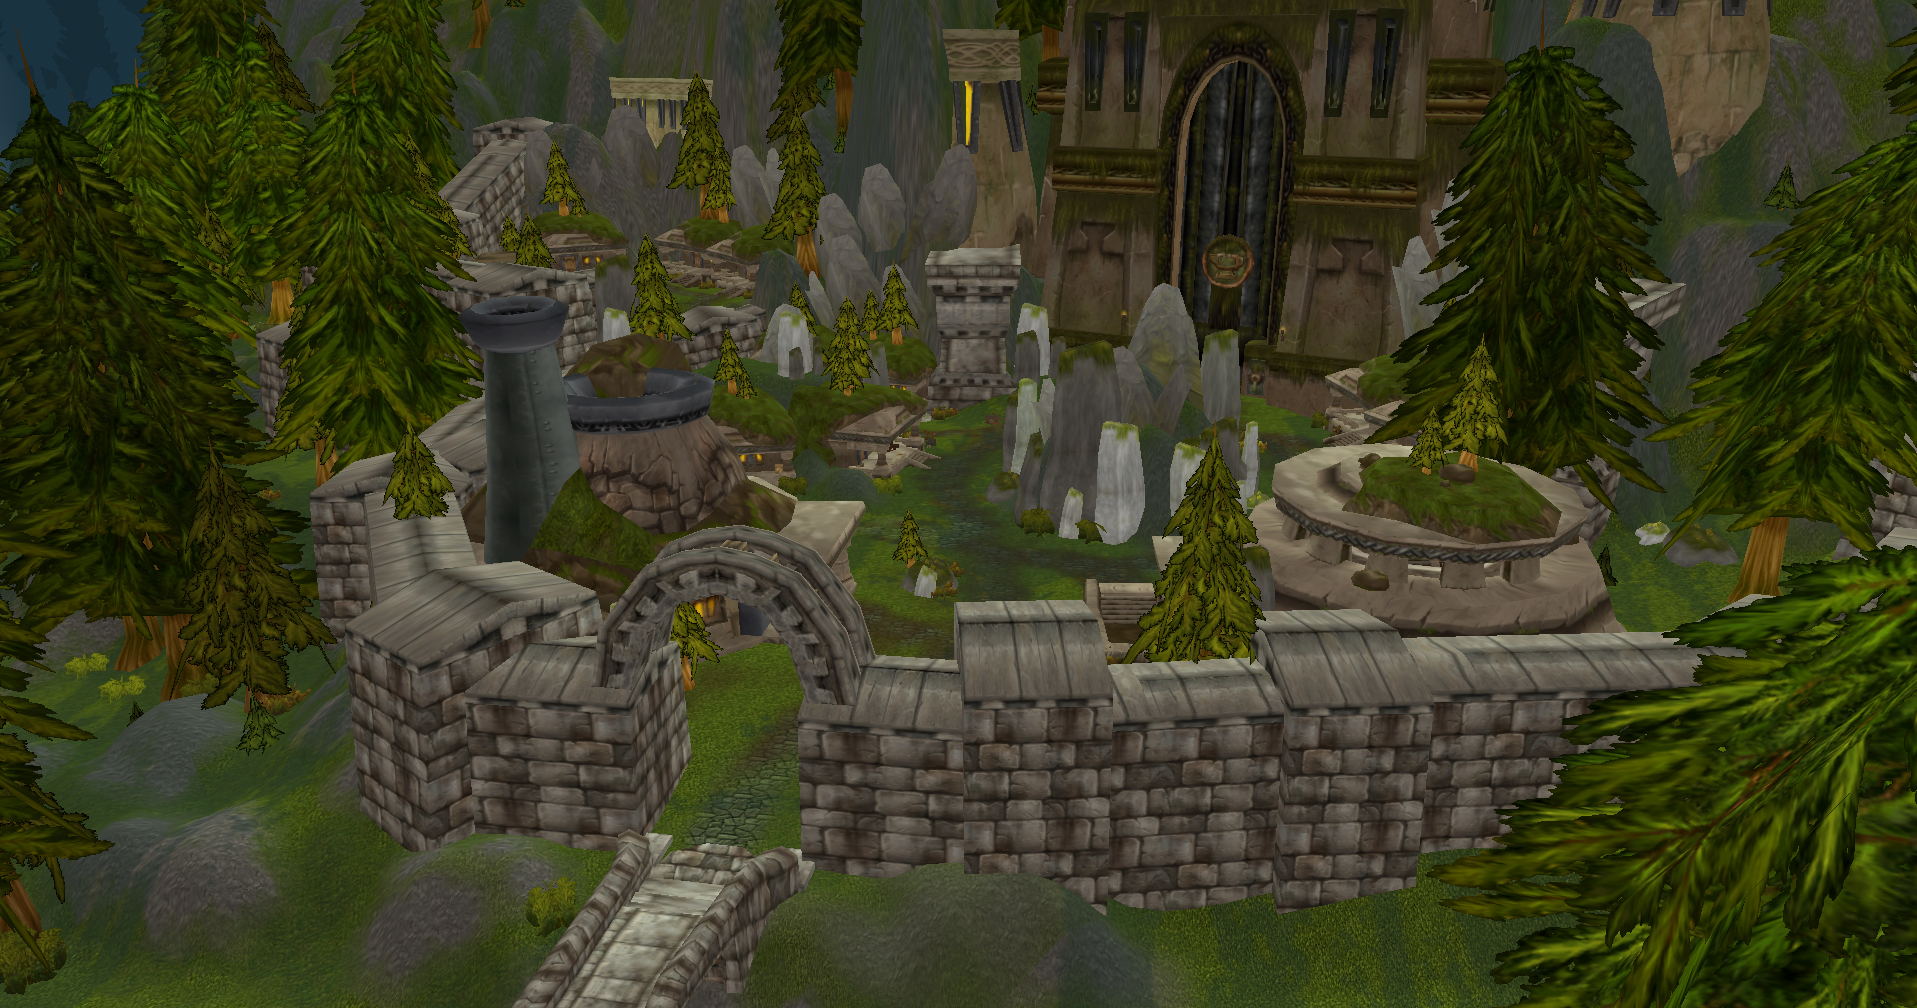 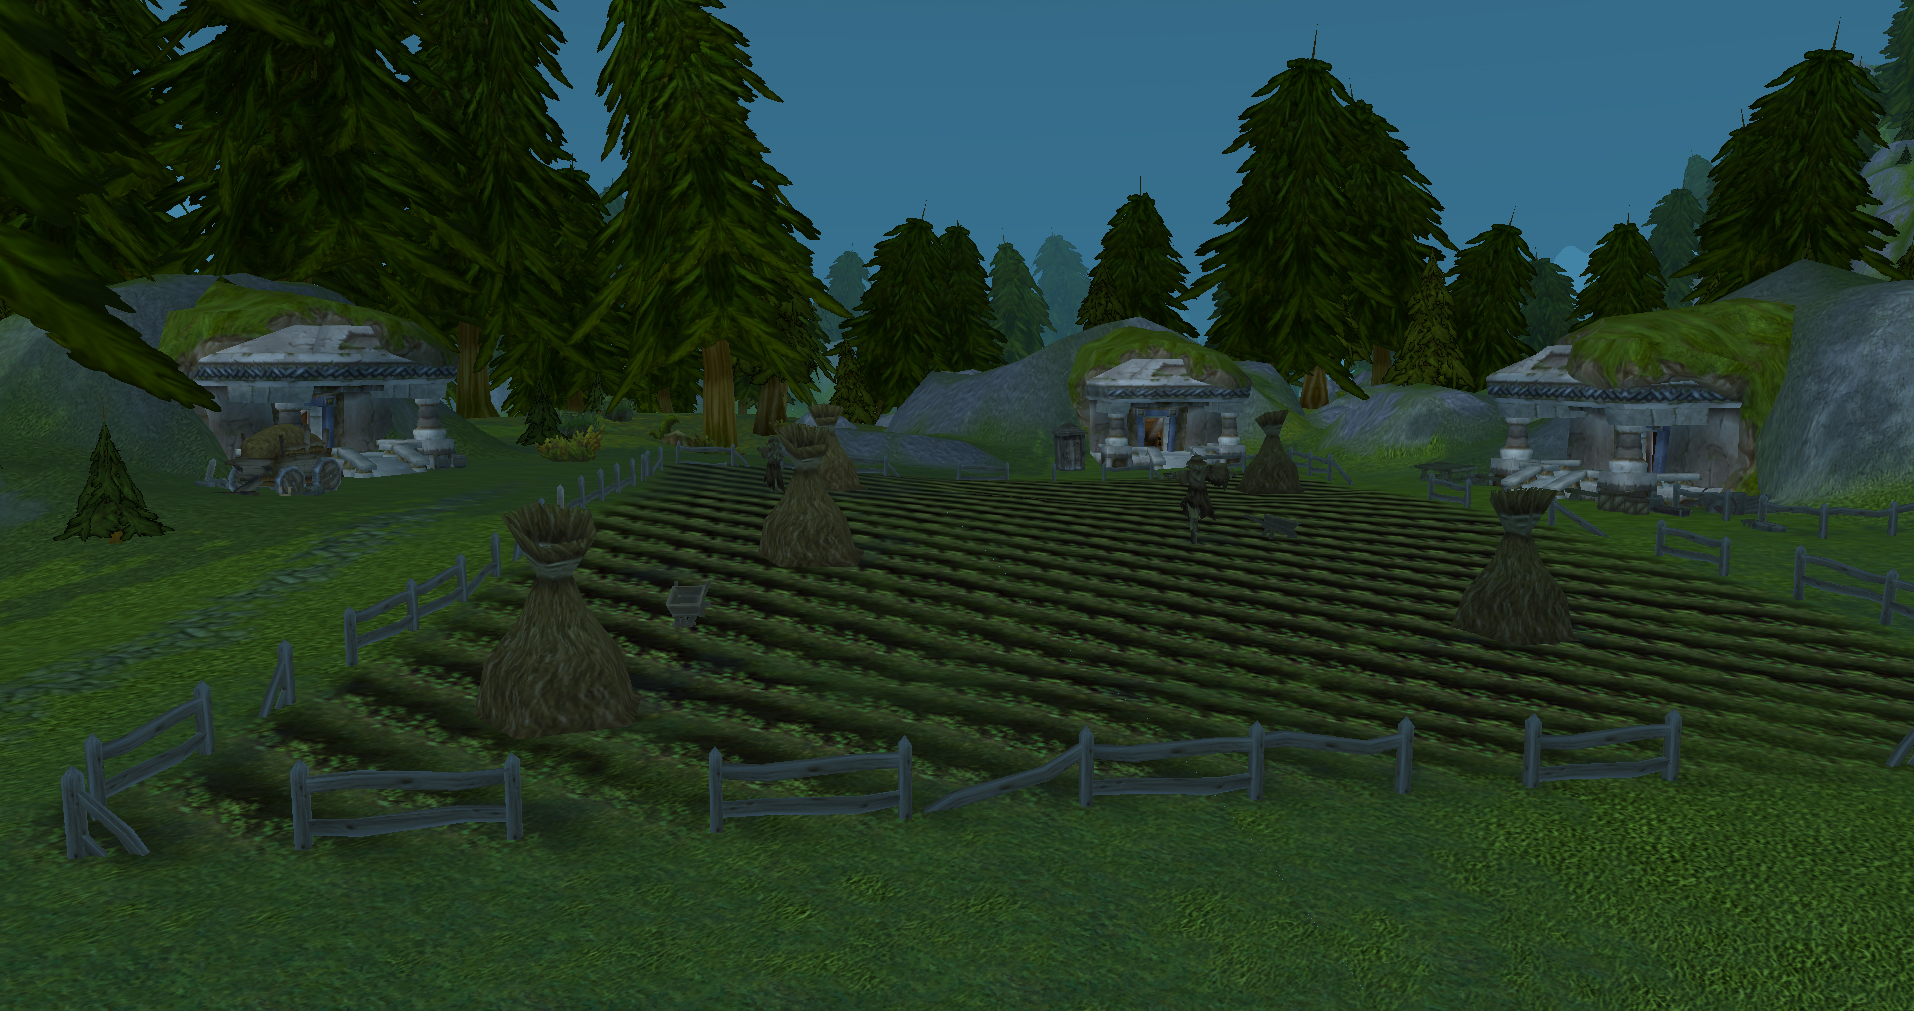 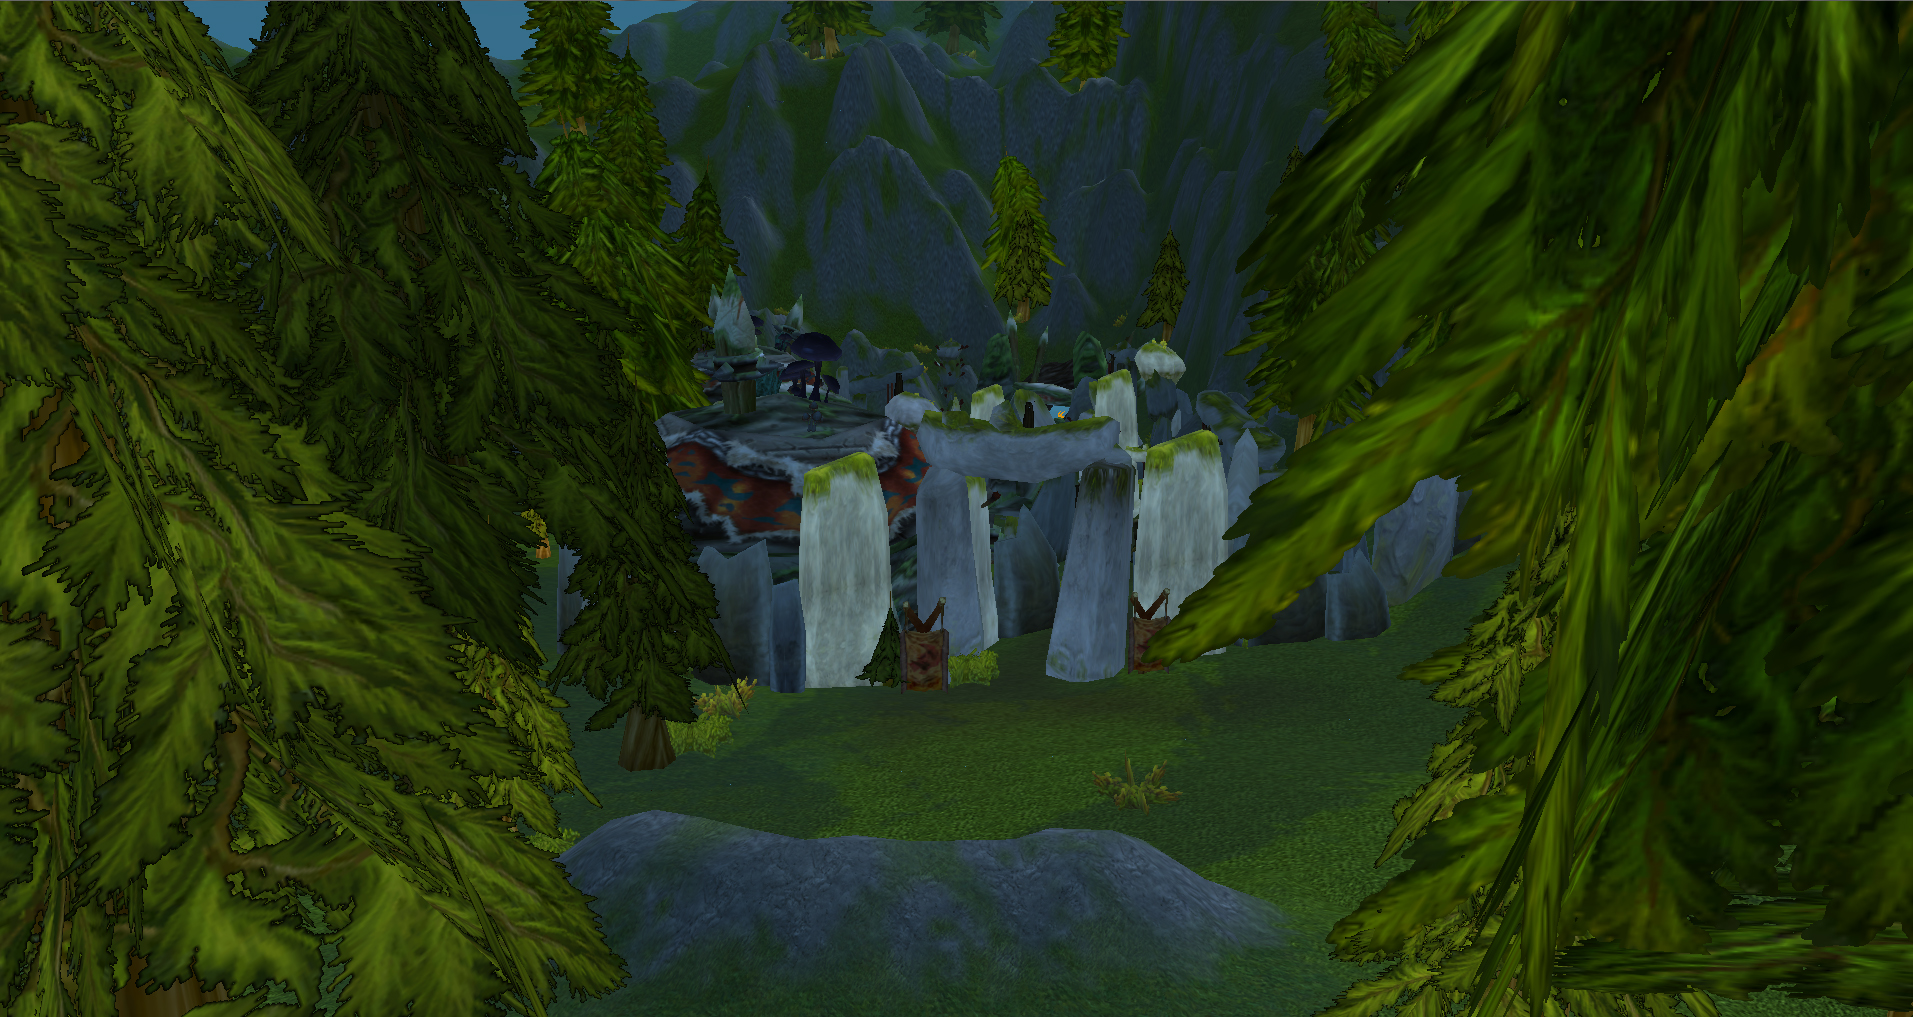 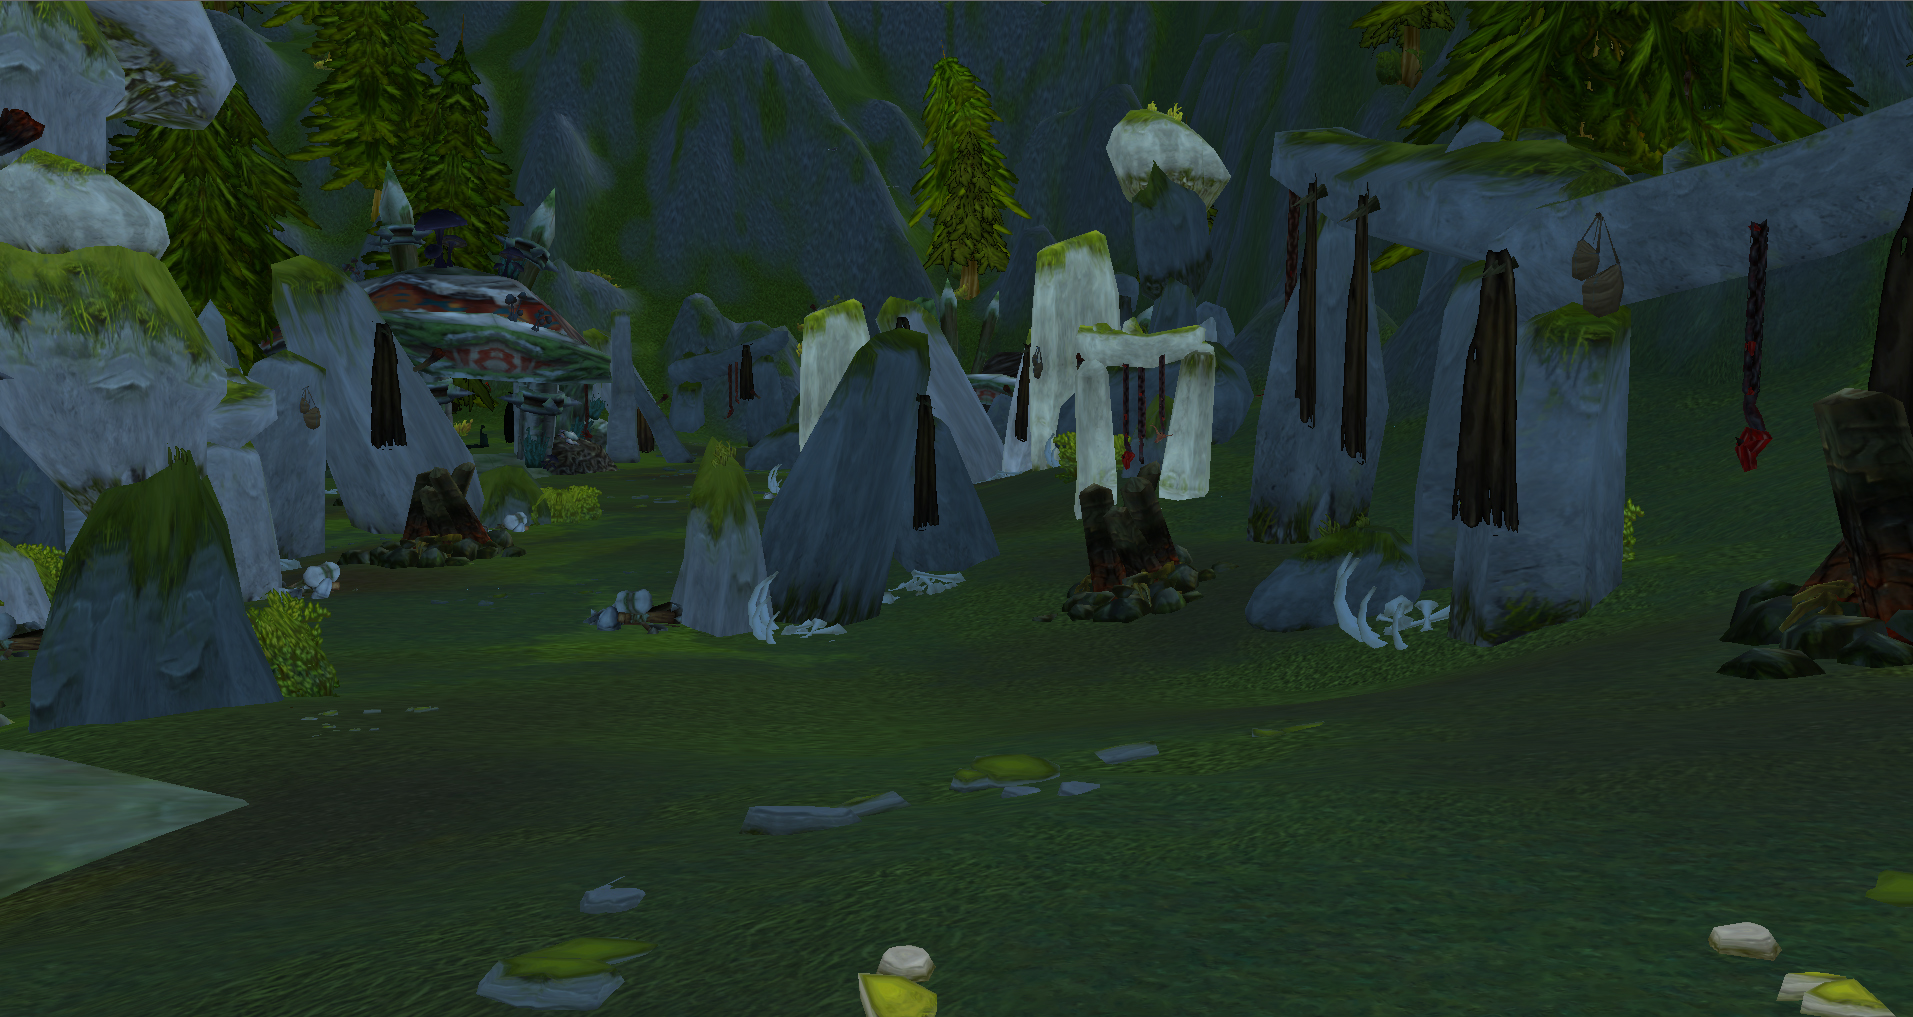 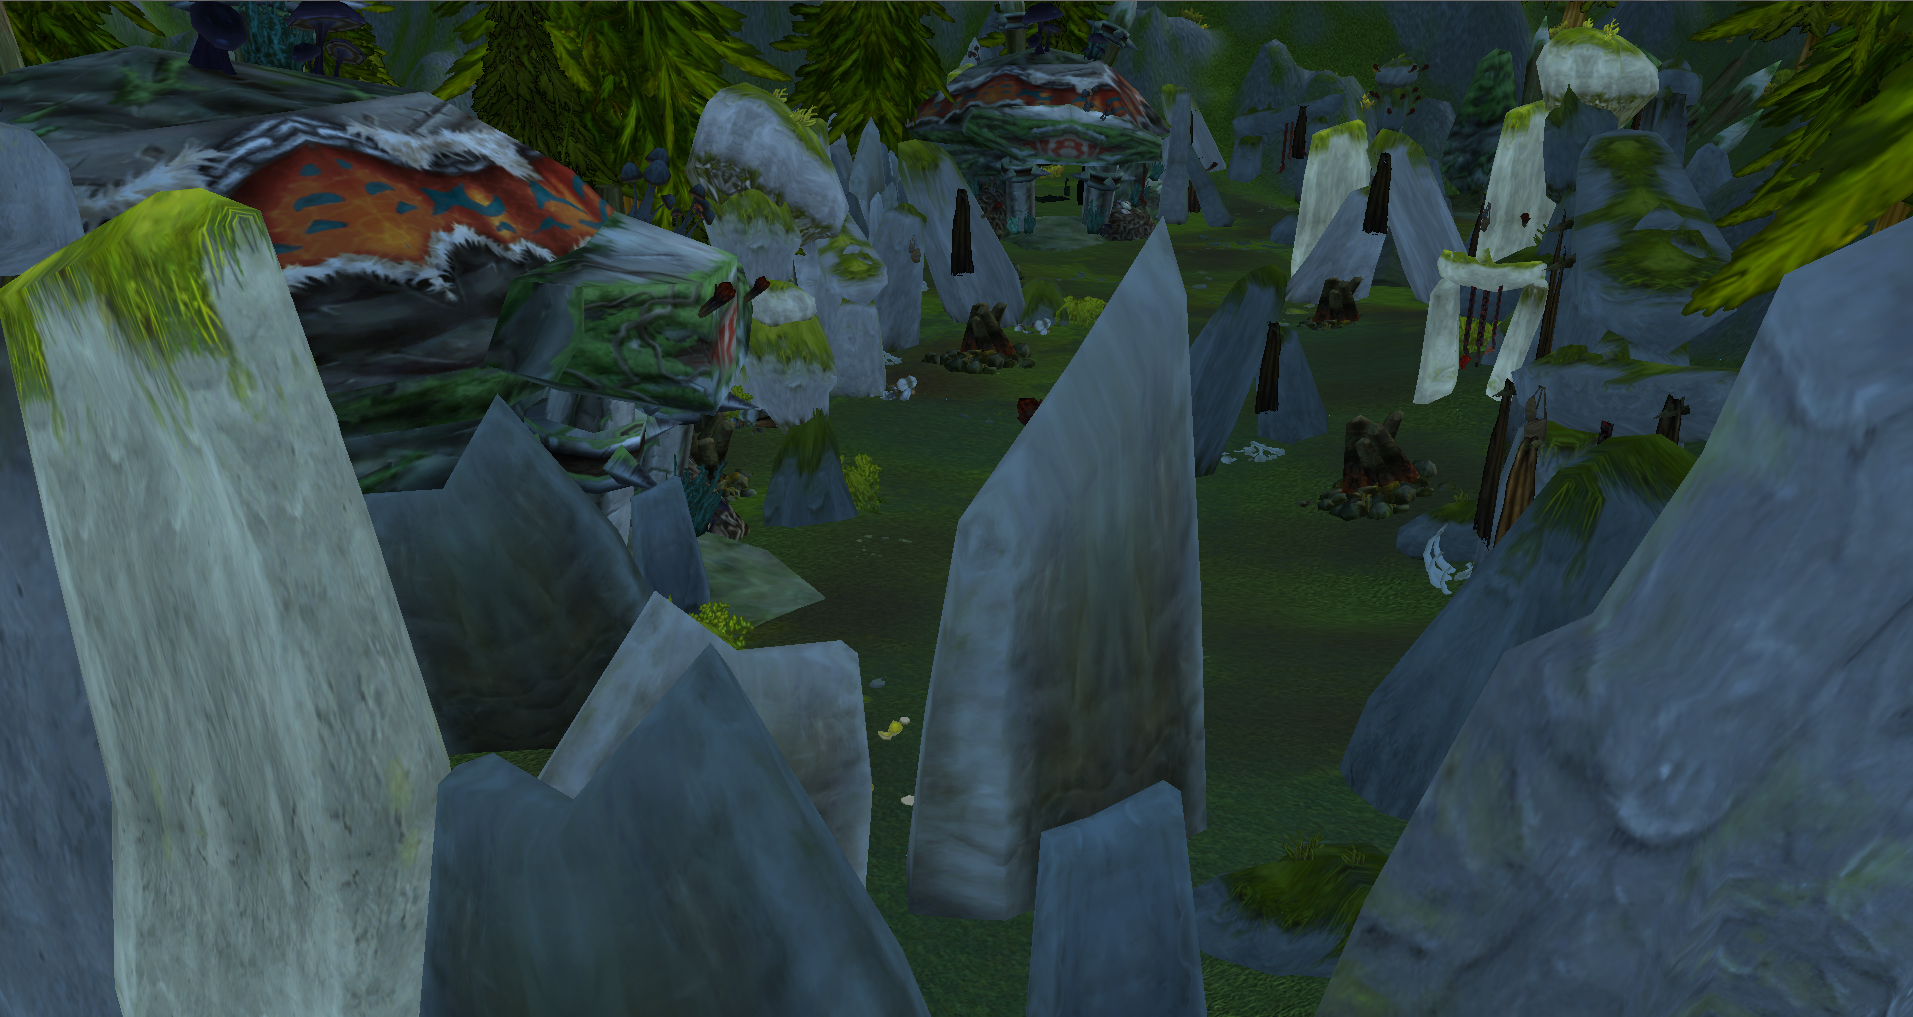 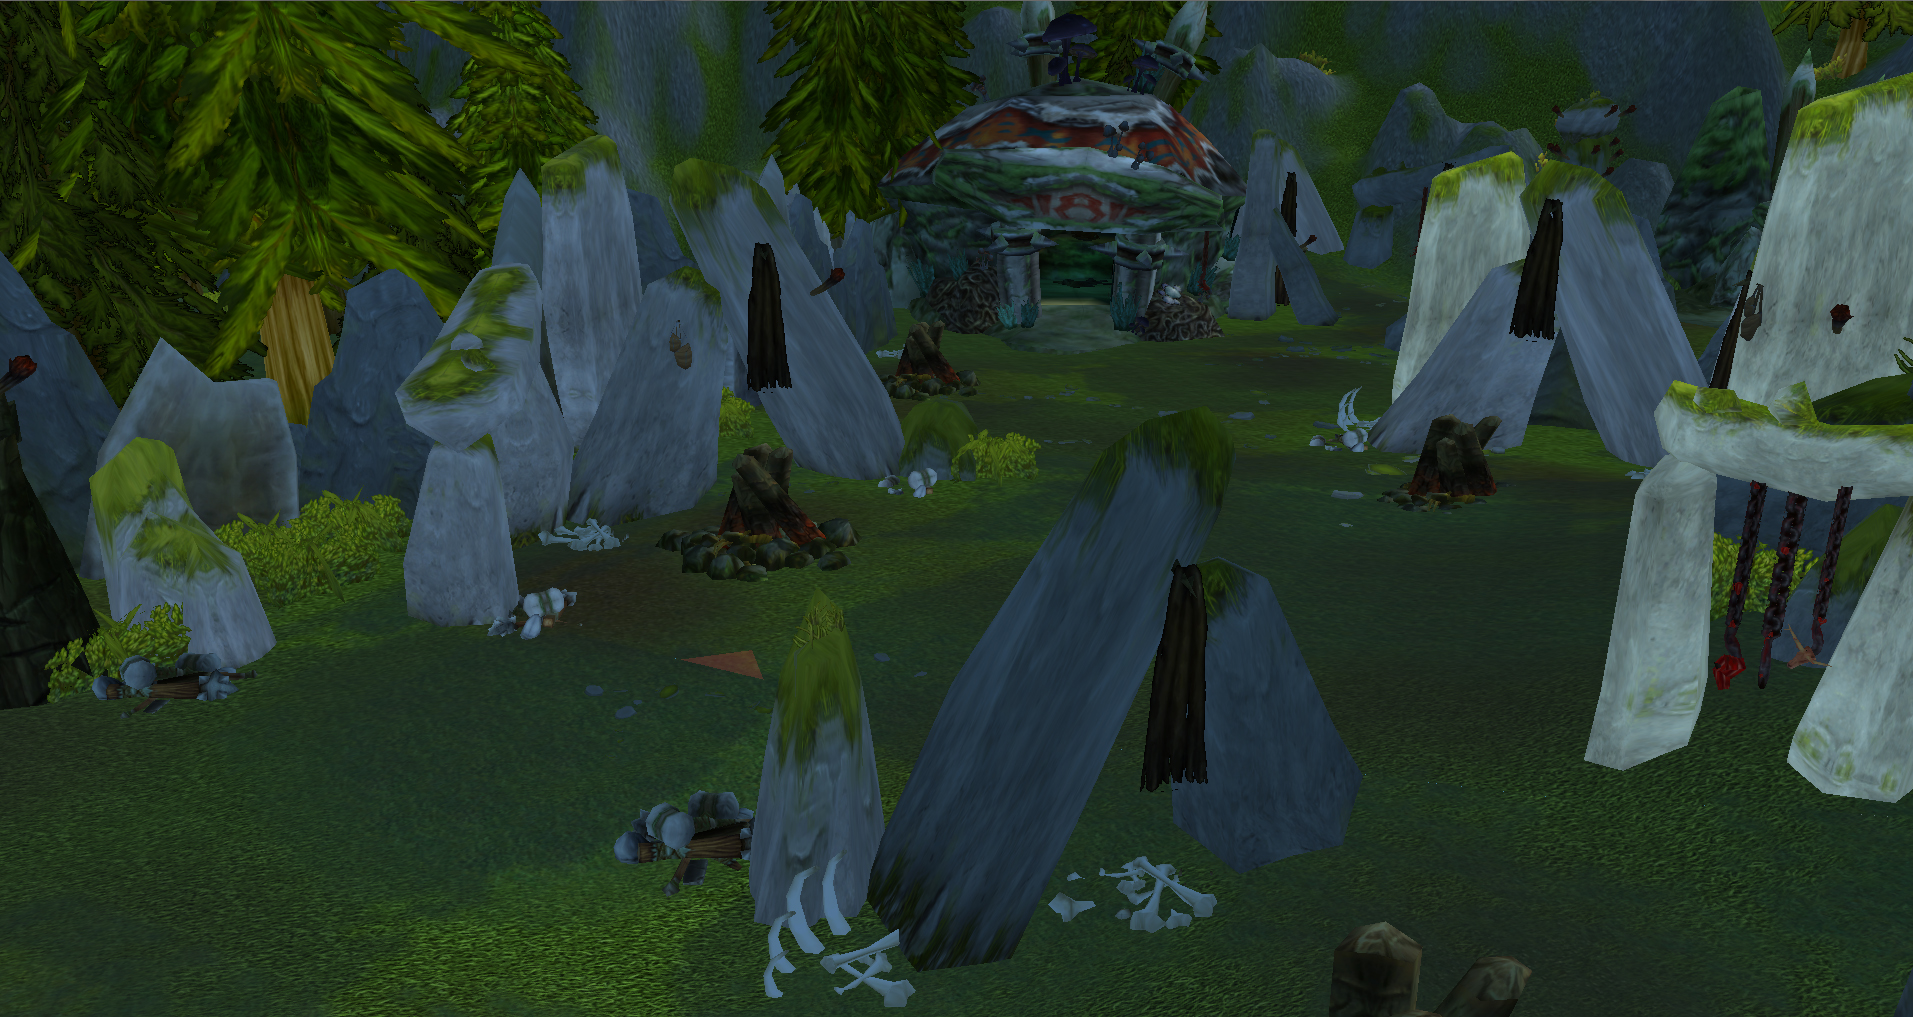 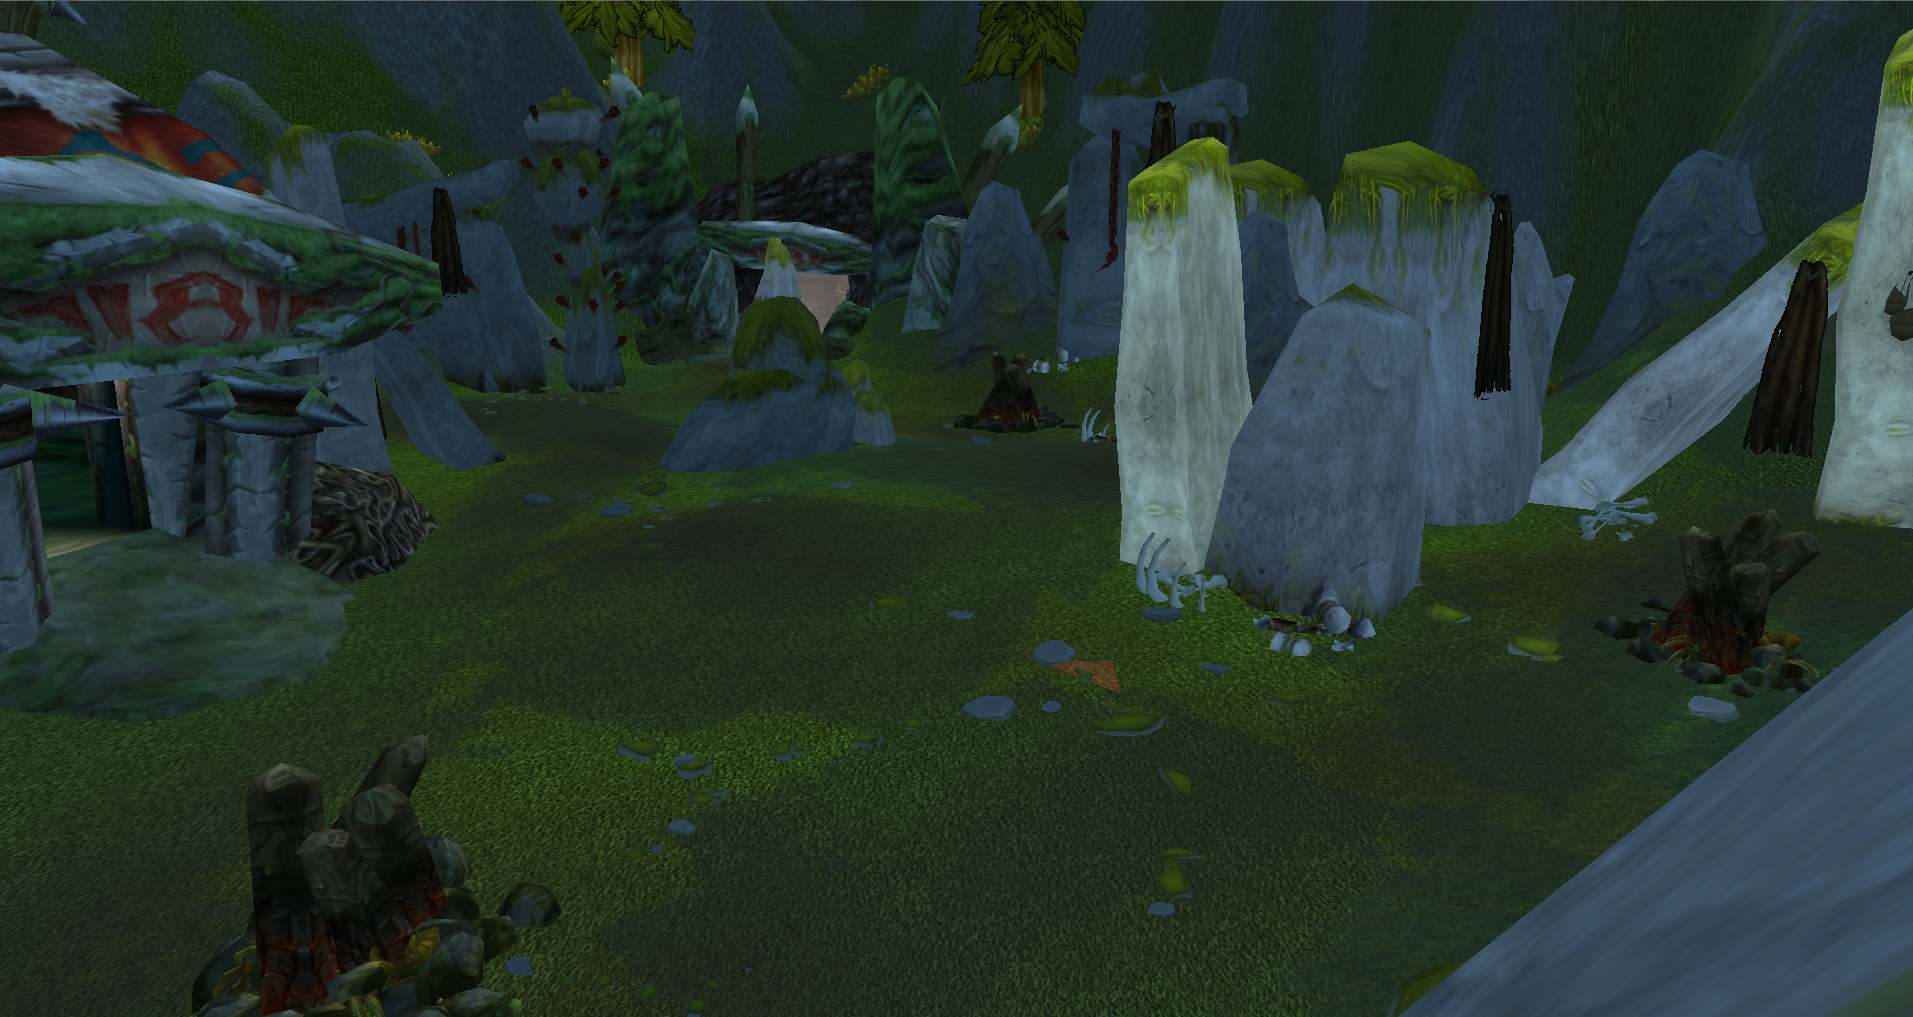 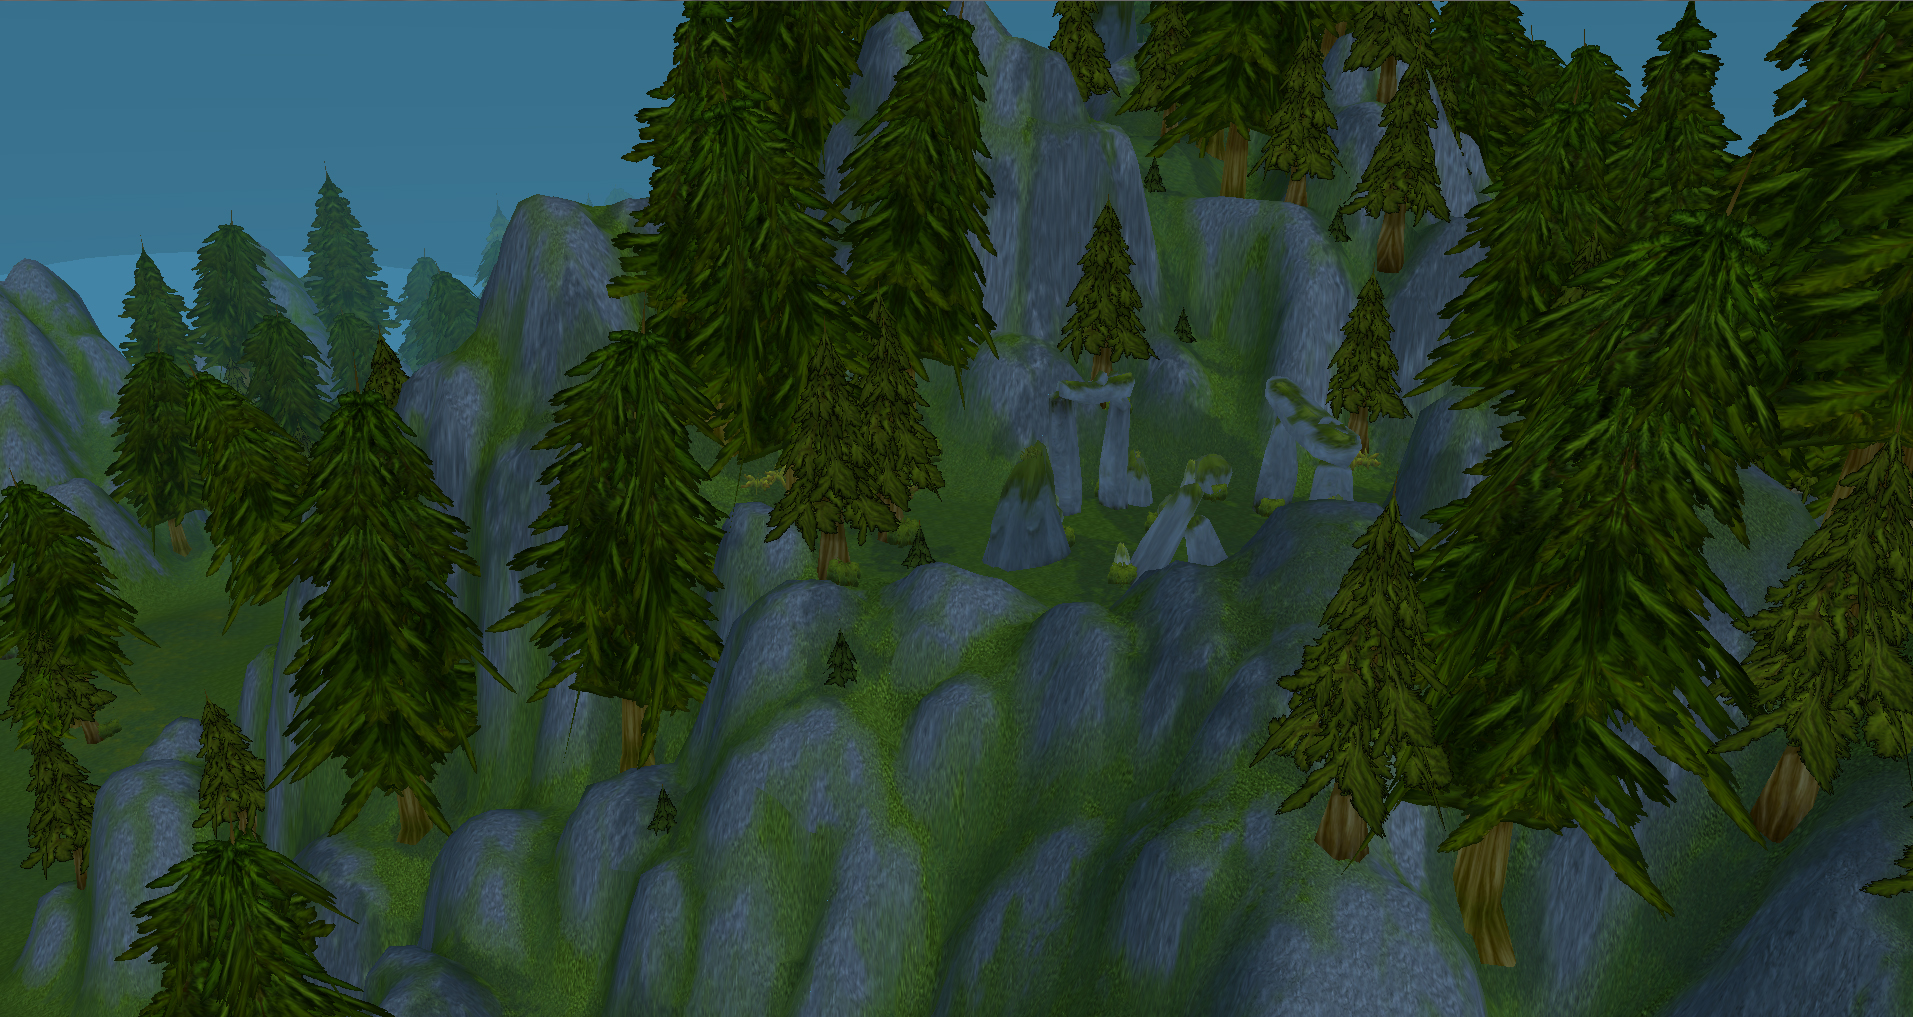 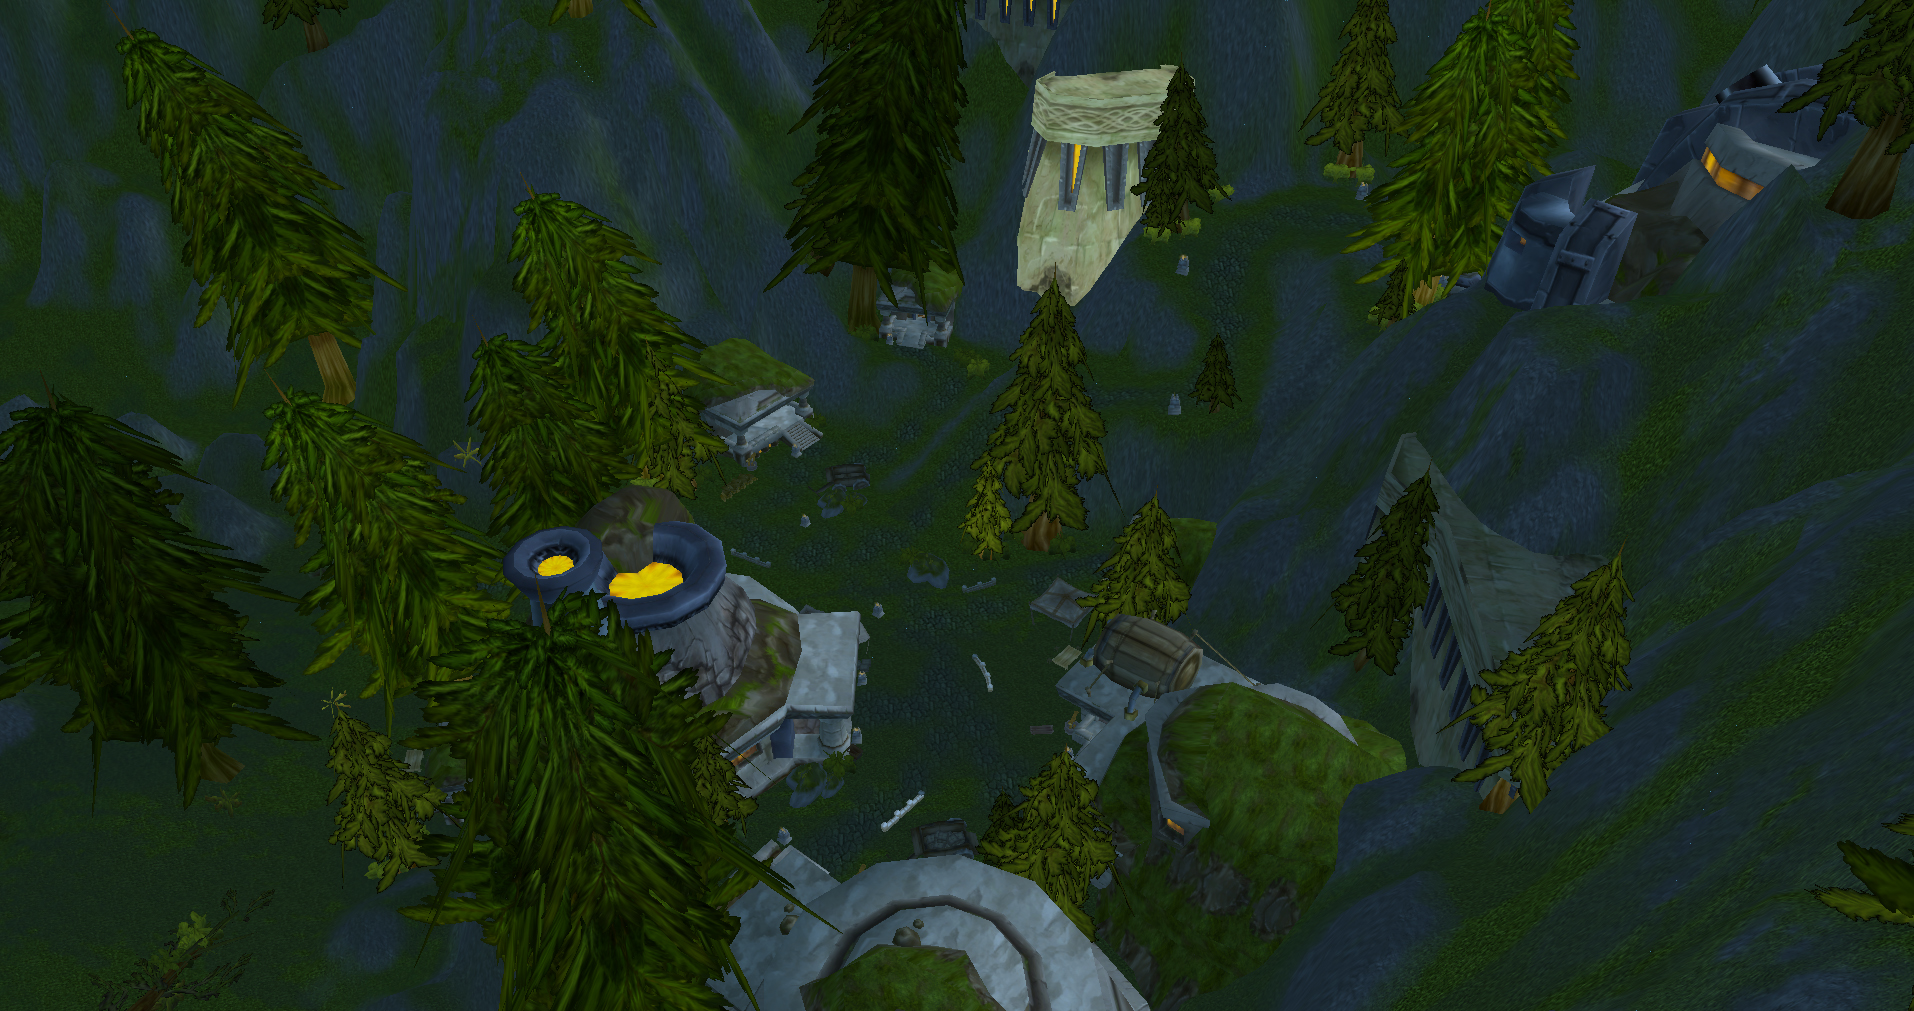 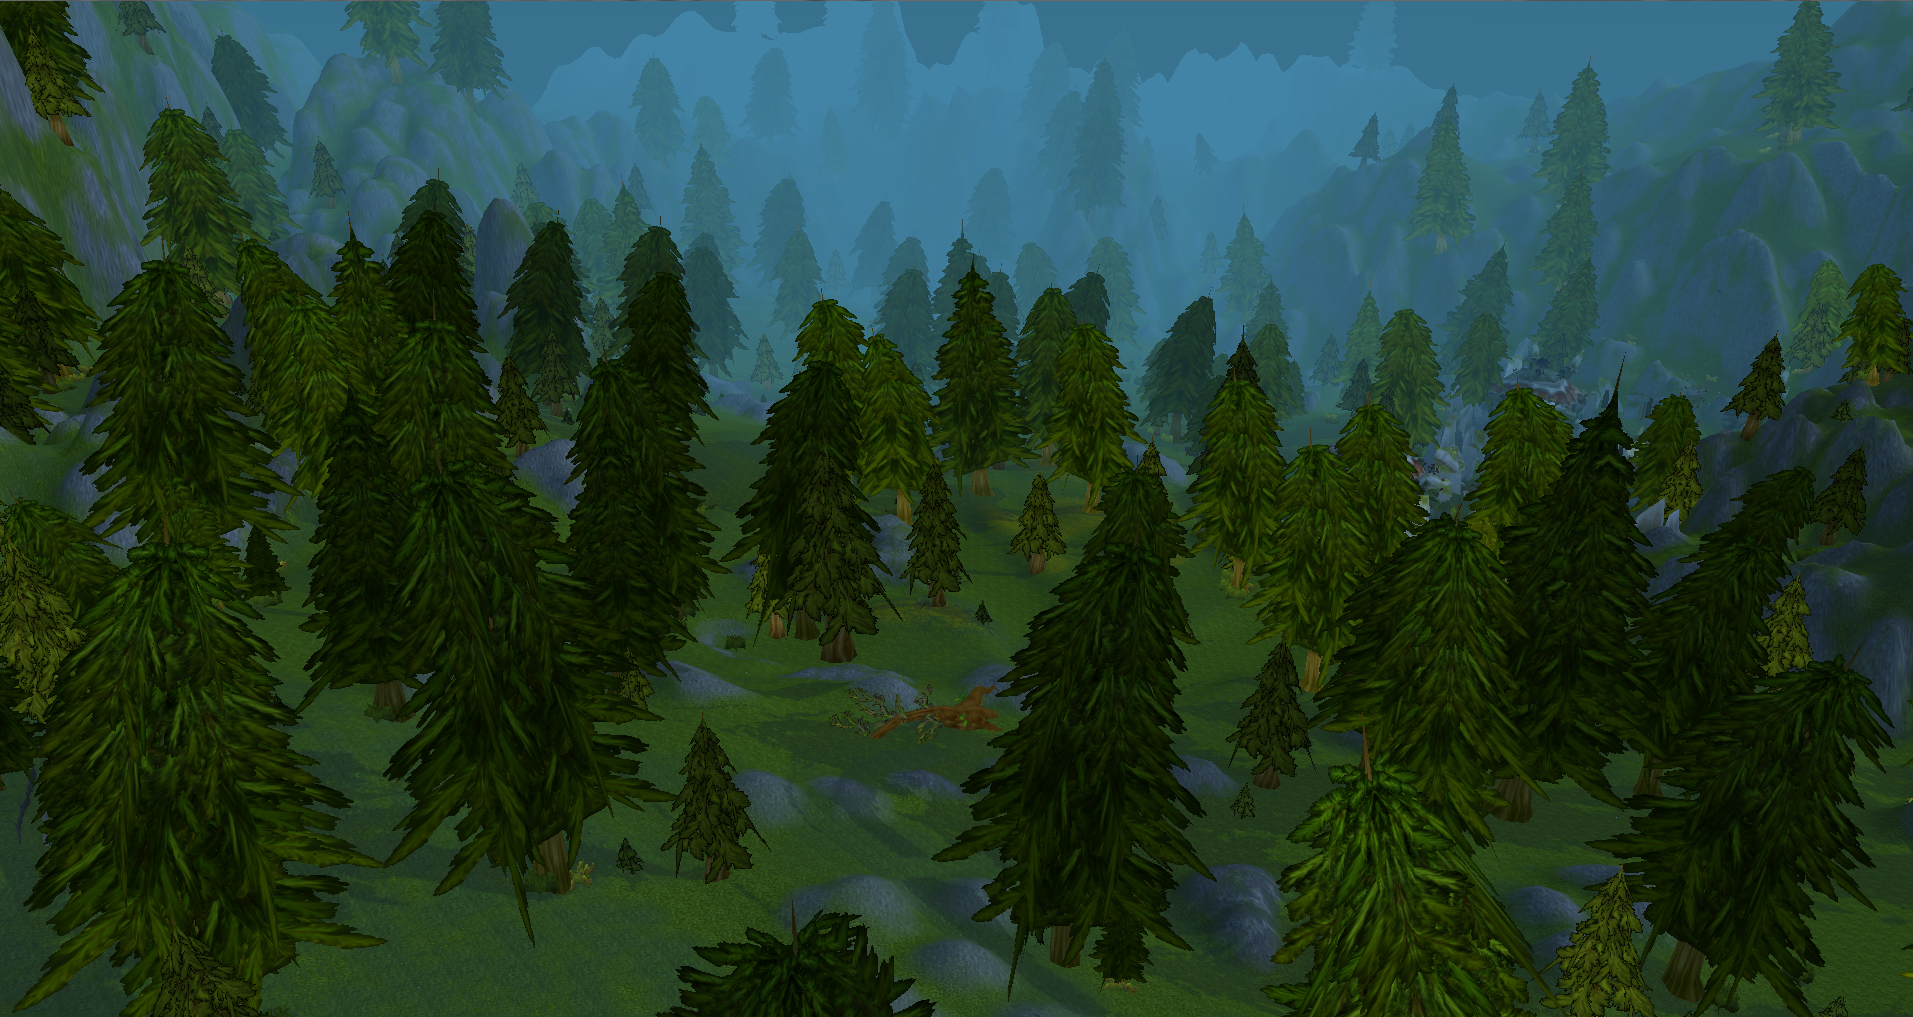 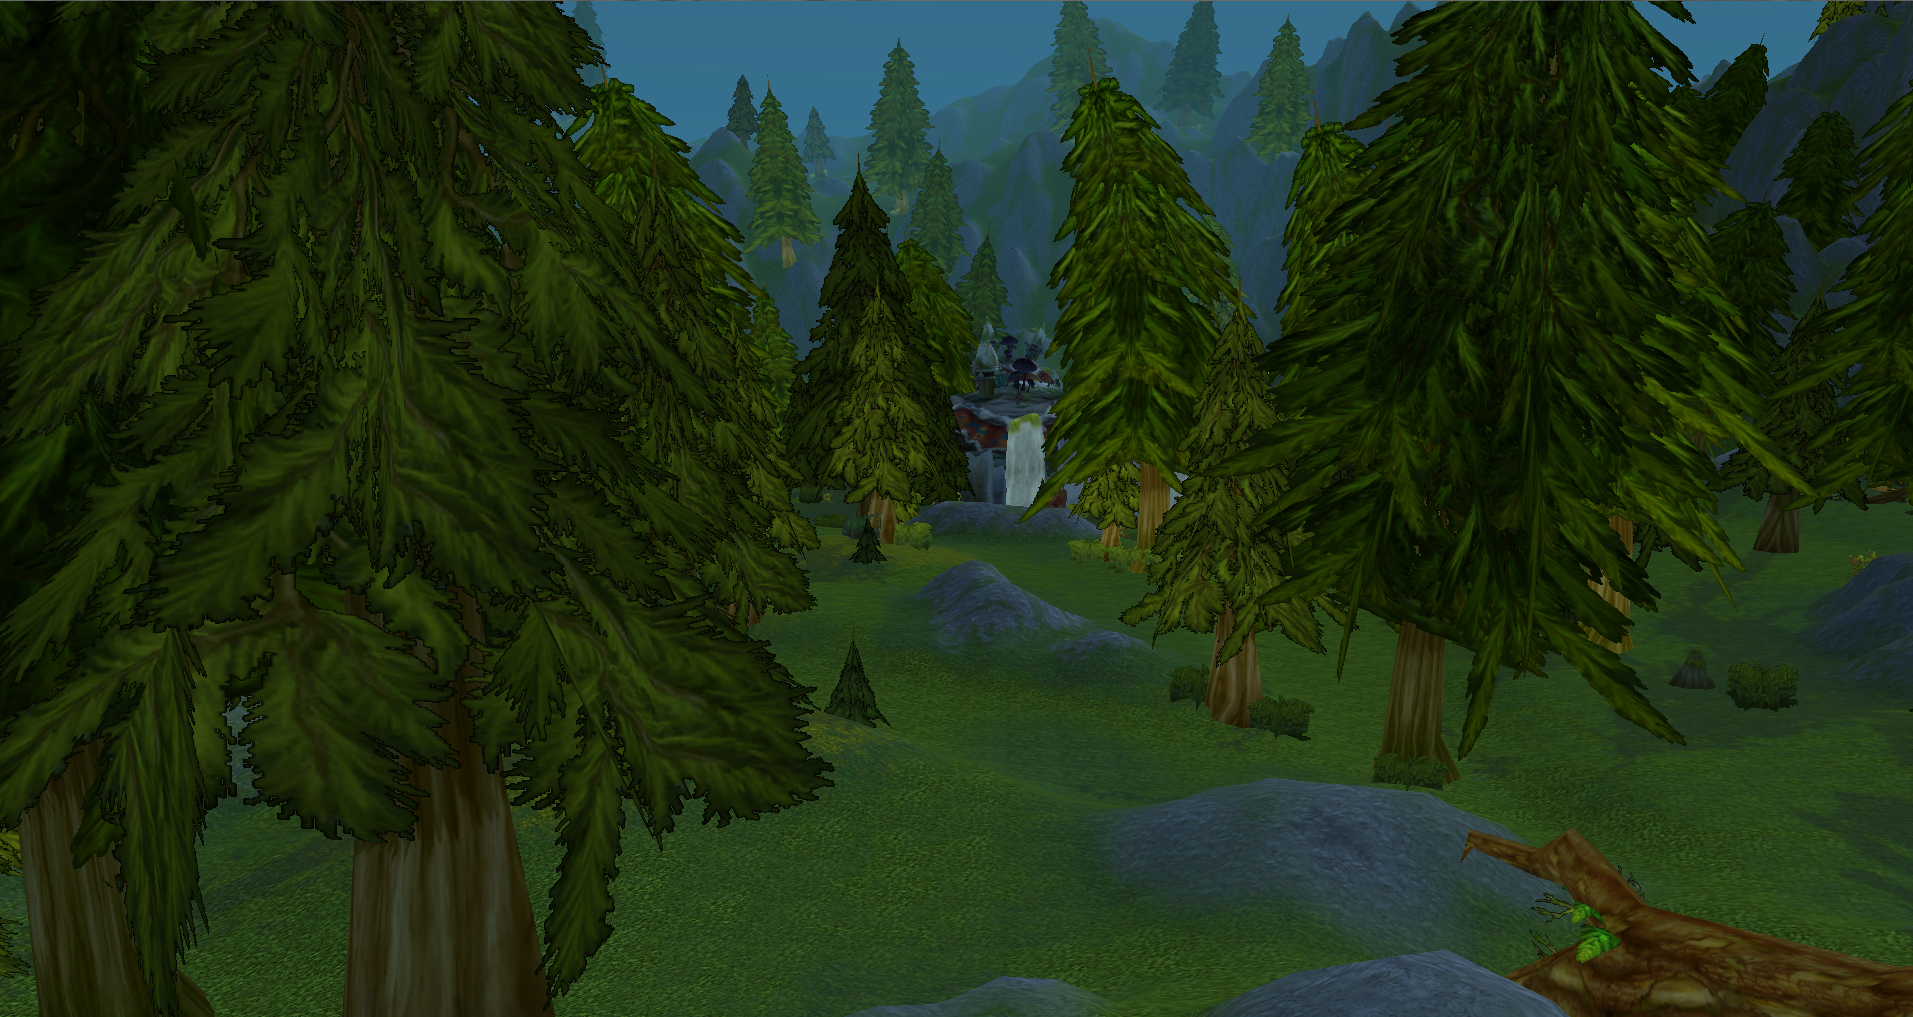 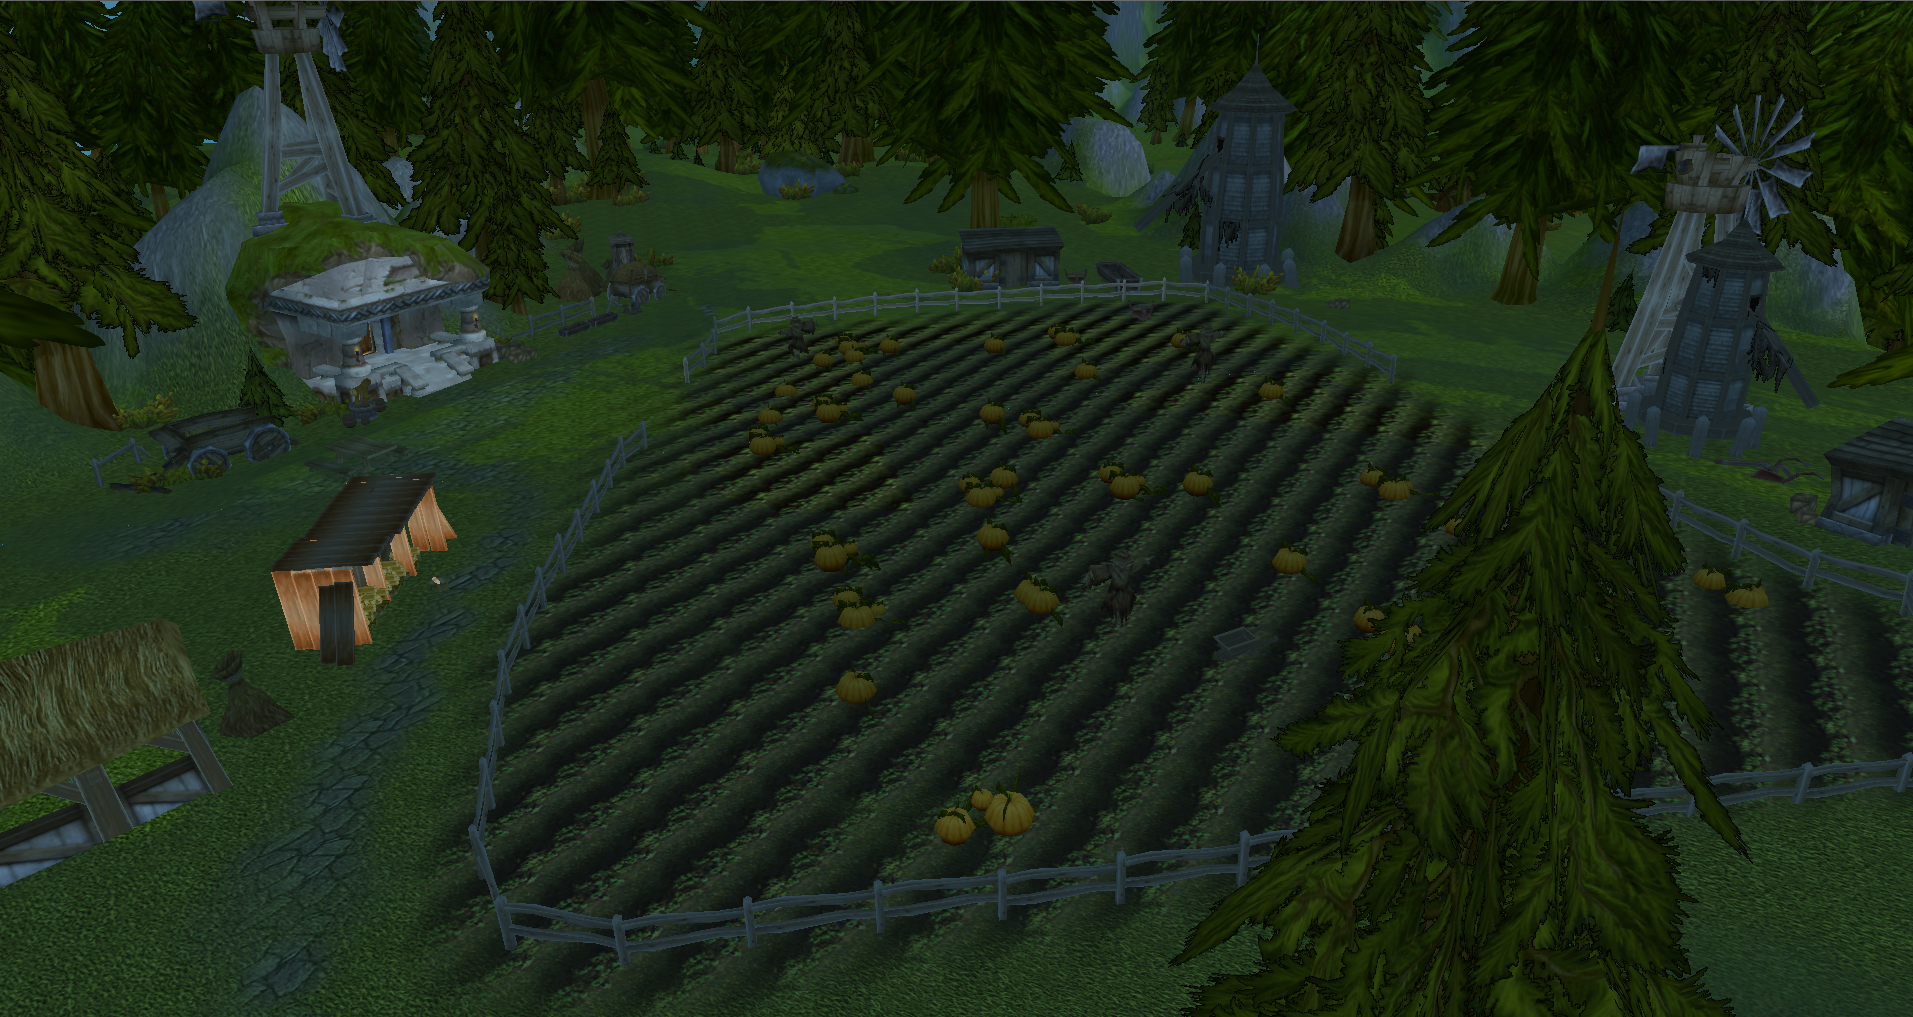 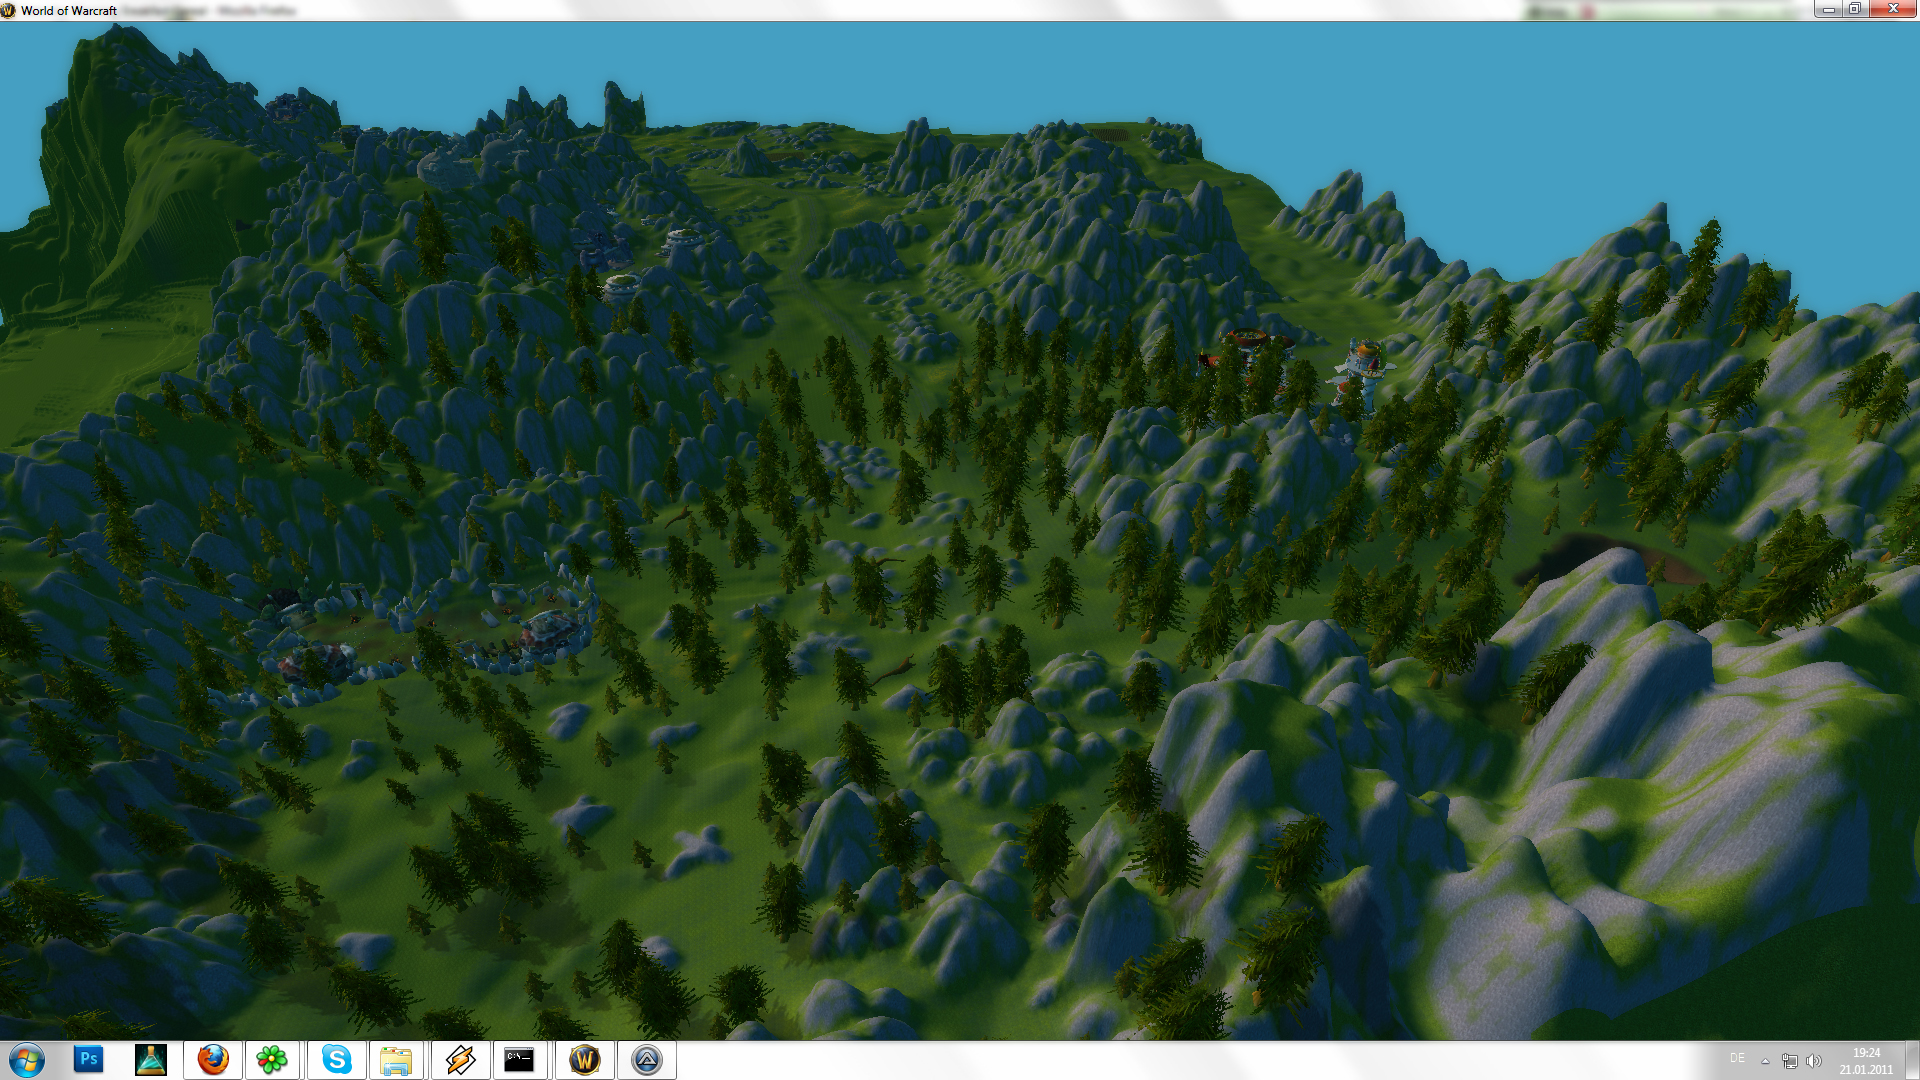 [/spoiler:135nkgz3] [/spoiler:135nkgz3]Area2: Another area which was also part of the project with jack and schlumpf[spoiler:135nkgz3] 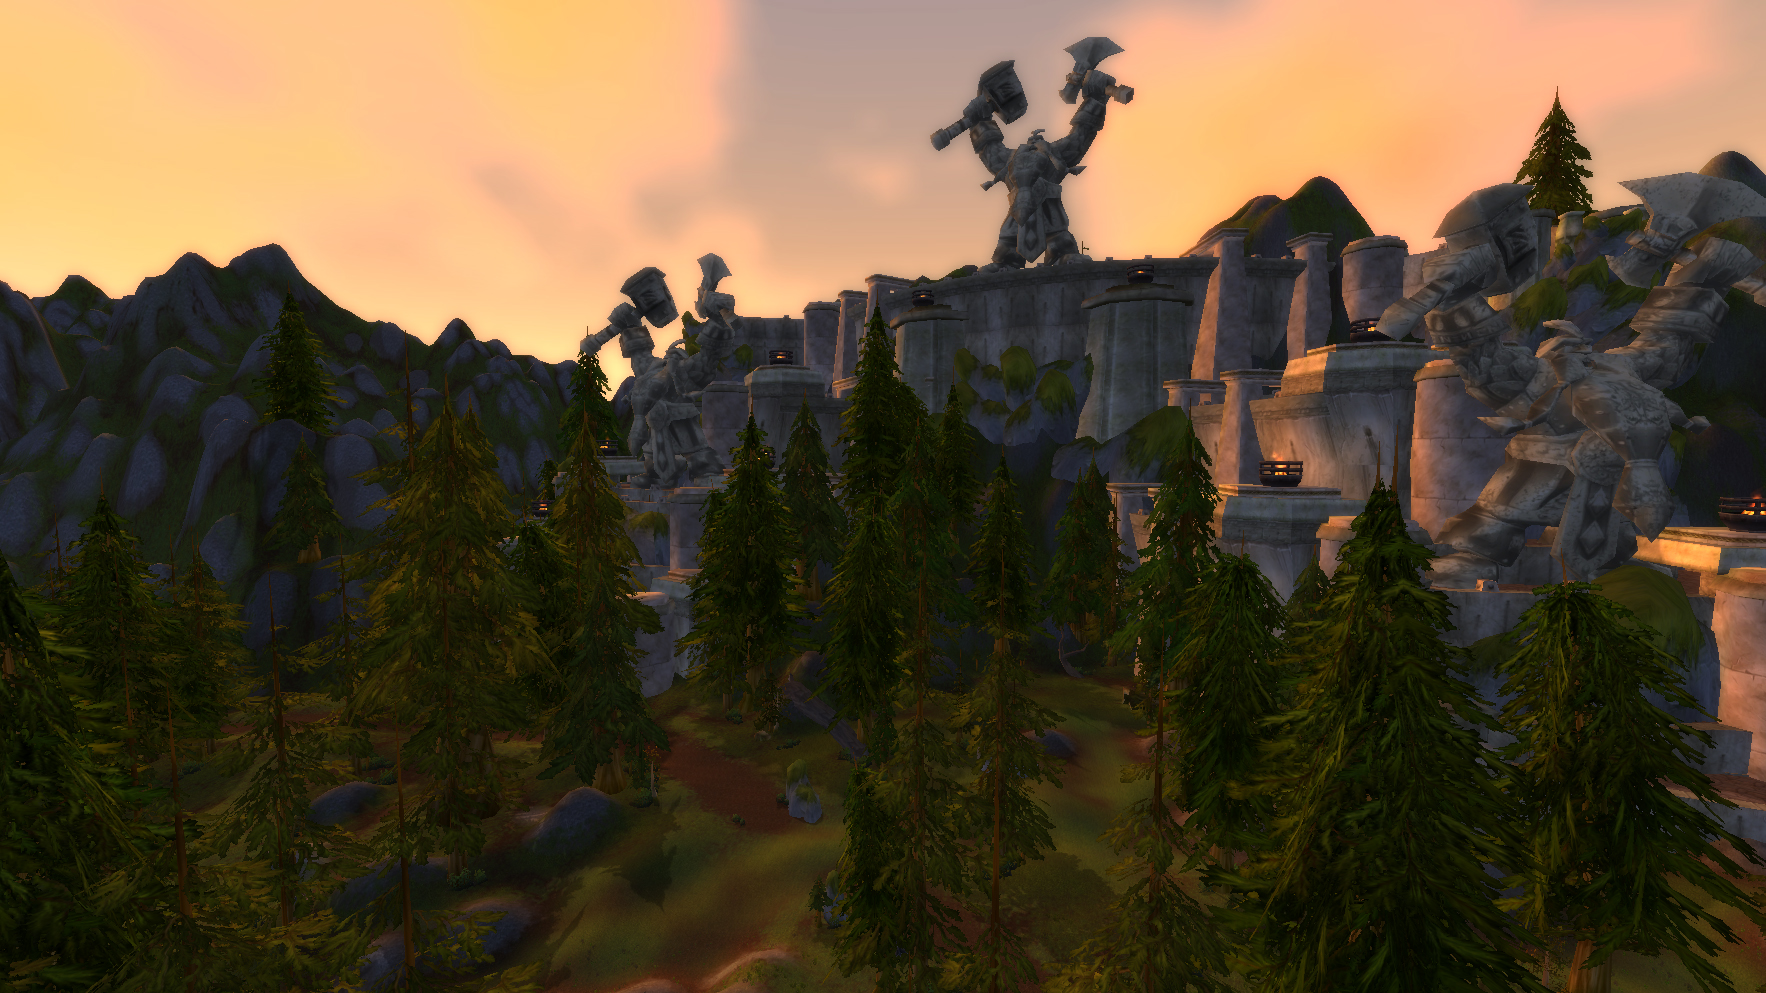 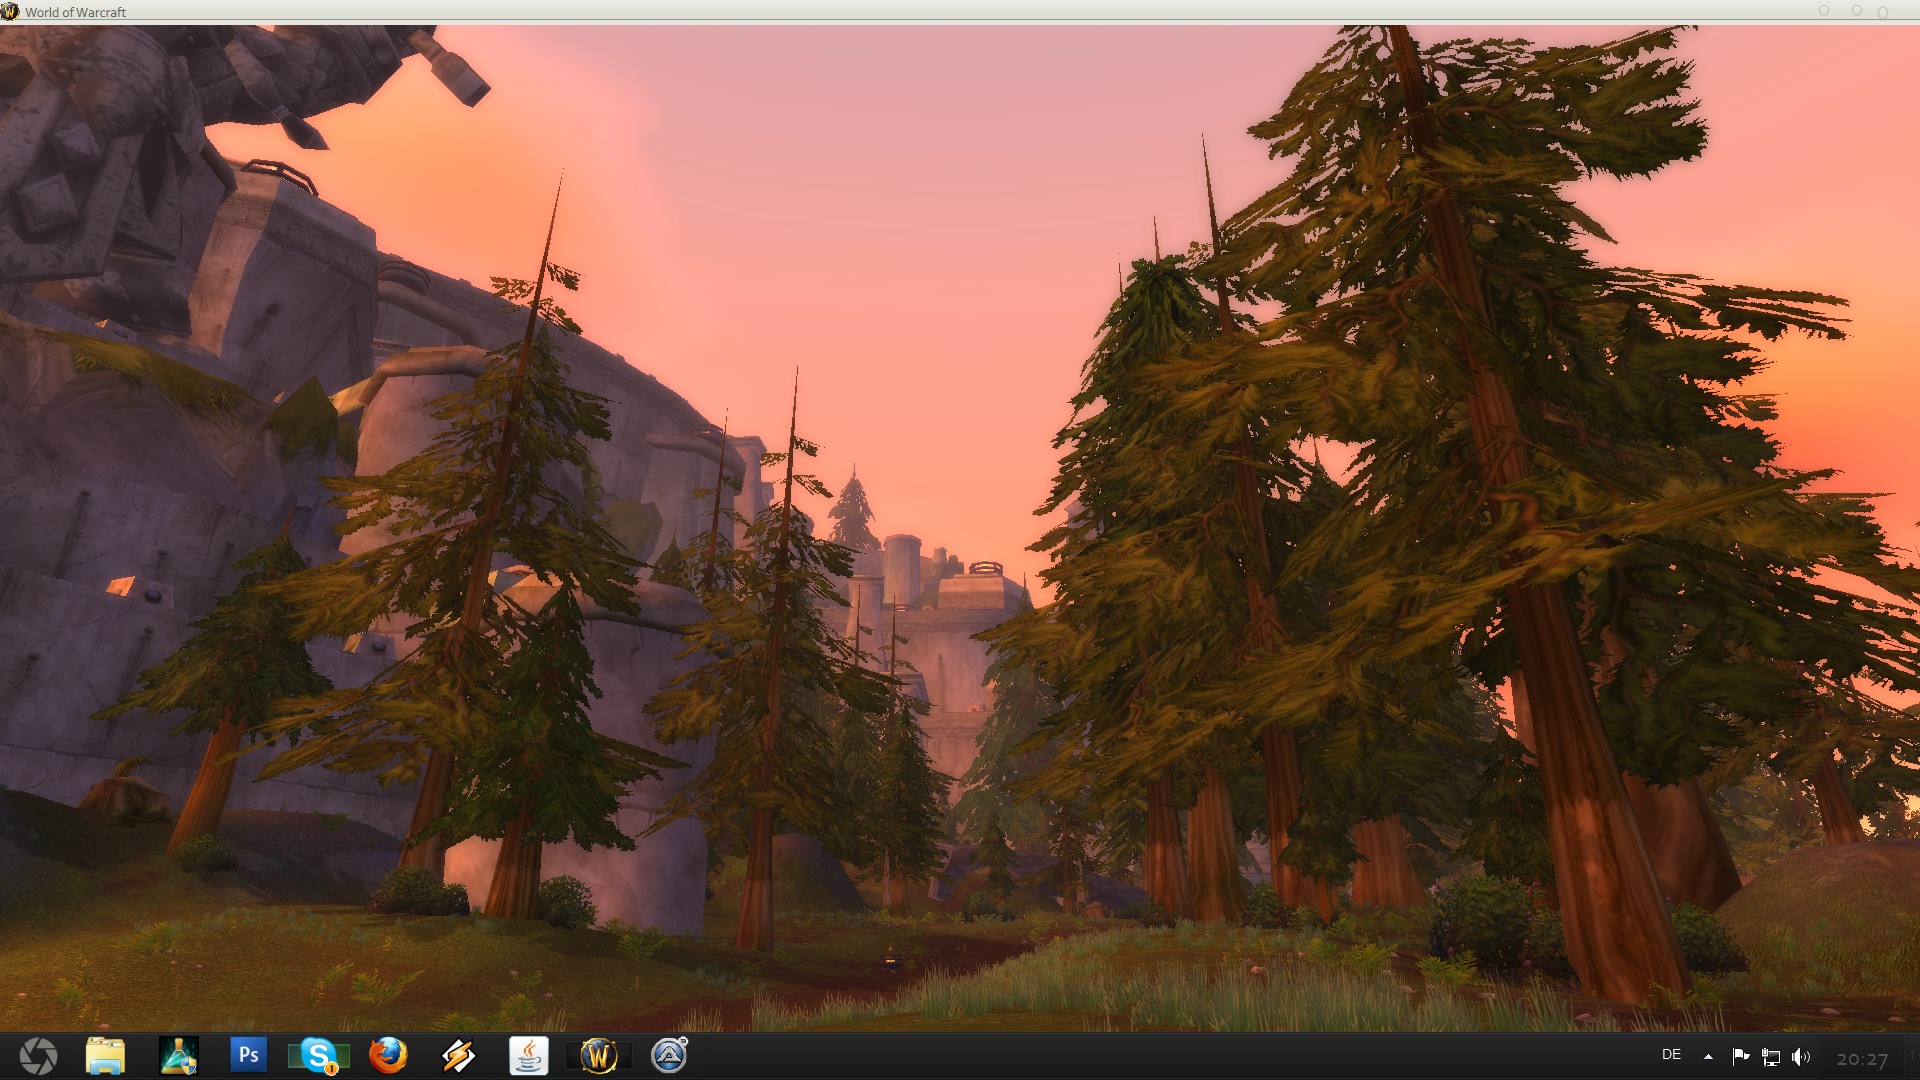 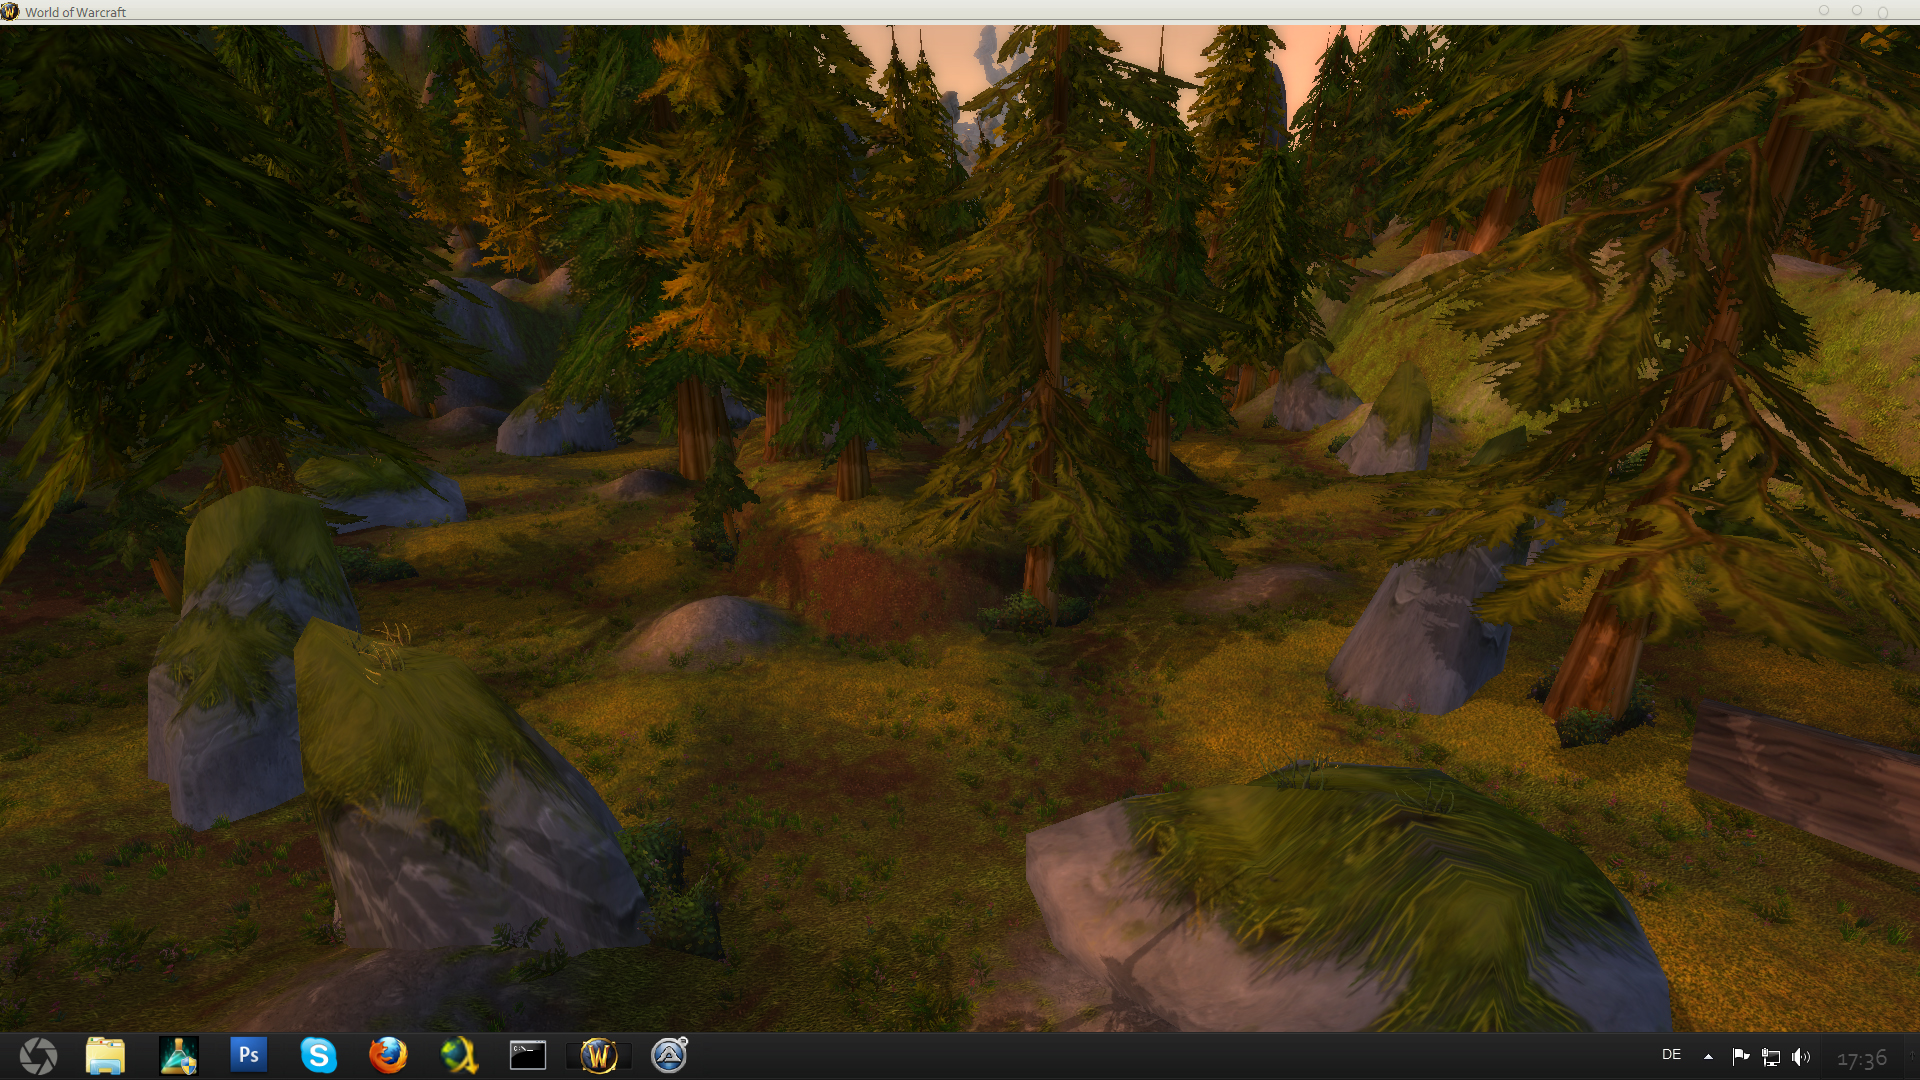 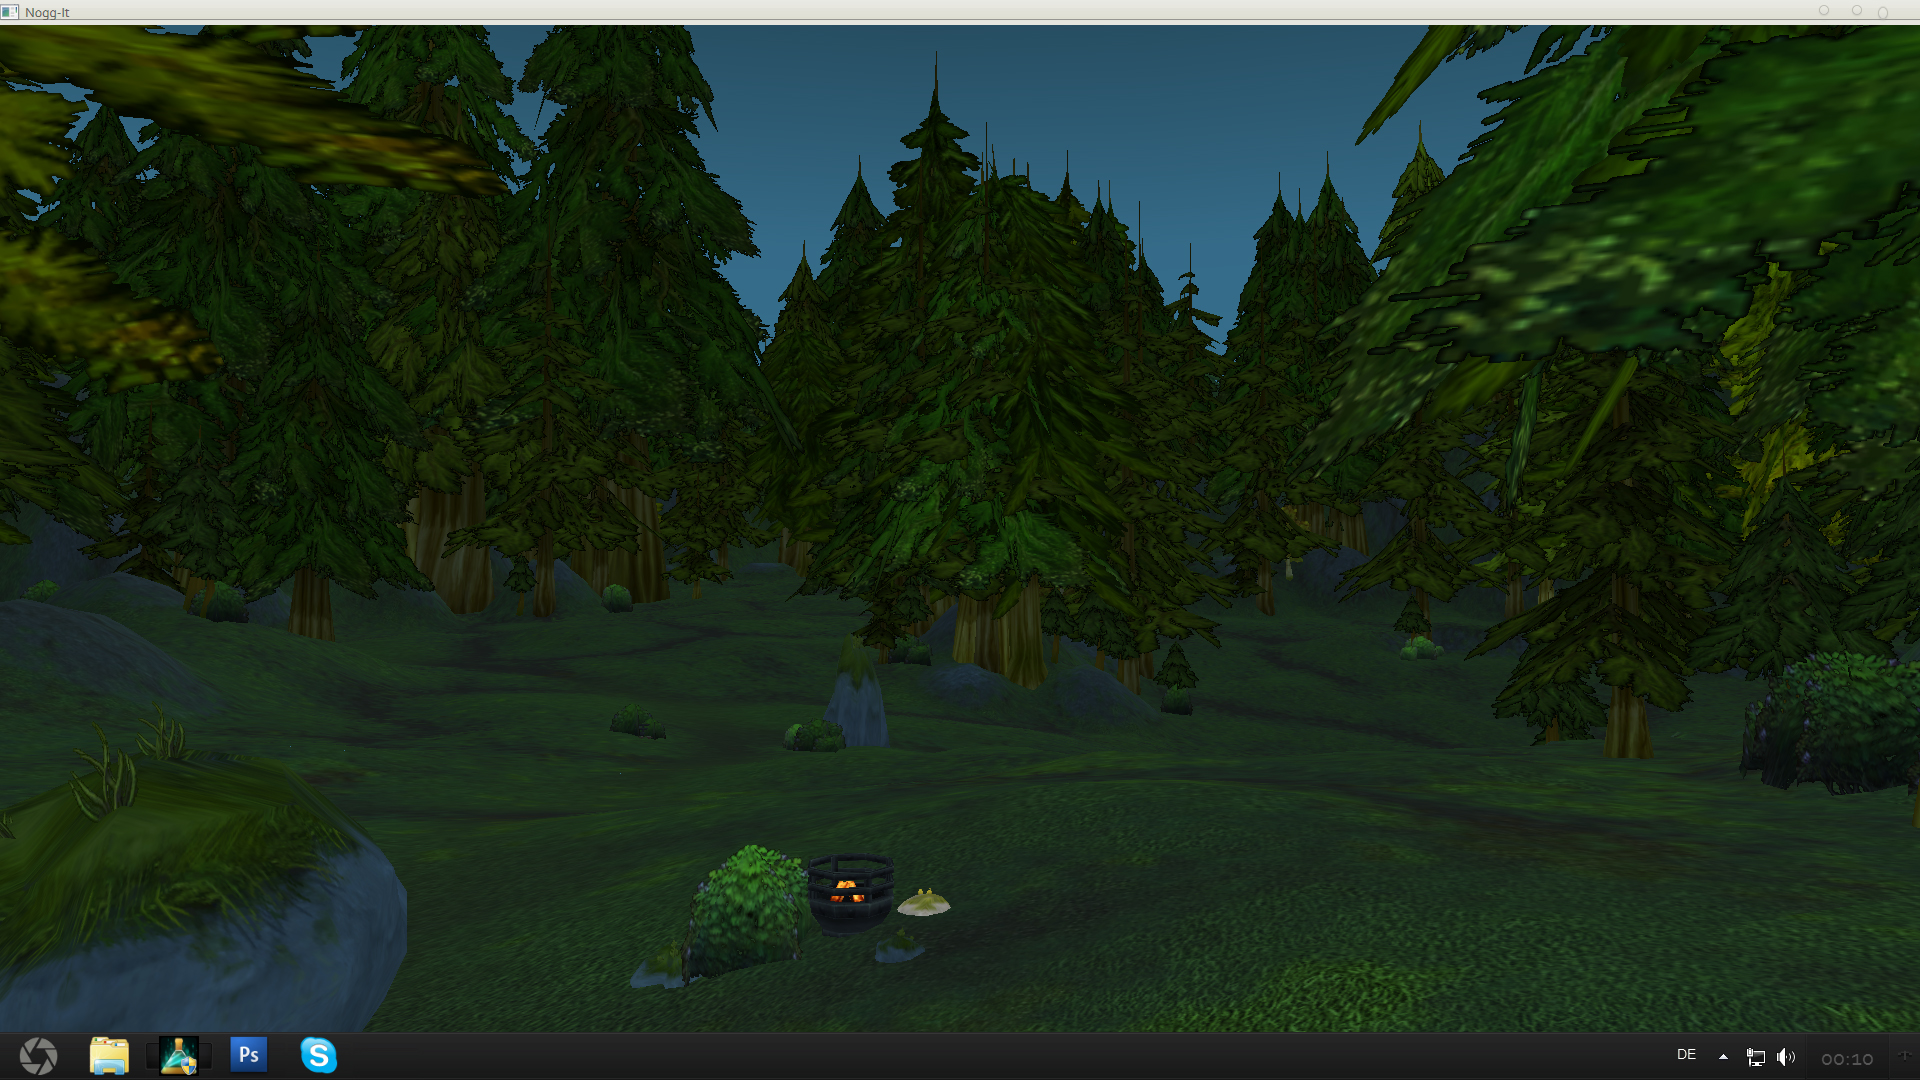 [/spoiler:135nkgz3] [/spoiler:135nkgz3]Mystic area: This was more or less a test to paly with lights and some stuff. I created a npc where i modified the model in theat way that it always looked to you. But that turned out to be a bit too wierd xD [spoiler:135nkgz3] 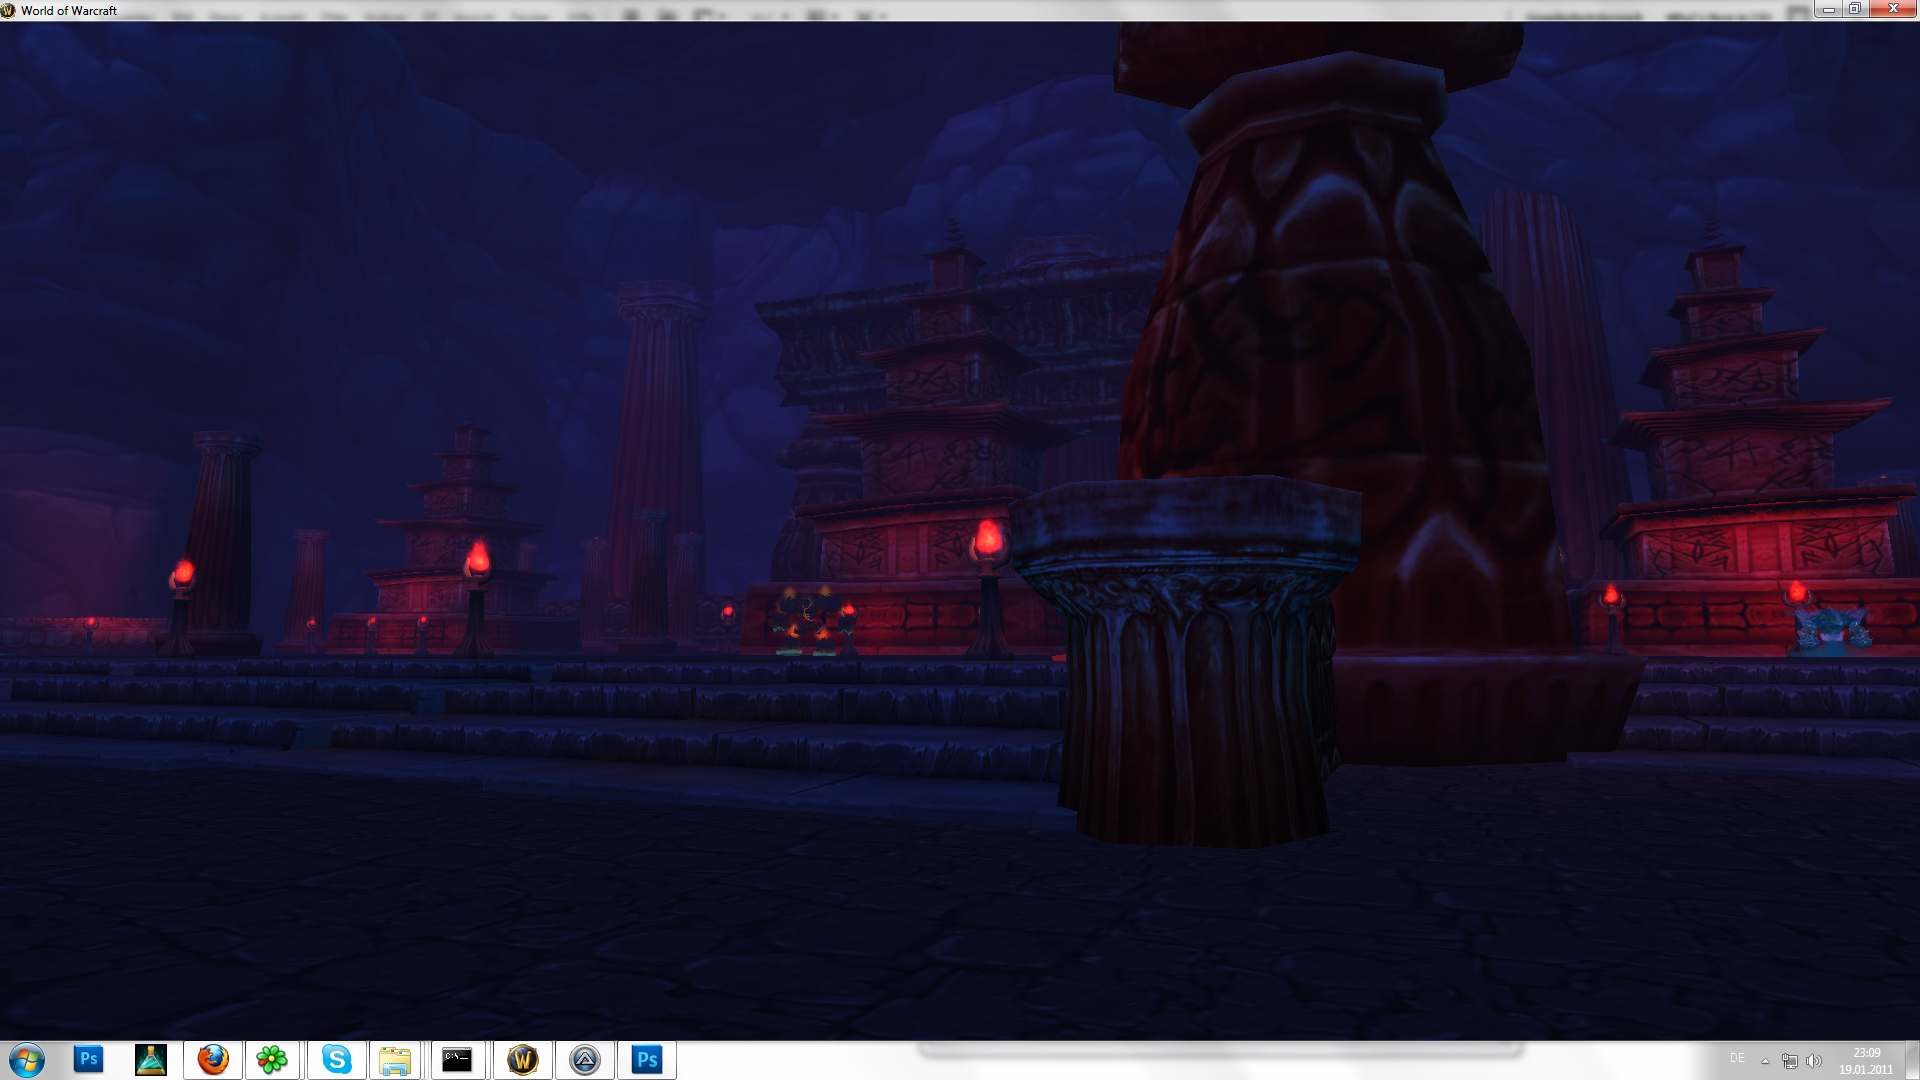 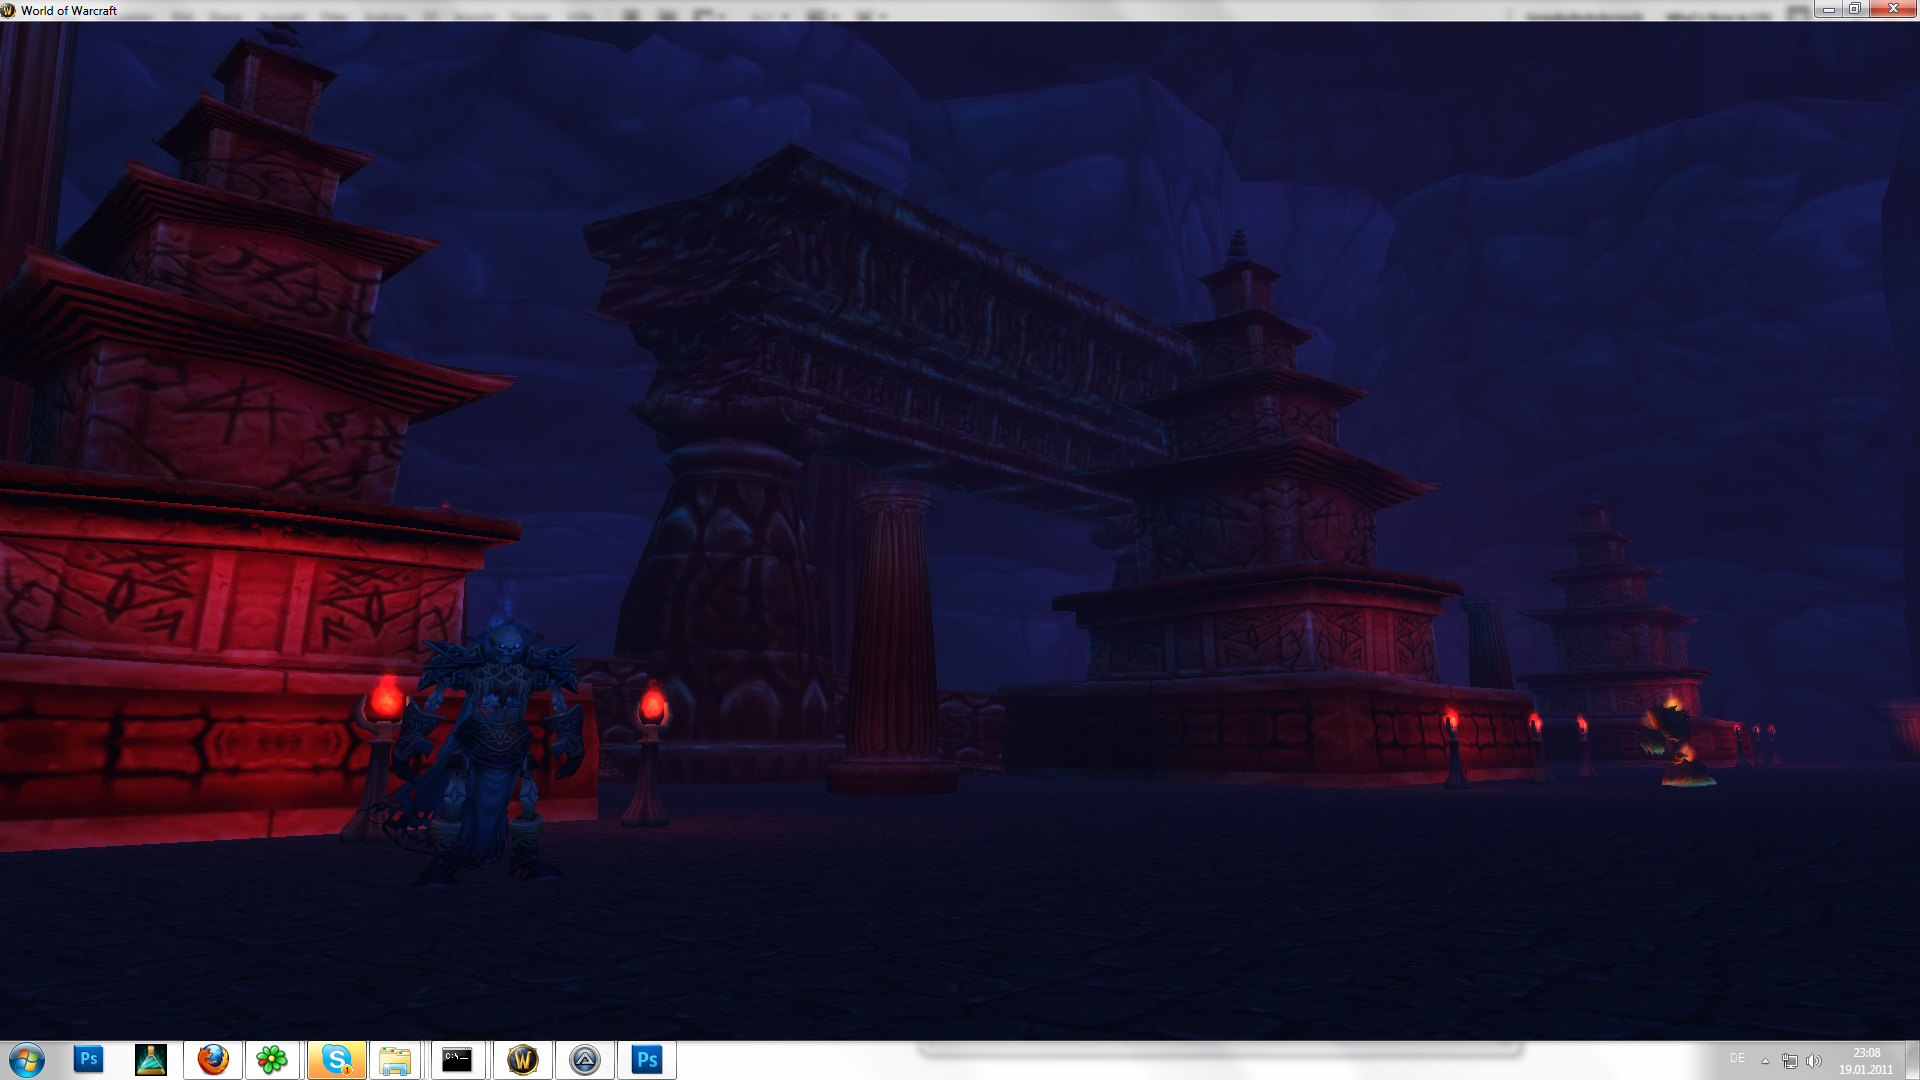 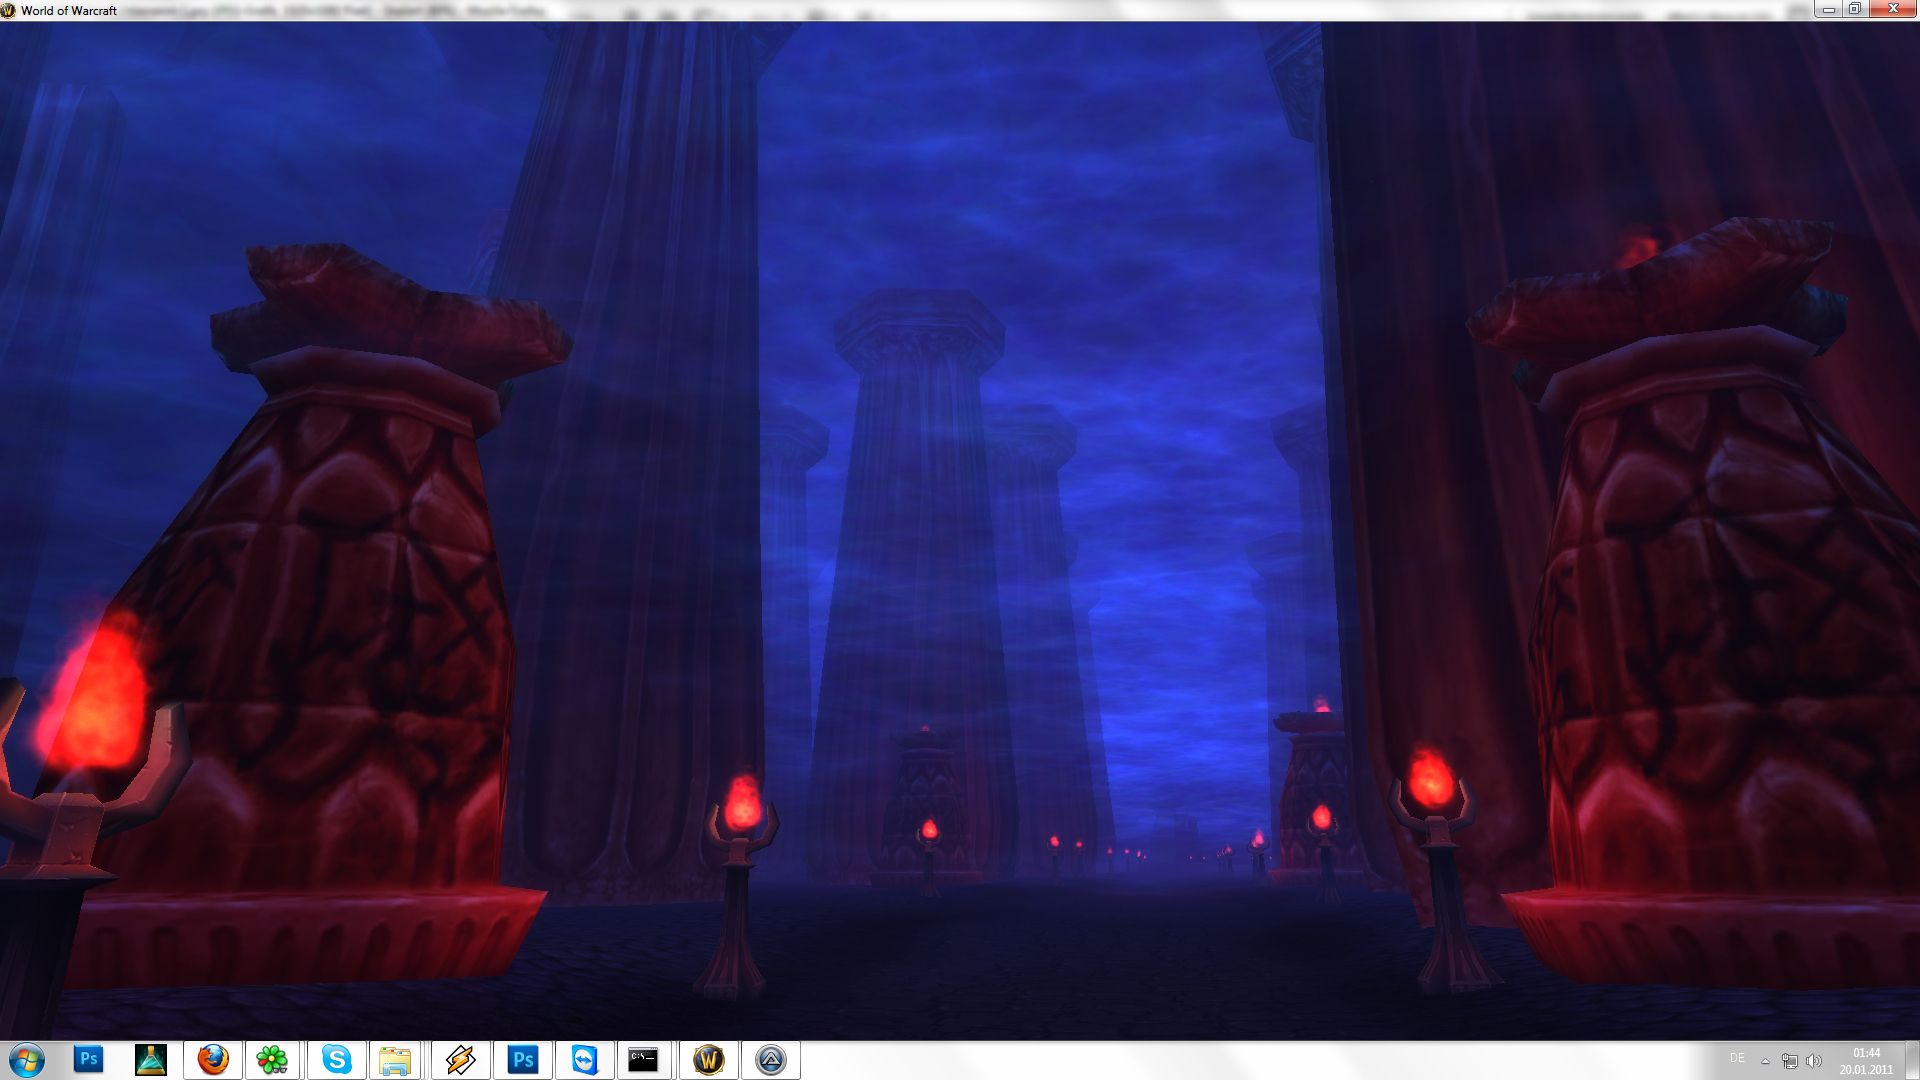 [/spoiler:135nkgz3] [/spoiler:135nkgz3]Arenas: Some arenas/smaller areas[spoiler:135nkgz3] 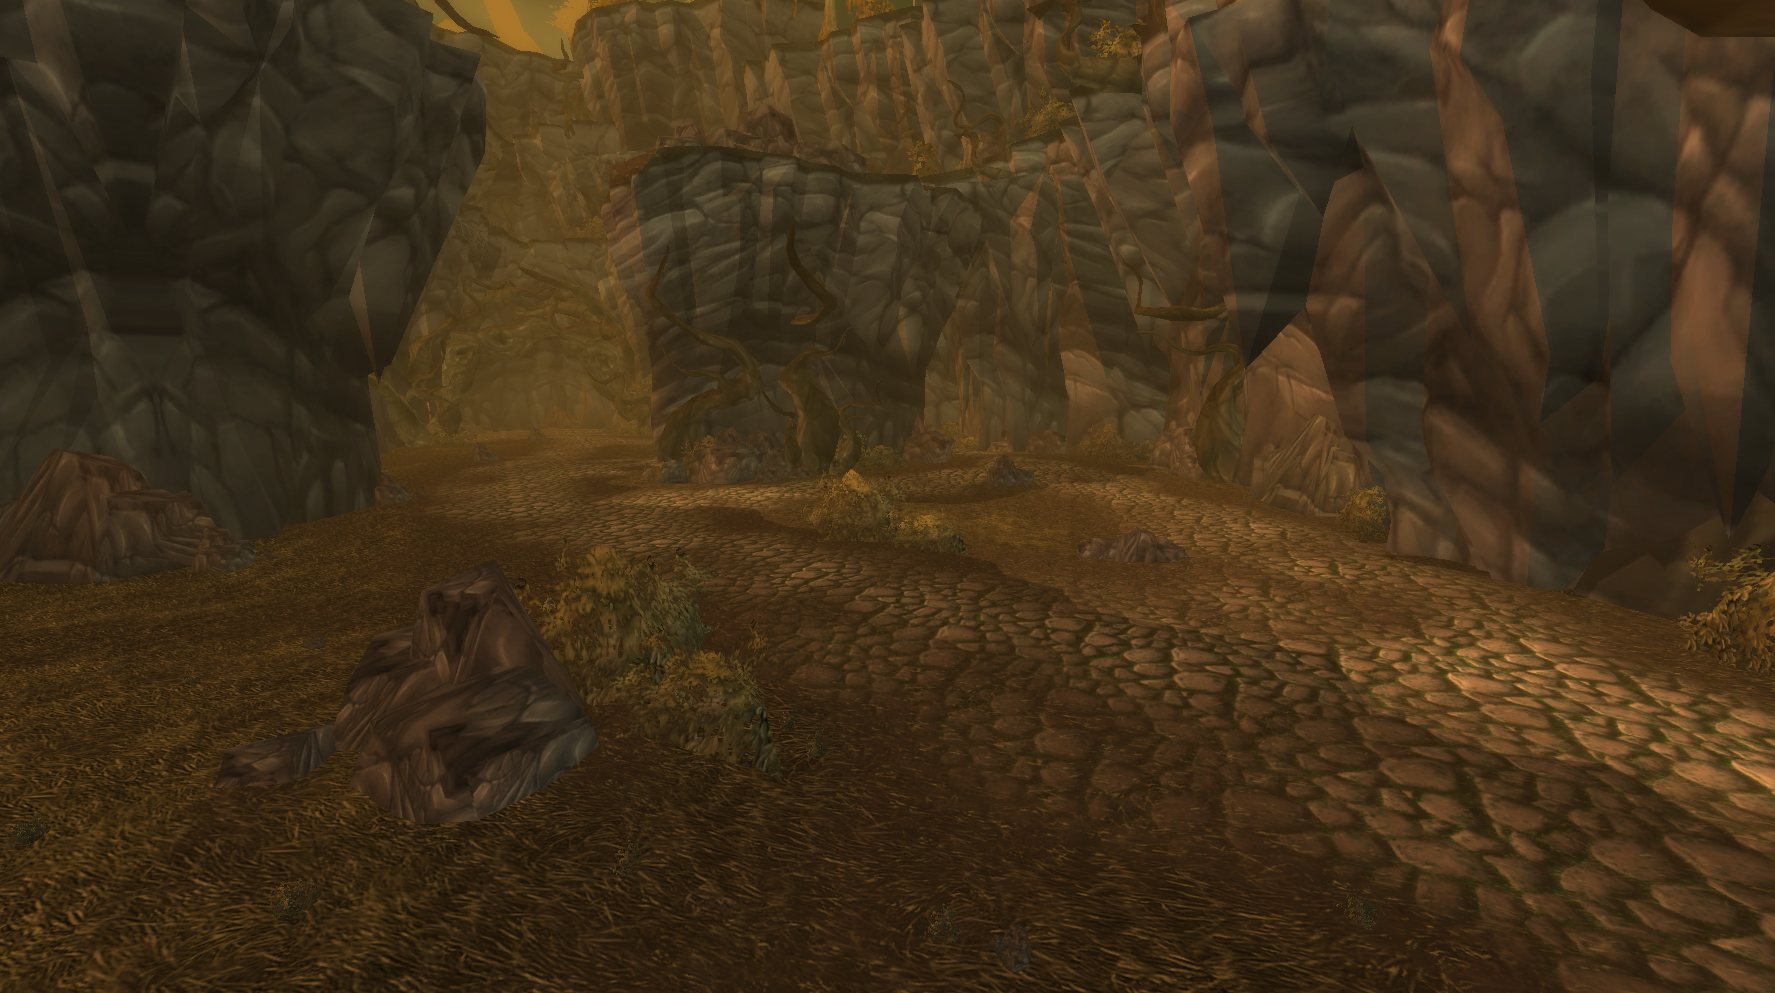 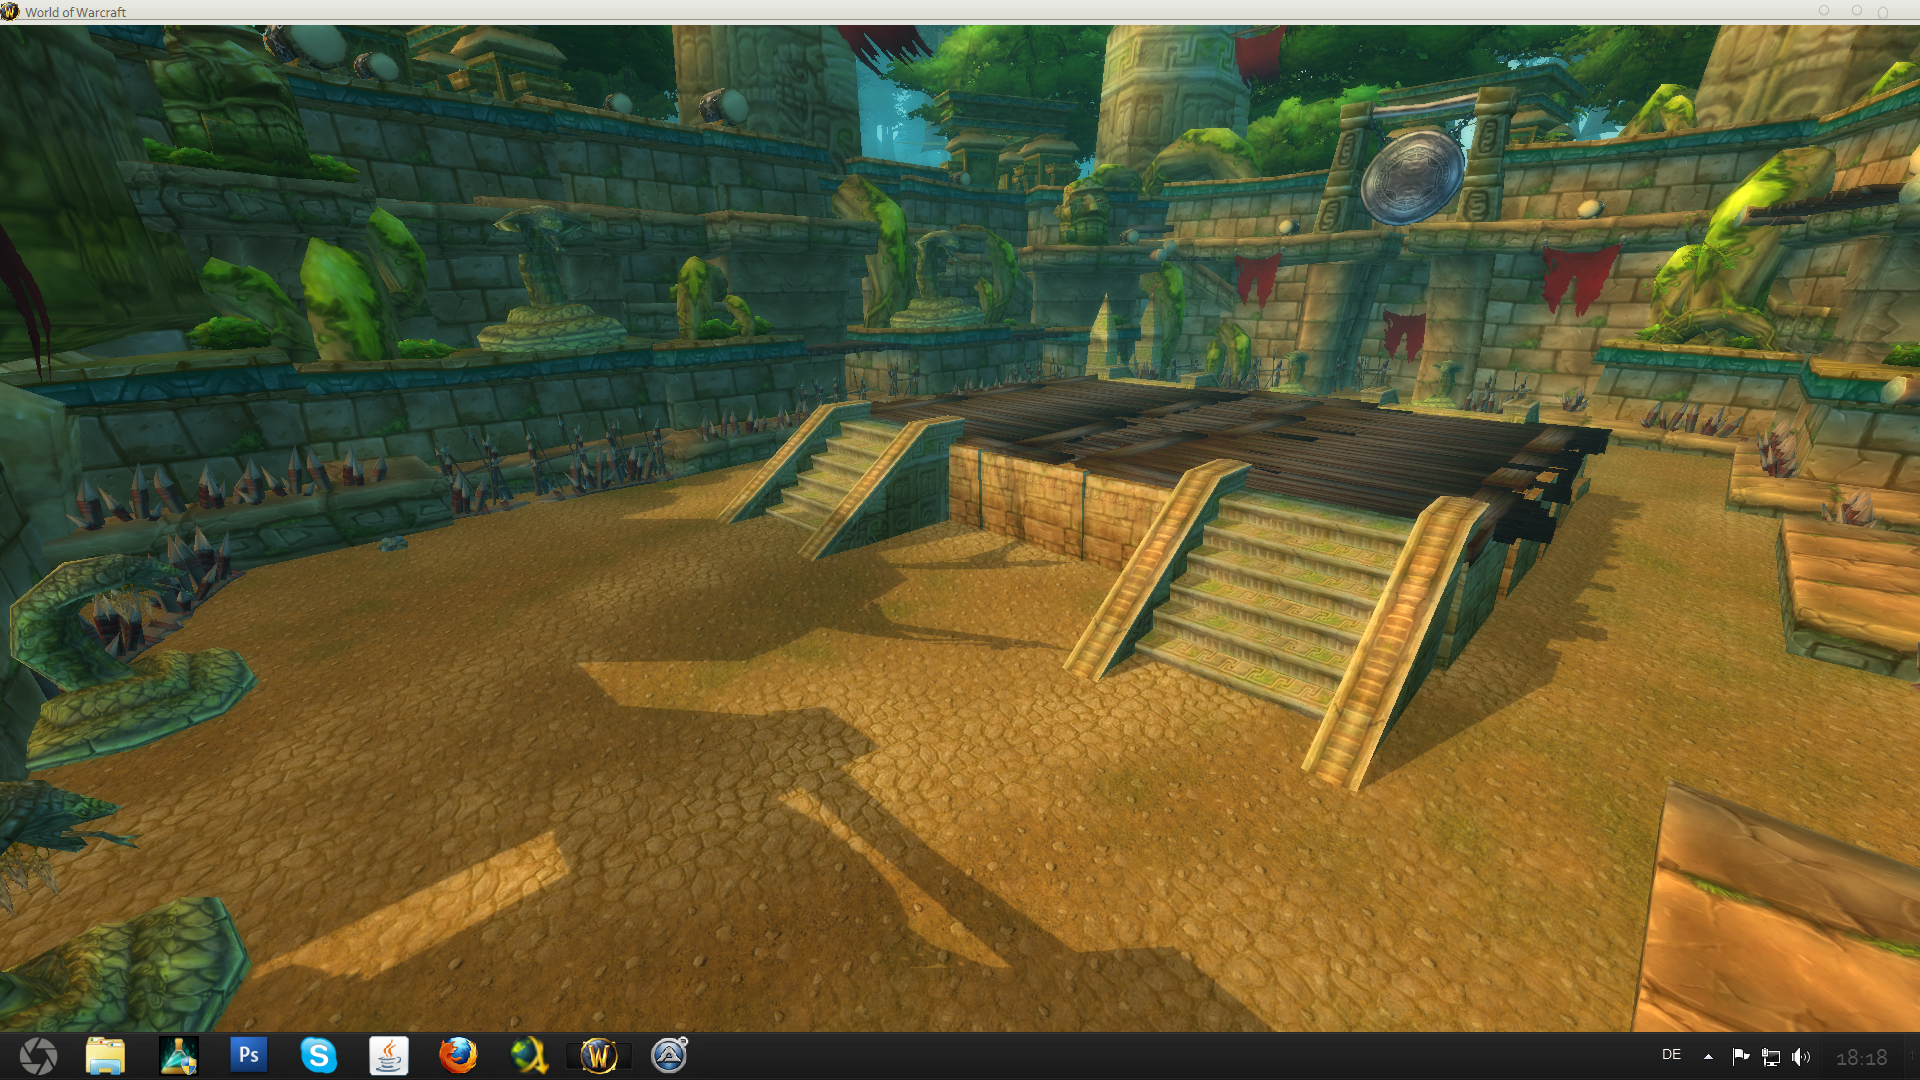 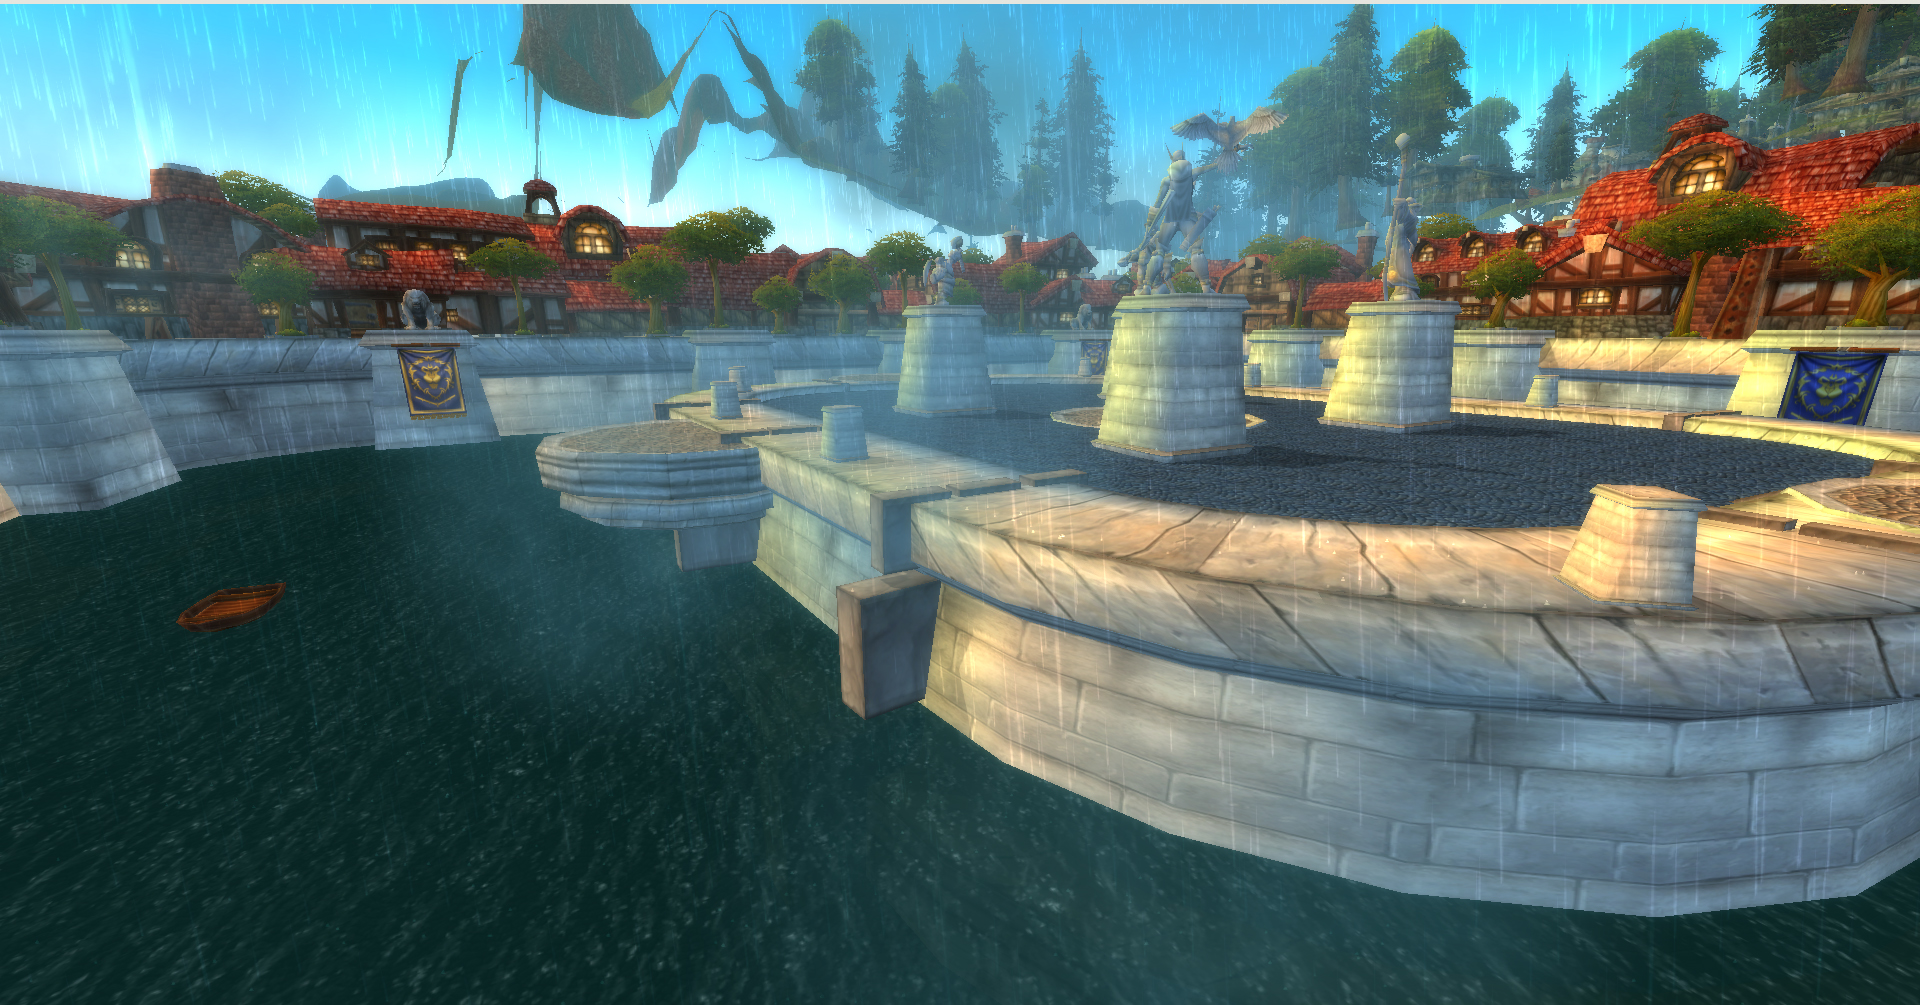 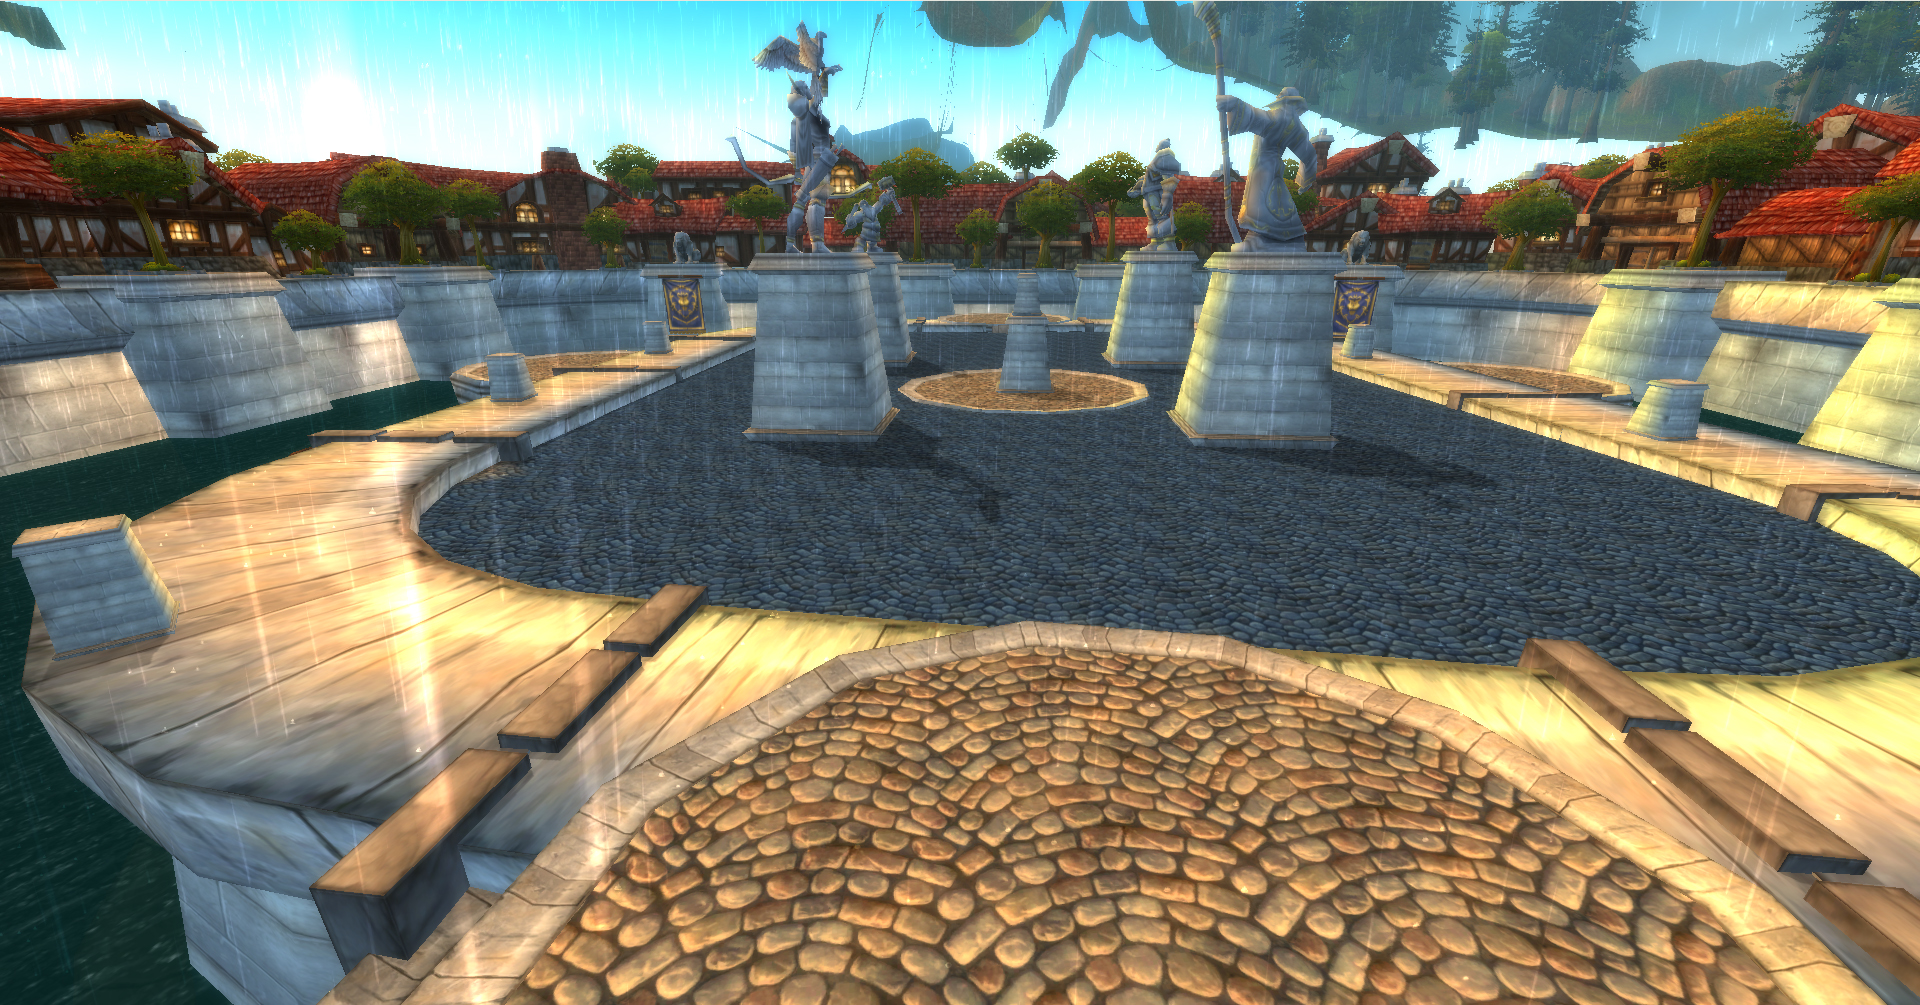 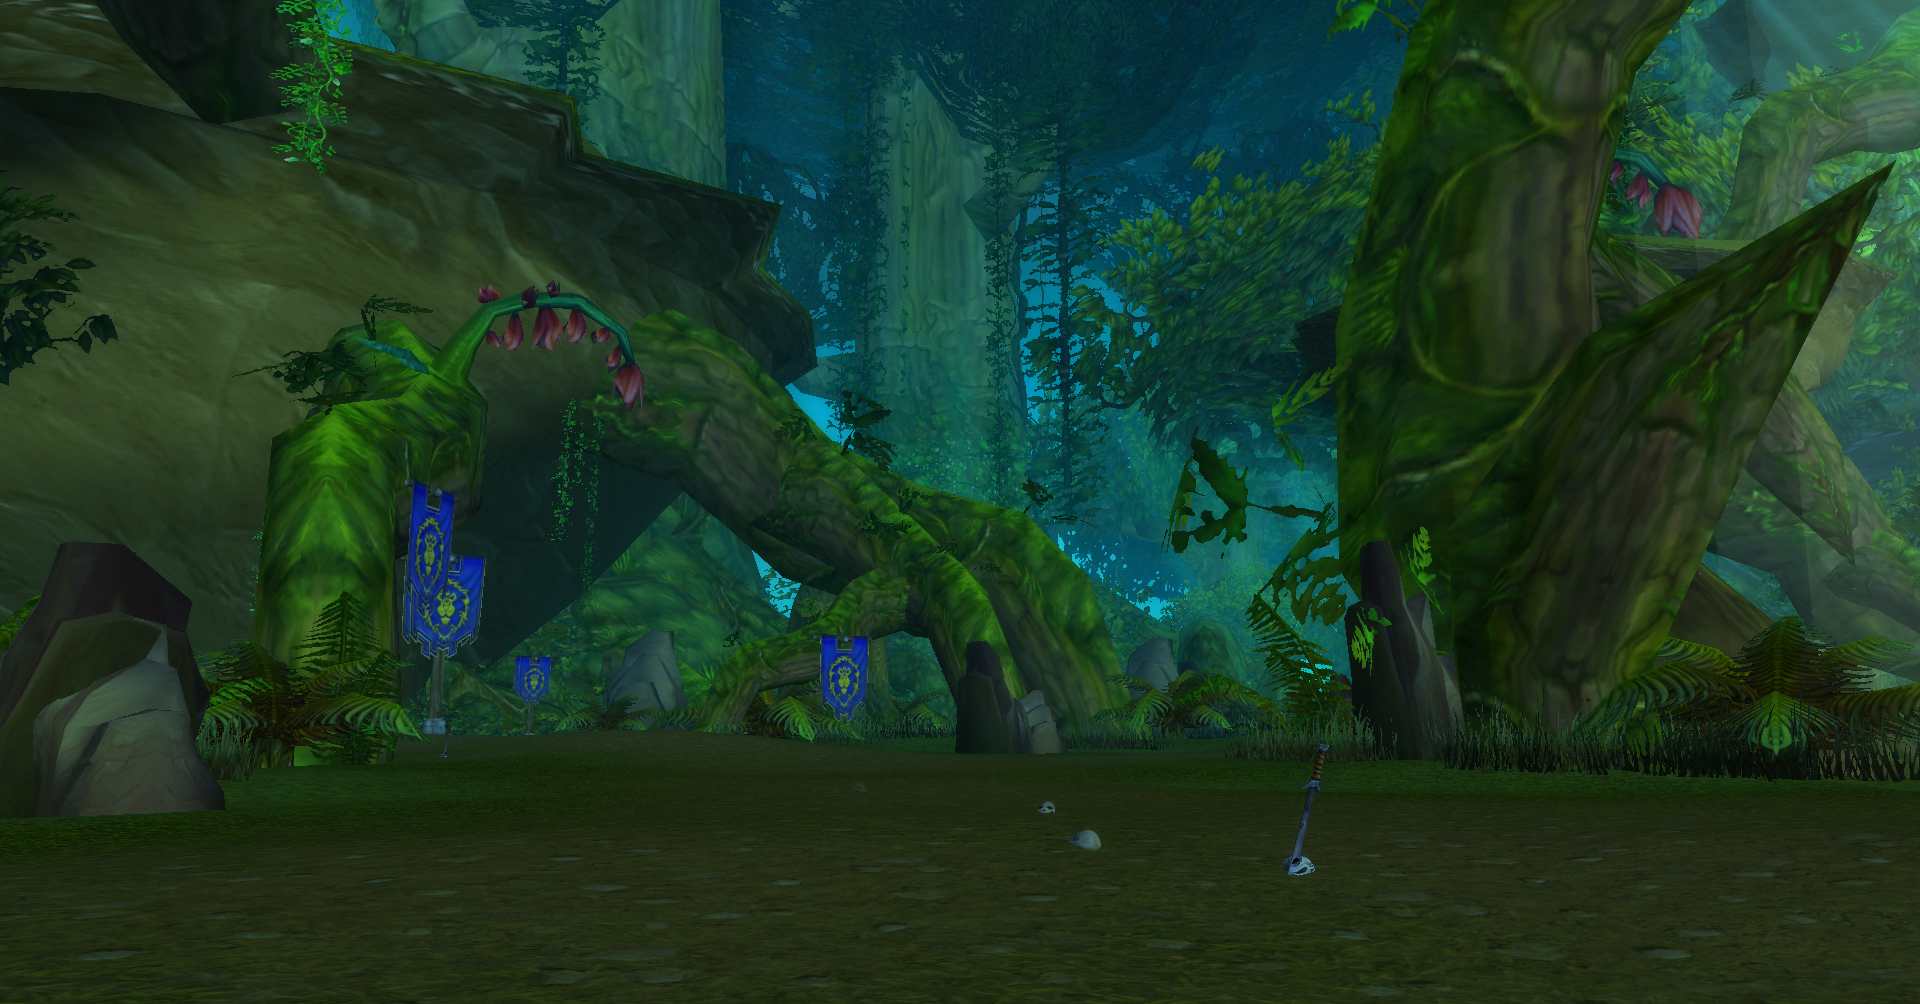 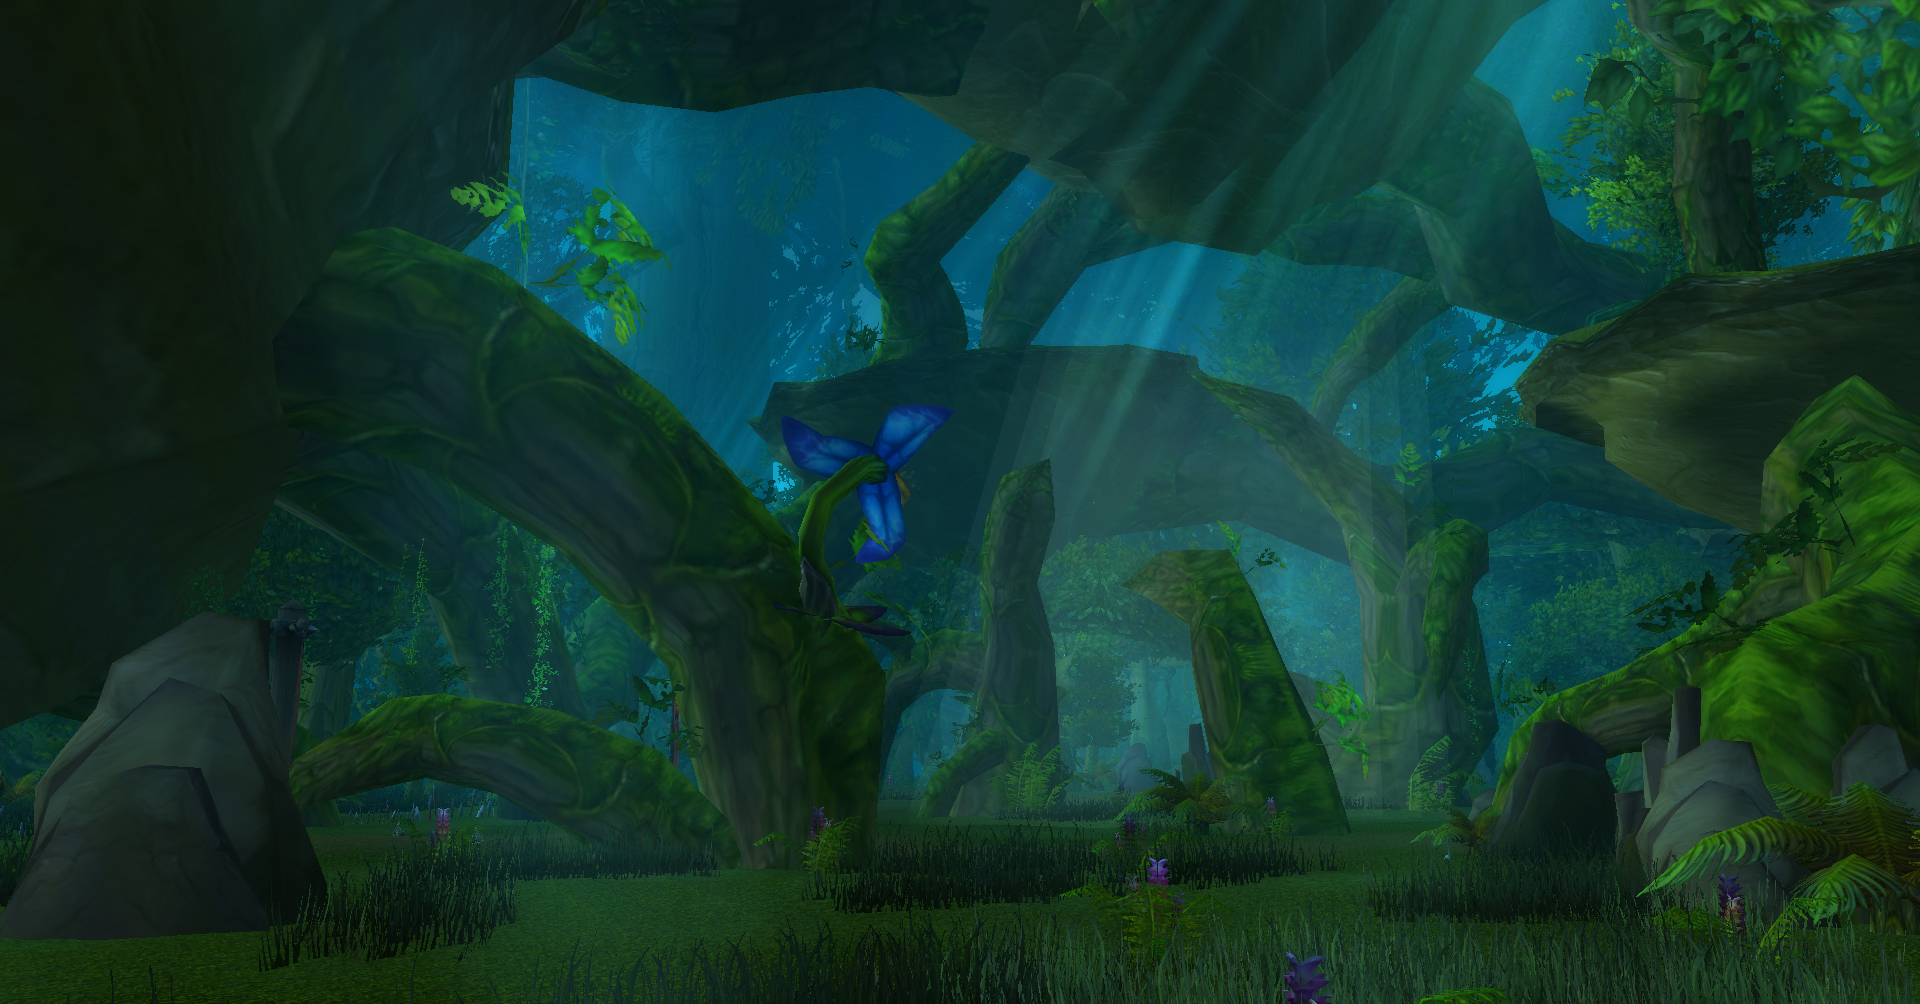 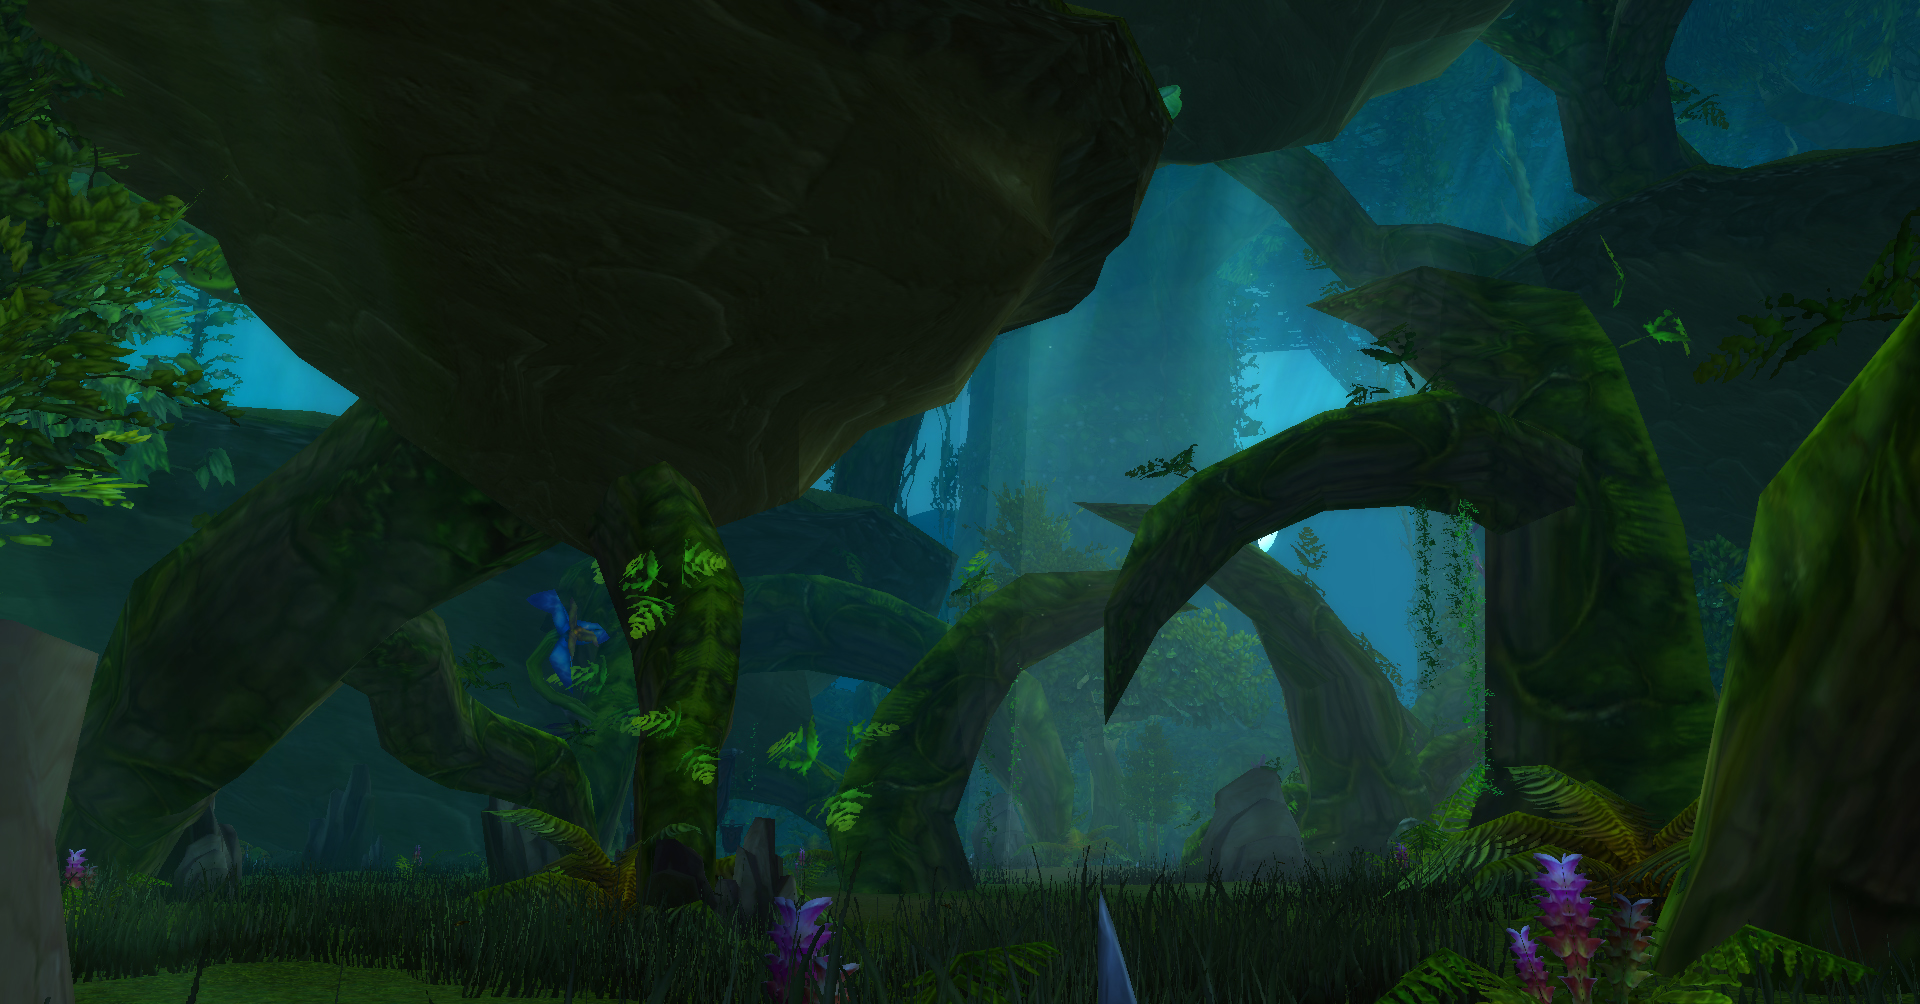 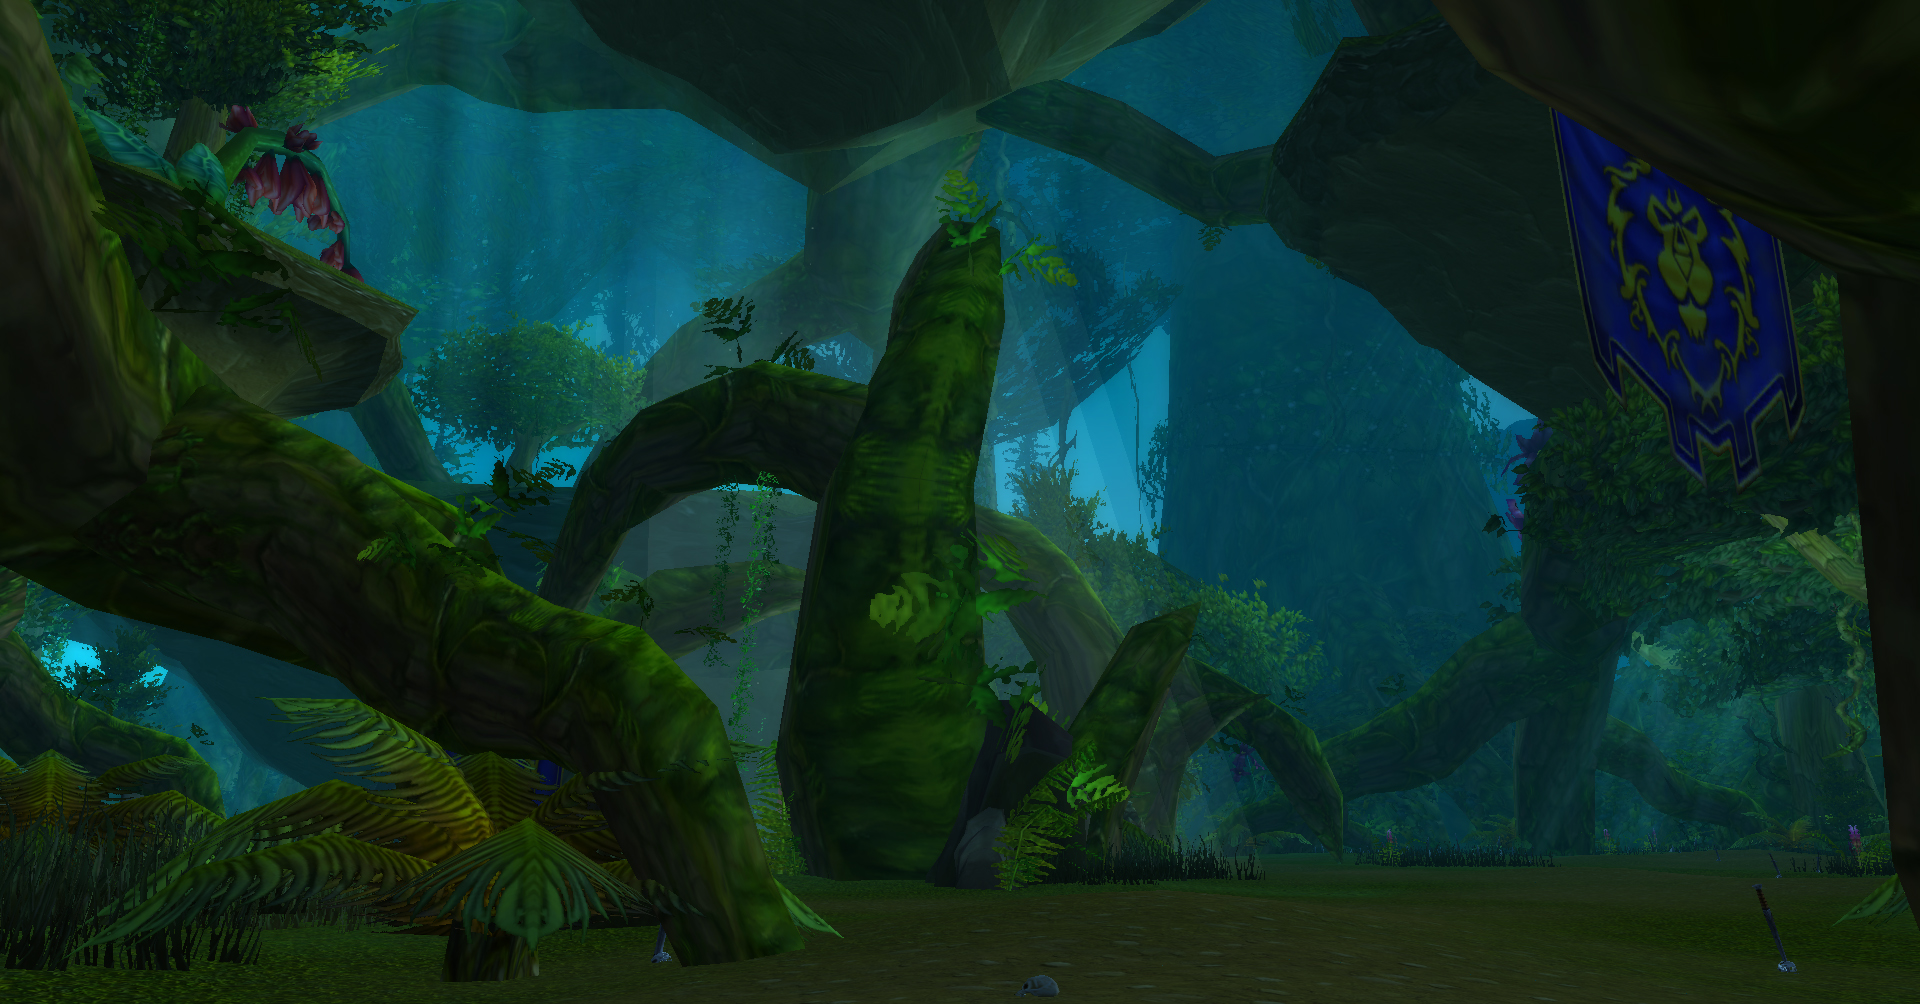 [/spoiler:135nkgz3] [/spoiler:135nkgz3]Photoshop Related stuff I also worked with photoshop for some years where i manipulate photos and even design some stuff. I am no pro there, but it is still wow related  Homepage: a homepage i created for Cronicles of Azeroth , the project of SirFranc [spoiler:135nkgz3] 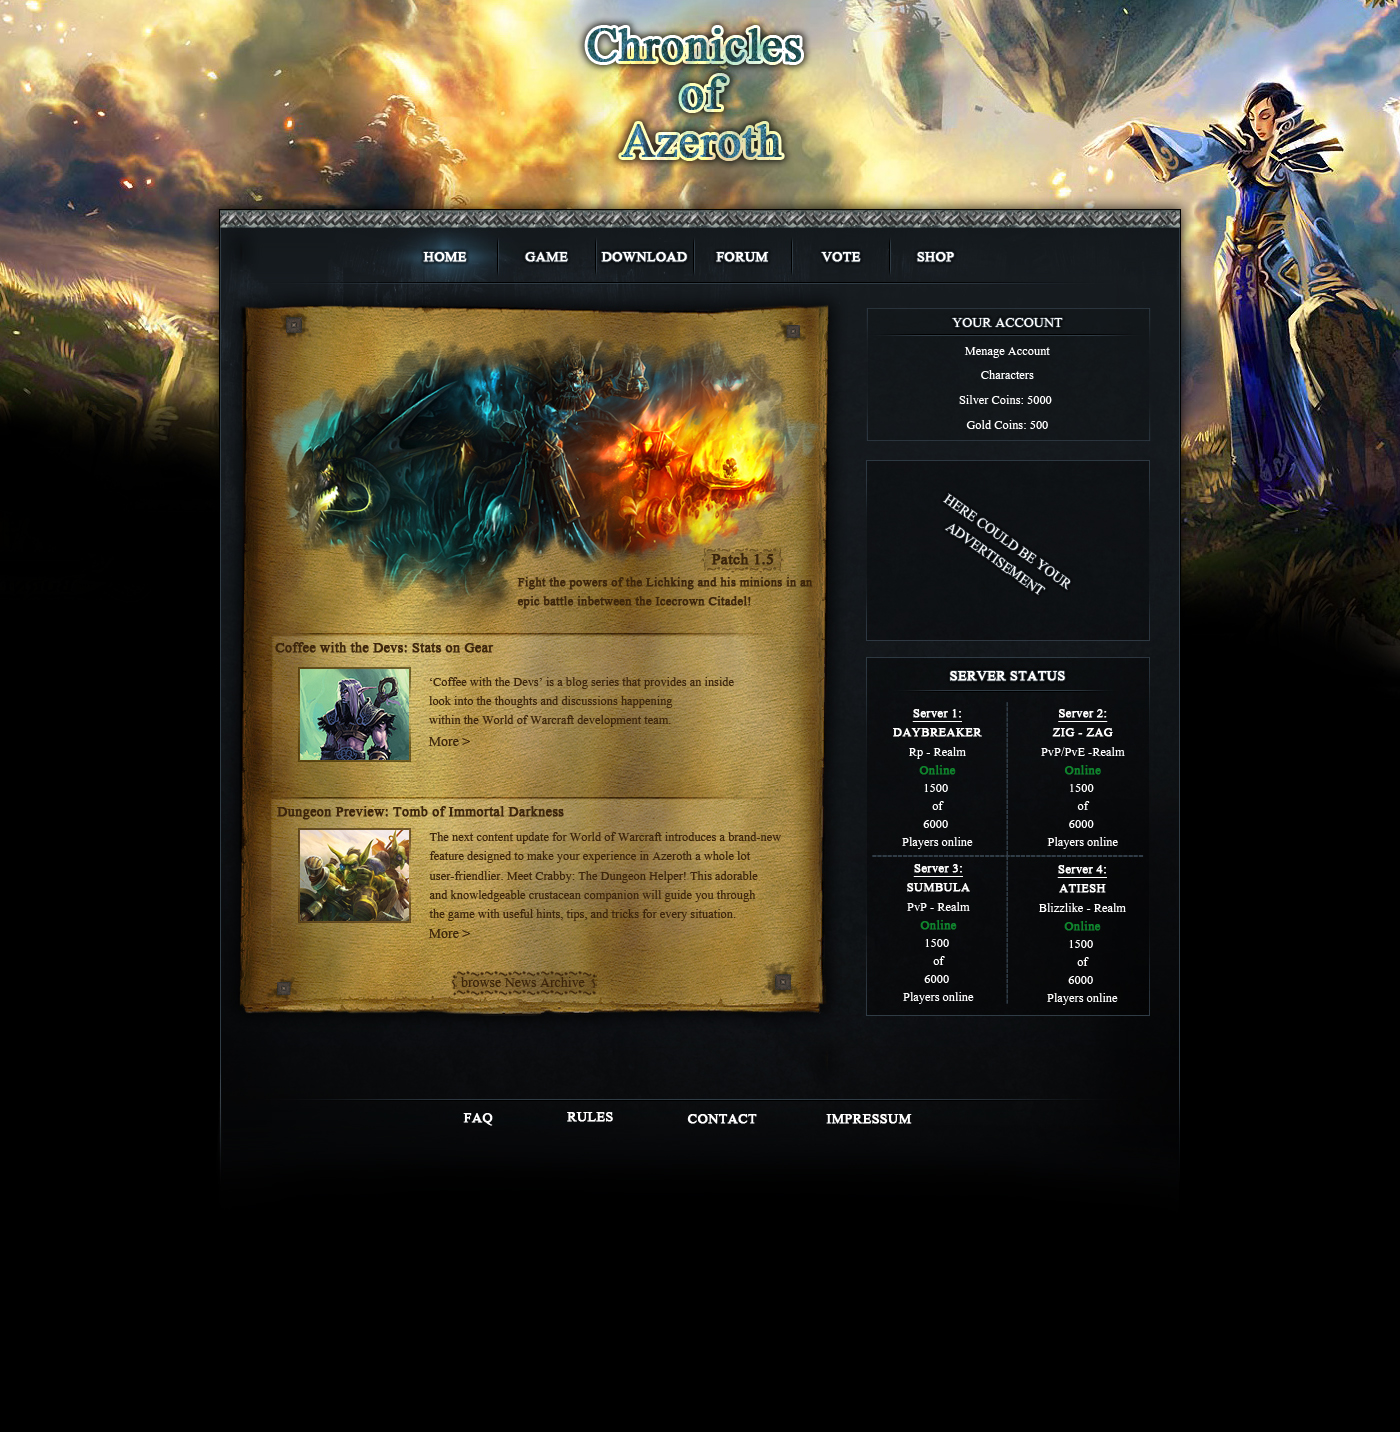 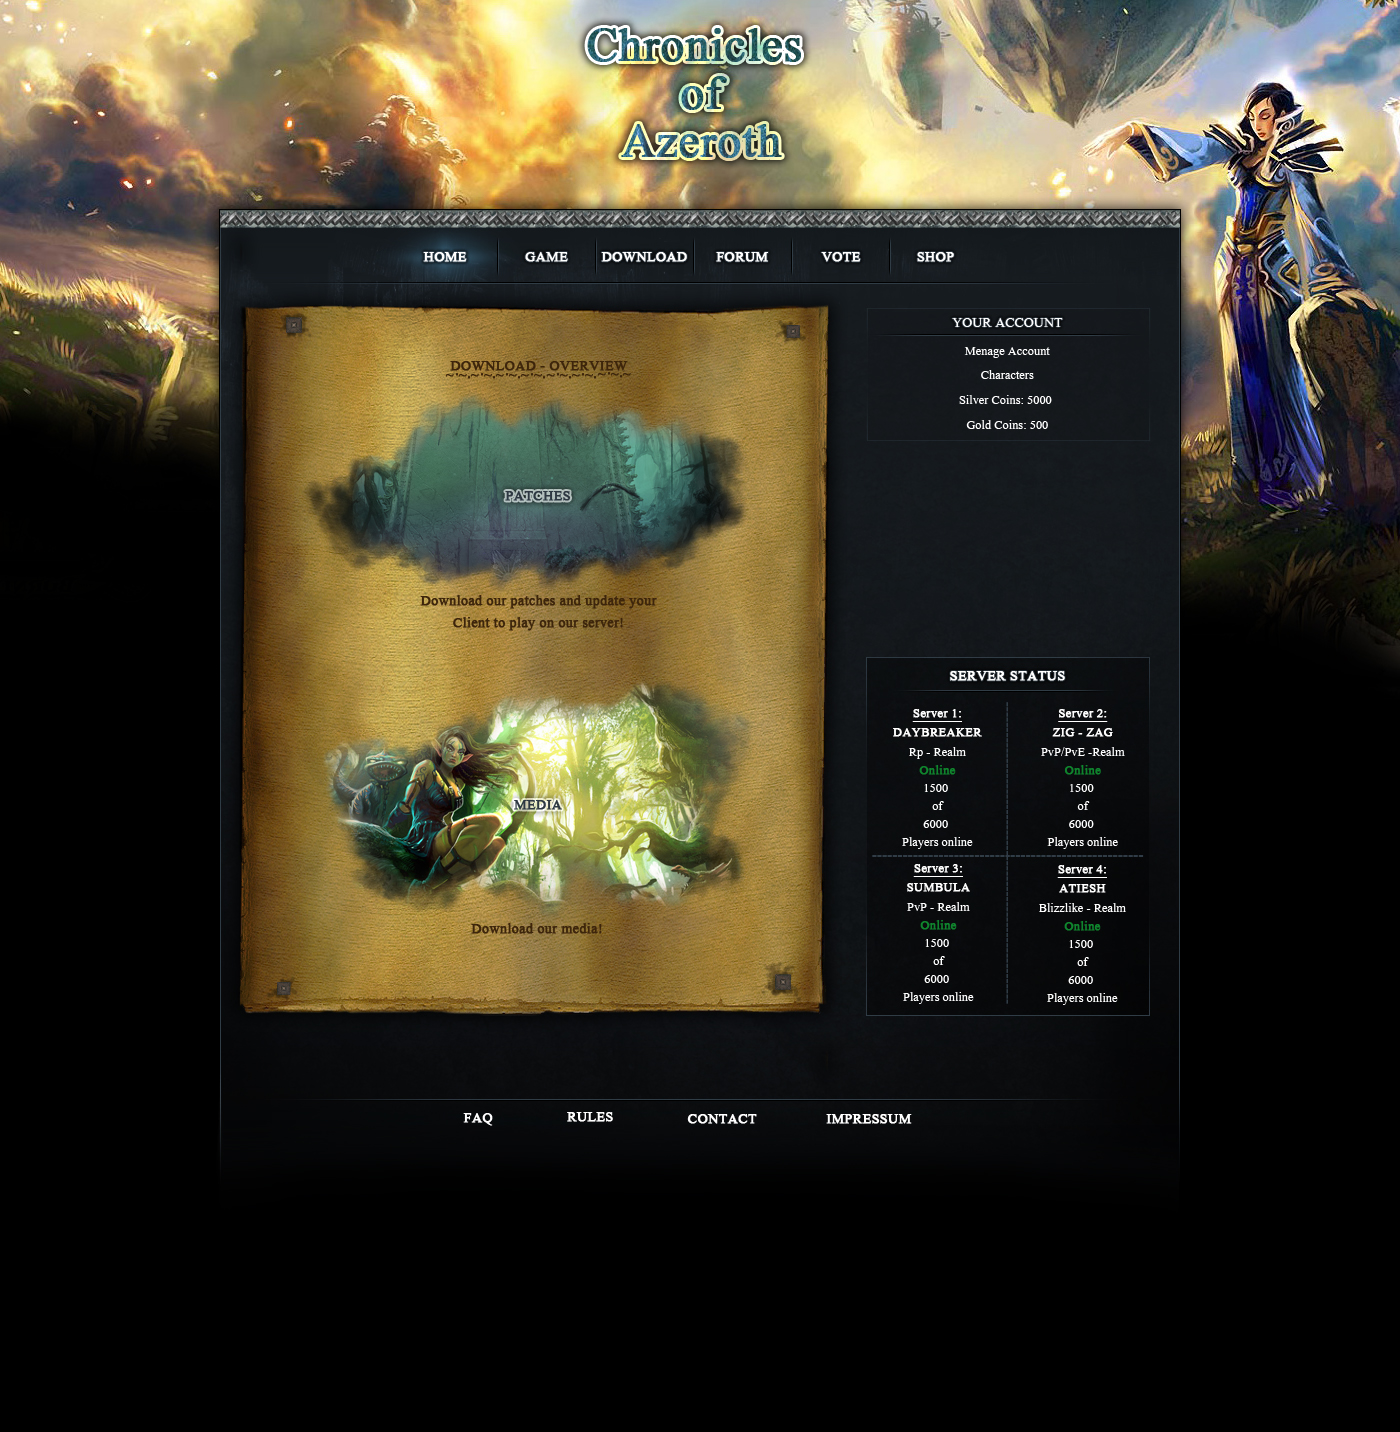 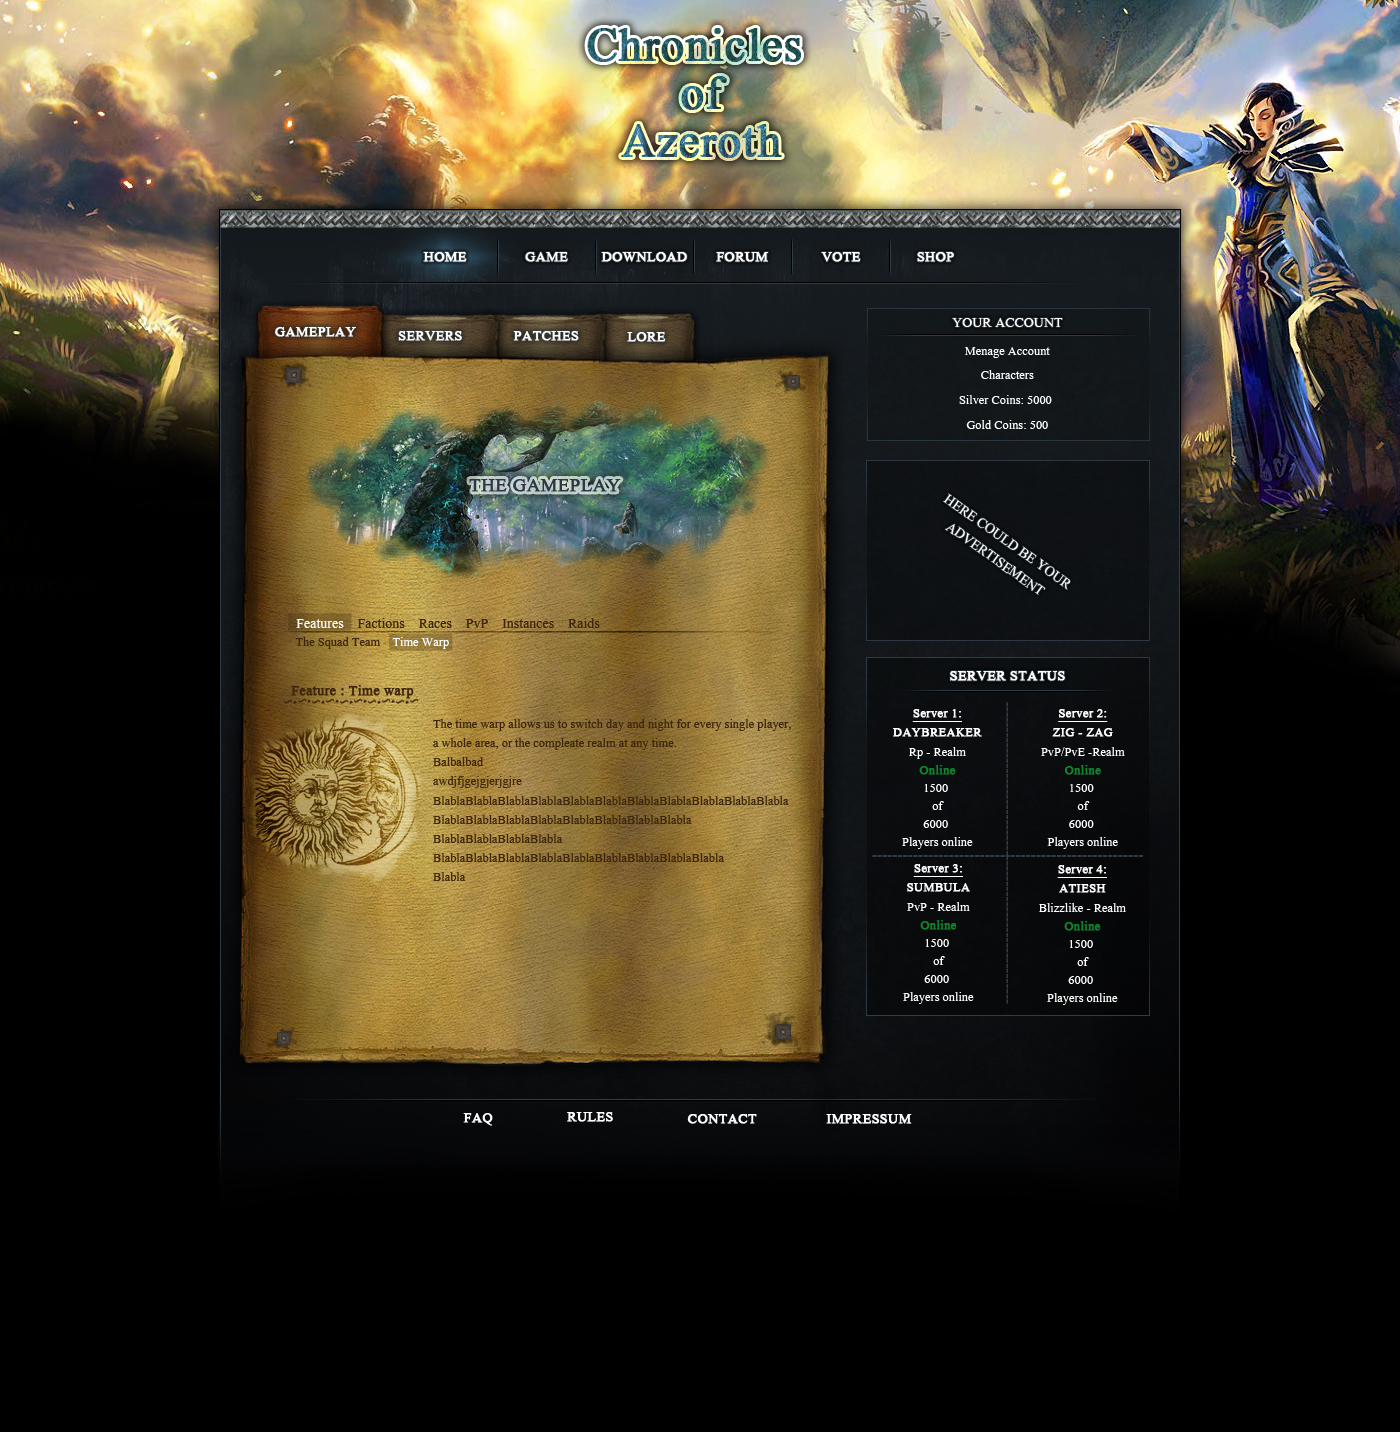 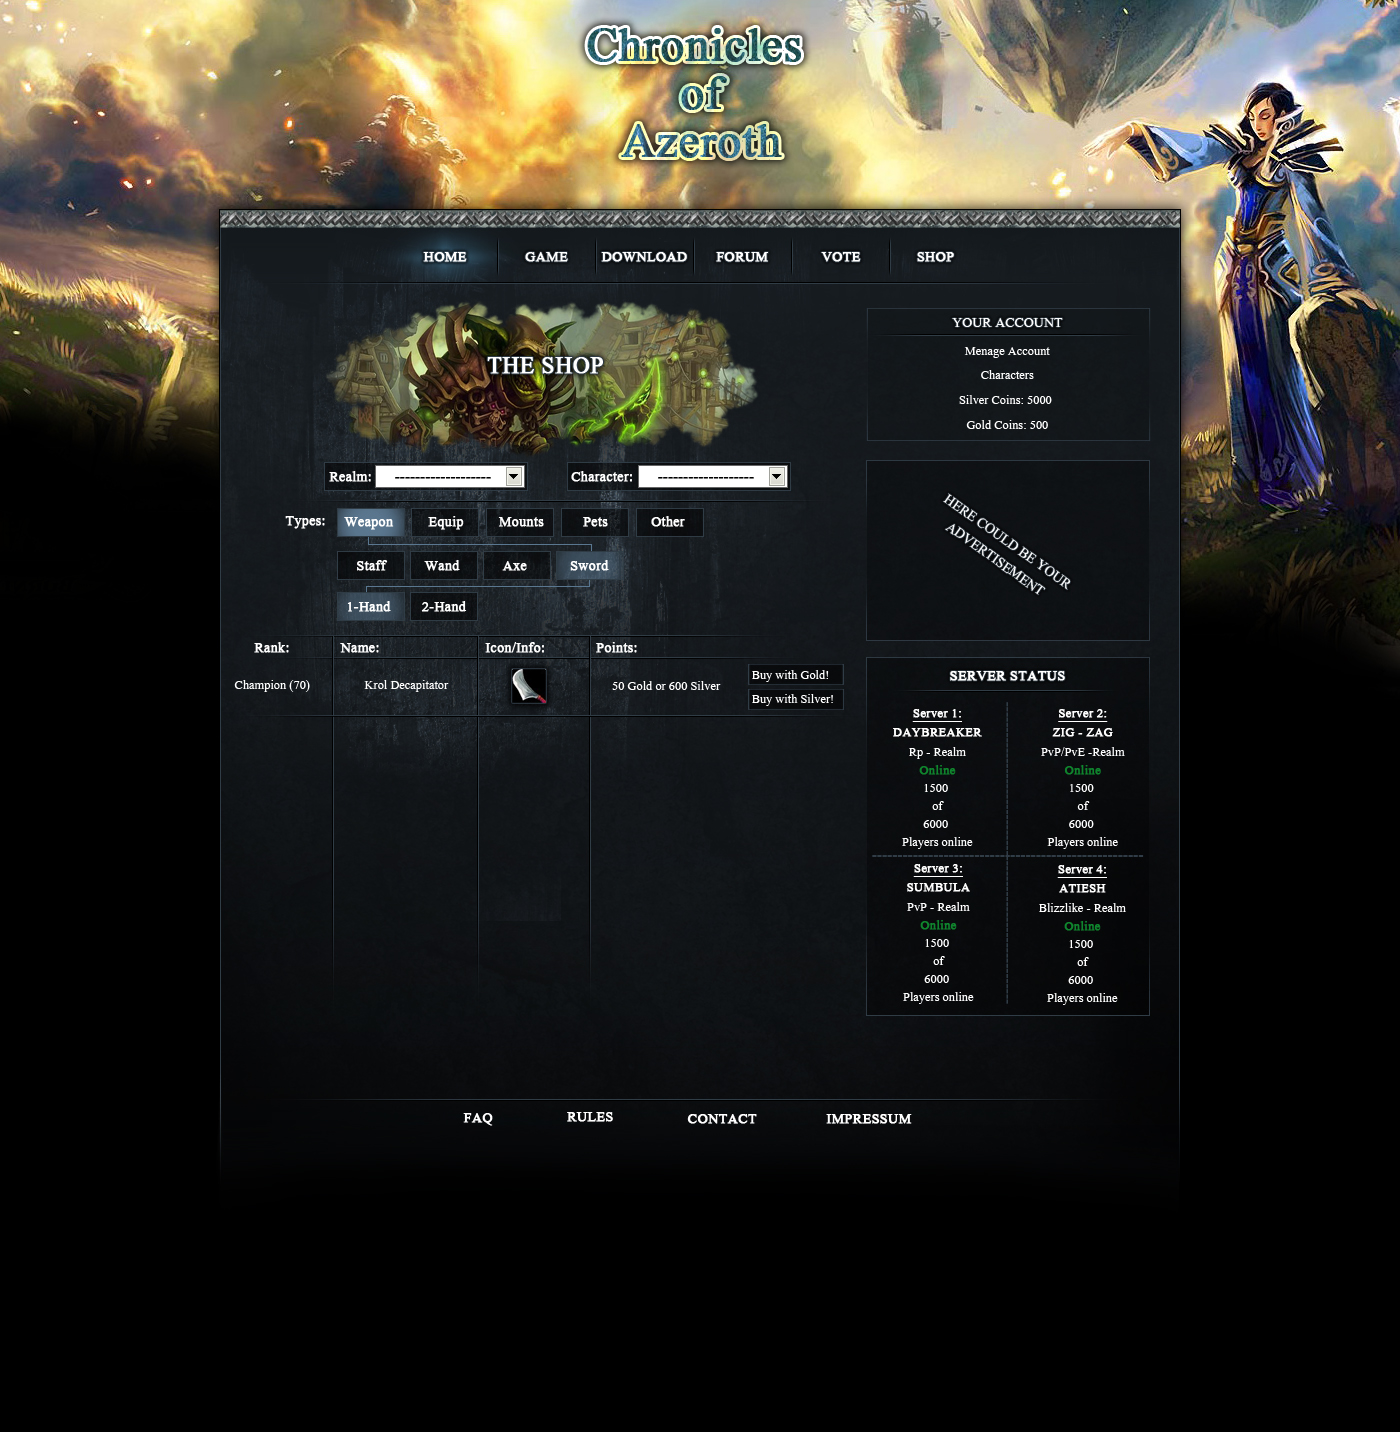 [/spoiler:135nkgz3] [/spoiler:135nkgz3]After that i tried also to paint a bit in photoshop with my graphics tablet  [spoiler:135nkgz3] 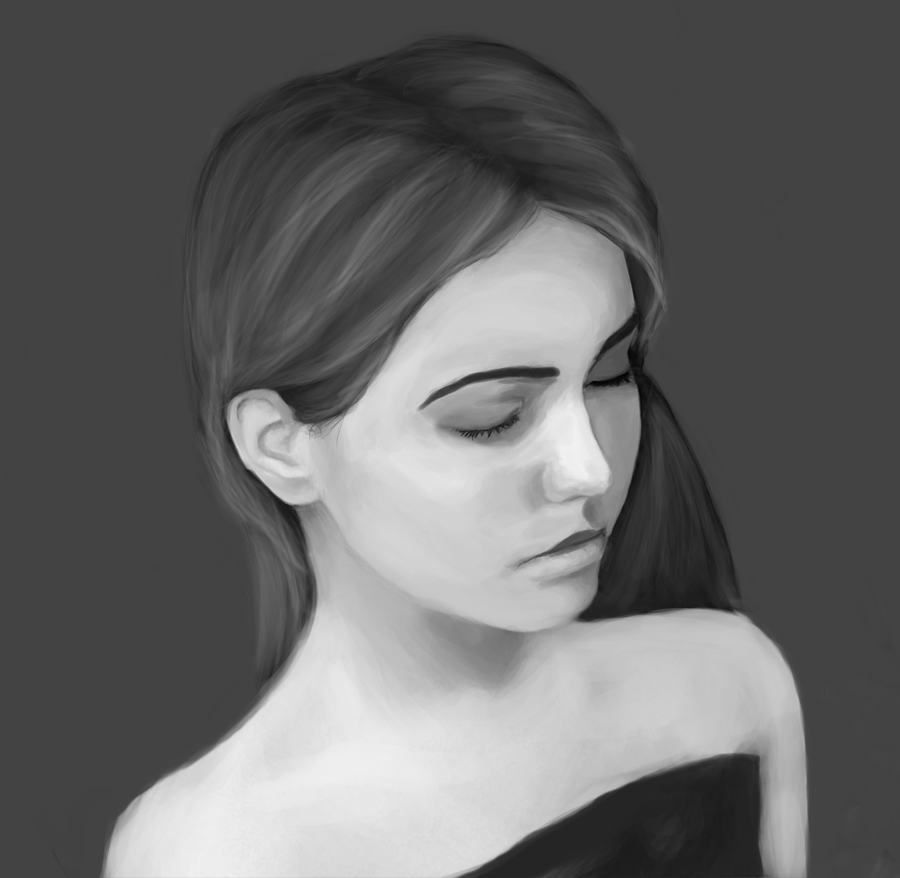 [/spoiler:135nkgz3] [/spoiler:135nkgz3]Thanks for watching  And as this will propably be my last showoff thread ever, i would like to thank everybody who i met along the way of wow editing. Spcial thanks to Jack, Schlumpf, Steff, Bullshitmaster and Tigurius To all the guys who created the tools for us! And thanks to this community! Even if i am not active in wow modding myself anymore i still like how everything here evolves and how amazing it is to watch the progress. I definitly do not regret to have founded this forum with jack and steff 
5
Resources and Tools / [TOOL] [MISC] Taliis« on: November 05, 2011, 03:06:06 pm »
[center:3oyfdoea]Taliis by Tharo[/center:3oyfdoea][/b][/u]
About this tool: Taliis is a very powerful tool wich allows a modification of Adts, m2 models ,wdl files and wdt files. Additional Info: A must-have in your tool collection. Download: [attachment=0:3oyfdoea]taliis latest.rar[/attachment:3oyfdoea] External: File-upload.net Mediafire.com 6
Resources and Tools / [TOOL] [MISC] Warcraft Machinima Tool« on: October 09, 2011, 08:16:27 pm »
[center:31n8lx88]Warcraft Machinima Tool by Malu05[/center:31n8lx88][/b][/u]
About this tool:. This tool originally is a Machnimia tool which allows you to make good settings for your ingame video. Selectable and changable Skyboxes, a FOV slider and a Camera path creator will enchance your videos! Additional Info: For wow version 3.3.5 Download: [attachment=0:31n8lx88]WMT_3.3.5_Release.rar[/attachment:31n8lx88] External: File-upload.net Mediafire.com Maluo5 Website http://pxr.dk/wmt/ 7
Resources and Tools / [TOOL] [MISC] Glitchy's Model Editing Suite« on: September 13, 2011, 09:26:20 pm »Glitchy's Model Editing Suite by GlitchyAbout this tool:. This is as the name also says a suite, a collection of diffrent tools integrated into a UserInterface. Additional Info: -Wdb editor -Model Injector -Skybox editor -Model Finder -Race changer -Mount point & mount swap -wmo Lights "unlocked" version. Used in 2.x External: File-upload.net Mediafire.com Valk's Link ~ Removed dead attachment and added another download link. - Valk 8
Tutorials / [TUTORIAL] Changing the Client build (for 3.3.5a)« on: August 24, 2011, 09:12:31 pm »
Hey guys some of you may ask yourself
"How am i going to force my players to download the patch?" NOTE: I am not going to show you how you change the version on your server!(Its pretty easy though) Just how you change the version of your Wow.exe You definitly can do this and i am going to show you how. But! there is one side effect: You will have to remember that if your player is playing on a diffrent language than thought , then you may have problems with the dbc files. In most of the dbcs where the language takes effect for example AreaTable.dbc, there are unused language columns where one column represents one language. They don't share the same column but they have to be enabled by introducing the diffrent language in the for its desitnated cloumn. This is what you will have to do on your own if you dont want to force for example a spanish player to have bugs with your patch. The wow.exe reads out the column according to its language , so just make sure that in every language cloum there is one String name! You will have to search all the diffrent .dbc files in all the language and find out wich column is for what language, and then paste all the names into one dbc file. Use dbcutil and a table program for that to fasten this process as you can copy one complete column and paste it into the other file. So now we start with the real tutorial: First we are going to make a backup copy of our wow.exe! Now, load your wow.exe in your favourite hex editor. Then press ctrl+f (that is the most used key combination for search) And enter 3.3.5 and search it. You should now find something. 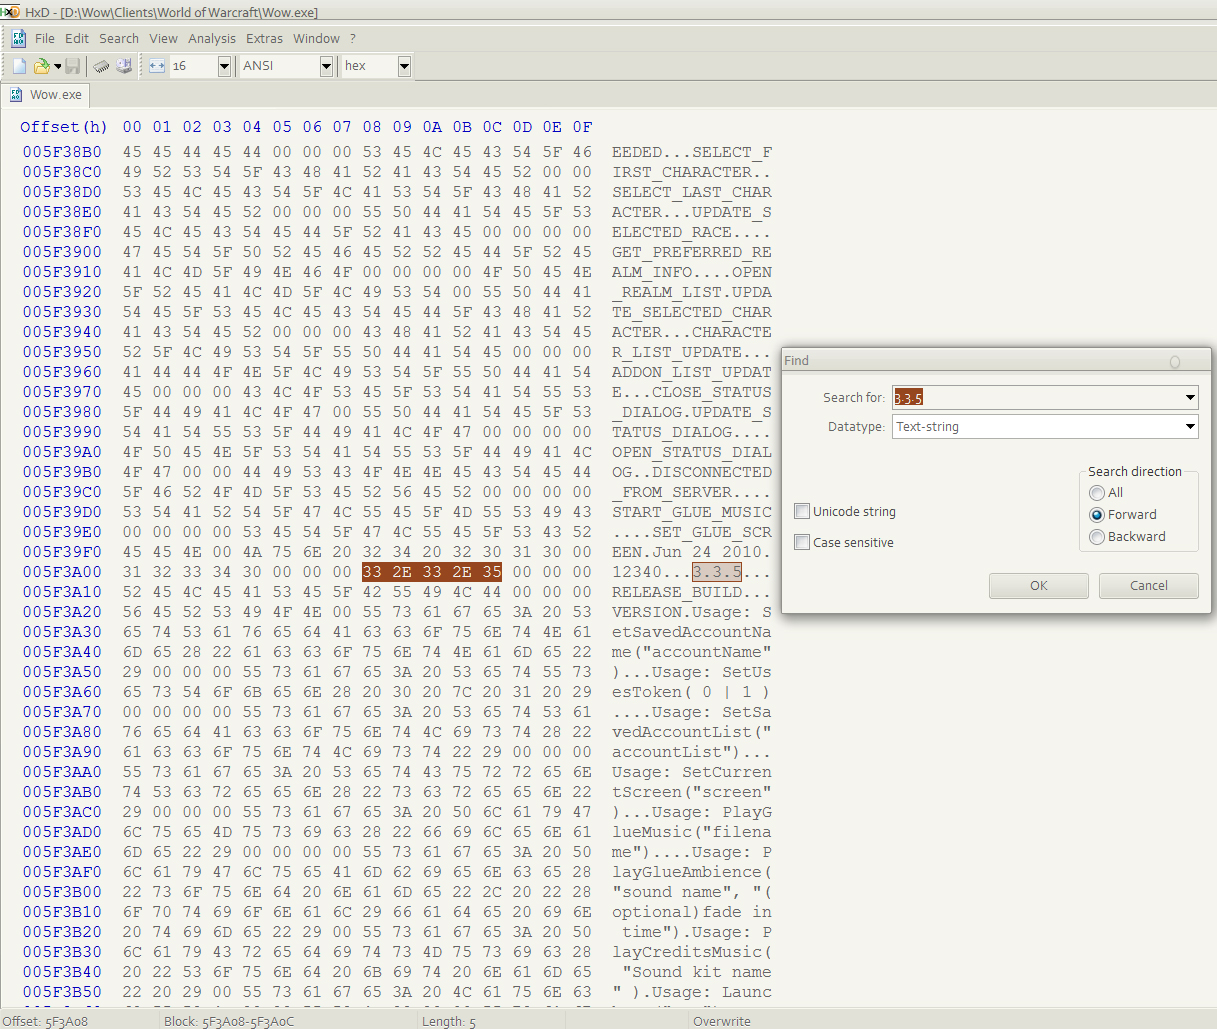 Change that to your destinated high version number. Now search again for 3.3.5 but i doubt that you will find anything else. Lets start with the build version. The build version is the number shown in brackets after the wow high version number. In my case it is (12340). So then we now search for 12340 and again change all the found results. 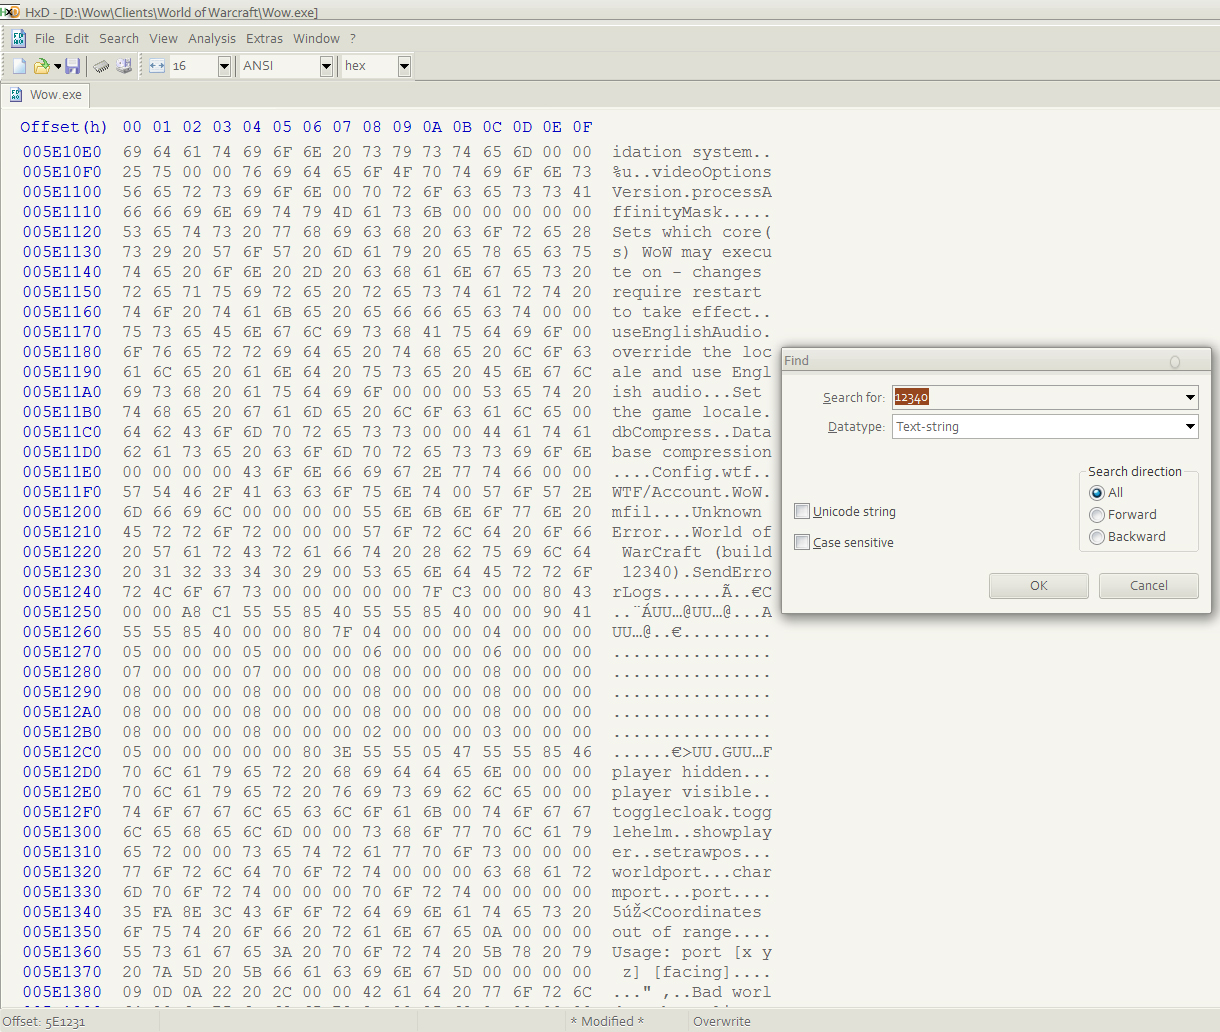 Search again multiple times until you are sure that none of the old build version number is left. 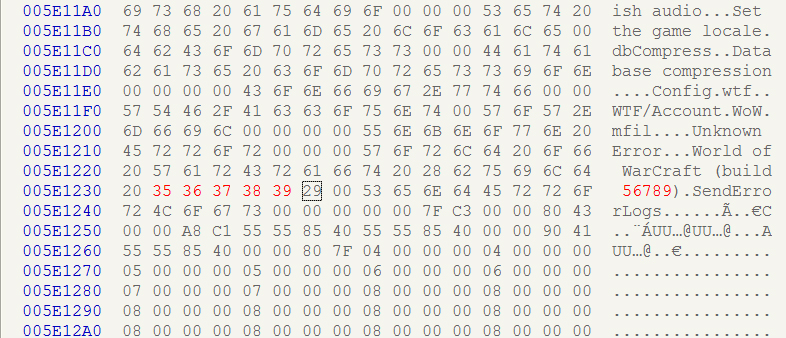 I had to change the build version 4 to 5 times. Now comes the tricky part. If you would now save and start you wow client you would see the changed number.  But that doesn't do the trick as you are still (un)able [(if you already changed the server version you shouldn't be able to connect)] to connect to the server. We now have to change the part where the server checks for the client version. And this part differs from wow version to wow version. Now jump to the adress 0x004C99E0. In this adress is the high version number and right below it ,the build version. 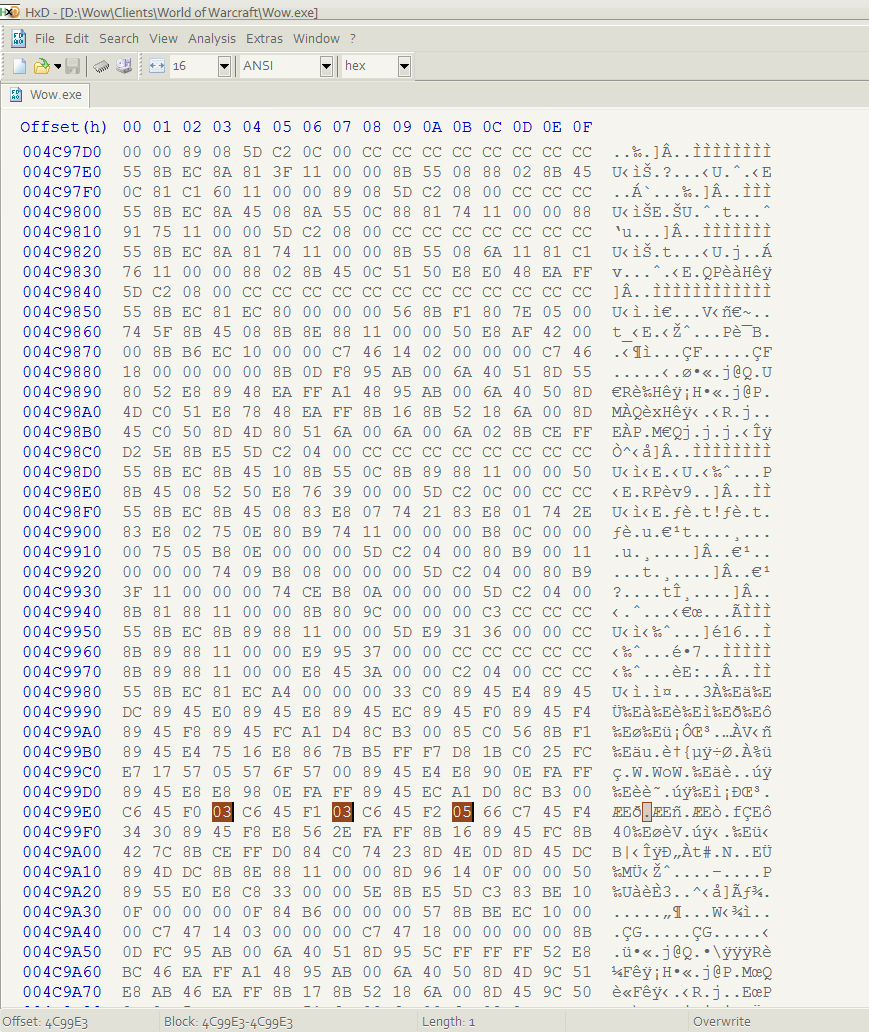 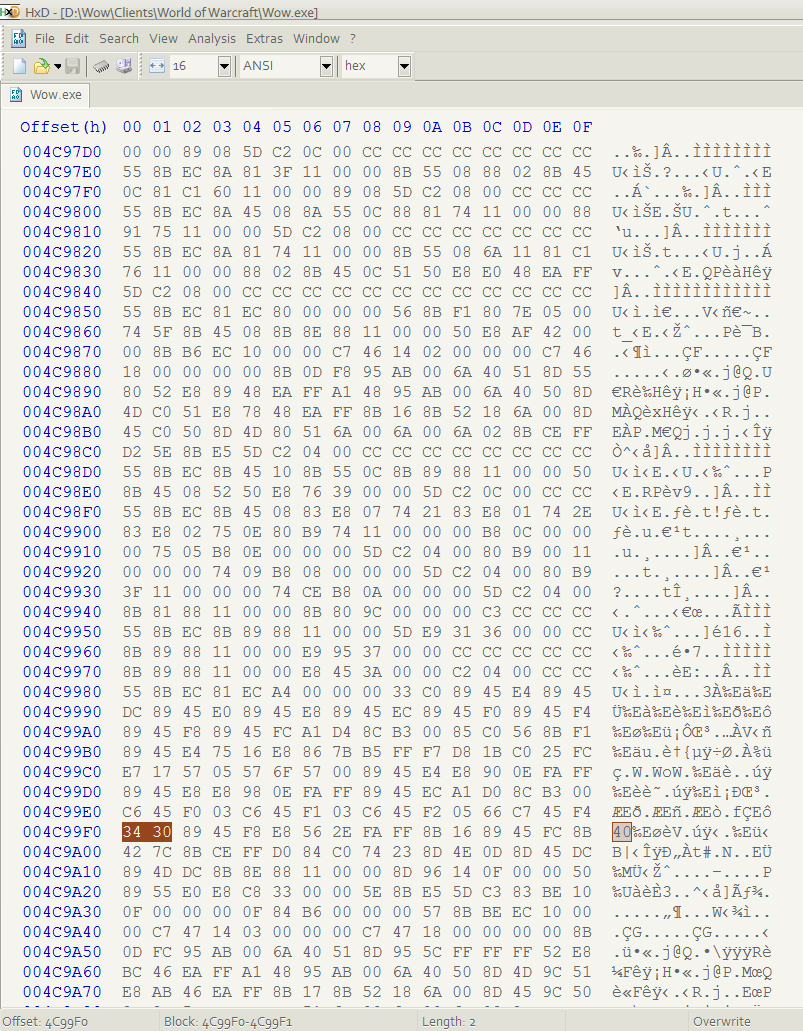 Yeah i know the build version i marked istn 12340. The screen says it is 34 and 30. That is because it is hex and not string. "But if i got to http://www.statman.info/conversions/hexadecimal.html and translate 12340 to hex is says 3034 " This is because it is again hex. You have to change the position of the bytes! (But not the bits inbetween the bytes!) And then we get it as is it shown in the screen 3034. Now to change the build version just translate your number on that website to hex,and watch the result. I get for 56789 => dd d5. Now switch again the place of the two bytes (one byte is two numbers/letters) And then i see that i have to enter in the place where the 3430 was => D5 DD If you made a typing mistake DON'T! press backspace! Do either undo or press the keycombination ctrl+z for that. Else you will get a messed up wow.exe  Now save that and check your wow.exe You should now be able to connect to the server! Send this modified wow.exe along with your patch to enable your players to play on the server. If you have a highskilled coder in your team, you may be able to even send this modified wow.exe along with your updates. (It is possible to make a blizzlike patching system for your server but this requires some coding as this feature isn't normally in the server core) I hope i helped some of you with this guide  greetings! Eluo 9
Resources and Tools / [TOOL] [M2 edit] Mountpoint« on: August 22, 2011, 09:57:14 pm »
Mountpoint by (sorry couldn't find author)
About this tool:. This tool allows the user to set a mountpoint on a given model to a certain bone and position. Additional Info: This is a commandline tool ,so use the CMD console! Download: [attachment=0:2vmm1ipz]Mountpoint.rar[/attachment:2vmm1ipz] External: File-upload.net Mediafire.com 10
Resources and Tools / [TOOL] [M2 edit] model resizer« on: August 22, 2011, 09:54:00 pm »
ModelResizer by Tigurius
About this tool:. This tool allows the user to resize a model by a given value. Additional Info: 1 = equal 0.5 = 50% of the size 2 = 200% of the size This is a commandline tool, so use the cmd console! Download: [attachment=0:2glh14mn]modelresizer.rar[/attachment:2glh14mn] External: File-upload.net Mediafire.com 11
Resources and Tools / [TOOL] [Adt edit] Allwater Wotlk« on: August 22, 2011, 09:50:12 pm »
Allwater for Wotlk by Gretchin
About this tool:. This is allwater for 3.x Additional Info: This is a commandline tool ,so use the cmd console! Download: [attachment=0:1b4r4y4h]AllWater_wotlk.rar[/attachment:1b4r4y4h] External: File-upload.net Mediafire.com 12
Resources and Tools / [TOOL] [MISC] Commandline Tools updated« on: August 22, 2011, 09:46:42 pm »
[center:ni80b0jl]Commandline Tools updated by Schlumpf[/center:ni80b0jl][/b][/u]
About this tool:. This is a pack of many commandline tools. Some of them are know from the Cryect tools pack. List: [spoiler:ni80b0jl]AddDetailDoodads.exe Adds detail doodads per texture filename. ----------------------------------- AllOcean3.0.exe Fills the ADT with ocean 3.* style where no terrain is above 0. ----------------------------------- AllWater.exe Adds a flat water layer at the given height or 0. ----------------------------------- CoverWithWater.exe [NOT STABLE] Covers the whole ADT by water that is above the terrain.. ----------------------------------- CreateWDT.exe Makes a WDT file telling that the specified ADT tiles are present. ----------------------------------- FileInfo.exe Saves info about an ADT into a txt file. ----------------------------------- FixAllOcean3.0.exe Deletes all MCLQ chunks. ----------------------------------- GetSlopePicture.exe [NOT STABLE] Tries to make a pgm-image from the slopes in the terrain. ----------------------------------- LoadInfo.exe Loads info from a txt file made by FileInfo back into the ADT. ----------------------------------- MakeMap.exe Combines multiple .raw maps made by Noggit into one big one. ----------------------------------- MapMover.exe Moves ADT tiles according to the given parameters. Needs to have "OffsetFix" in the same directory. ----------------------------------- ModelSwap.exe Replaces a model filename with another one of the same or less length in an ADT. ----------------------------------- OffsetFix.exe Fixes several offsets that are wrong after moving an ADT and can move it upwards. ----------------------------------- PatchHoles.exe Removes all holes in the terrain. ----------------------------------- RaiseTerrain.exe Raises all terrain. ----------------------------------- RemoveSound.exe Deletes all mapchunk soundemitters in the ADT. ----------------------------------- RemoveTheWalls.exe Removes unpassable chunks of an ADT. ----------------------------------- SetChunkFlags.exe Sets the MCNK flags for all chunks in an ADT.[/spoiler:ni80b0jl] Additional Info: No guarantee on them. Use them with care! Download: [attachment=0:ni80b0jl]CommandLineTools.rar[/attachment:ni80b0jl] External: File-upload.net Mediafire.com 13
Resources and Tools / [TOOL] [M2 edit] Vertexmover« on: August 22, 2011, 09:26:43 pm »
[center:2soobyph]Vertexmover by Tigurius[/center:2soobyph][/b][/u]
About this tool:. Moves the verts of one model into another. Additional Info: Source included Download: [attachment=0:2soobyph]vertexmover.rar[/attachment:2soobyph] External: File-upload.net Mediafire.com 14
Resources and Tools / [TOOL] [WMO] WMO Light and Information« on: August 22, 2011, 09:22:03 pm »
WMO Light and Information by Schlumpf
About this tool:. This is a tool collection ,containing 3 diffrent tools: o WMOInformation.exe: Prints information from some chunks in the WMO. o WMOLightsList.exe: Prints a list with all lights and colors of the WMO. o WMOSetLightsToColor.exe: Sets all lights in a WMO to a specific color. Additional Info: Source Included Download: [attachment=0:2sidox1z]WorldModelObjects.rar[/attachment:2sidox1z] External: File-upload.net Mediafire.com 15
Resources and Tools / [TOOL] [M2 edit] Unanim Bone« on: August 22, 2011, 09:17:46 pm »
[center:1ix5m9st]Unanim Bone by Tigurius[/center:1ix5m9st][/b][/u]
About this tool: Removes the Animation from given bone. Additional Info: Source Included Download: [attachment=0:1ix5m9st]UnAnimBone.rar[/attachment:1ix5m9st] External: File-upload.net Mediafire.com |