Injecting Alphamaps
Well an alpha map is the result of painting in noggit. It includes a layer for every texture that is used on a chunk.
By using this method you can create huge textured landscapes in no time.
Blizzard also uses this method , but so that don't see it when you look at the the gorund textures ingame.
At the end of this post you can find some examples of blizzard using this method.
Another big point beside of the fact that you need just a few hours for many adts, is that the detail level is much bigger than the painted-by-hand version.
Let's start:
Go to a unused adt with noggit and delete all textures on it by crtl+clicking on every field.
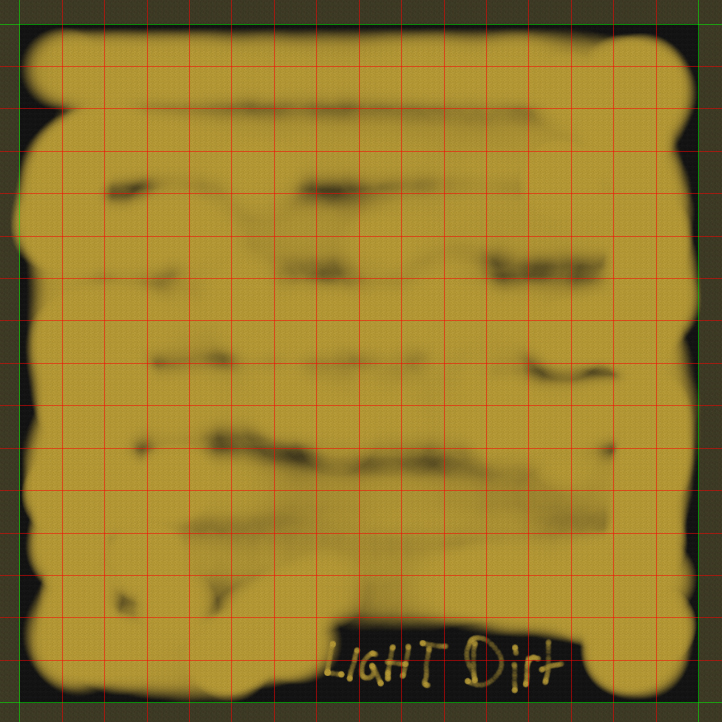
Now add the first texture. Mostly this is a dirt texture

Now take the 2nd texture and paint over every chunk! But write down somewhere what texture that is, that we can later see wich it is^^
But really : make sure that every chunk is touched by this texture.
I am now using another dirt texture. Take the textures you want to have usually you now use the Rock texture for the 2nd layer
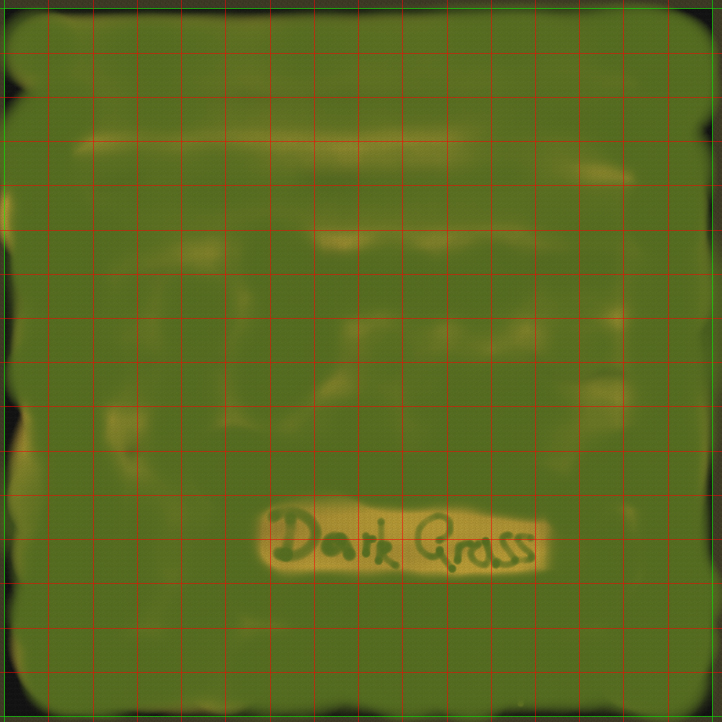
Now i use a grass texture. Again , make sure that the texture touches every chunk.
And now im adding the last texture : a bright grass texture
Leave the 2d mode and save the adt.
For better overview i am copying the adt into the taliis folder.
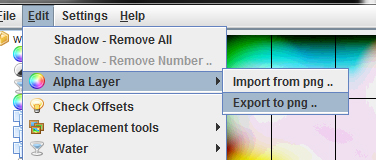
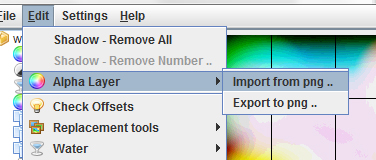
Im opening it from there with taliis and use the alpha layer - export to png feature.
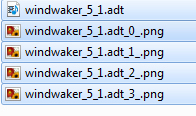
Now you can find some png's in the folder where the adt is.
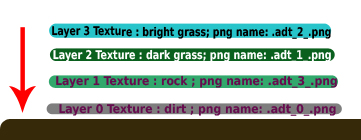
Now as you maybe can see the order of the layers is a bit strange but soon you will figure out the order behind it.
The first layer we added after the texture deletion was the dirt texture.
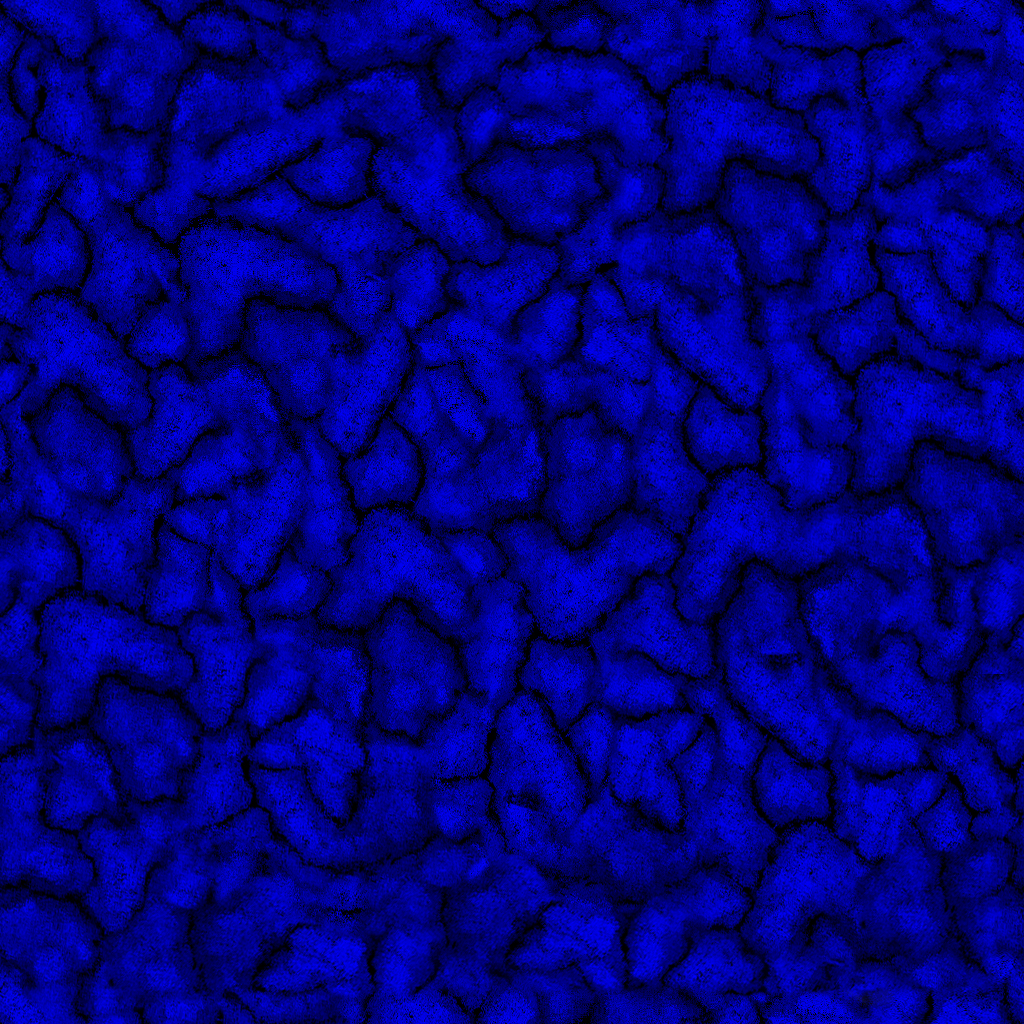
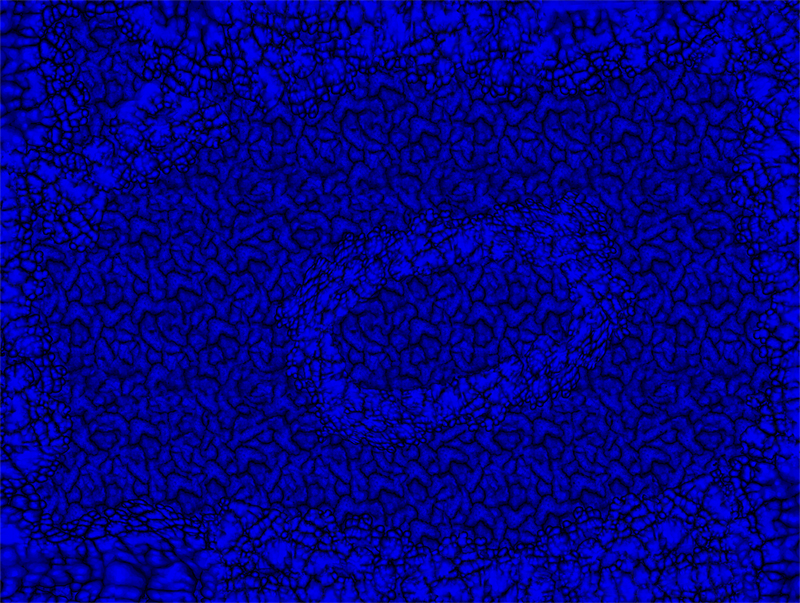
By looking through the pictures you will see that there are two similar pics.
.adt_0_.png
and
.adt_3_.png
The _0_ layer is also the first layer as we added it. It includes also the first layer , this is why _0_ and _3_ are the same pictures.
Well and as said _3_ is the second layer we added in noggit. It is the rock texture.
_1_ is the dark grass texture wich was the 3. texture we added in noggit.
And _2_ is the last ,the bright grass texture.
So the order is like this:
1.Texture: layer _0_
2.Texture: layer _3_
3.Texture: layer _1_
4.Texture: layer _2_
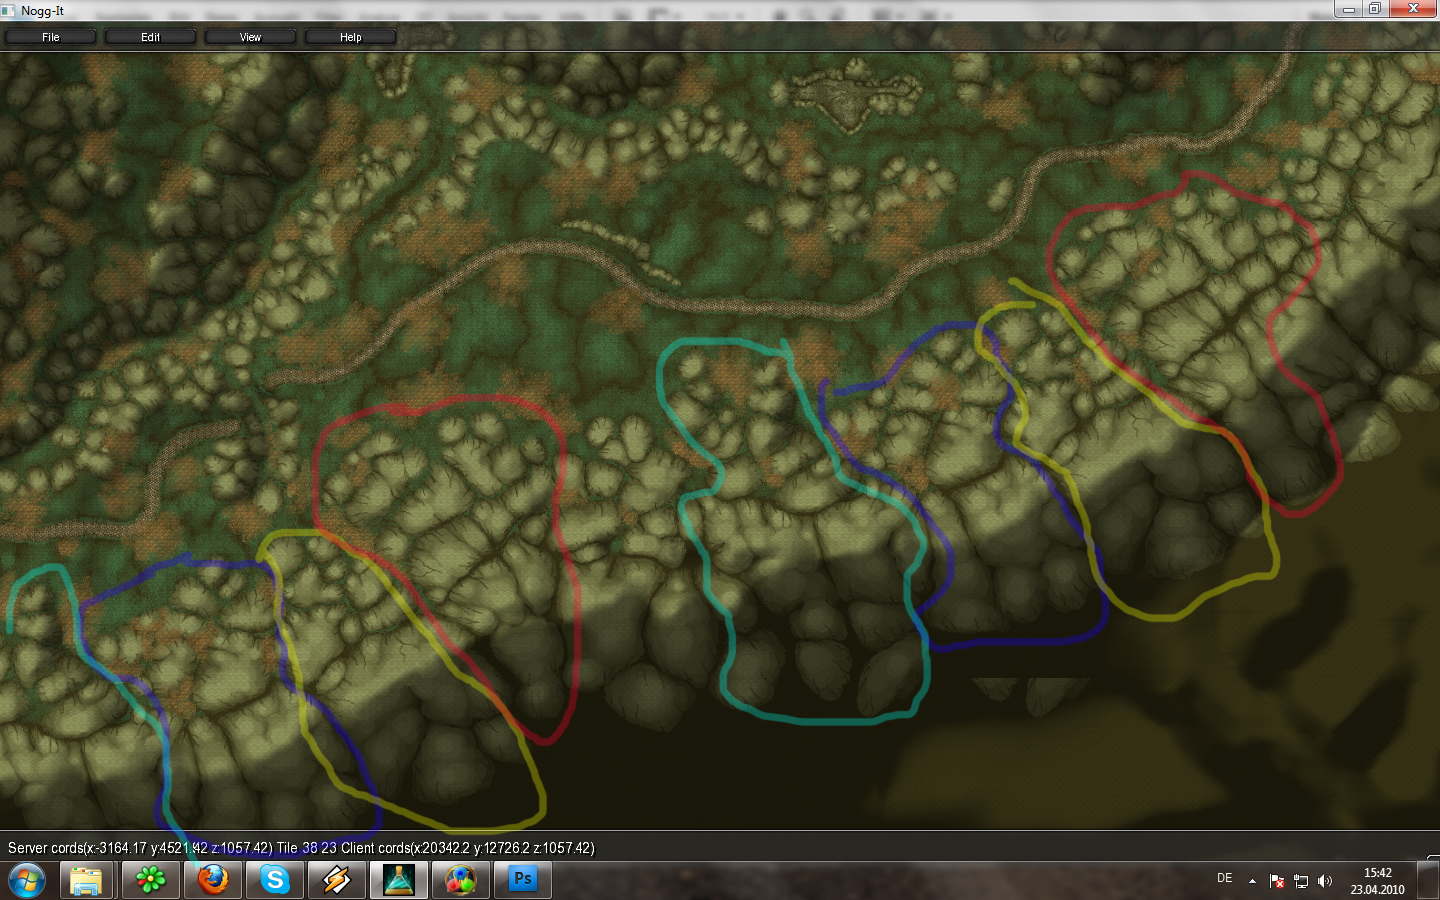
Maybe this pic will show you what i mean:
It is always like that.^^
Now in order to create the beatiful landscape we now must paint it.
I am using Photoshop for that. Feel free to choose which program you want to use.
The only things that you have to keep in mind on painting the landscape:
#1 Use for rocks, grass and so on diffrent layers in the programm because we have to save them seperated.
#2 The size of an adt in photoshop is: 1024x1024
#3 The colour you must use is: 0000f0
#4 You just have to paint 3 Layers: Grass1 , grass2 and rocks!
#5 Take first a big work space to create the landscape and seperate it later. This allows you to create a fluid flow of the texture where no border can be seen.
Now some tips for the Photoshoppers:
1. The Rocks
I am first painting some sort of stamps for the rocks wich i will just copy and arrange them that it looks everywhere diffrent.
2. The grass
I am creating just one seamless texture for the grass. What is a seamless texture? A seamless texture is a texture that is used in every game. Theese are textures that can be applyed together without any borders so you can apply them in everydirection together and you will not see any interruptions between the textures. Here is a link for a tutorial how to create a seamless texture:
The tutorialWhen i finished the seamless texture in the size of a adt. I am applying them with a 90° change frome one adt to another. Blizz is doing that too^^
3. Keep the size
I first start the Painting by adding boxses of the size of 1024x1024 that i can see how many adts i will use. It also gives you an easier handling with the later saving of the diffrent layers.
4. Use a template. I ripped this one off of many diffrent blizzard adts but if you look closely on the woltk adts, you can clearly see that is is pretty close to their template.
What they only do to make it unrecognizeable, is to paint over it with the same texture to make this layer a bit "thicker" ,and they sometimes change the size of it. Plus what they are doing on nearly every adt of it is to rotate it in a 90° degree which is possible as it is a seamless texture.
Use this template to create a massive already prepainted landscape,and paint a bit over it. It will look blizzlike as they use the same method.Lower the contrast setting in photoshop to make it look more "flat", increase the contrast settings to make it look more wavy.
----End of photoshop tipps-----------
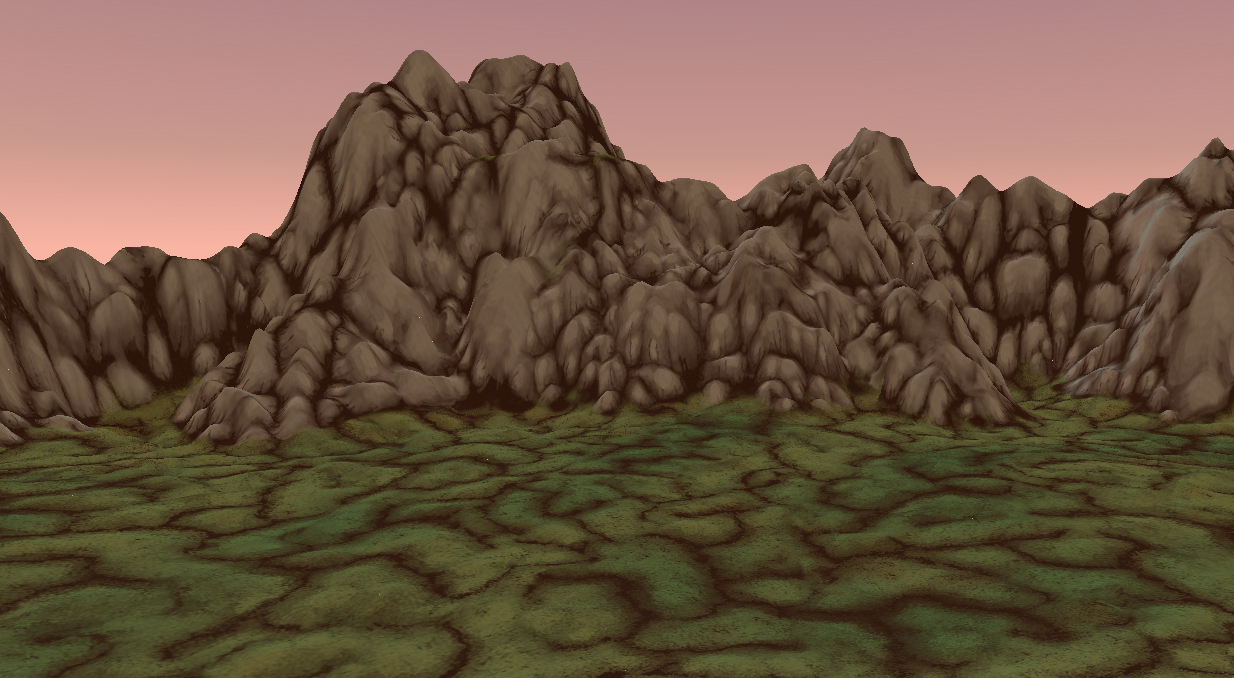
The finished Product can look like this:
Sorry but i had to scale it down that much because it had a size of like 4000x5000.
Now save every layer for every single adt. How do you do that? Well maybe as you remember the common adt with the x and y axis coords is names like this: _x_y.adt
Now as you save every single adt with every single layer,don't forget to also name them correctly.

AND! Remember the order of the layers. Let your self time and don't get confused.
After that, just open again your adt with taliis and use the alphamaps - import from png function.
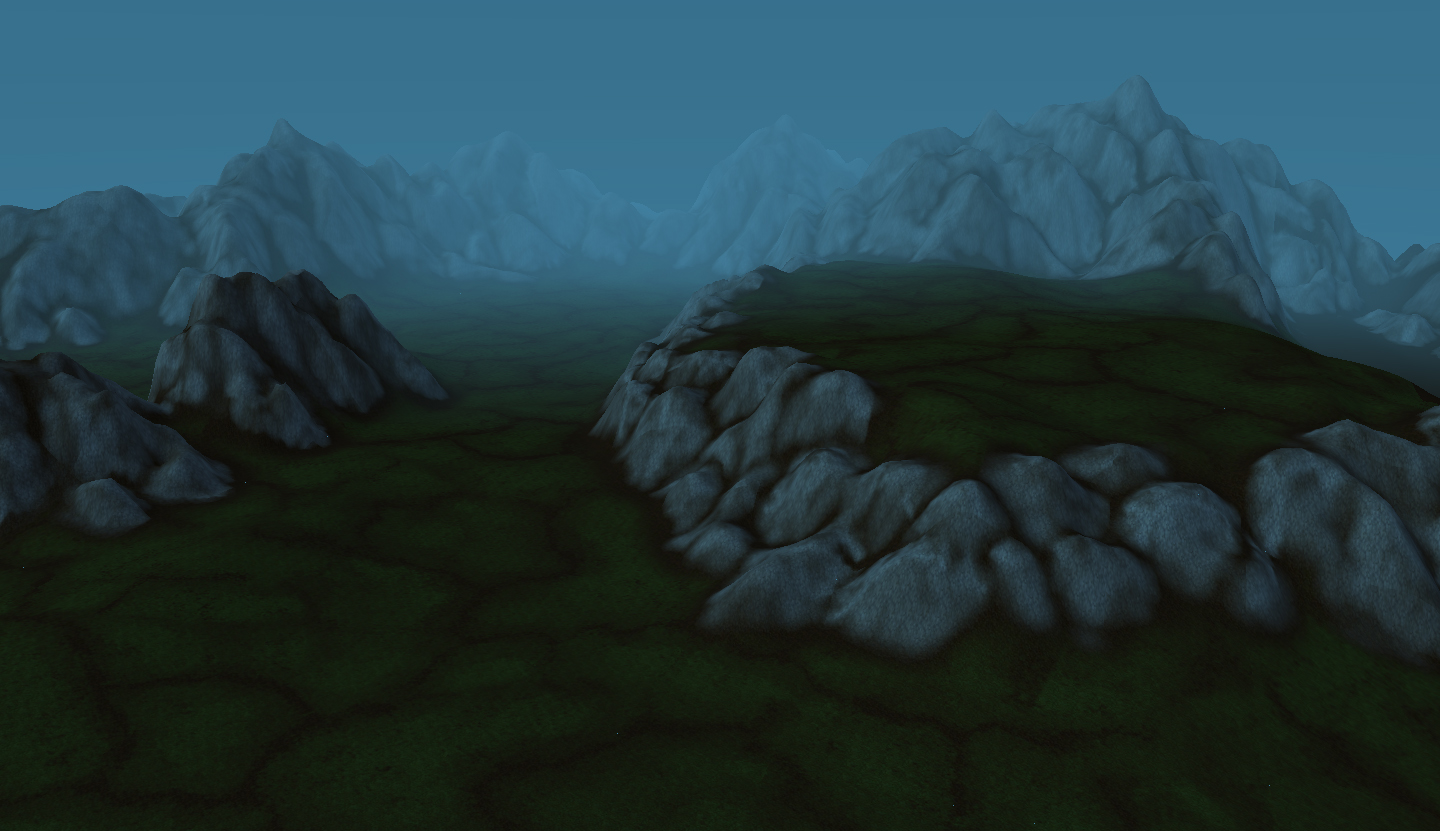
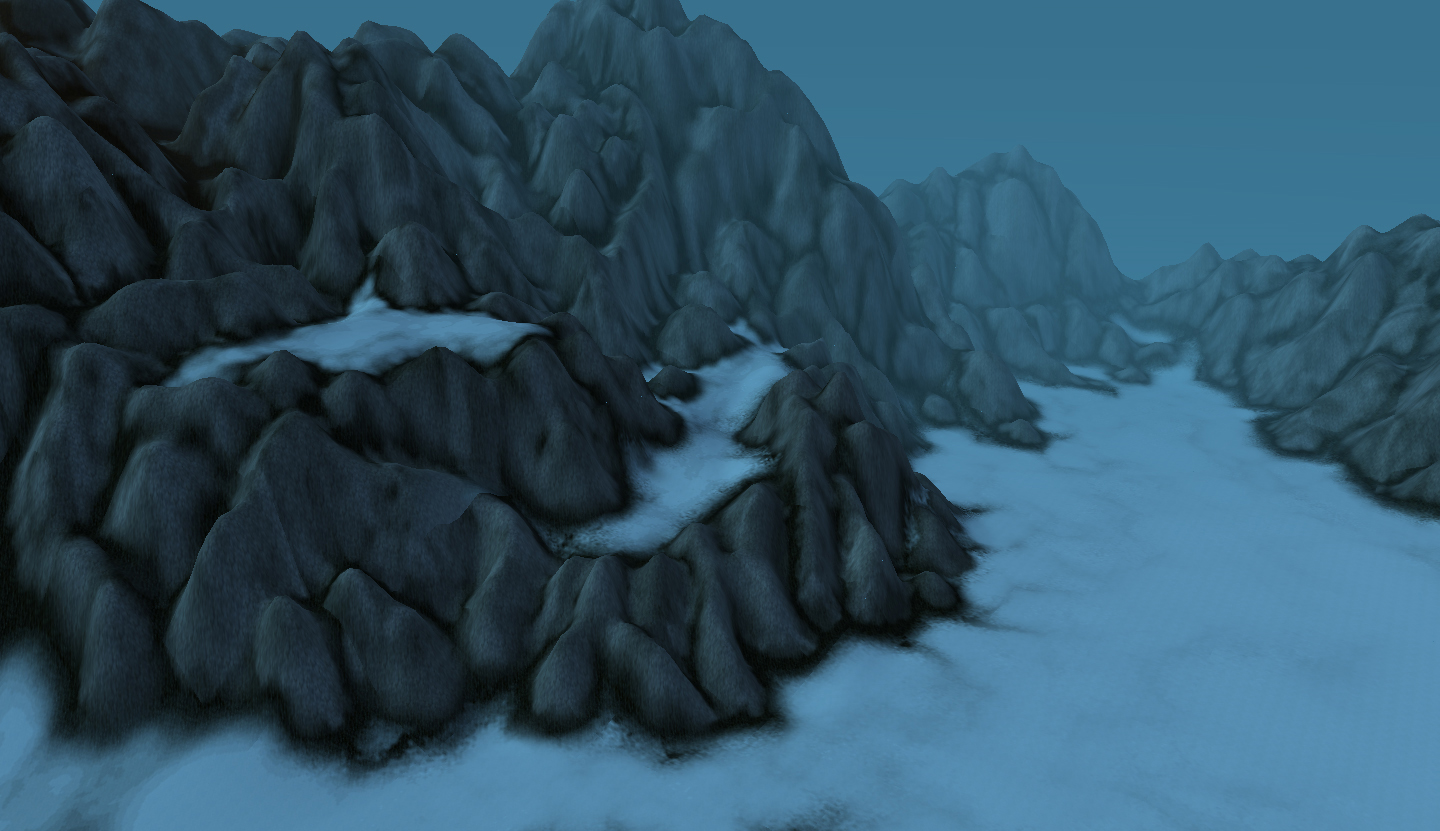
When everything worked it could look like this:
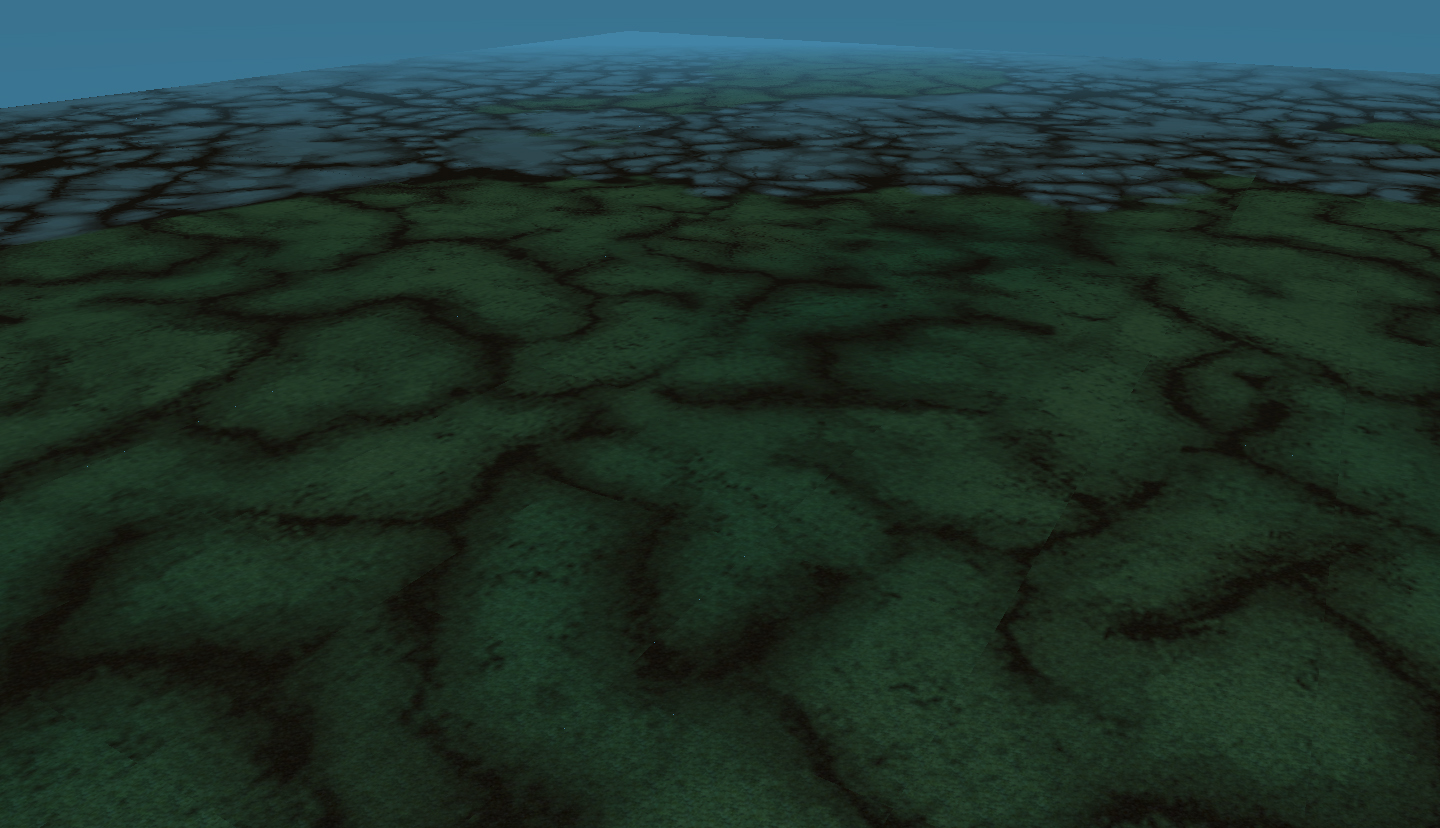
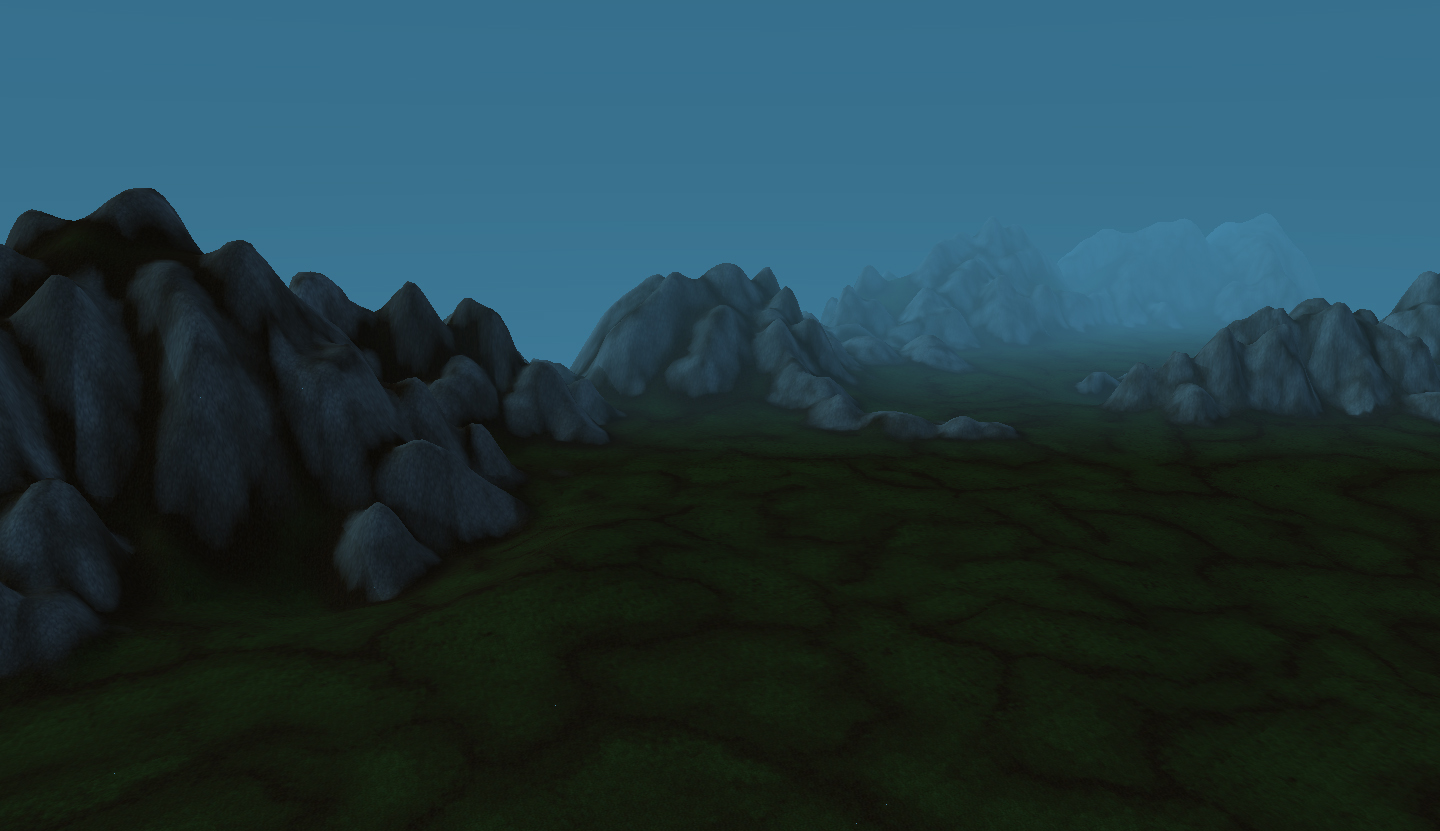
And after a lilbit terrain-shaping it could look like this:
With a little bit of fine grinding you could make a blizzlike area out of nothing!
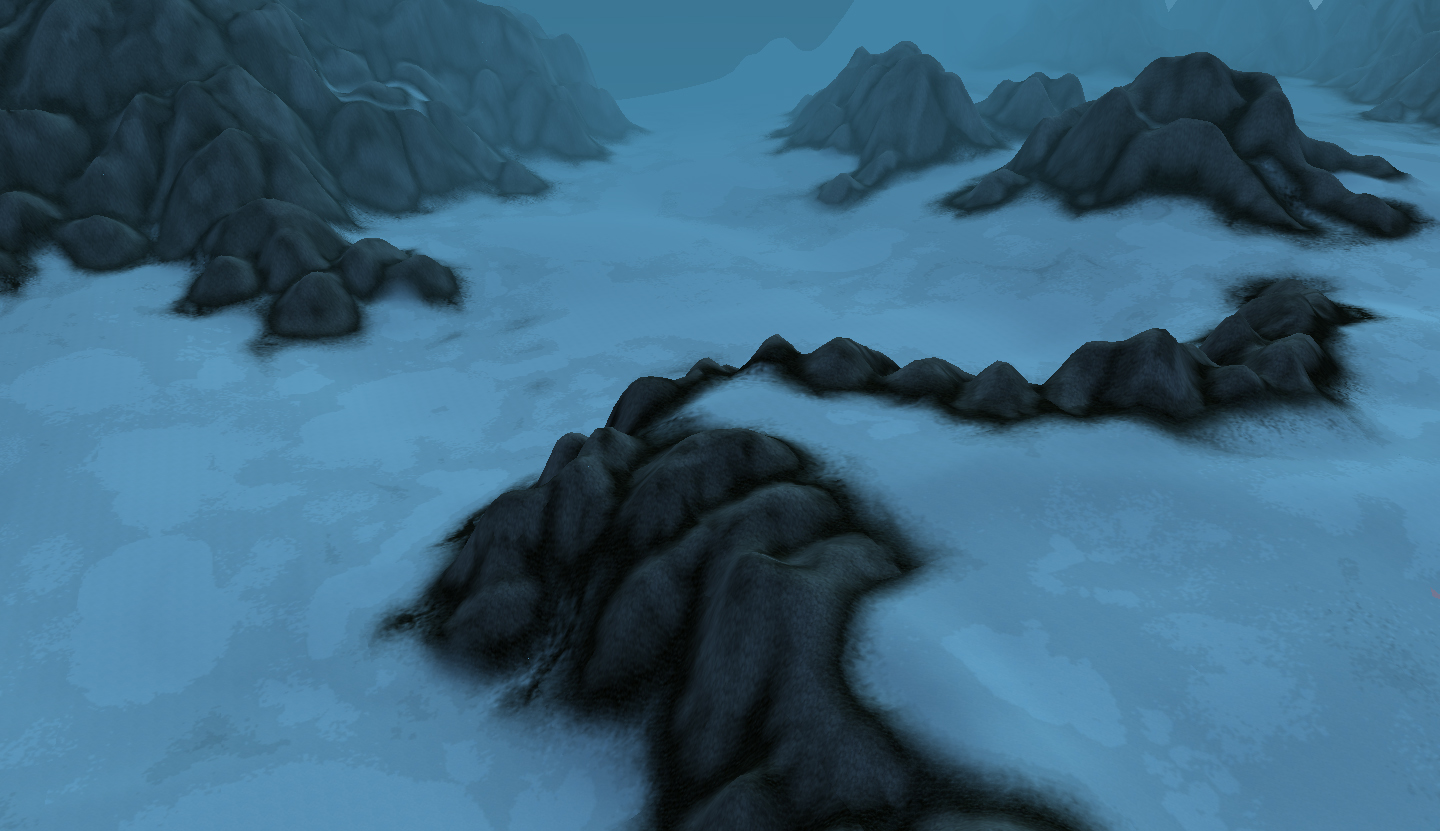
Why blizzlike?
Because of that:
[spoiler:1lplb3km]
And in wotlk they didn't even use that... they used a automaticly generated painting that lays a pattern over a defined area. The slopes at a given degree got automaticly applied this texture and the terrain was shaped according to the texture.
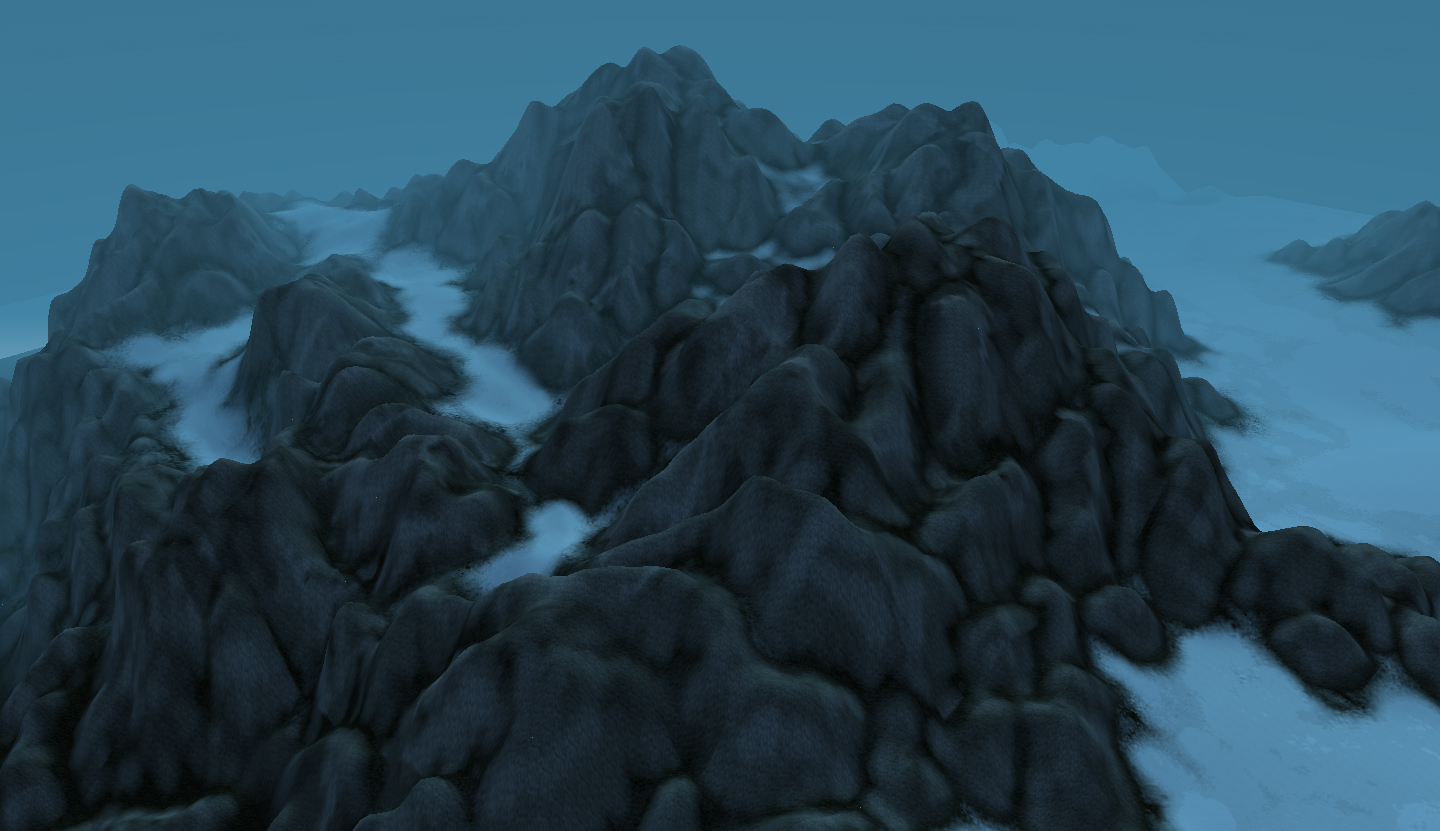
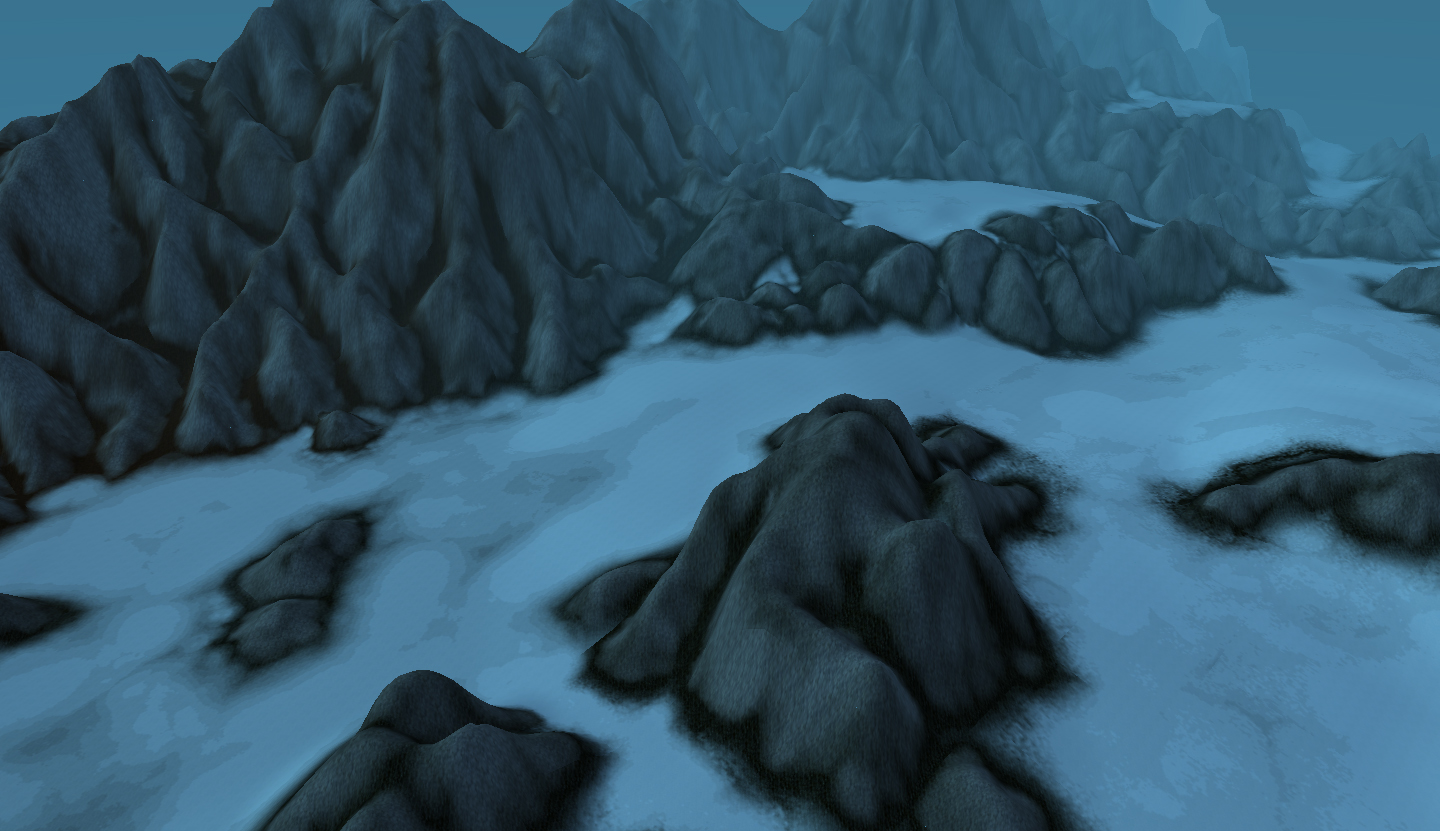
As a result you can see theese poorly shaped and painted cliffs.
Cliffs like that can also be found in cataclysm. Also as dirty as you can see them there.
It doesnt look good and is just a result of blizzards lazyness.
Shame on you![/spoiler:1lplb3km]
PS:
Some people think that this is not worldbuilding. And it isnt at some point.
It is just a method for large terrain, without much detail. Still it requires a bit of painting knowledge to make it look good and the time you need to do that shouldnt be underestimated.
You are going to struggle with bugs and texture errors and most likely have to paint over the whole area by yourself again.
Nevertheless it saves you some huge amount of time if you know how to use it.


 [/spoiler:2ect62ce]
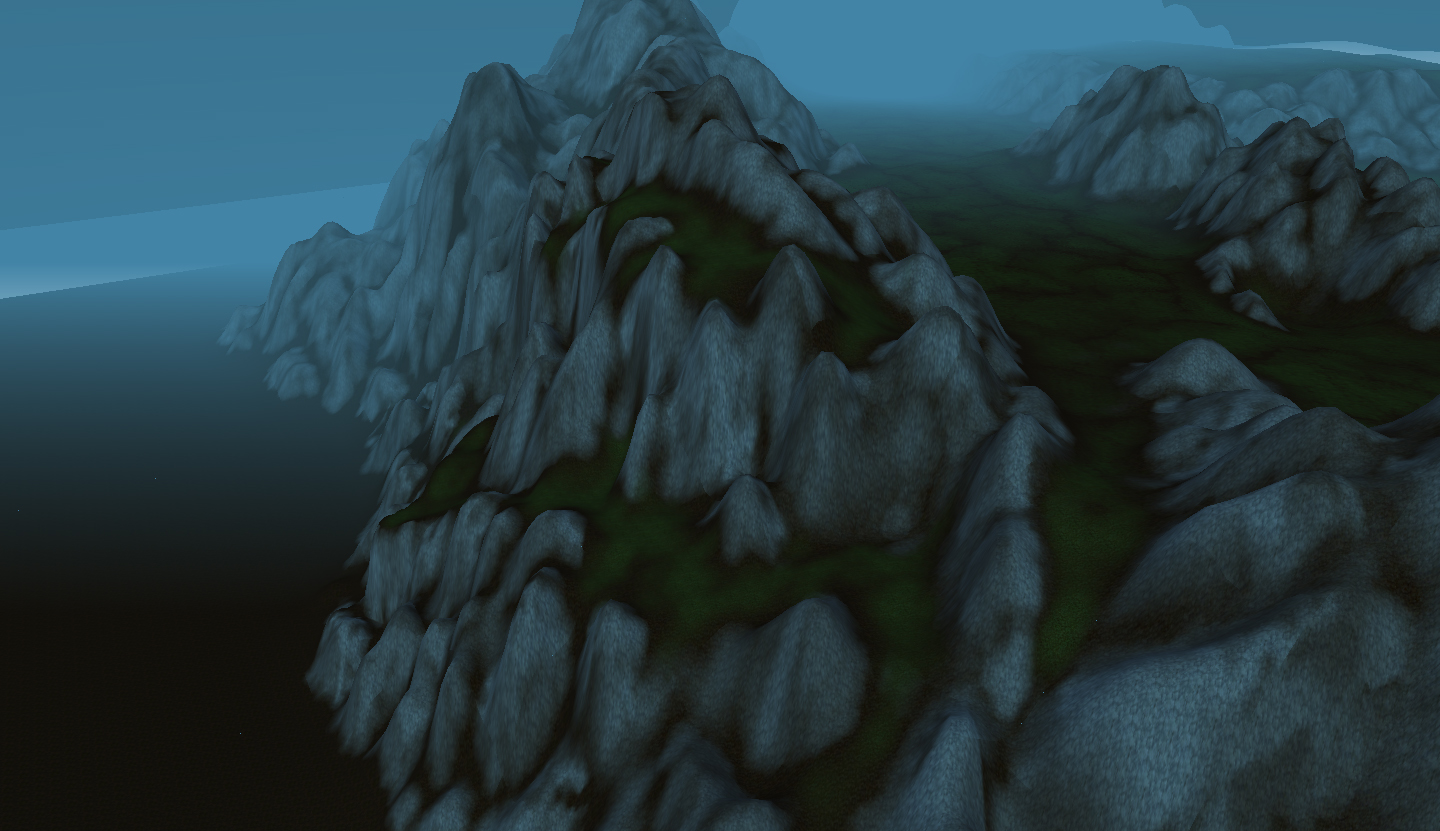
 [/spoiler:2zragzo3]
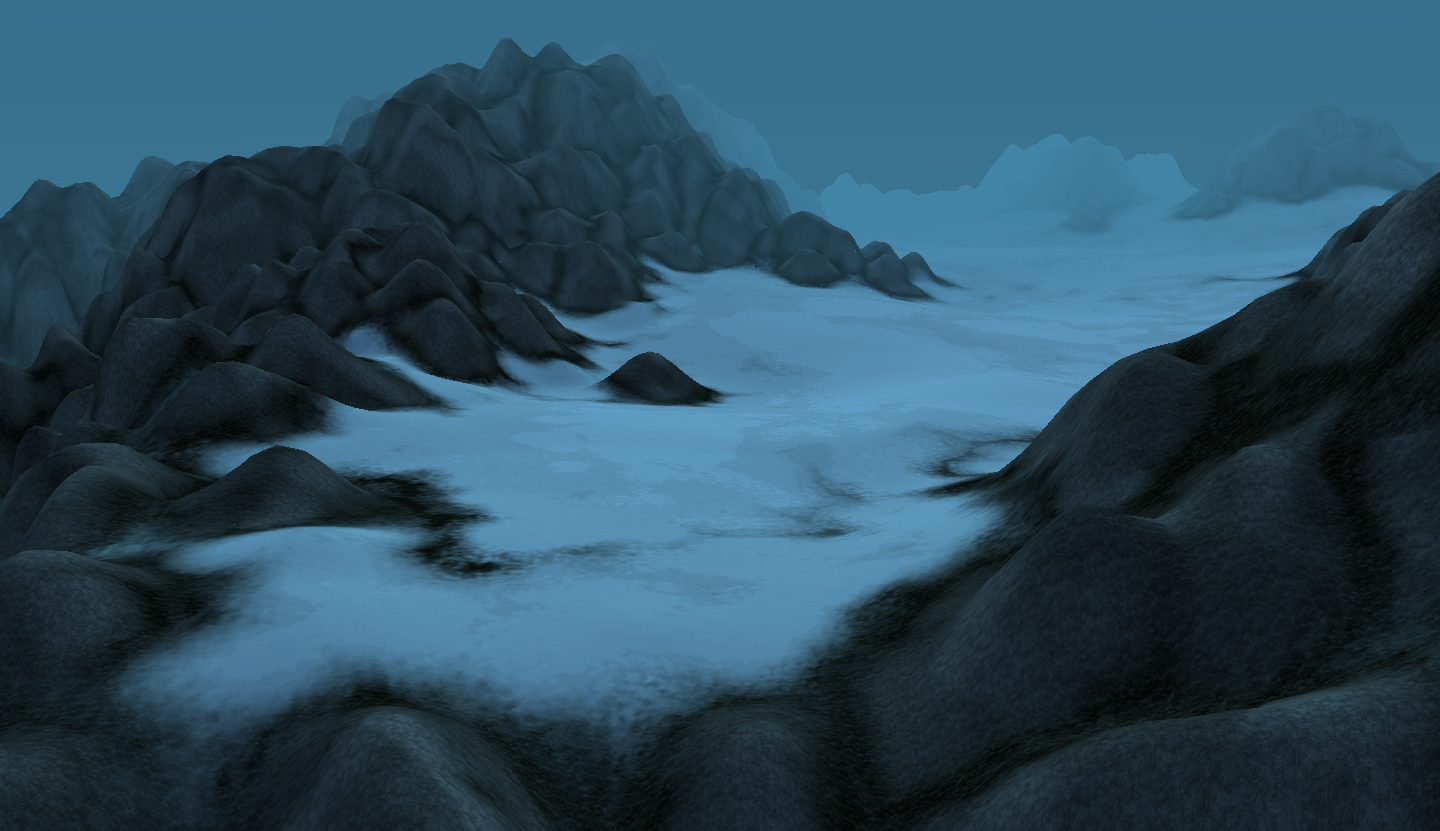
 [/spoiler:2zragzo3]