How to create a custom treepath for a not so custom Model[/color]
Hi! In this Coffee session you are gonna learn , how to duplicate an object and set new texturepaths for it.
The used tools can be found at the end of the post.
So why would someone do that? What is the use of that?
Well sometimes when you saw an object wich you liked and you wanted to reskinn it, but you don't want the original one to be changed too,then this is the perfect solution for that.
First we open our object in wowmodelviewer
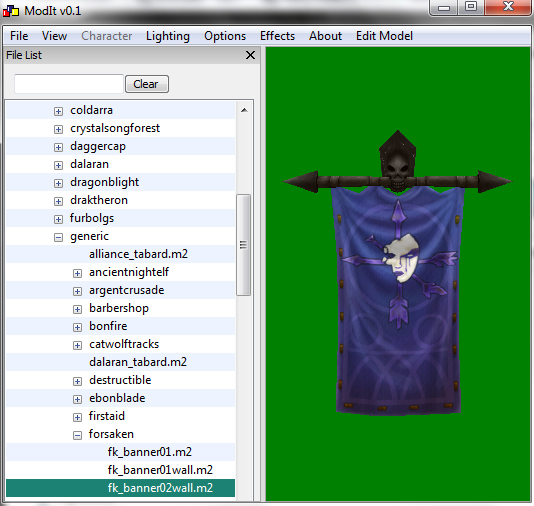
and extract everything.
We do this by using the export function.
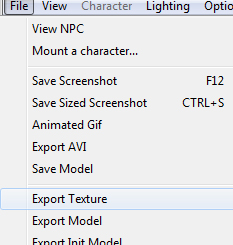
In the new popup window you can see all the files that are related to this model.

Now just click on the "Export all" button.

And! that we can directly open the textures use the export all to tga function.

Now switch to the Modelviewer folder Export and there you will find everything

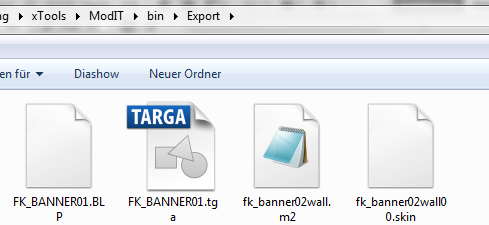
After we edited the texture like we want it to be(keep in mind that it must have 32bit when you are saving the tga file) we convert it into the blp2 format.
For this we are using the Tga to Blp converter.
Just drop the tga file onto the .exe. If everything wokred as it should you can delete the tga file.
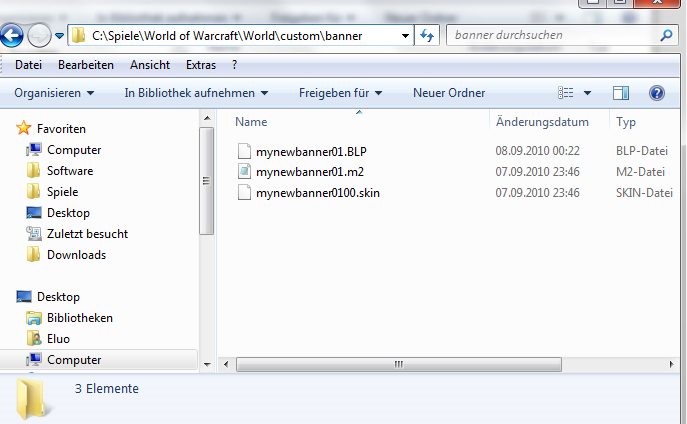
The next thing we do is that we create in our world of warcraft directory the new treepath of the model.
For that just create one folder in another.
I always place custom worldmodels(wich i use for worldbuilding) in worldcustom...
The only thing that you must keep in mind when you are creating the treepath , is that it isn't too long.
Make it as short as possible(well this is just important for the texture)!
I'm now placing my new banner in worldcustombanner
Make sure that you moved EVERY! file that is according to that object into that folder.
The Blp file can be placed everywhere, but i mostly place it in the same folder if the treepath doesn't get too long.
Renaiming isn't neccesarry, but i mostly do it for what? I don't know its just better^^.
When you are renaiming the .m2 file don't forget to rename the .skin file too(look at the following examples very carefully!).
Exaples for right renaimings:
fk_banner02wall.m2 -> mynewbanner01.m2
fk_banner02wall00.skin -> mynewbanner0100.skin
or just
fk_banner02wall.m2 -> banner.m2
fk_banner02wall00.skin -> banner00.skin
The best thing is when you are leaving the blp filename as it is(well i renamed it to mynewbanner01.blp ^^)
Before we do something else , just make an seceure copy of your m2 file!
After that open up HxD ,the Hexeditor, and drag the normal .m2 file into it.
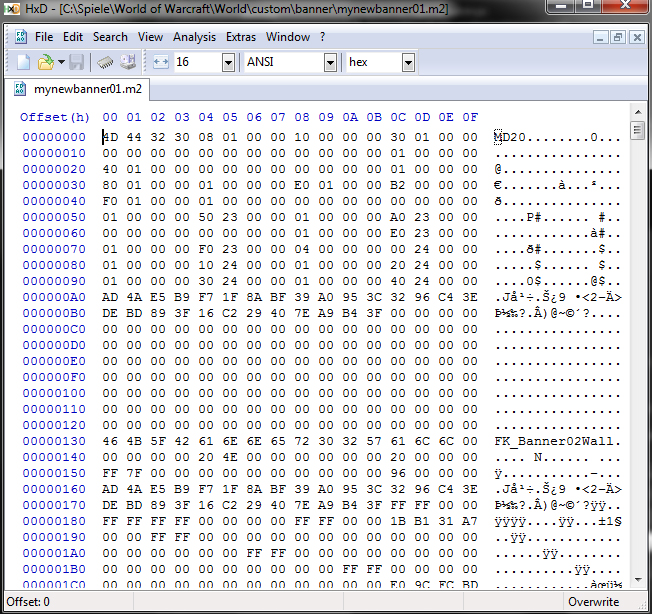
Okay This might look VERY confusing when you have never used a hexeditor before.
But this is very easy!
There are just a few rules for using this program:
Don't hit delete,backspace or enter
When you do this you will change the file length and your m2 will be destroyed. For this case we still have our secure copy of the m2 file.
Now hit ctrl+f and type in the popup window .blp
And click ok.
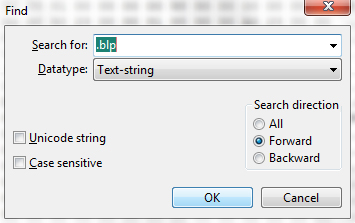
HxD will now jump to a part where you can see the original treepath of the texture.
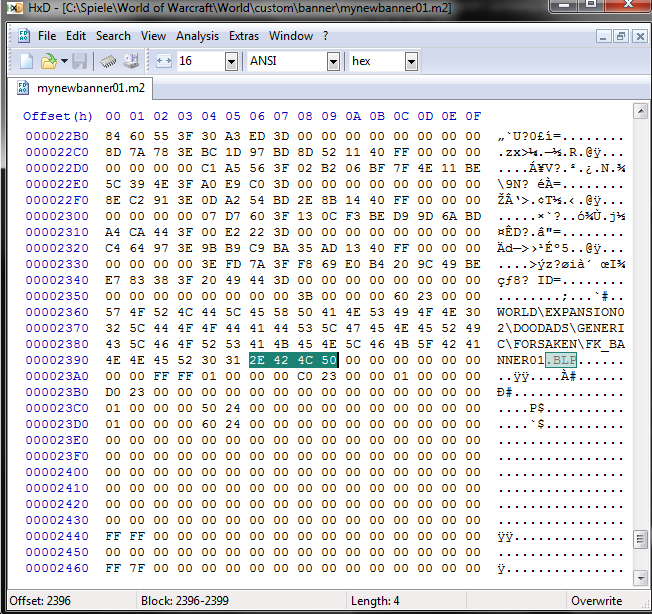
What you do now is very important! Do not make any spelling mistakes!
Click on the right side to the beginning of the treepath and start typing in your treepath.
Again: do not brake the rules for hxd!
My treepath to my new texture is worldcustombannerfk_banner01.blp
As you will see we will just overwrite the original tree path to the new one.
Now when your new treepath is longer than the old one you will have to shortern your treepath of the texture. Move your texture to another folder or something.
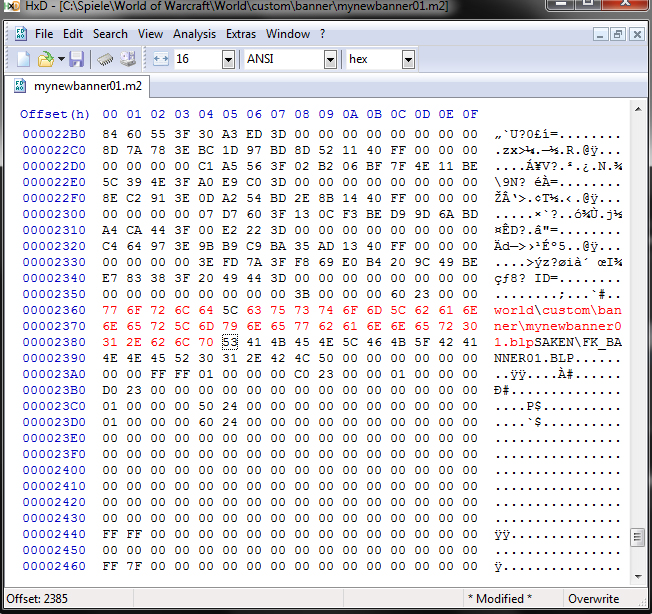
When you fully typed in your new treepath look to the left side, where all those numbers are.
Red always marks your changed part. Jump to the end of those redmarked numbers.

Now start entering 0 as often , until you can't see nothing left of the rest of the old treepath(look on the right side).

Et voilá!
Now you can close HxD(save the file^^).
If you did everything right , you can now spawn or just use your "new custom object". Just treat it like any other original blizzard object.
Why am i saying all the time object and not m2 or doodad?
Because you can use the exact! progress on any object of wow. You can even create your custom wmos with that!
It always works the same way.
Here you can see my SUPER UBER AWSOME result:
[spoiler:2ect62ce]
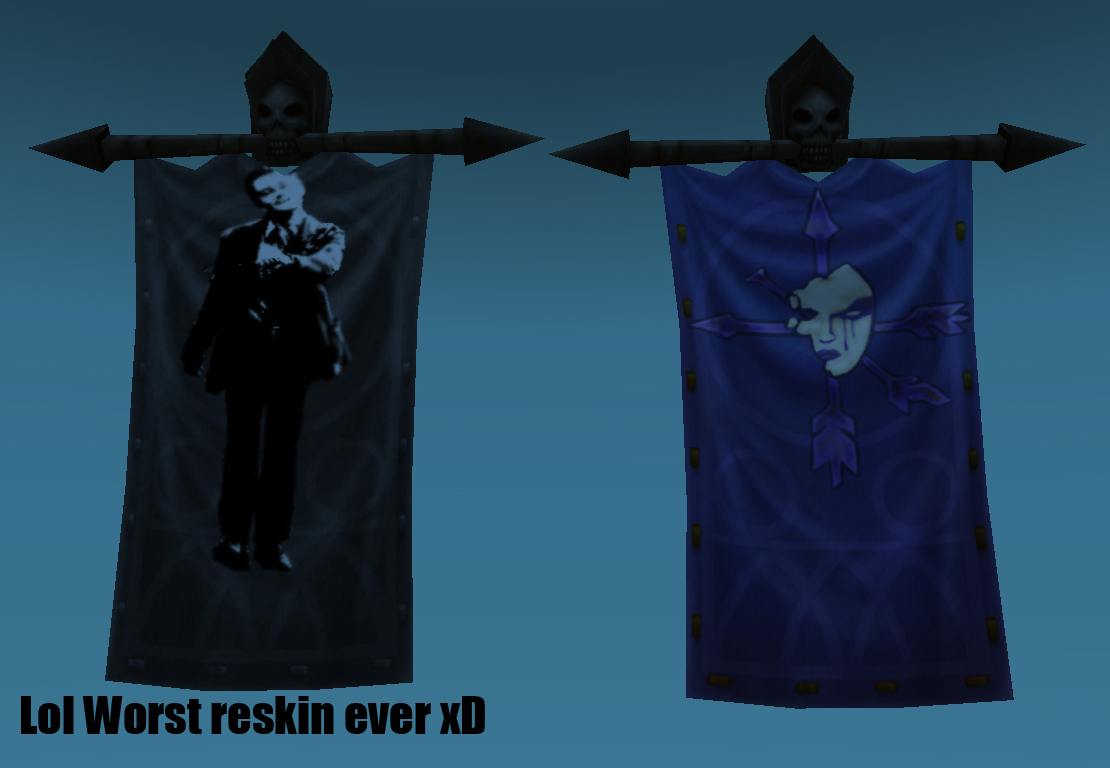
[/spoiler:2ect62ce]
The Tools :[/color]
Modelviewer (in this case an older version of ModIt):
http://rapidshare.com/files/417752464/ModIT.rar.htmlHxD:
http://mh-nexus.de/en/downloads.php?product=HxDBLP<->Tga Converter :
http://rapidshare.com/files/417752643/BlpTga.rar.html

