1
Tutorials / [TUTORIAL] Truly Mandatory Custom Patches
« on: February 27, 2014, 06:06:38 am »
Hello! Do you happen to be working on a project with a "mandatory" custom .MPQ patch? Do you worry that players will forget to download it and therefore log onto a server and see broken content? Well, fear no more!
This tutorial will instruct you on how to use custom timezones to ensure that players can only access your server if they have your custom patch. This involves editing your client-side DBC files as well as your server's configuration files. Of course, in order to do this you will need a decent DBC editor. (I strongly recommend MyDBCEditor.)
First and foremost, we will need to extract a DBC file called Cfg_Categories.dbc. Use an MPQEditor and navigate your way to your Data folder, and then into the locale folder (called enUS/enGB/enQQ etc), and open a file called patch-(locale)-2.MPQ. Within this file you should see Cfg_Categories.dbc. Extract this file and then proceed to open up your DBC Editor and open the file.
When you have opened up the file, you should see this:
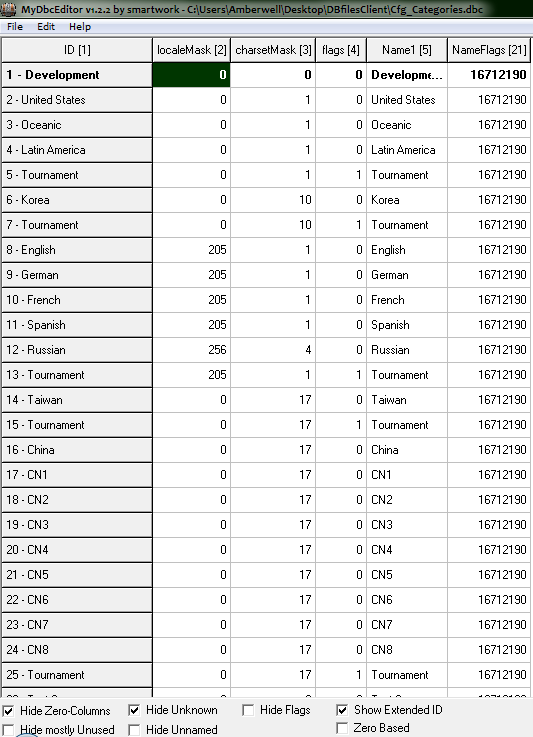
Referring to the wiki, we can deduce what data the different columns represent and what to put in them.
Proceed to insert a new line and then insert a new ID. You may find it more organised to use the number directly after the last data entry. The last entry ID is 37, so I will have 38 as my ID.
#3 - charsetMask. This refers directly to the language players on your realm will use and the characters they will use. Enter '0' for a 'Development' charset. This refers to all languages and allows for all languages. Enter '1' to use an Engish-speaking charset, '4' for a Russian charset, '10' for a Korean charset and '17' for a Chinese or Taiwanese charset.
#4 - flags. This is used for setting special rules for your server. At the moment, the only rules that exist concern Tournament servers and accounts. Leave this as '0' for a normal server, or if you want, set it as '1' if you want to set up a Tournament server.
#5 - Name. Simply put, the name of your custom timezone and realmlist. This may show up on the tabs at the bottom of the realm list when logging in, so ensure that your name is appropriatr.
#21 - NameFlags. Copy '16712190' into this column, as this is the same as the other timezones. This isn't documented in the wiki, and I have no idea of what it refers to.
[/list]
Once you have completed filling in your row, you should have some data that looks like this:

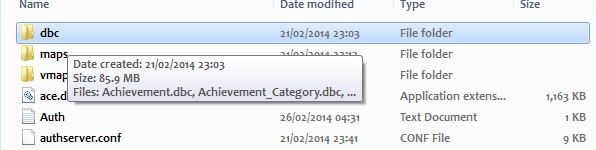
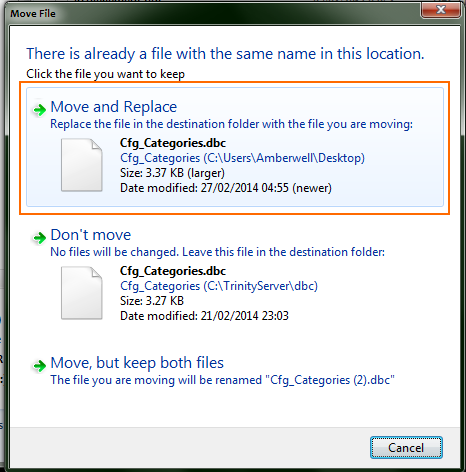
Now that you have your custom timezone, you should save your DBC file and pack it into a custom .MPQ patch and then place this patch within your Data folder. You should also move the edited DBC file into your server's 'dbc' directory, which should be found in the main folder where your compiled server is:
Now, at last, to the server-side part of this tutorial. In order to 'activate' your custom timezone, you must alter the configuration of your server. I am using TrinityCore, so the configuration file I would use is worldserver.conf, which is found in the main folder with the compiled server.

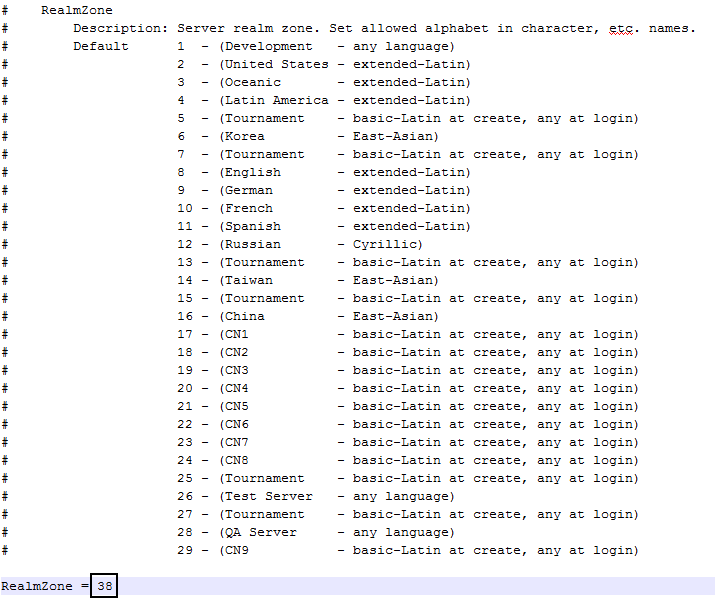
Open this file in Notepad or otherwise. In Trinity, the rule we are looking for is called 'RealmZone'. However, this may be different in the configuration of other servers. Use CTRL+F to find 'RealmZone' in your config file. Once you have found it, change the ID to the ID of your custom timezone. For example, I would change mine from 8 to 38:
Now that you have done this, all you need to do is save your config file and start up your server! :lol:
<-- A video displaying how custom timezones can be used in order to prevent players without a custom patch from entering your server.
This tutorial will instruct you on how to use custom timezones to ensure that players can only access your server if they have your custom patch. This involves editing your client-side DBC files as well as your server's configuration files. Of course, in order to do this you will need a decent DBC editor. (I strongly recommend MyDBCEditor.)
First and foremost, we will need to extract a DBC file called Cfg_Categories.dbc. Use an MPQEditor and navigate your way to your Data folder, and then into the locale folder (called enUS/enGB/enQQ etc), and open a file called patch-(locale)-2.MPQ. Within this file you should see Cfg_Categories.dbc. Extract this file and then proceed to open up your DBC Editor and open the file.
When you have opened up the file, you should see this:
Referring to the wiki, we can deduce what data the different columns represent and what to put in them.
Proceed to insert a new line and then insert a new ID. You may find it more organised to use the number directly after the last data entry. The last entry ID is 37, so I will have 38 as my ID.
- #1 - This is the ID you've just entered.
#2 -
#3 - charsetMask. This refers directly to the language players on your realm will use and the characters they will use. Enter '0' for a 'Development' charset. This refers to all languages and allows for all languages. Enter '1' to use an Engish-speaking charset, '4' for a Russian charset, '10' for a Korean charset and '17' for a Chinese or Taiwanese charset.
#4 - flags. This is used for setting special rules for your server. At the moment, the only rules that exist concern Tournament servers and accounts. Leave this as '0' for a normal server, or if you want, set it as '1' if you want to set up a Tournament server.
#5 - Name. Simply put, the name of your custom timezone and realmlist. This may show up on the tabs at the bottom of the realm list when logging in, so ensure that your name is appropriatr.
#21 - NameFlags. Copy '16712190' into this column, as this is the same as the other timezones. This isn't documented in the wiki, and I have no idea of what it refers to.
[/list]
Once you have completed filling in your row, you should have some data that looks like this:
Now that you have your custom timezone, you should save your DBC file and pack it into a custom .MPQ patch and then place this patch within your Data folder. You should also move the edited DBC file into your server's 'dbc' directory, which should be found in the main folder where your compiled server is:
Now, at last, to the server-side part of this tutorial. In order to 'activate' your custom timezone, you must alter the configuration of your server. I am using TrinityCore, so the configuration file I would use is worldserver.conf, which is found in the main folder with the compiled server.
Open this file in Notepad or otherwise. In Trinity, the rule we are looking for is called 'RealmZone'. However, this may be different in the configuration of other servers. Use CTRL+F to find 'RealmZone' in your config file. Once you have found it, change the ID to the ID of your custom timezone. For example, I would change mine from 8 to 38:
Now that you have done this, all you need to do is save your config file and start up your server! :lol:
<-- A video displaying how custom timezones can be used in order to prevent players without a custom patch from entering your server.