Custom Tilesets
Hey guys!
Today we're talking about custom tilesets.
Tools needed
:
If you are about to build you own region, you'll fastly get to see that sometimes the tilesets ... just don't fit somehow.
It may be the colour or sth. like that ...
What i am not! going to show you here is how to create such a tileset. For tilesets you can use textures you will find on deviant art or you can paint your own!
One thing that you really have to be aware of , is that the tilesets is seamless. That means you can place one image of a tileset next to another without seeing any interruption in the image.
Jack already wrote how you can create a seamless texture in this topic:
viewtopic.php?f=21&t=44Now as you got your texture, save it as png file
without! interlace. Ground textures can not have alpha maps.
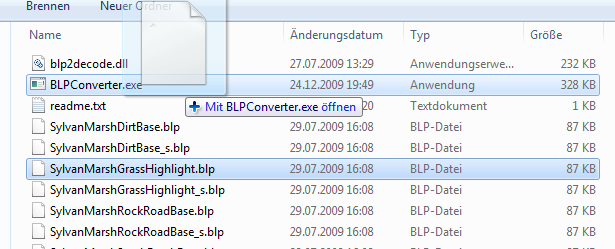
Now just drag n' drop the .png file onto the Blpconverter ,and it should convert your png file to a .blp file.
Your blp file is now ready.
Now place your new tileset in your wow root file under wowroottileset
whateverThe
whatever can sure be replaced by any name you want. Normally it would be the best if you use the name of your new area(not the continent!) just like Blizz does it.
Or you can place it in wowroottileset
continentnamewhatever Just make sure the file stays where it is.
Because if you use your new tileset and rename it later, you'll have to change the tileset path on every adt you worked with that tileset(and that can be some amount of work).
Now after you placed it there you can also build a MPQ or you directly insert it into a MPQ ,just with the same path. I always have the files i created laying extracted in my wow folder with the right path ,because when i want to make a new patch where everything is in it , i just copy the folders into a external folder and with that folder i build my MPQ without having to create all the paths manually in the MPQ program.
Attention!Noggit ONLY reads tilesets from MPQs ,so make sure that if you want to use your new tileset it is implemented in a MPQ, in your DATA folder!
Now your new tileset should be ready for usage.
BUTingame it will appear greenish. You may know that problem if you enter the Emereald dream for example.
Why?
Tilesets always have a extra specular tileset, which includes the highlights you may know ingame as the sunshine reflection from the floor.
So what we got for every tileset is:
Elwynngrass.blp
Elwynngrass_s.blp
And the file with the _s is the specluar file, as you will see if you extract and convertert one of them , they just include the highlights of the texture.
We are now going to recreate that progress and we are going to create a heighlight image of a recoloured blizzard tileset, which i am using for one of my areas.(use rightclick ->view image for details, especially in the photoshop part)
So take your blp file again and reconvert it via drag n' drop onto the Blpconverter.
now the png file should be again there.
Open up that png file with photoshop.
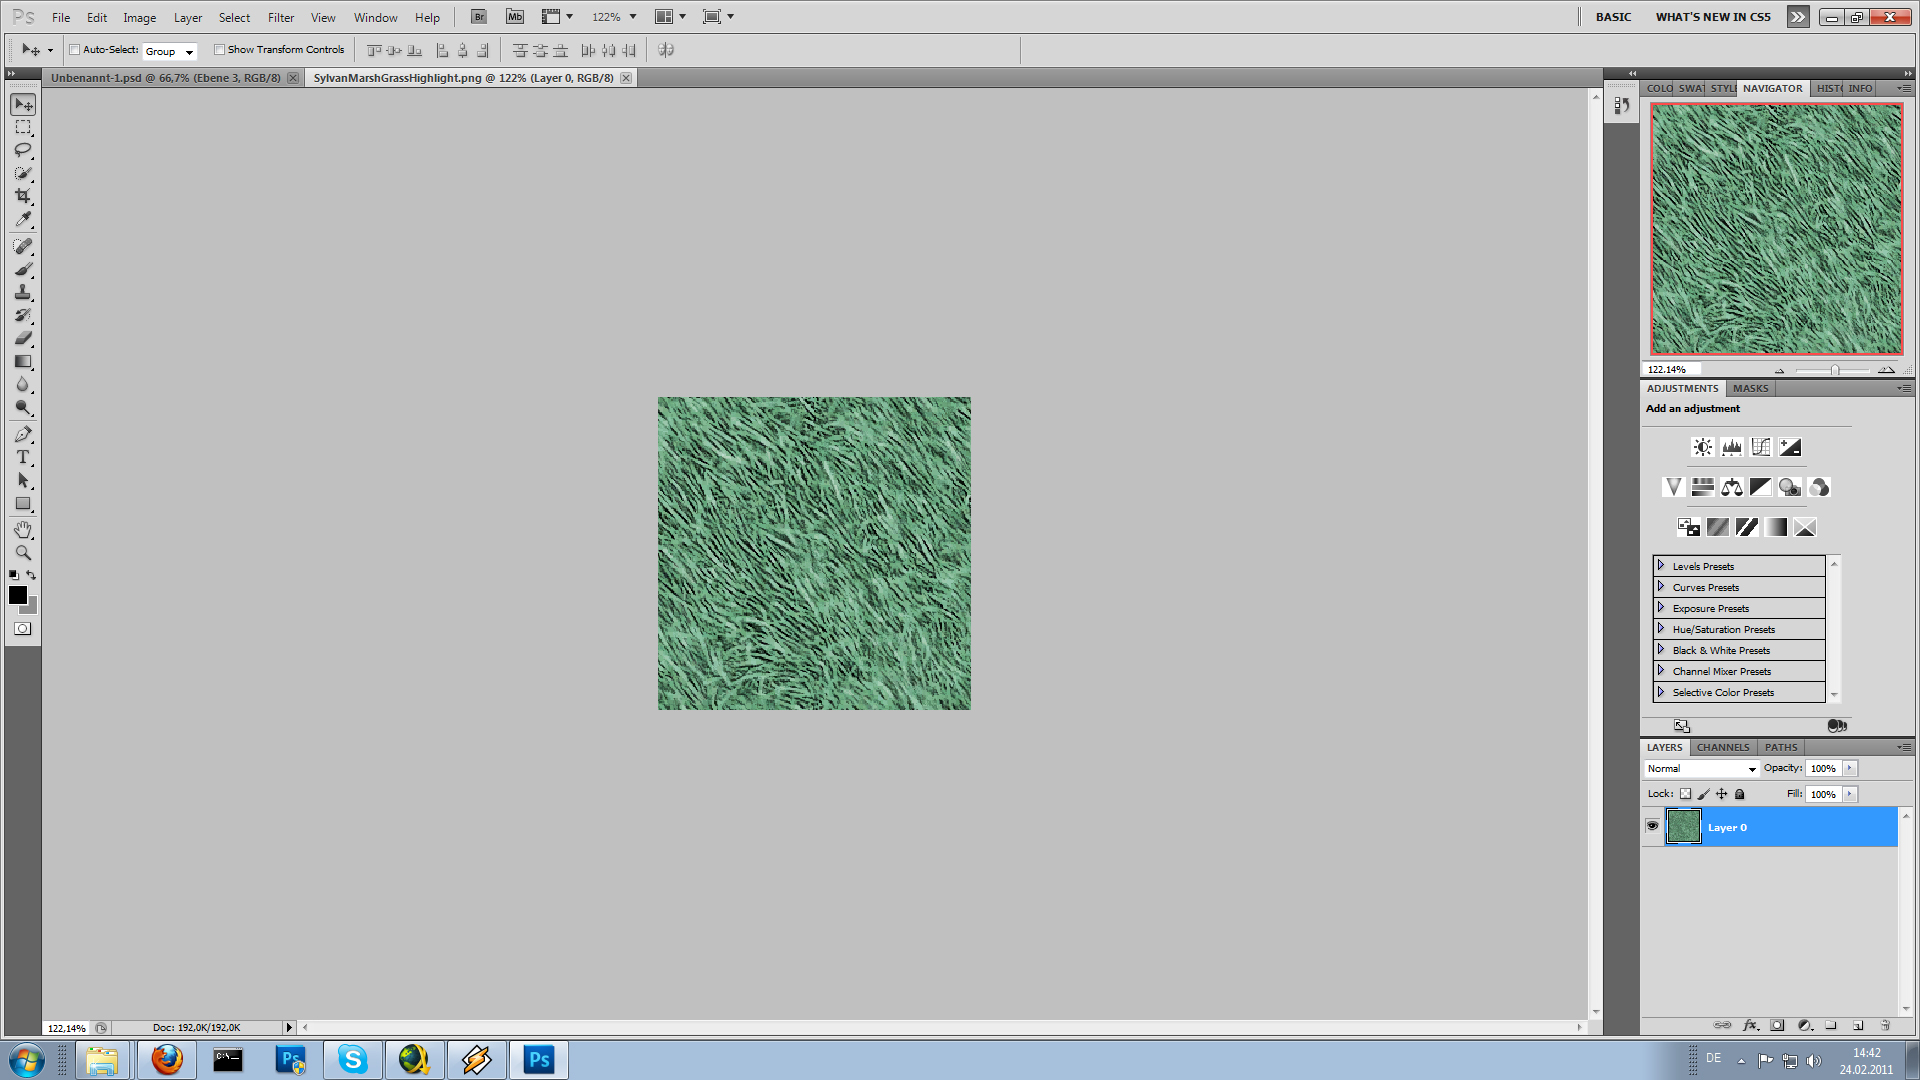
Now press ctrl+j to duplicate the texture layer.
on the new layer press ctrl+u to adjust some settings.
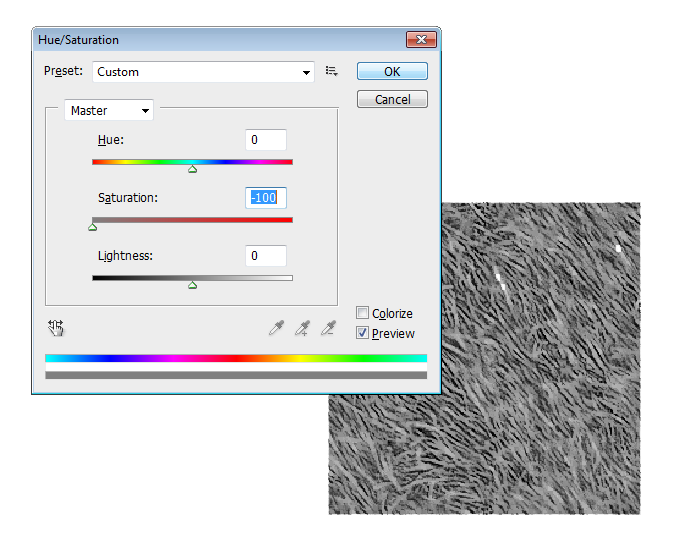
We are just going to turn the saturation to the low minimum to make it black n 'white.
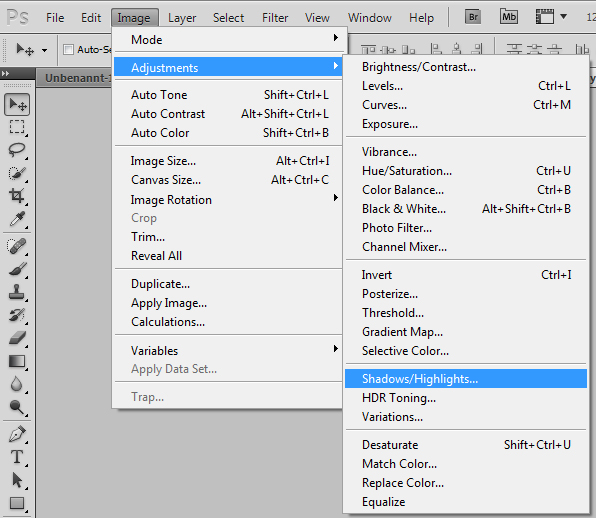
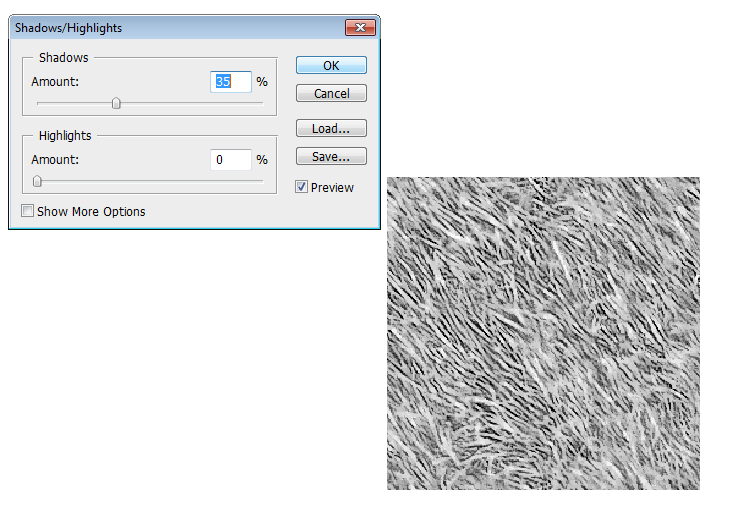
Now use image->adjustments->shadow/highlights and just press ok when the new popup appears.
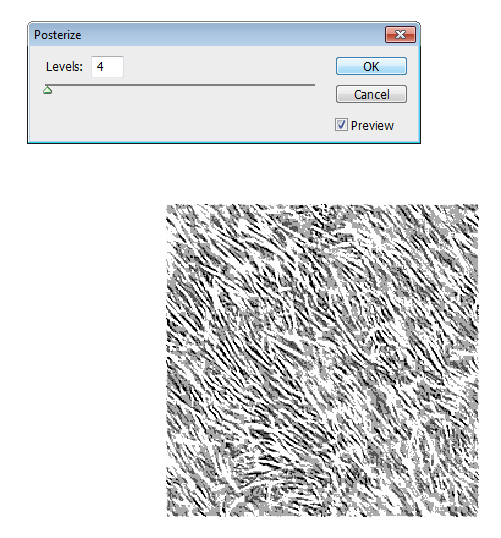
Now we are going to use the posterize tool.
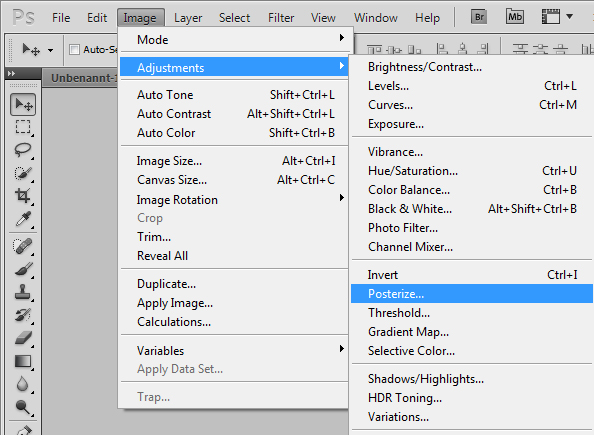
And set to about 4 layers, depending on the texture. Make sure that not too much is white and play around until you are satisfied. The white you are seeing in the preview are the heighlights so be carefull to not to have too much!
Now switch to the magic-wand. Yeha!
Select a white pixel with it ,so that all the white of the modified image is selected.
Look at the tool settings!
0 Anti-Alias 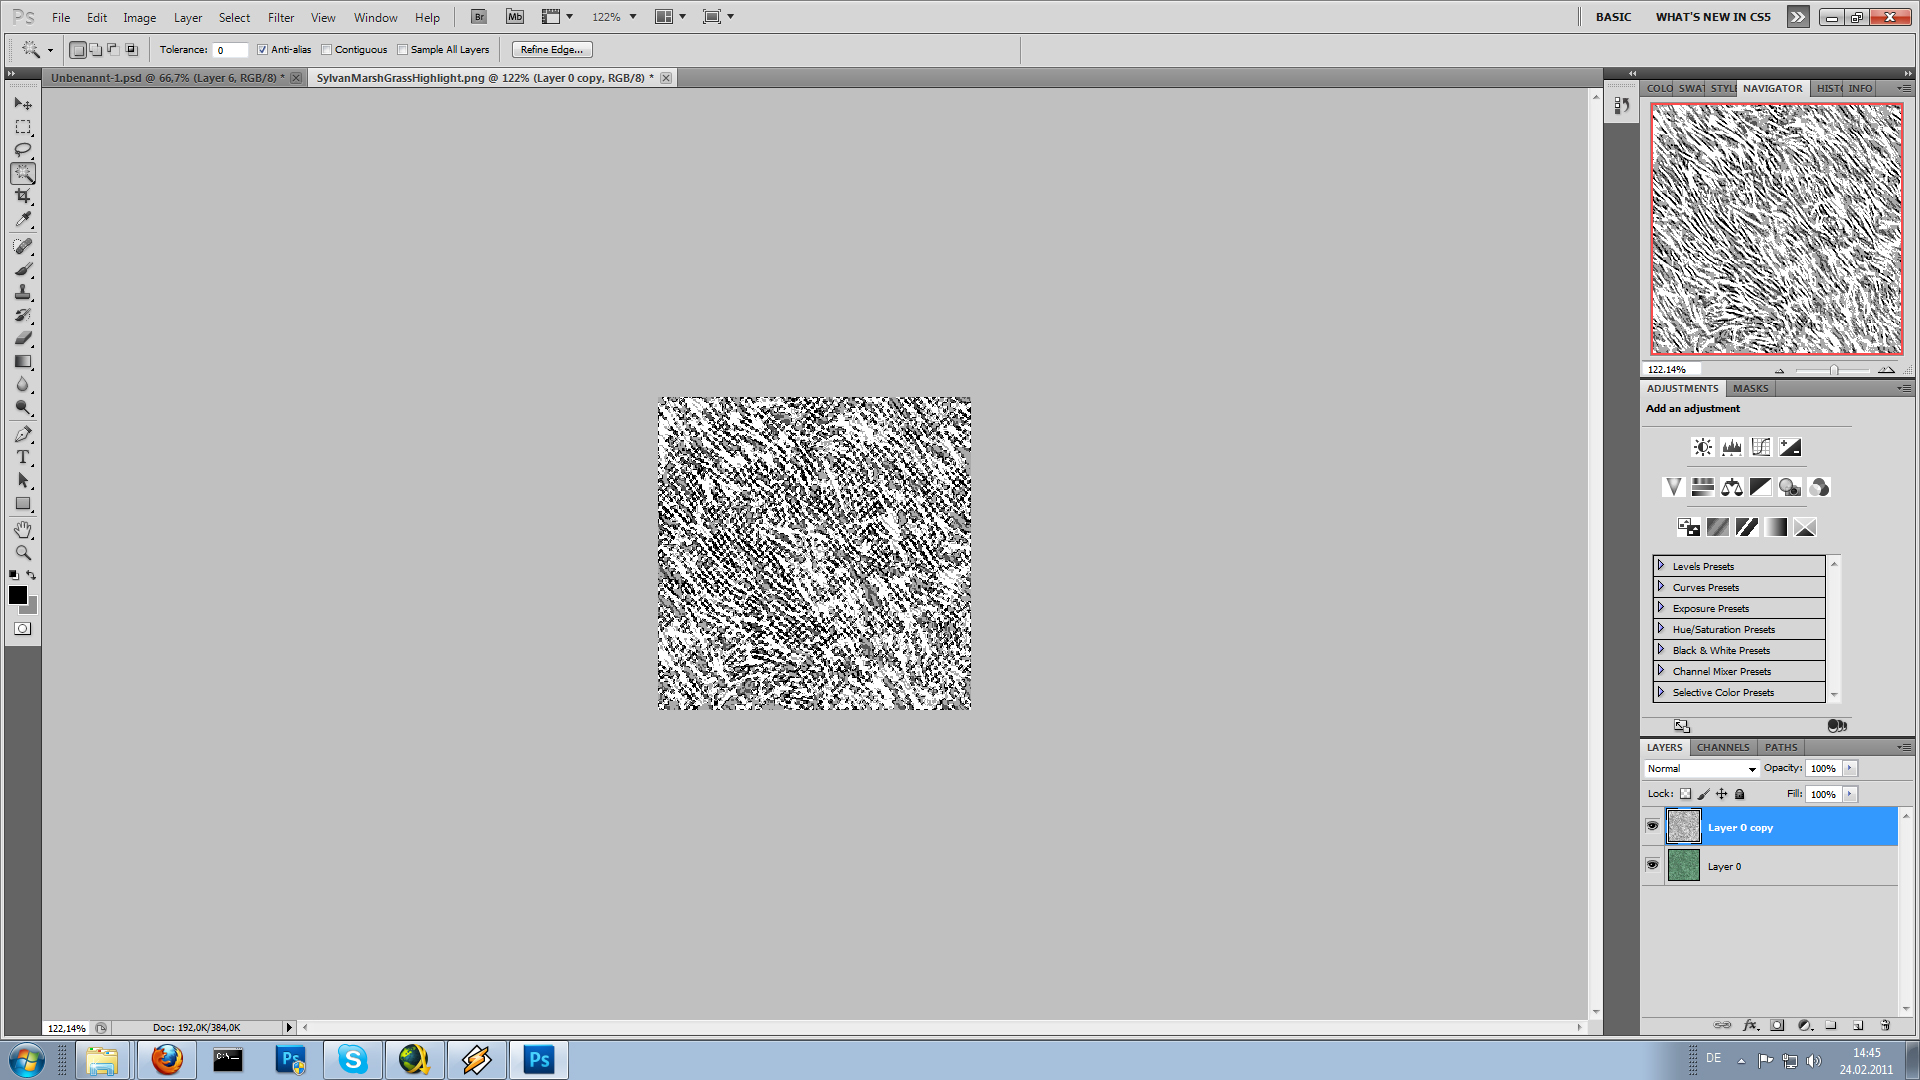
Now as the white parts are selected, press ctrl+x to cut them out.
Now press ctrl+v to have a new layer iwth just the white parts.
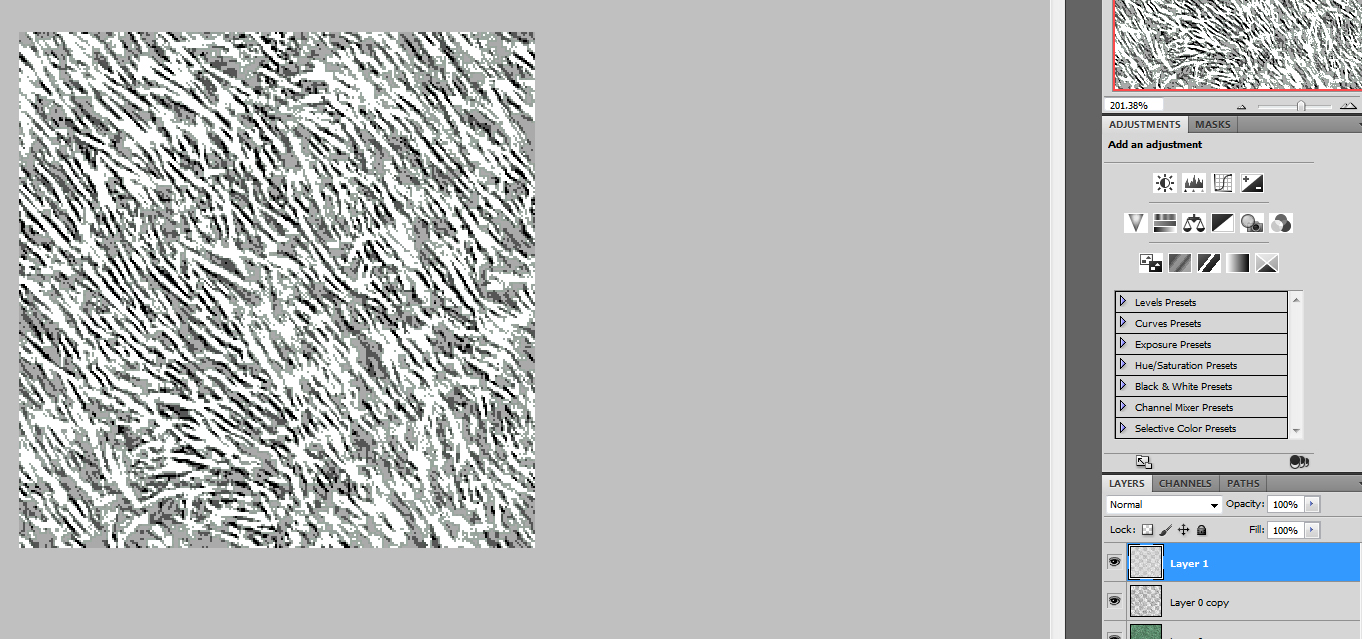
You can now delete the layer where you cut out the white parts.
Now all you have left is the layer with the heighlights and the old undmodified one.
Move the unmodified layer
above the heighlight layer and press ctrl+alt+g to create a clipping mask.

Now you have the heighlights wonderfull extracted.
Go to File-> save as... and save it as png file.
One thing: just name it like the oldone but with _s in it ,so that you don't overwrite the old png file and already have the proper name for the specular file.
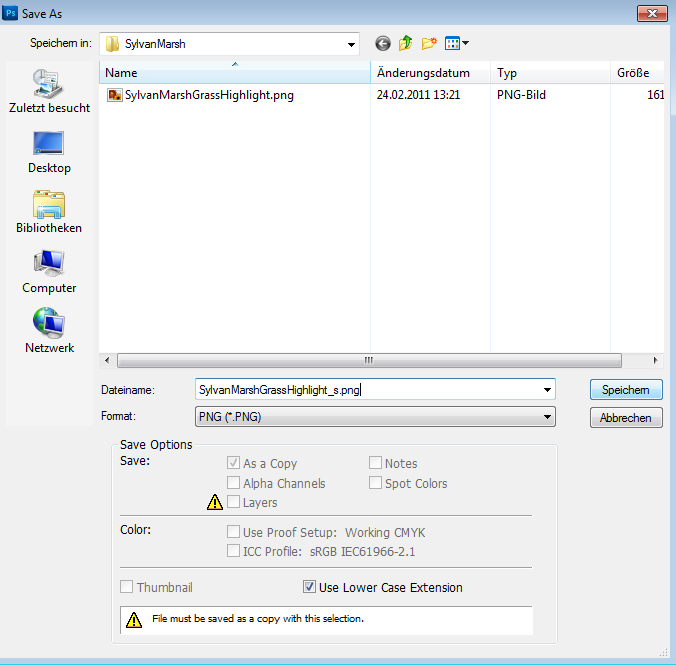
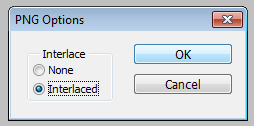
Remember to save it of course as interlaced, else you wouldn't have it as an alphamap.
Now just convert it back and place it in the same folder as the normal tilesetfile.
Now everything should work like a charm ingame.
Hope you had fun doing this!
Greetings Eluo