Hi, modcraft

I decided to write a simple tutorial about making custom wall pictures for WoW.
Sorry for my poor English

Difficulty: easy
You need:
* Adobe Photoshop or other tool that can save PNG images.
* This
archive with templates
* Time
>> Download and extract the archive.
There you can see a folder named Custom, BLP converter and a text file with all paths to our pictures.
>>Open Custom and all following folders, then you can see a lot of different files.
>> Find all .blp files and just drag'n'drop (one by one) into BLP Converter (There are the 6 and the 8 version of converter in the archive, I used the 6.)
Now you must have PNG images in your folder (I recomend you to use view option "Big icons" in your explorer, it will save your time)
>> Open PNG file with Photoshop
You will see this:
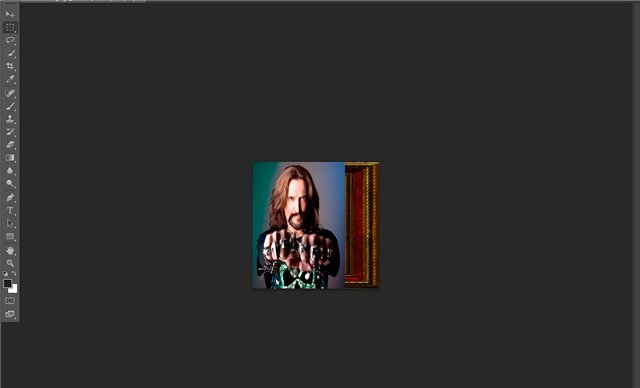
>> Now you must find an image you want to be on the picture. Just drag'n'drop it into Photoshop and put above existing image. Don't touch the frame!
Now you have something like this:

>> Save this image in PNG format with the same name. Agree to rewrite.
>>Go to the folder with templates and drag'n'drop your PNG into BLPCONVERTER6.exe again.
Do it with all your PNG.
>> When you finish all your pictures,copy the folder Custom into the folder World of your Noggit-project.
>> Open PicturePath.txt from the archive and copy all the text.
>>Find a text file called Import.txt in your Noggit folder, open it and paste all the content of PicturePath.txt. Save.
>> Open Noggit. Open your map.
Do this:
Assist>ImportFromTextFile and chose a file.
>> Everything must work!
Result:

I used some materials from Reznik's patch (MyIsland)
I hope it will help someone.

