Update (16-11-2013)Hello and welcome to my mountainshaping guide!
In this tutorial I've used Noggit SDL 1.3 and I expect you to know the basics, newer versions might have different functions but the core should be the same.
Mountains are an important task for every worldbuilder. Every zone in World of Warcraft has mountains, but it can be a lot of work to create large mountainrange. In this tutorial I will give you an idea of how you can shape your mountains in no time. Keep in mind that you might want to use more detail on smaller mountains.
Let's get started. First of all, get the basic shape of your maintain, with dirt as base texture, ready in noggit. As I've done in this picture.
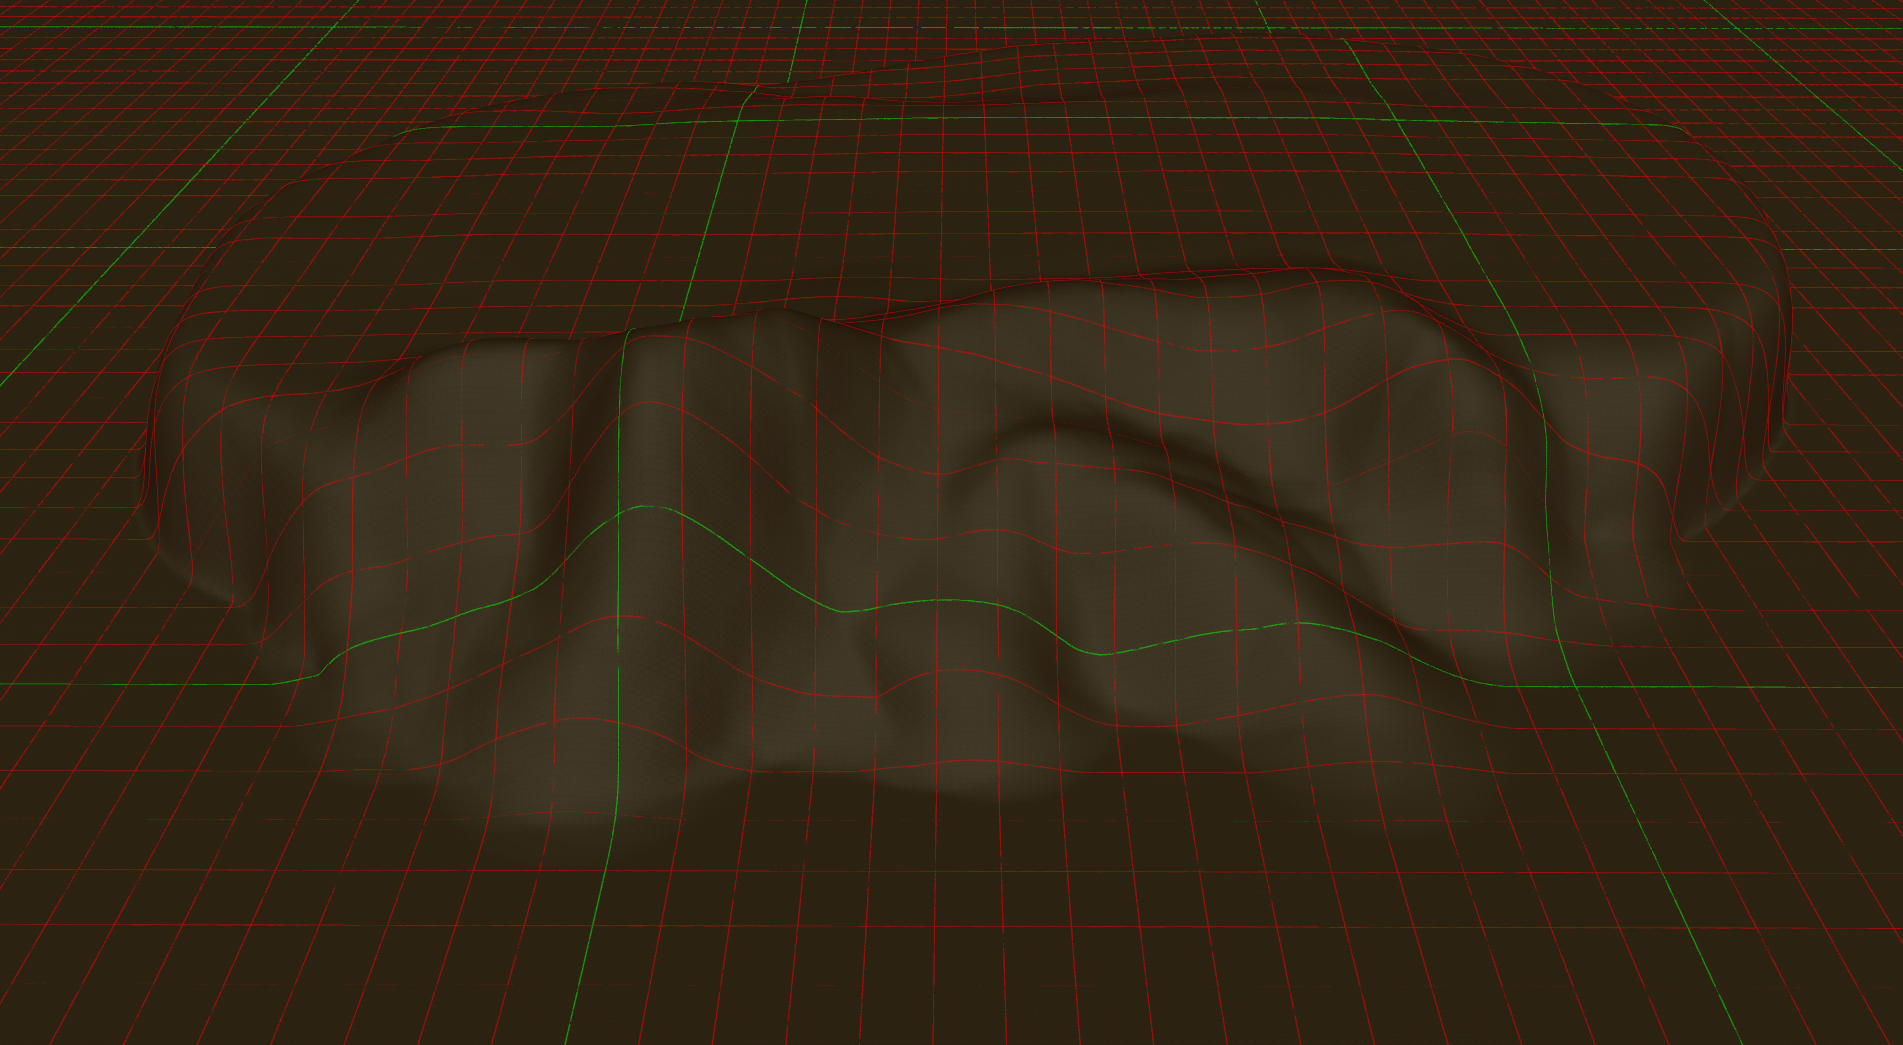
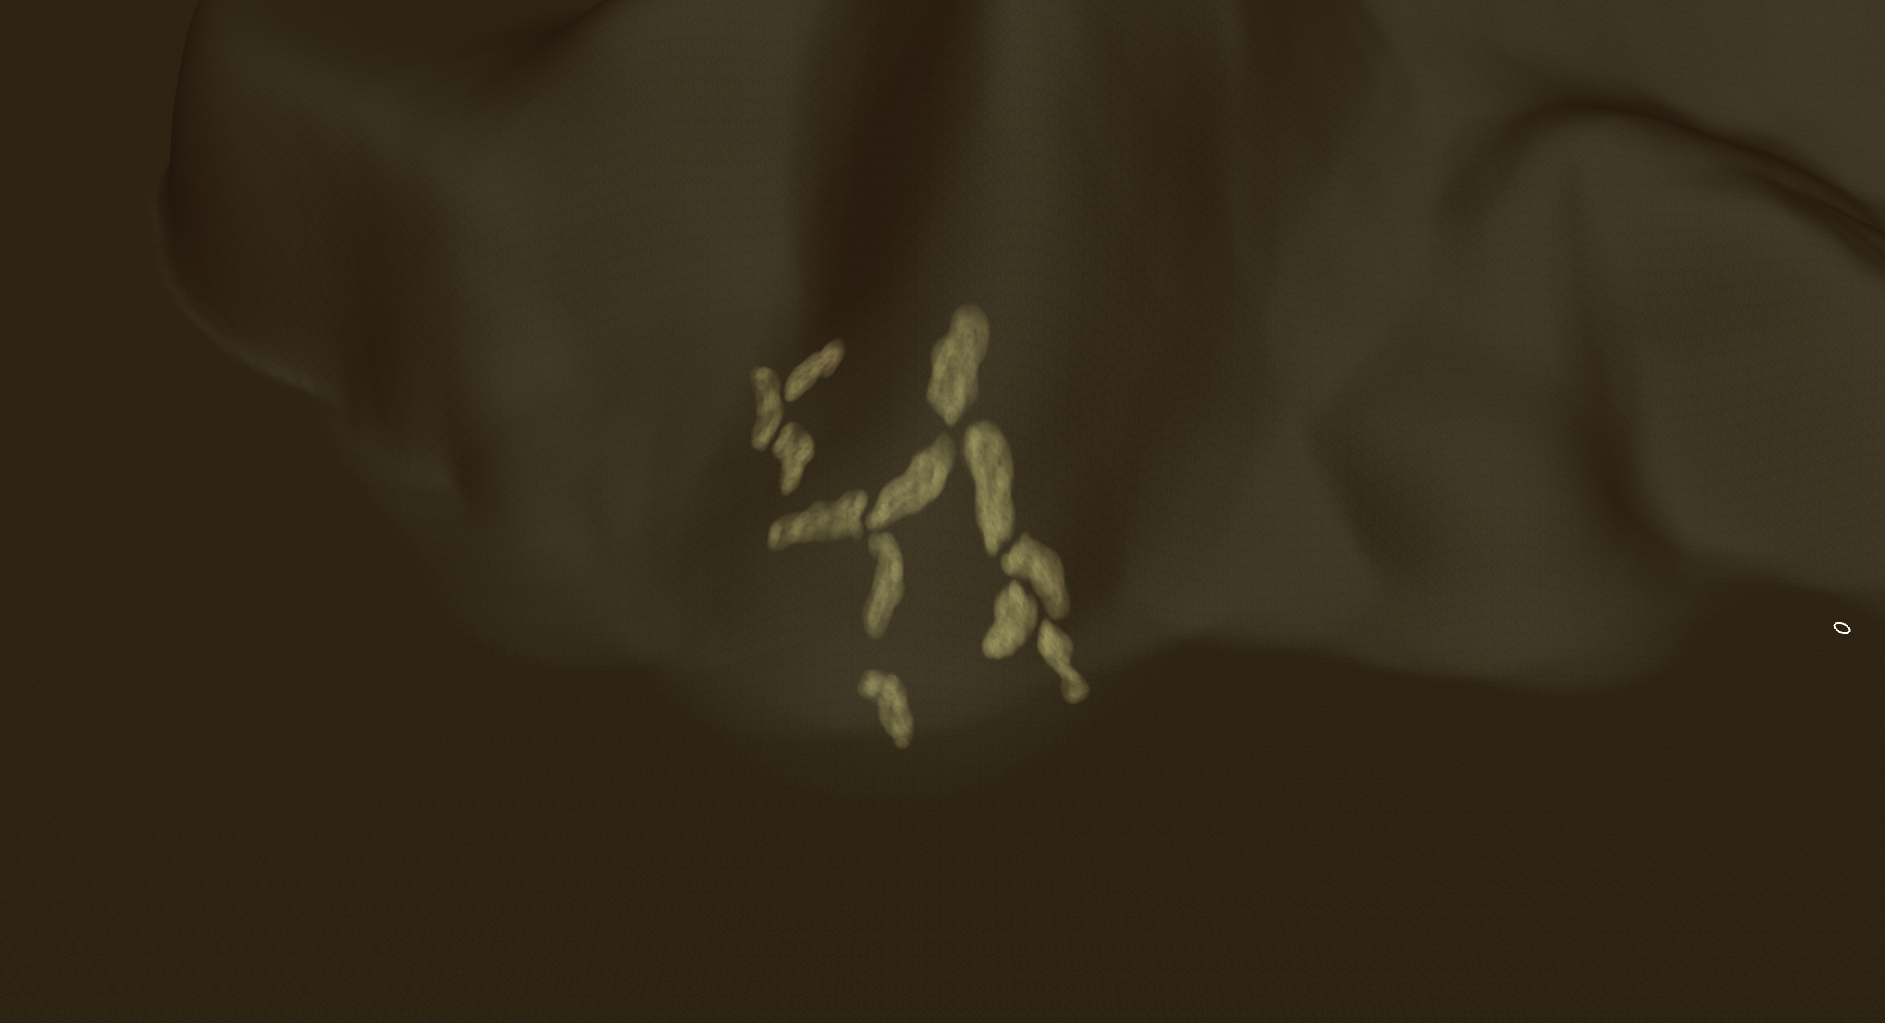
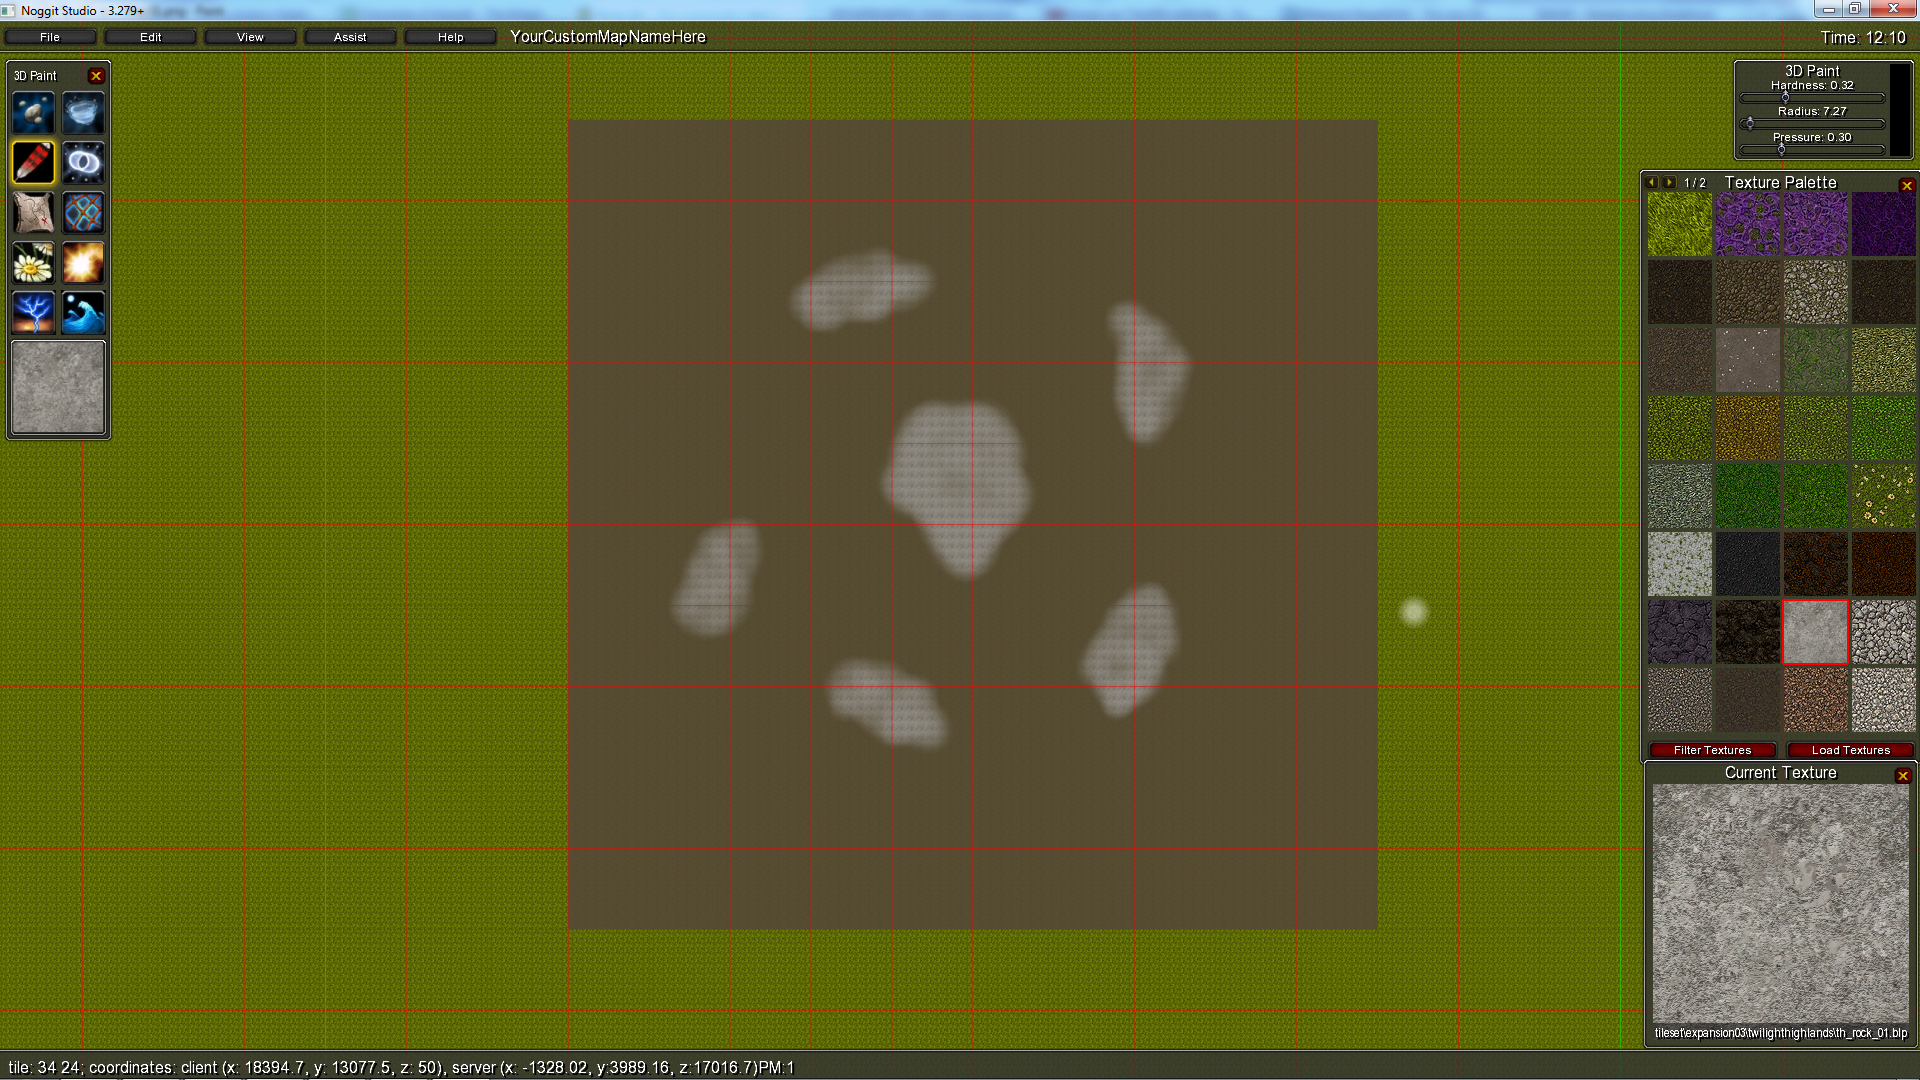
Second, pick a basic rock texture. The texture shouldn't have to much detail (such as cracks) to it. I've personally used the rock texture from the Twilight Highlands. Once you've picked your rock texture, use it to create some, somewhat large, patches as seen in the picture
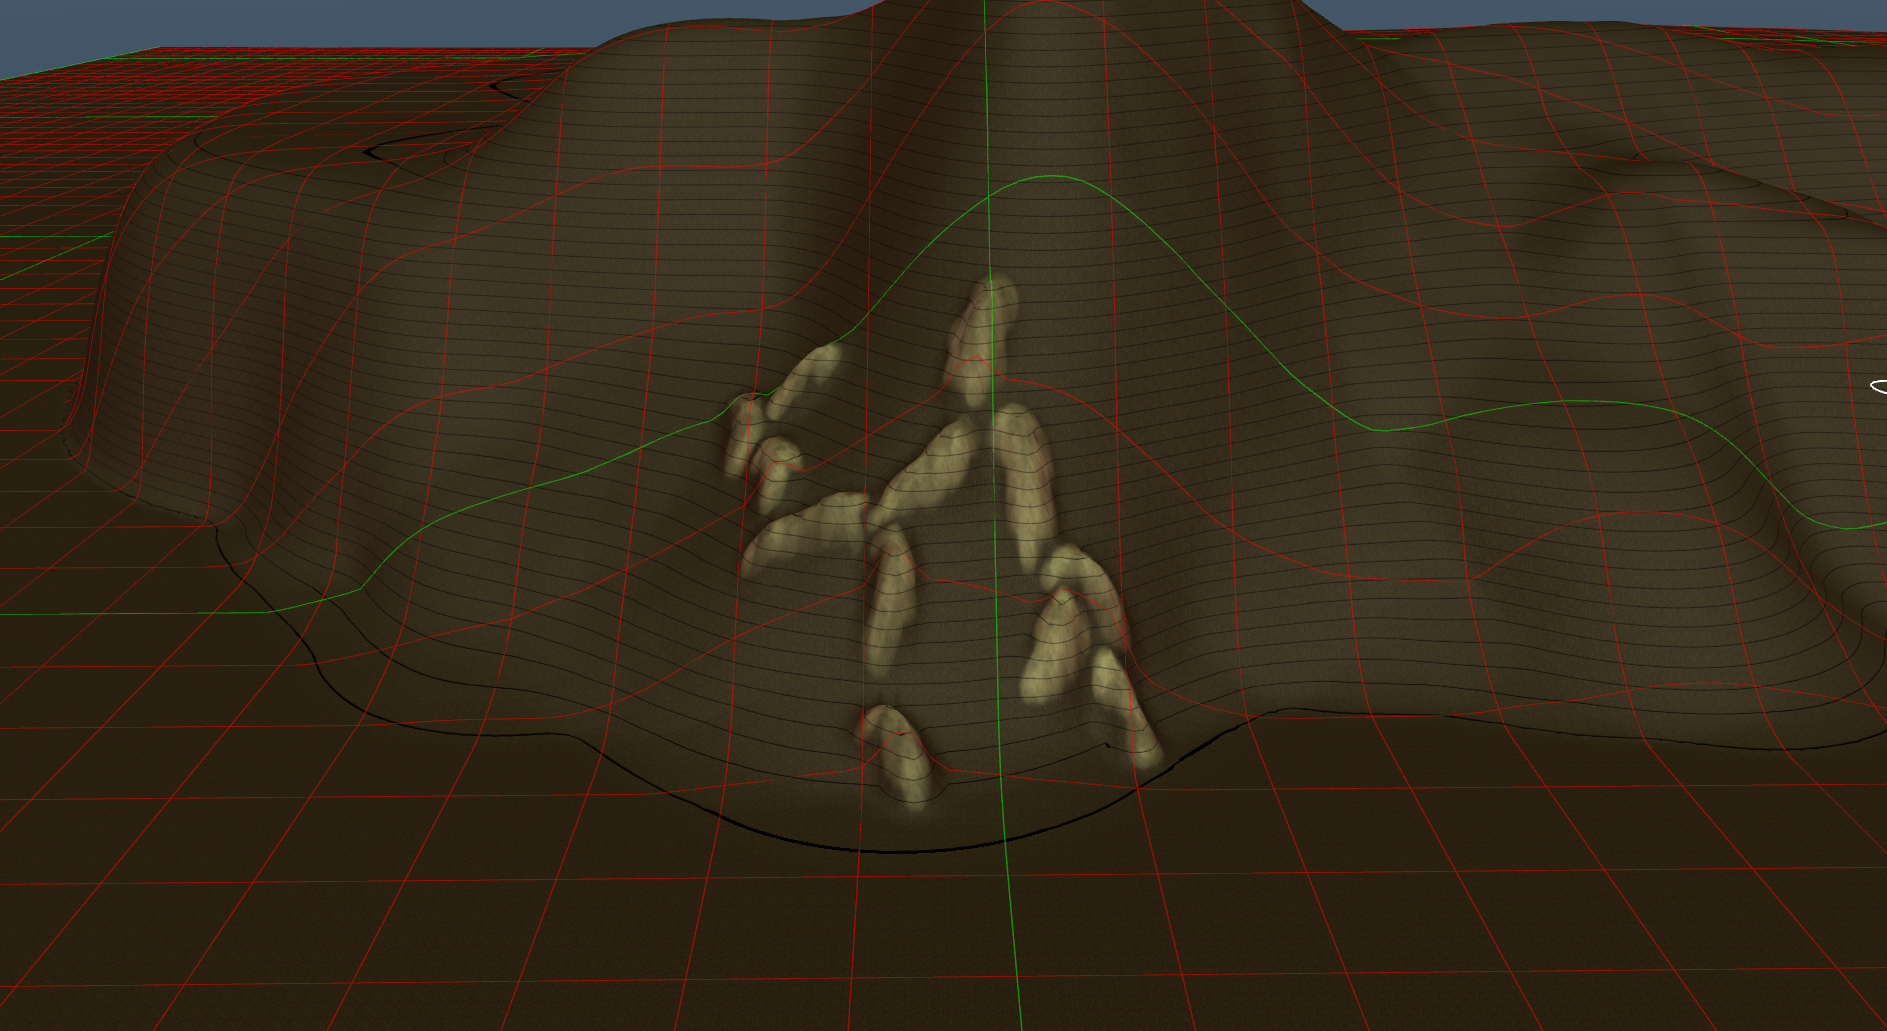
Once you've done that, shape them up. I personally use the linear function to raise the terrain with a radius of around 8 and a speed of 1.5-1.8.
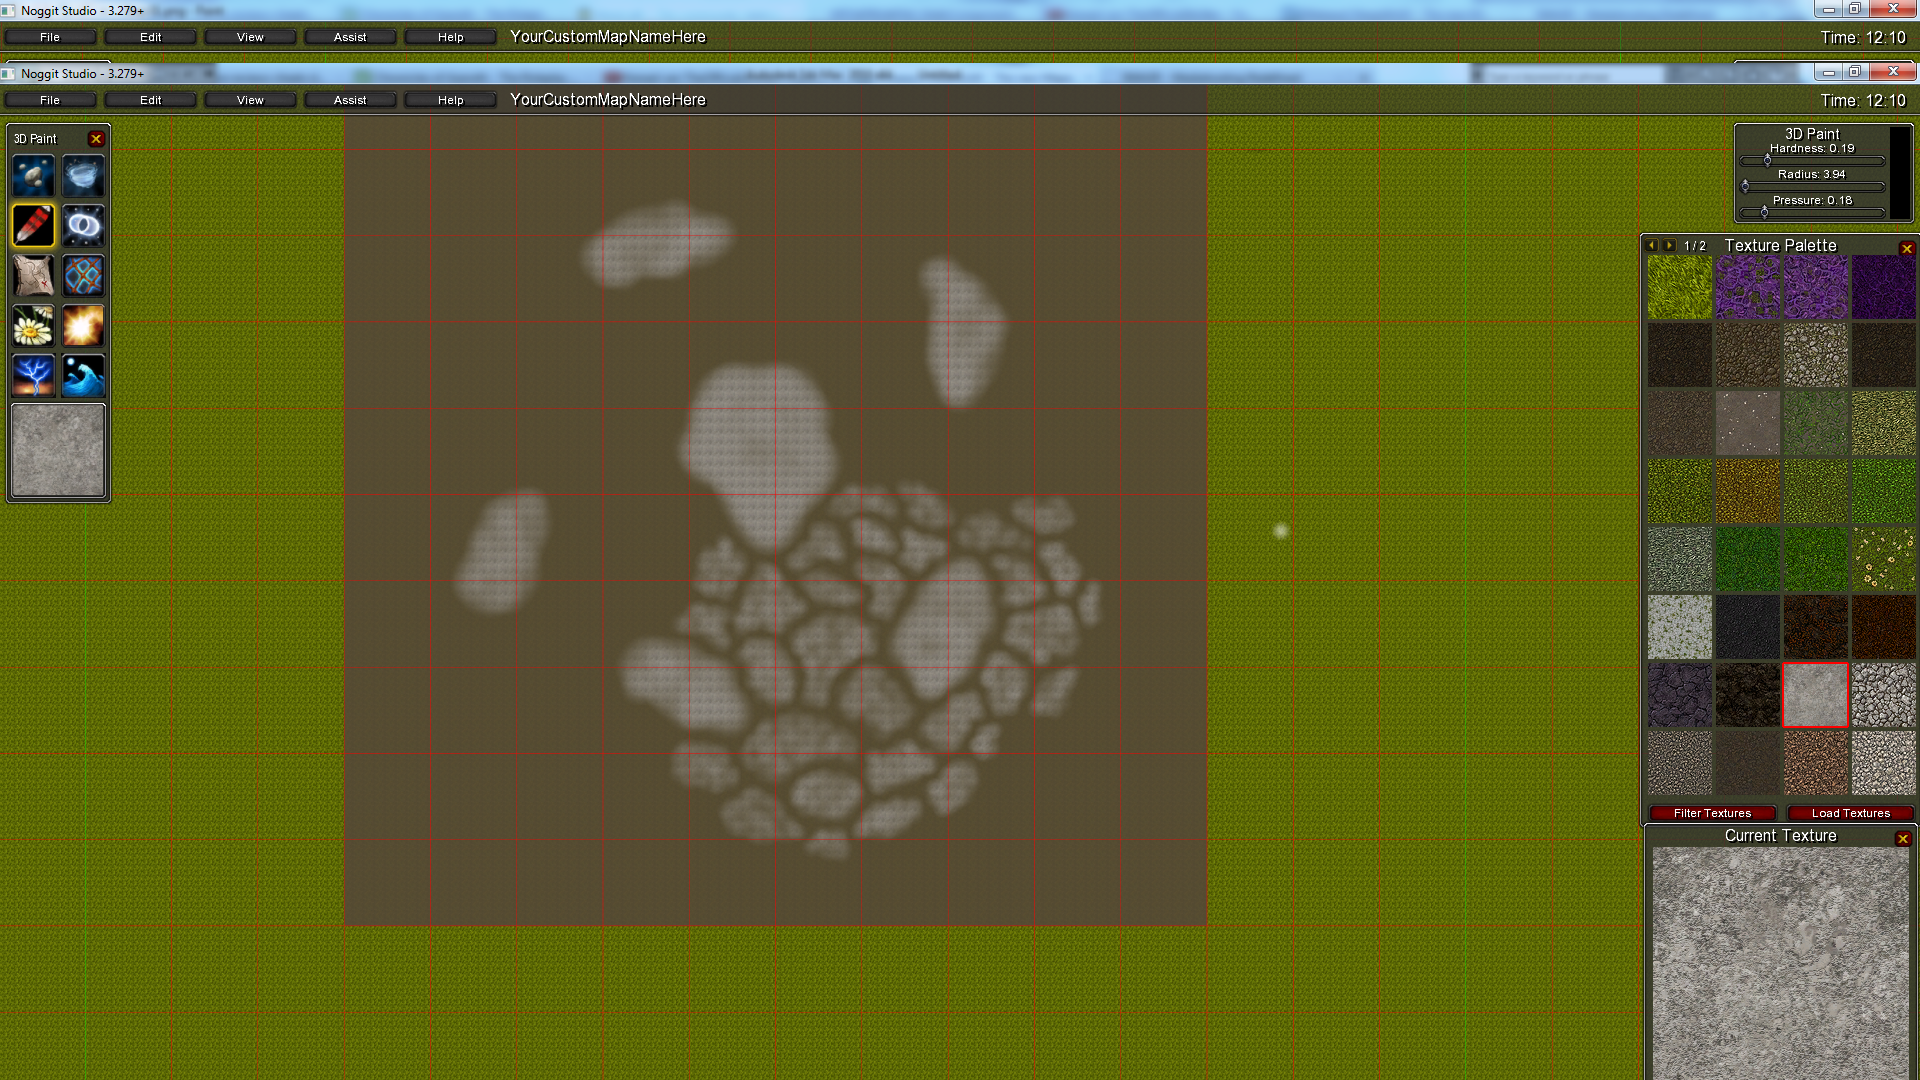
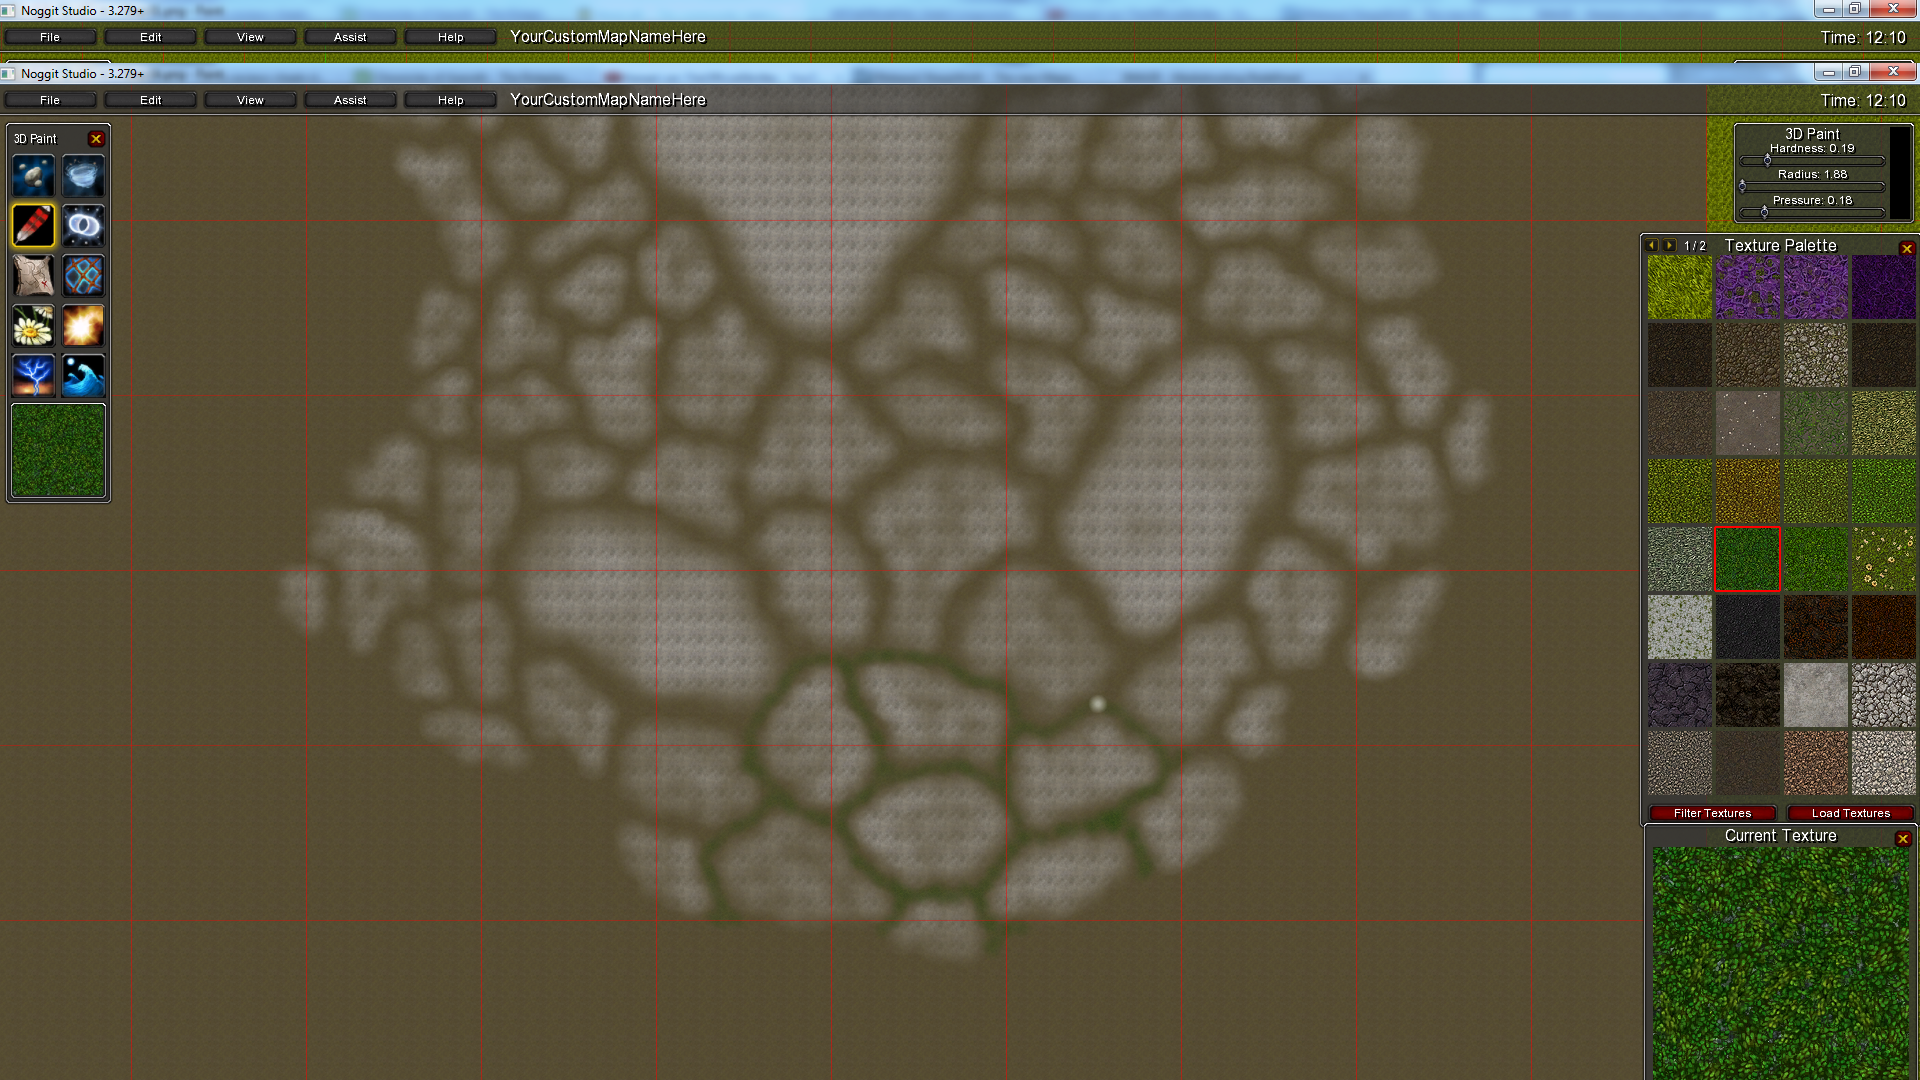
Now, these large patches of rock are handy as they cover a lot of terrain, but they're not quite that detailed. Try adding some extra texture to their shape and create some smaller patches next to them.
Raise those smaller patches of rock using the linear function with a radius of +/- 5-6 and a speed of 0.6. Your mountains should be getting quite a nice shape already.
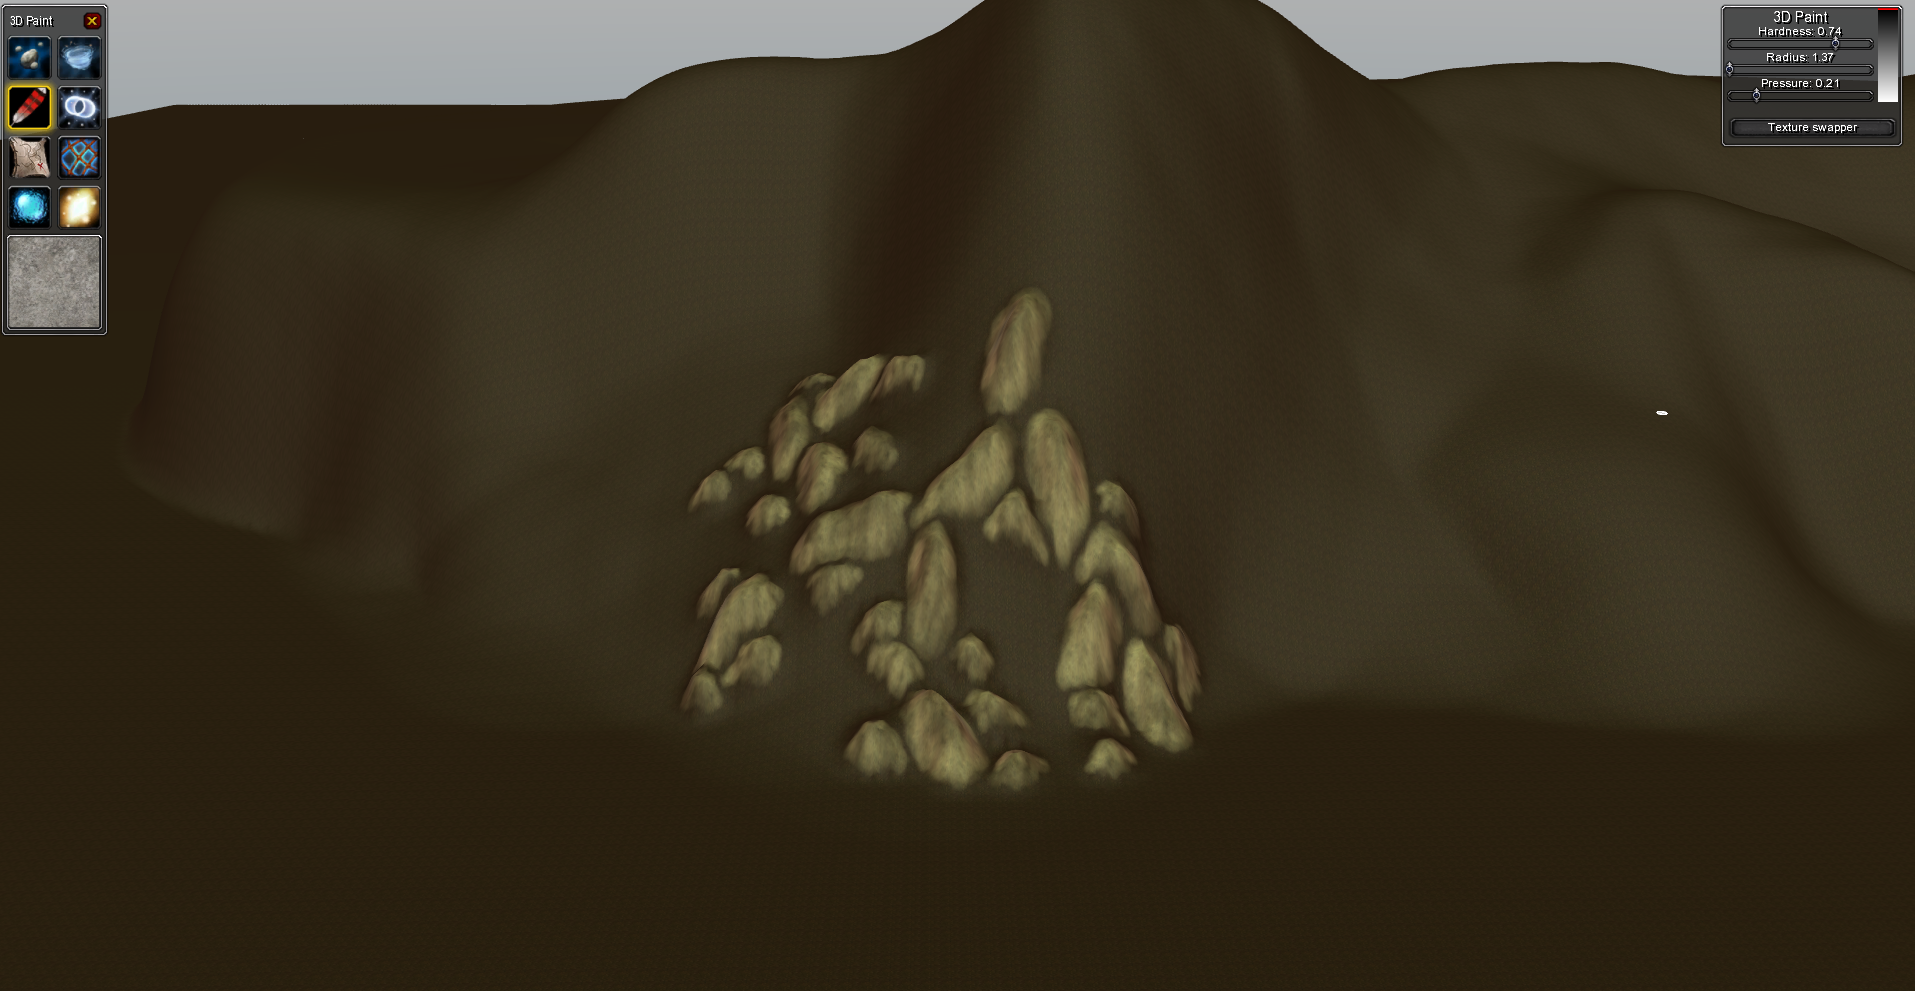
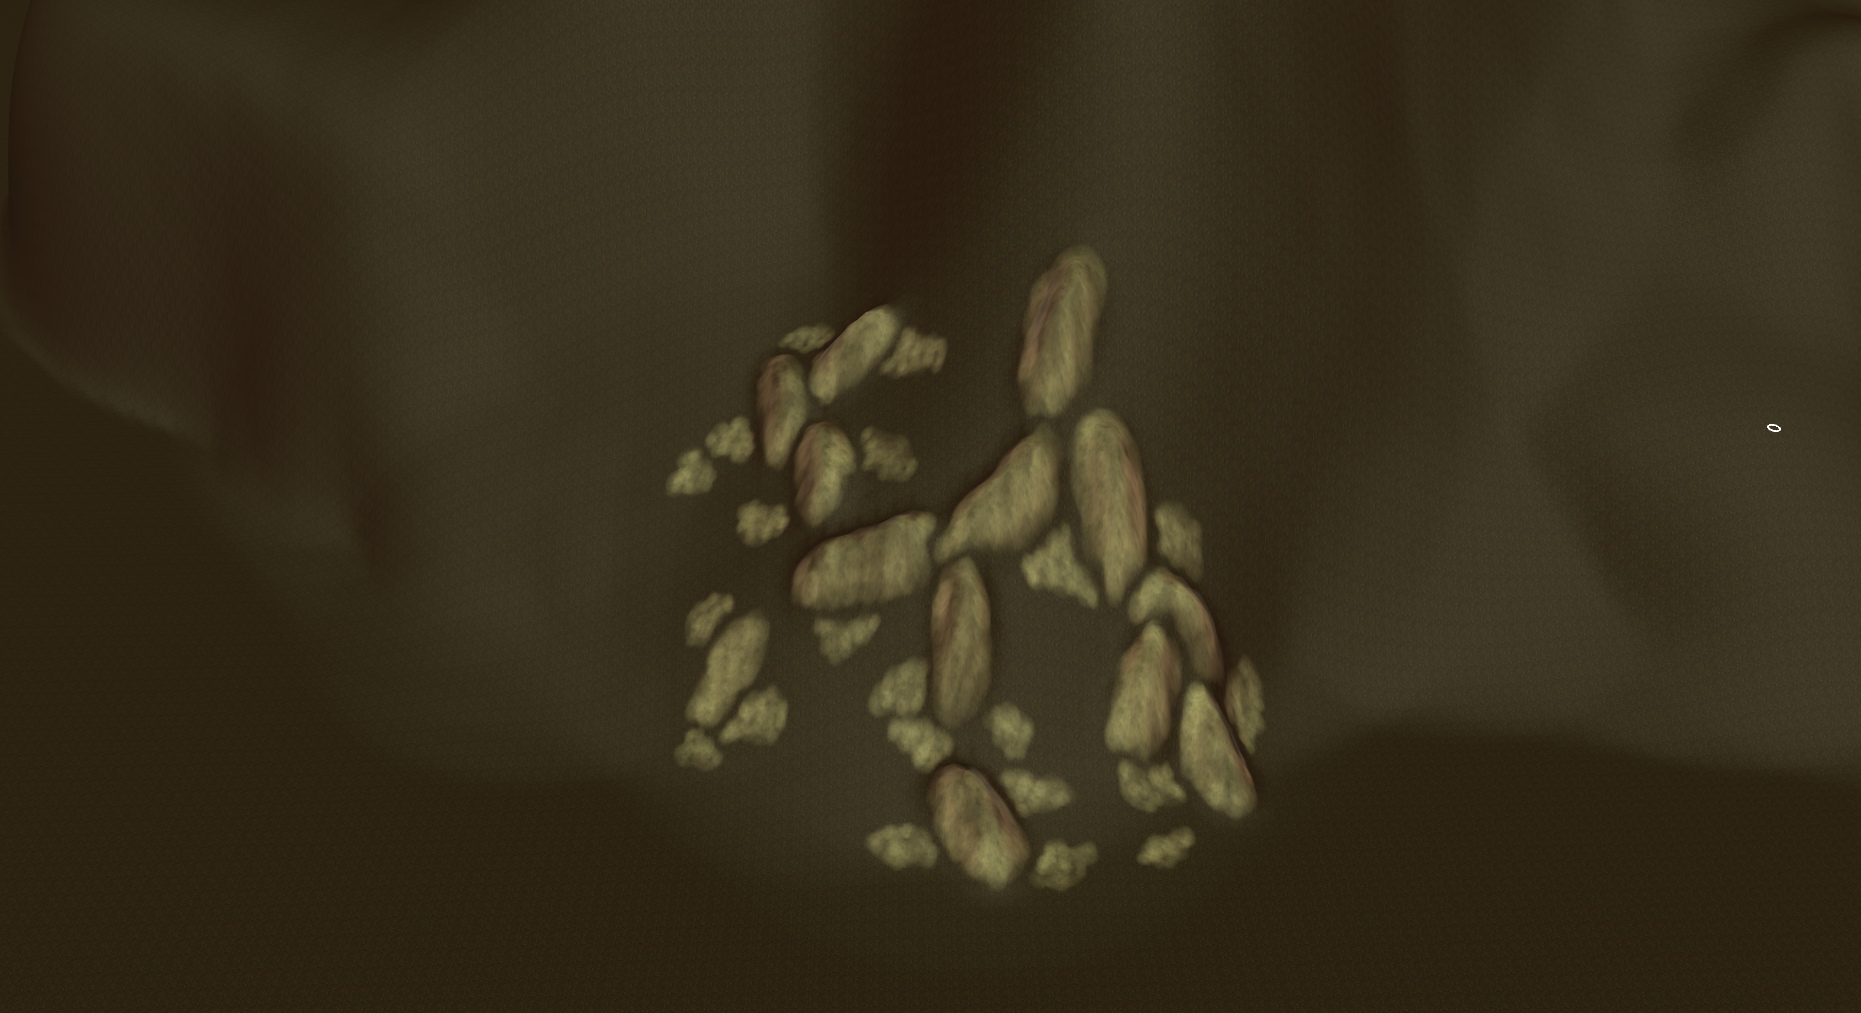
Now, the mountain still looks a bit bland with just the dirt texture. Try filling the space between the rocks with, for example, a grass texture. You might want to do this in 2D mode as painting in between the rocks can be a bit of a pain in 3d mode.

After this, smooth your mountain where needed and add some vegetation where you see fit. (I won't show you this in a picture because I'm horrible with vegetation.)
Rinse and repeat for the rest of the mountain.
Extra pictures.

 Old Tutorial
Hello everyone,
Some time ago I was requested to create a tutorial about my way of texturing. So here's the start, mountains. A lot of people tend to create mountains which all look pretty much the same and generally have the same shape. These are often quite dull (in my opinion), so here's my way of texturing. It has it's flaws obviously, but I hope people learn from it.
Note: It's not perfect.
Note2: Sorry for the lack of ingame pictures, but I don't have an emulator on my PC at the moment. Noggit rendering is really off.
TexturingUsed Tools Noggit Rev 3.279Used Tilesets (These can be found
here.)
tilesetstormwindcityswc_dirta.blp
tilesetexpansion03twilighthighlandsth_rock_01.blp
tilesetexpansion03twilighthighlandsth_grassb_01.blp
Step 1You'll want to start with a dirt texture as shown below.
 http://is.gd/0LR32CStep 2
The second step is to create a couple of large patches which will later become the peaks of the mountain.
Radius: 6 - 8
Pressure: +/- 30
Hardness: +/- 30
 http://is.gd/cUyjOIStep 3
The third step is to create smaller patches around the larger one's. You'll want to reduce radius, pressure and hardness.
Radius: 3 - 4
Pressure: +/- 15 - 20
Hardness: +/- 15 - 20
 http://is.gd/XNxlY3
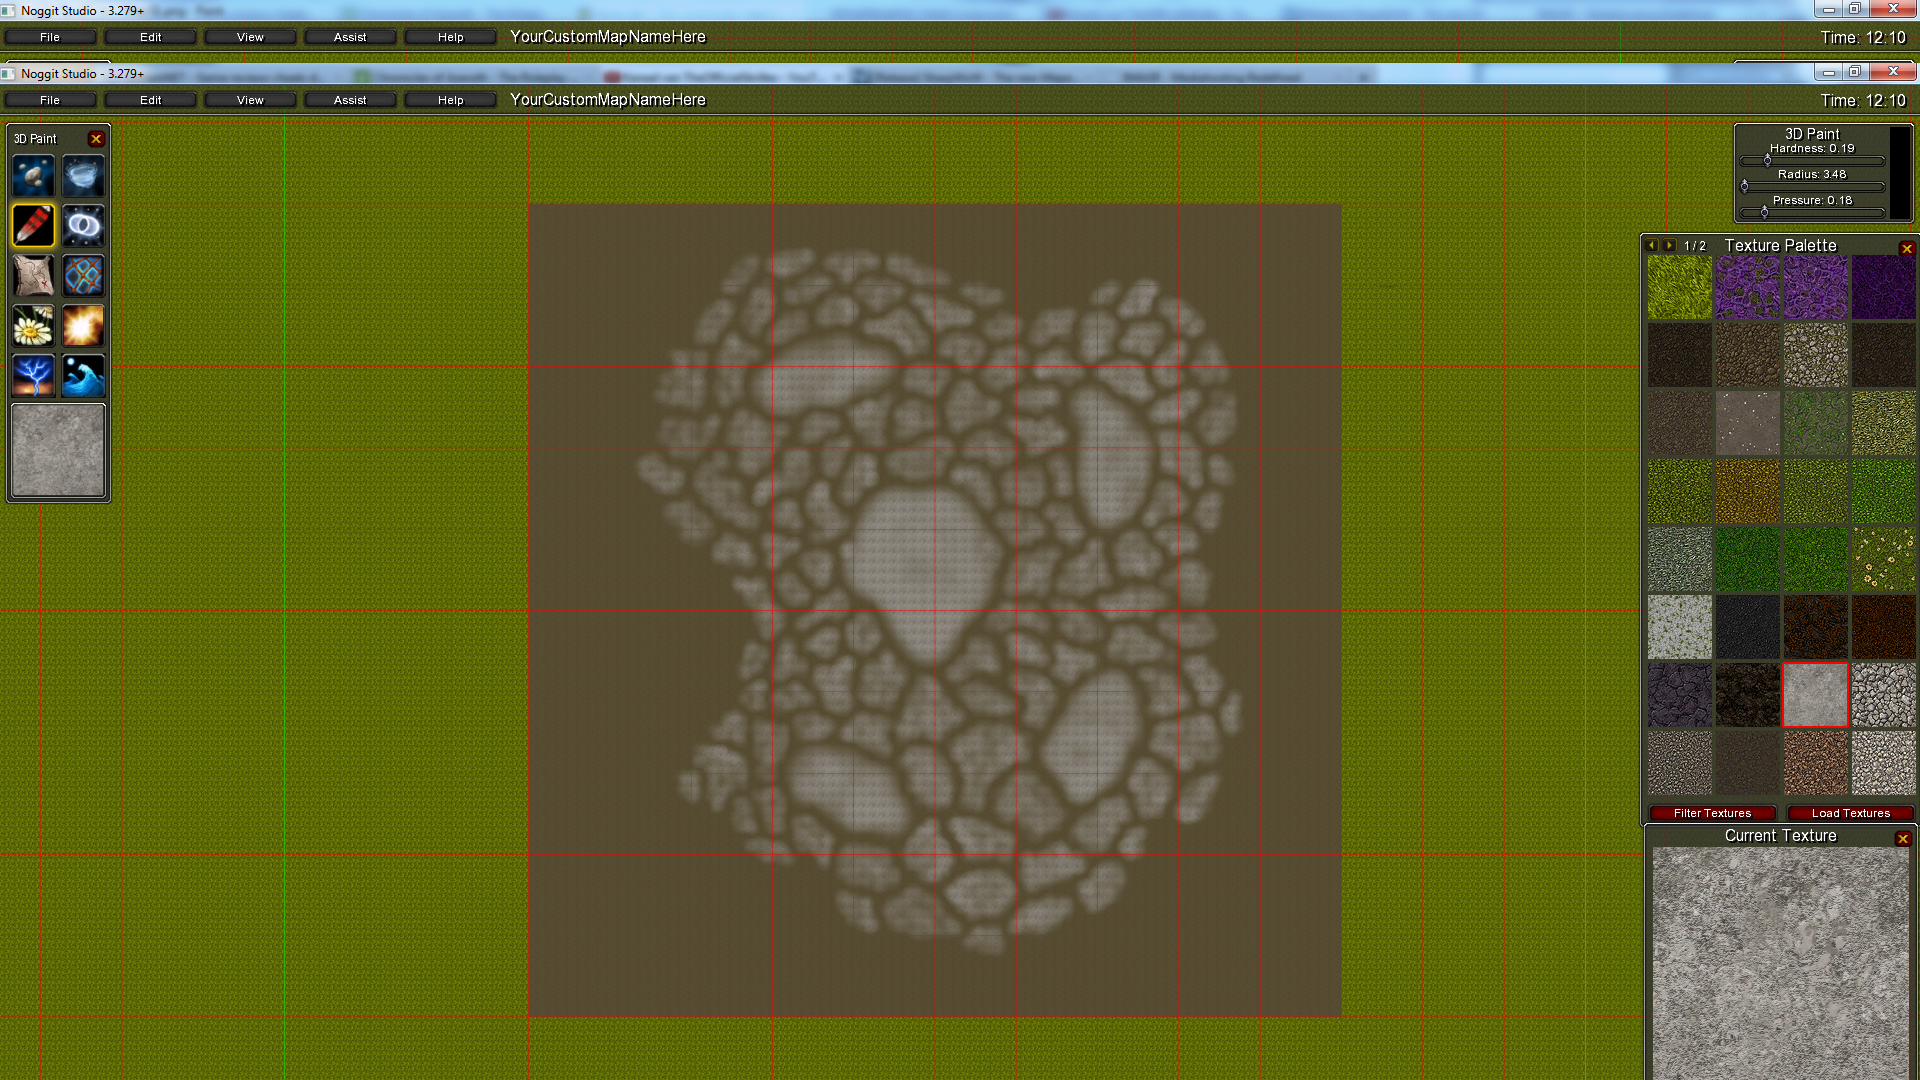 http://is.gd/5HMLpG(Optional) Step 4
The fourth step, being optional, will require you to paint a grass texture inbetween the rock textures. This can be done quickly, the dirt may be seen.
Radius: 2-3
Pressure: +/- 15 - 20
Hardness: +/- 15 - 20
 http://imagr.eu/up/4f37b6b076c887_Step_05.png
 http://imagr.eu/up/4f37b6b08cbd07_Step_06.pngShaping
Shaping is done AFTER texturing for mountains, cliffs may be shaped before texturing.
Used Tools Noggit Rev 3.279We'll continue with the result of the texturing part.
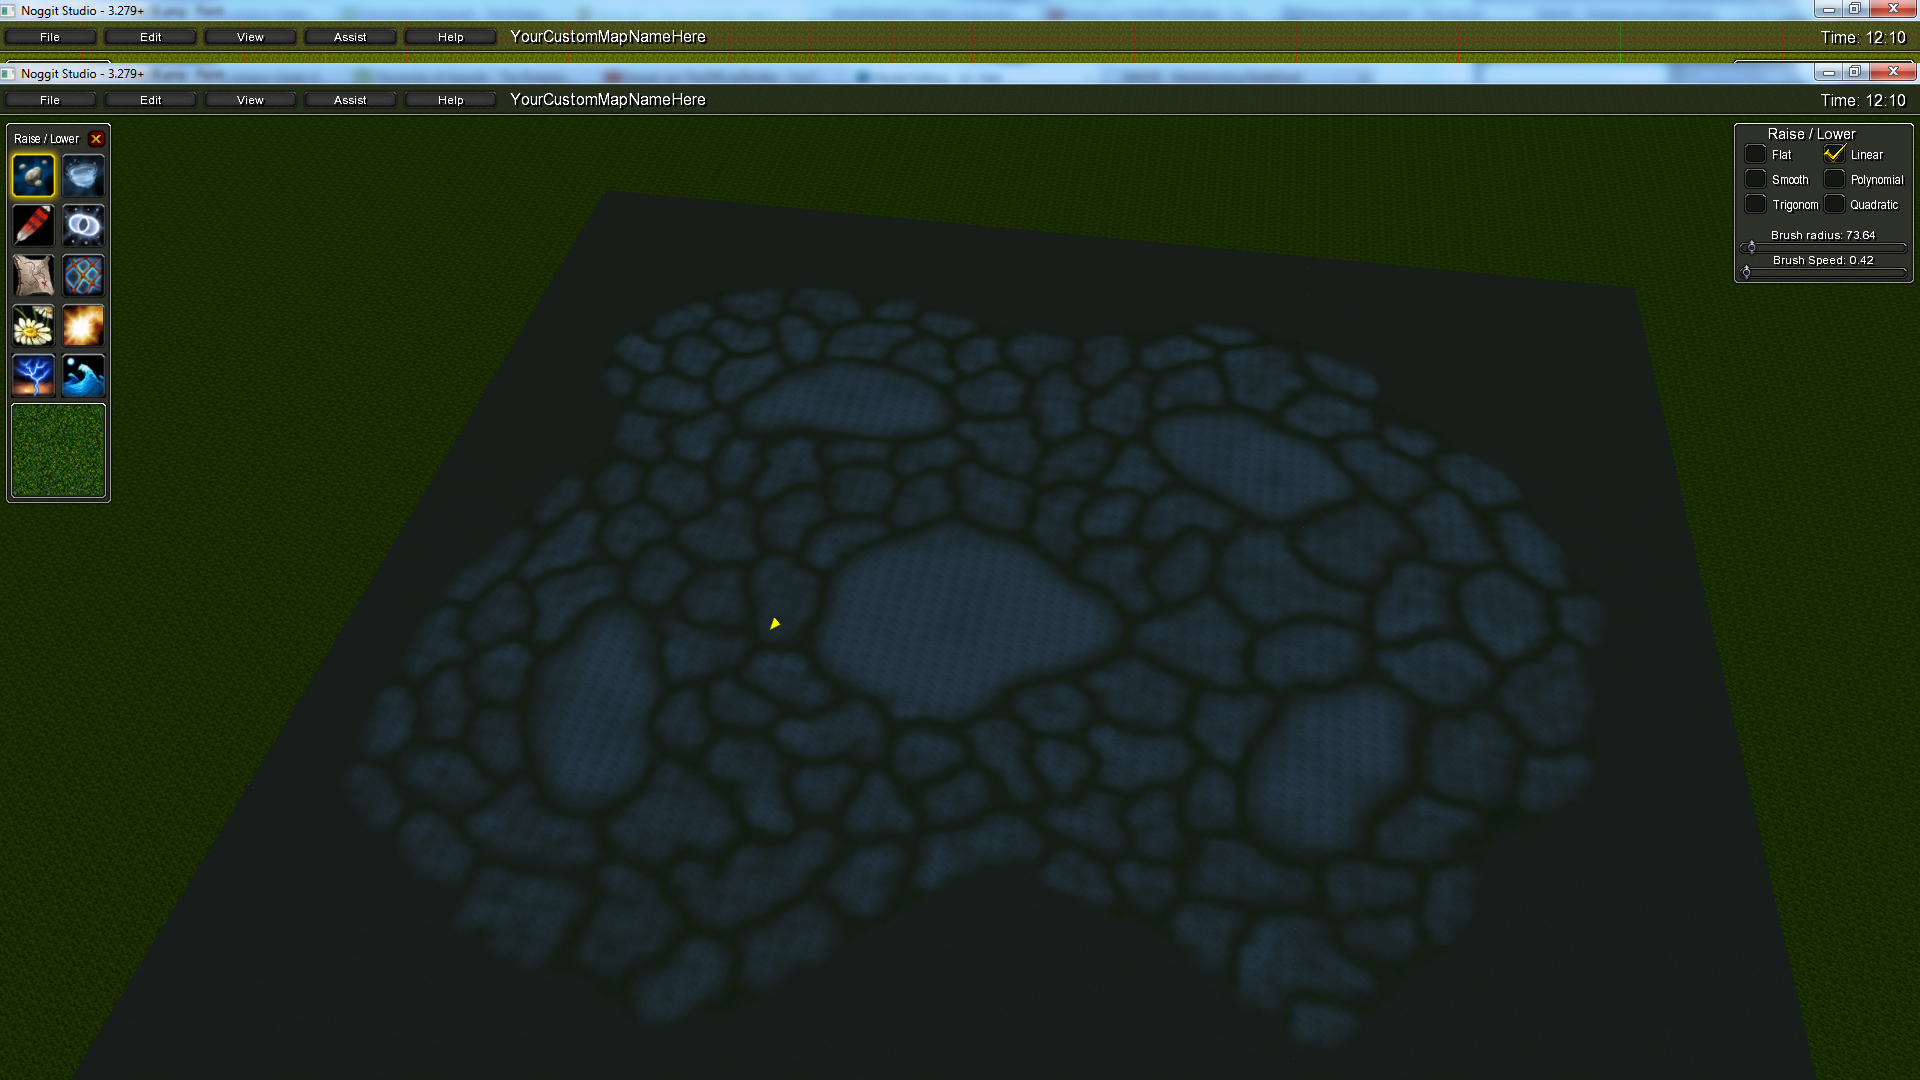 http://is.gd/z0A4H9Step 1
The first step is to just create the general shape of the mountain, you can include raising the greater patches of rock textures already so you have a good idea of where the peaks of the mountain are. The brush radius you raise the mountain with is completely dependant on what size you chose your mountain to become.
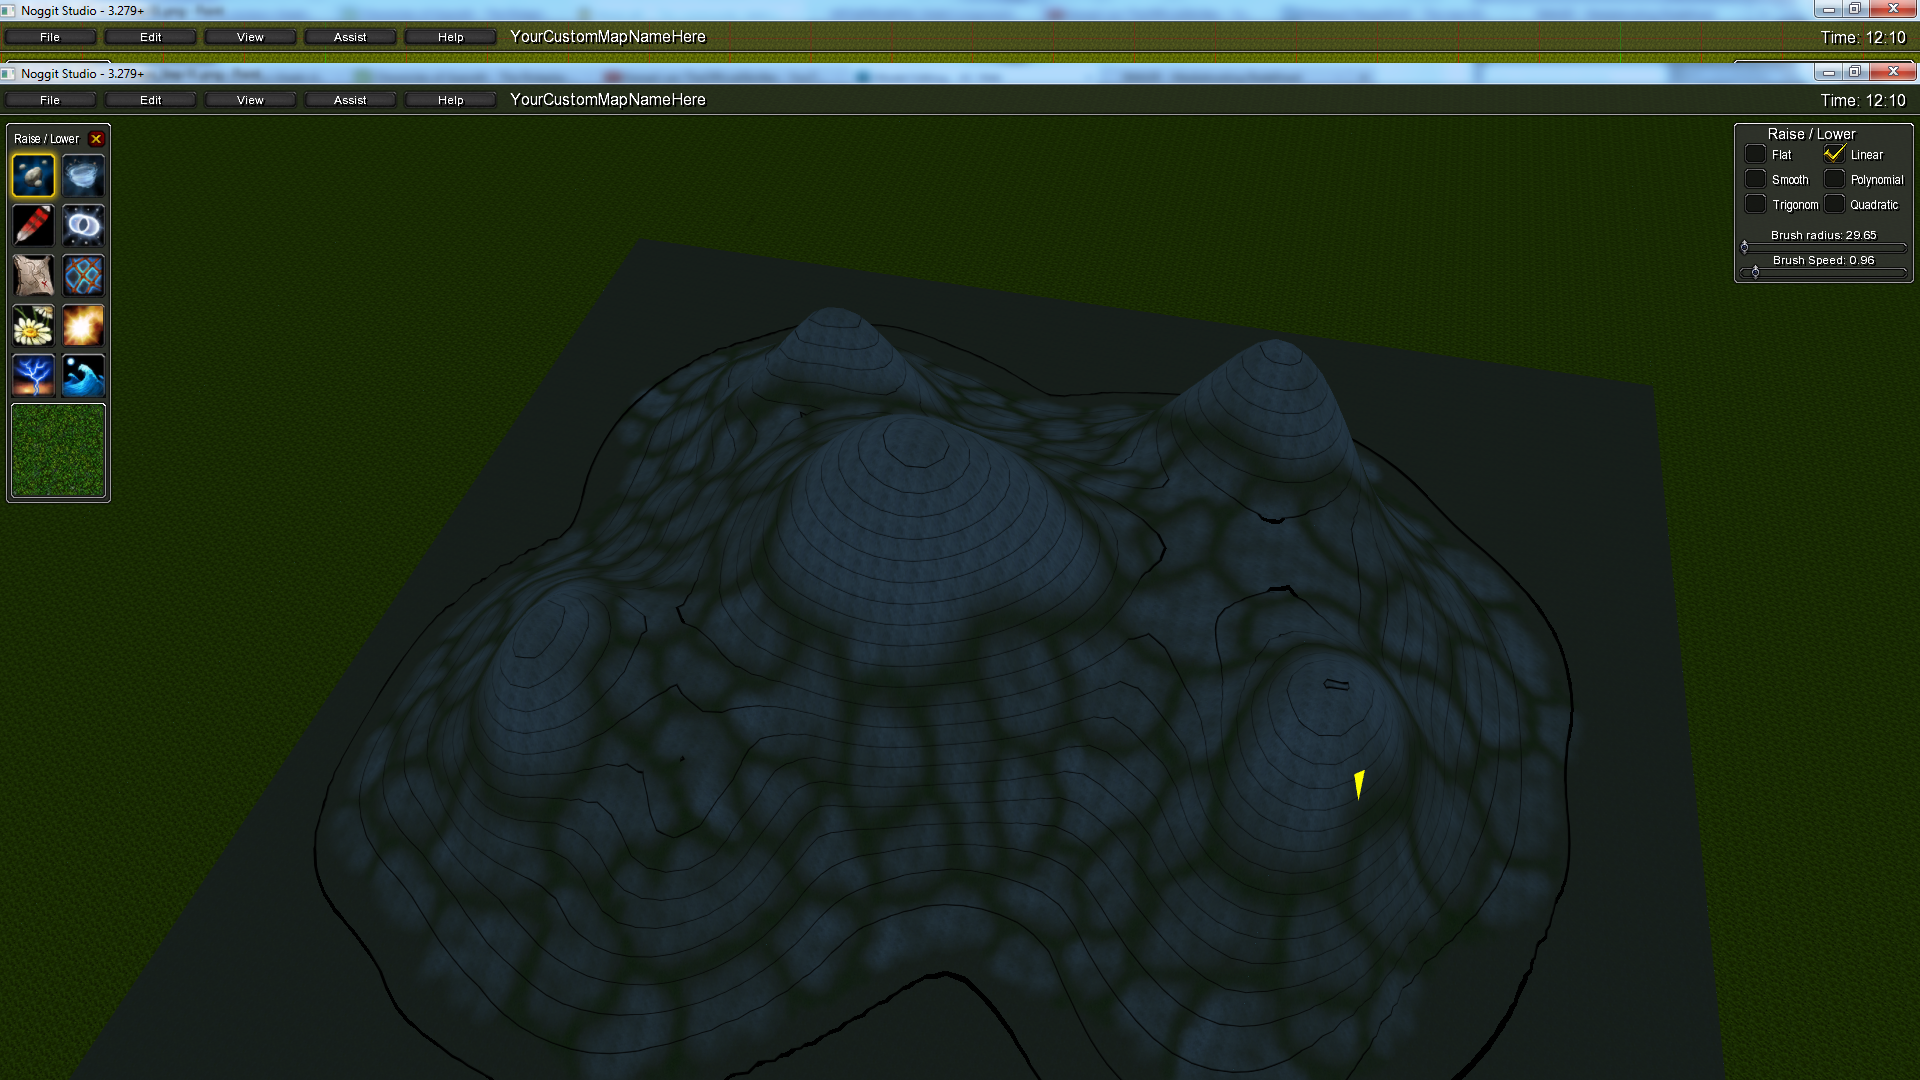 http://is.gd/f6yzPhStep 2
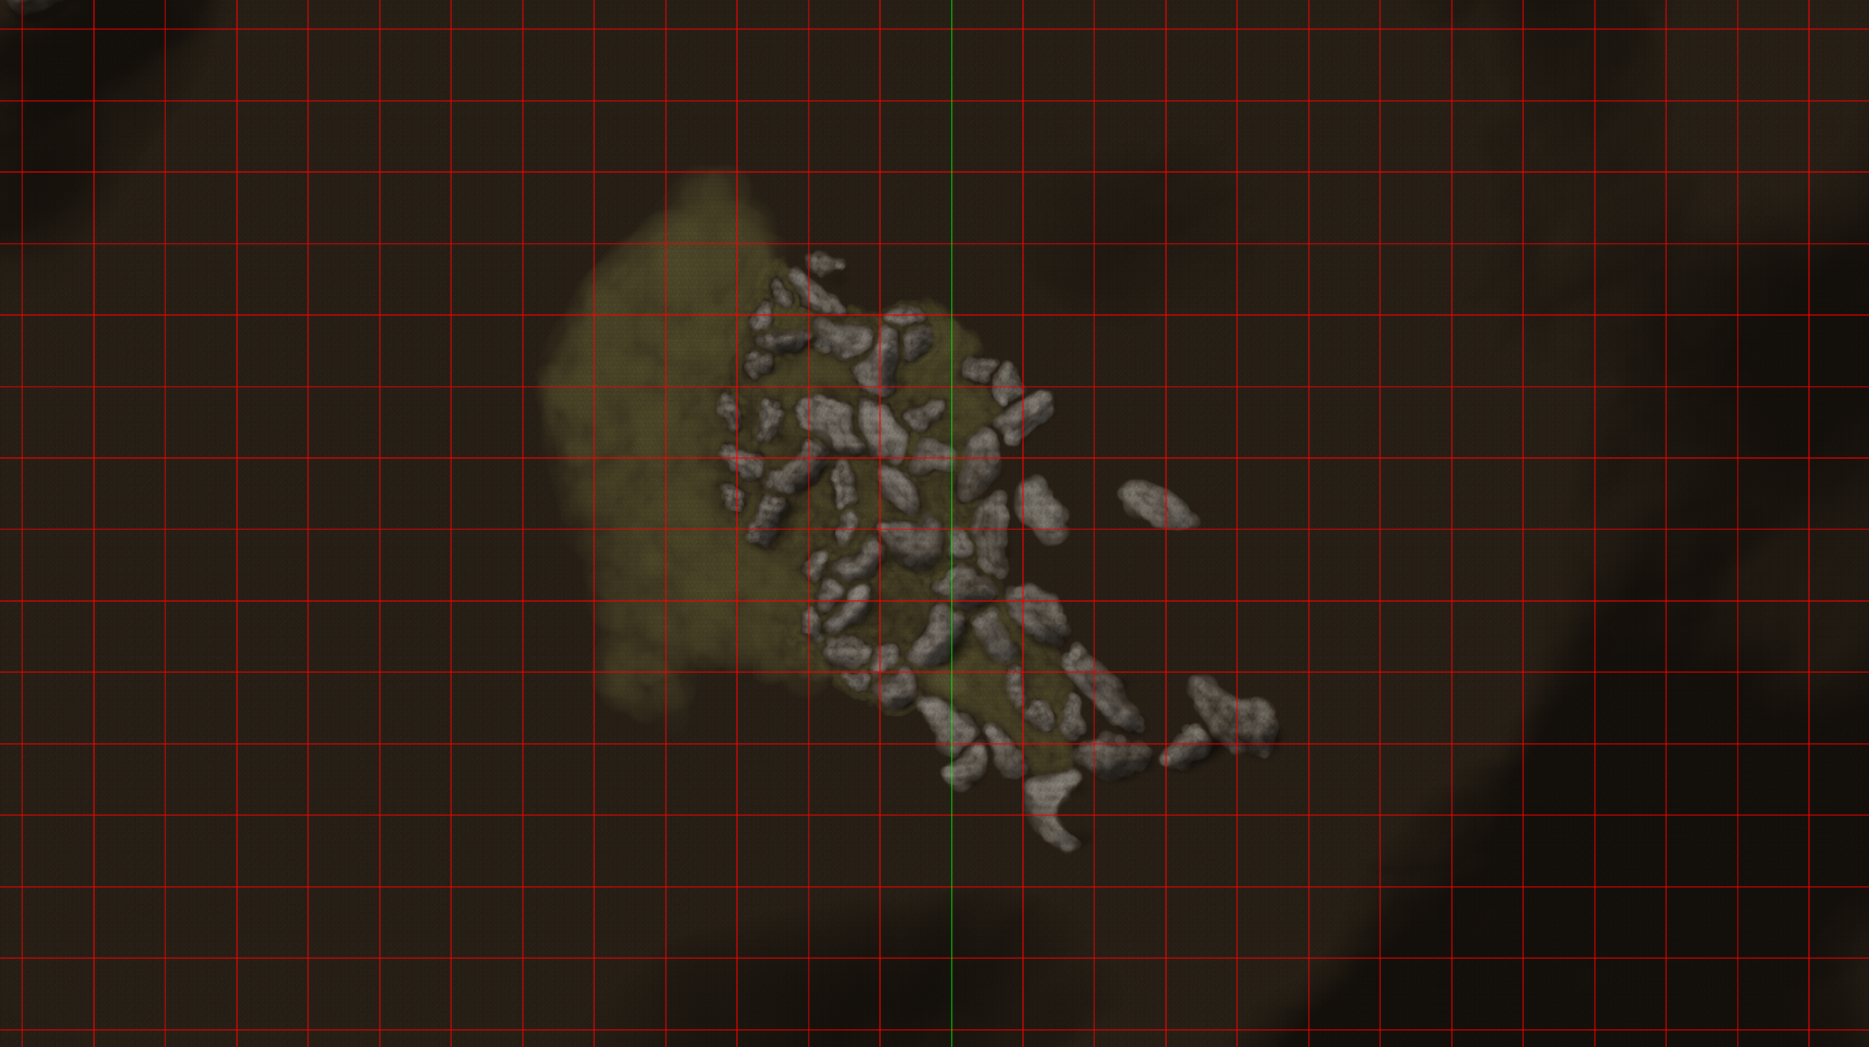
The second and last step of shaping (omg is fast tutorial!) is to raise the smaller patches of rock textures. This can be quite time consuming. And yes, in the picture I was too lazy to shape it all myself, but I have other things to work on!
Brush Radius: 6 - 8
Brush Speed: 0.60 - 0.80
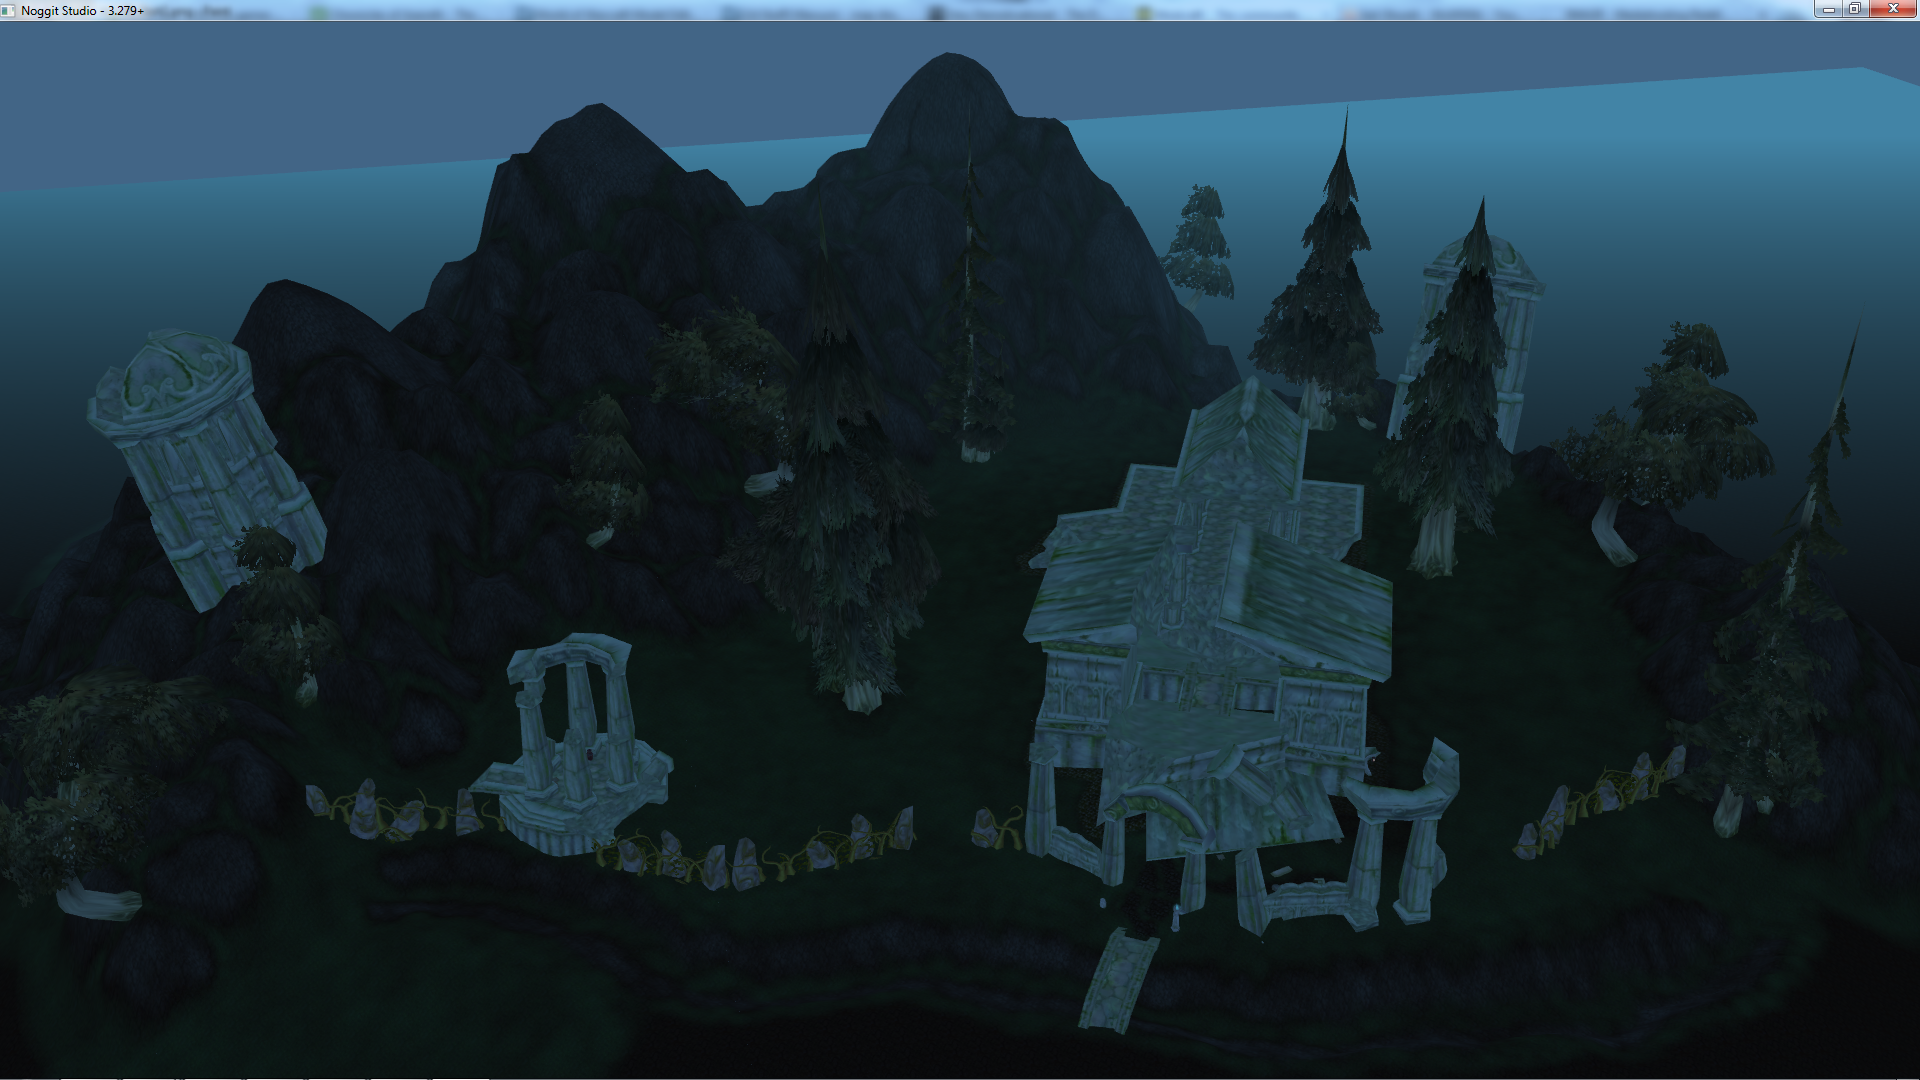
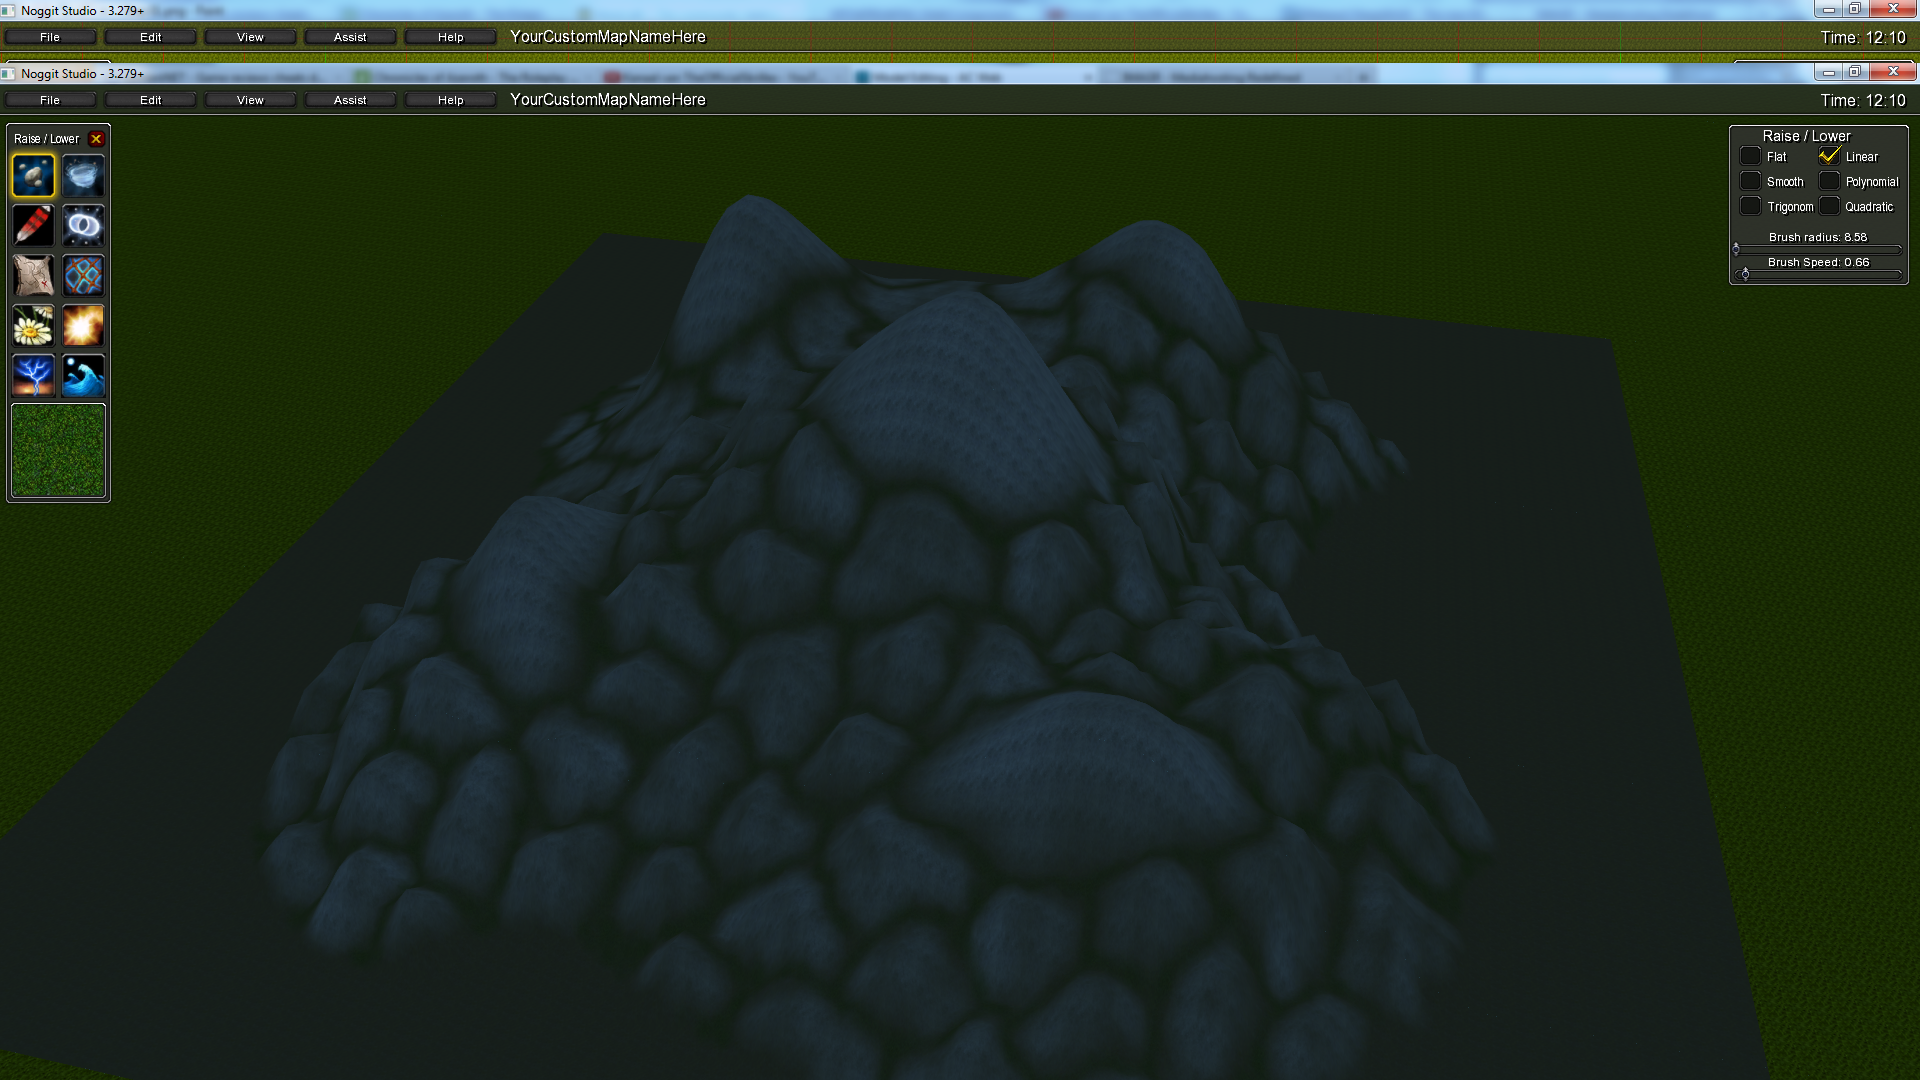 http://imagr.eu/up/4f37b6b0cd2c06_Shape_Step_03png.pngOther example(s)
Another example of how it could look at the end, with some building done around it.
 http://imagr.eu/up/4f1d9000d5c155_BI_Start2.png

